turningpoint 8 8 recommended settings 1. when you launch turningpoint, you will have to log in with...
TRANSCRIPT

TurningPoint 8
Creating a Turning Account
1. In order to use TurningPoint 8, you must first create a Turning Account. You can create your Turning Account at
https://instructor.turningtechnologies.com.
2. Use your uab.edu e-mail address and click “Create Account.”
3. UAB uses a Single-Sign on service to access your Turning Account. Log in using your BlazerID. You will
receive a verification e-mail from TurningPoint to finalize your account before you can log in.

Installing Turning Point
NOTE: If you do not have administrative access to your computer, please contact your IT department about
installing Turning Point.
1. Log into your Turning Account at https://instructor.turningtechnologies.com.
2. Click the Downloads link from the menu.
3. Underneath the TurningPount 8 tab, click PC – Install or Mac to install the software. This is where you will also
find the PC User Guide and Mac User Guide. You will also have the option to download TurningPoint Cloud, but
TurningPoint 8 is used in the lecture rooms.

TurningPoint 8 Recommended Settings
1. When you launch TurningPoint, you will have to log in with your BlazerID before using the program. Click
“Sign In.”
2. After logging in, you will now see the TurningPoint dashboard. To finish setting up your TurningPoint software,
click on the “Preferences” icon on the bottom right.

4. You can set TurningPoint 8 to automatically check for updates. This will save you from having to go to Turning
Technologies to download software when updates become available. By checking the “Automatically Check for
Updates” box, you will receive a message when you first launch TurningPoint whenever a new version is
available.
You may also want to have TurningPoint automatically open when PowerPoint launches. By checking the “Add-
in Always Loaded” box, TurningPoint will automatically launch when you open PowerPoint. However, you will
have to log in every time you launch TurningPoint.
Click “Close” to save your settings.
Opening an Existing PowerPoint Presentation in TurningPoint
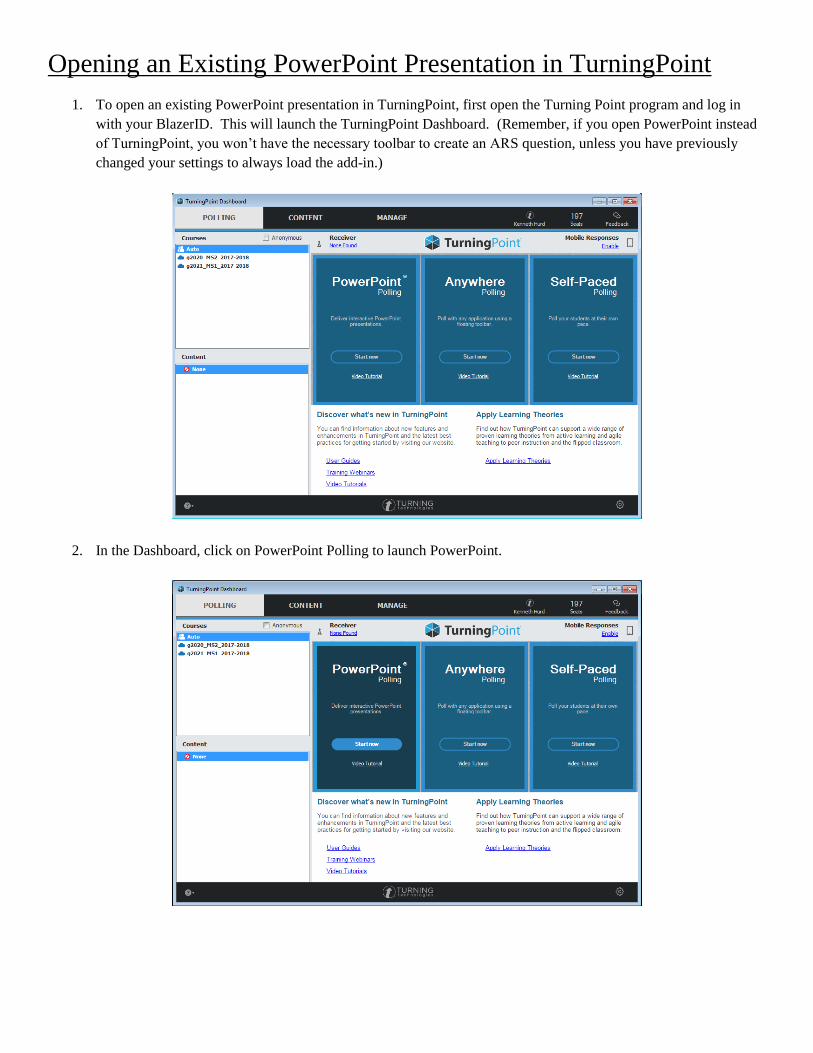
1. To open an existing PowerPoint presentation in TurningPoint, first open the Turning Point program and log in
with your BlazerID. This will launch the TurningPoint Dashboard. (Remember, if you open PowerPoint instead
of TurningPoint, you won’t have the necessary toolbar to create an ARS question, unless you have previously
changed your settings to always load the add-in.)
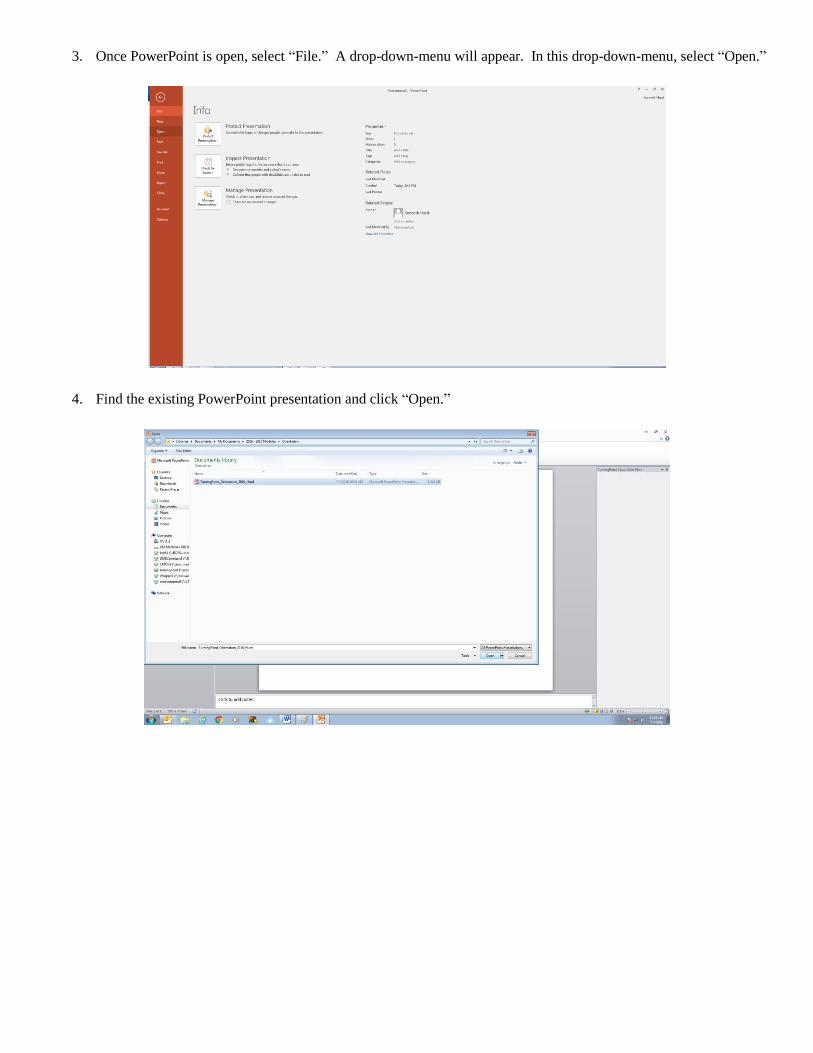
2. In the Dashboard, click on PowerPoint Polling to launch PowerPoint.
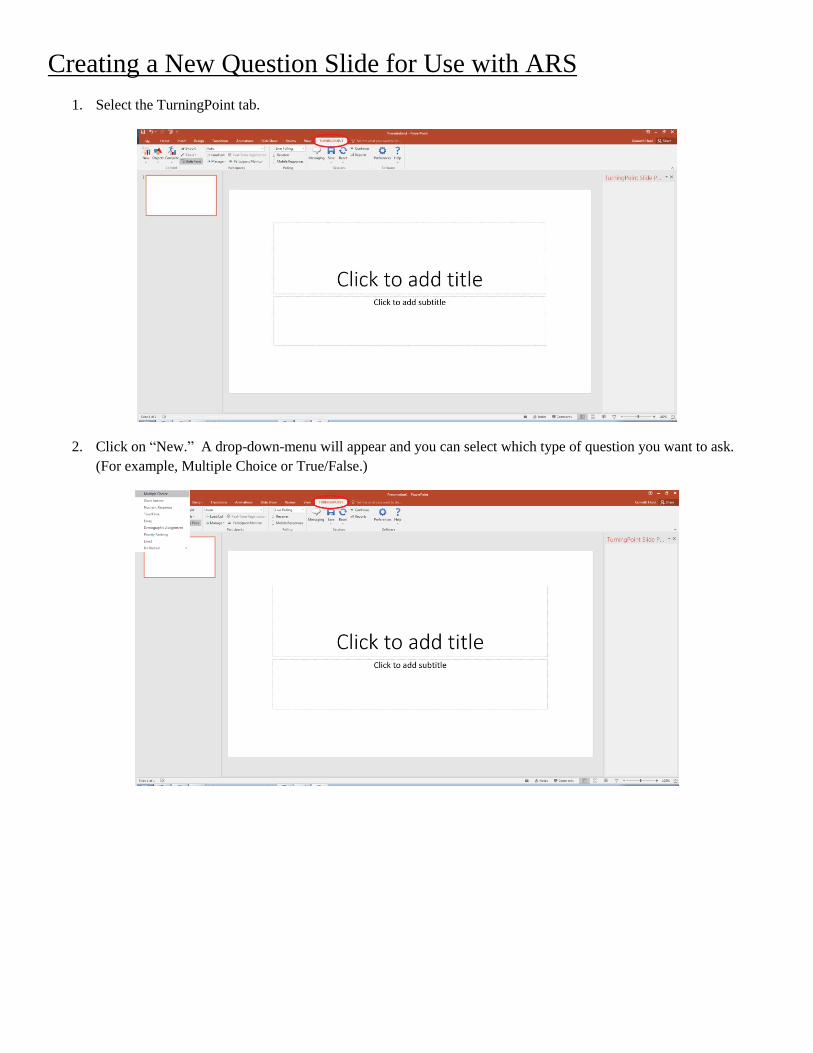
3. Once PowerPoint is open, select “File.” A drop-down-menu will appear. In this drop-down-menu, select “Open.”
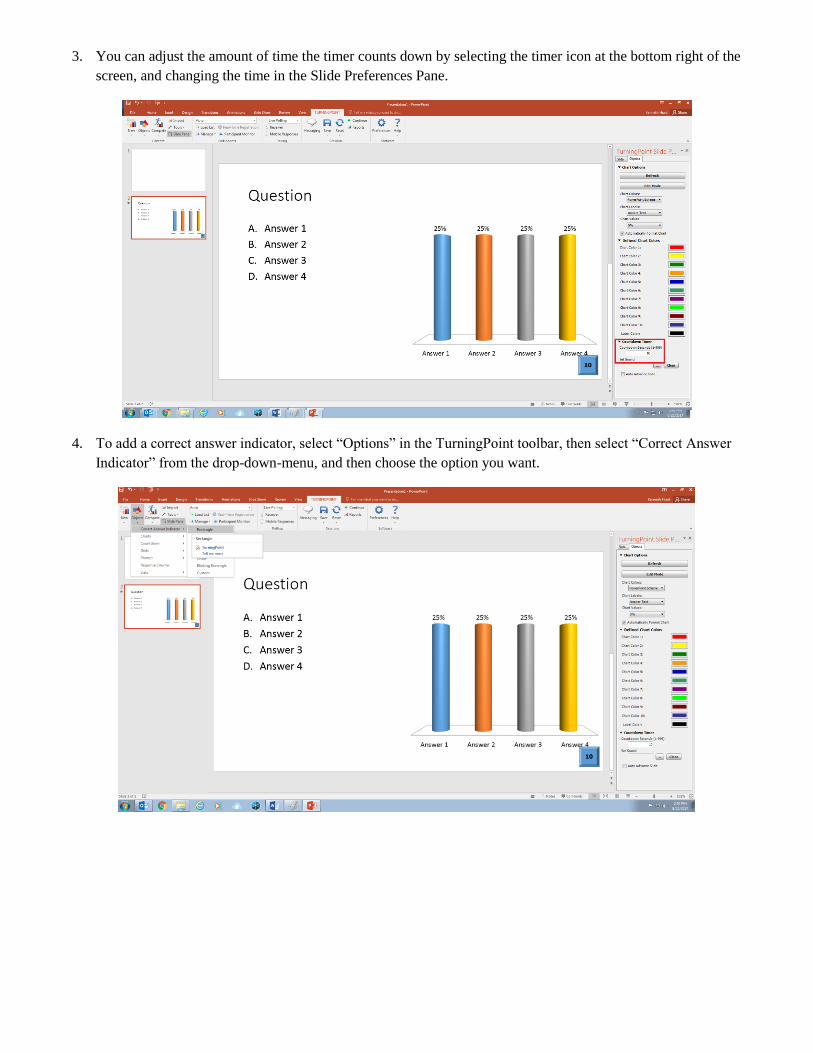
4. Find the existing PowerPoint presentation and click “Open.”
Creating a New Question Slide for Use with ARS
1. Select the TurningPoint tab.
2. Click on “New.” A drop-down-menu will appear and you can select which type of question you want to ask.
(For example, Multiple Choice or True/False.)

3. Type your question in the top text box. Type your possible answers in the bottom text box. You can include up
to 10 possible answers, although more than 5 is often hard to read in the lecture room.
4. You can set the question options with the Slide Preferences Pane on the right. In the Slide Preferences Page, you
can format the bullets, determine whether or not the question will allow multiple responses, and whether to show
the responses during or after polling.

5. If you want the TurningPoint software to track whether students answered the questions correctly or incorrectly,
select which answers are correct in the column on the right.
6. Once you select a correct answer, TurningPoint will automatically change the other options to incorrect. The
correct answer will be shaded green; the incorrect answers will be shaded red.

Adding Objects to a TurningPoint Slide
1. You may want to add an optional countdown timer or correct answer indicator to your TurningPoint slide. You
can do this under the “Objects” tab in the TurningPoint toolbar. (NOTE: Be sure to add objects to the slide in the
order that they should appear when polling.)
2. To add a countdown timer, select “Objects” in the TurningPoint toolbar, then select “Countdown” from the drop-
down-menu, and then choose the option you want.
3. You can adjust the amount of time the timer counts down by selecting the timer icon at the bottom right of the
screen, and changing the time in the Slide Preferences Pane.
4. To add a correct answer indicator, select “Options” in the TurningPoint toolbar, then select “Correct Answer
Indicator” from the drop-down-menu, and then choose the option you want.
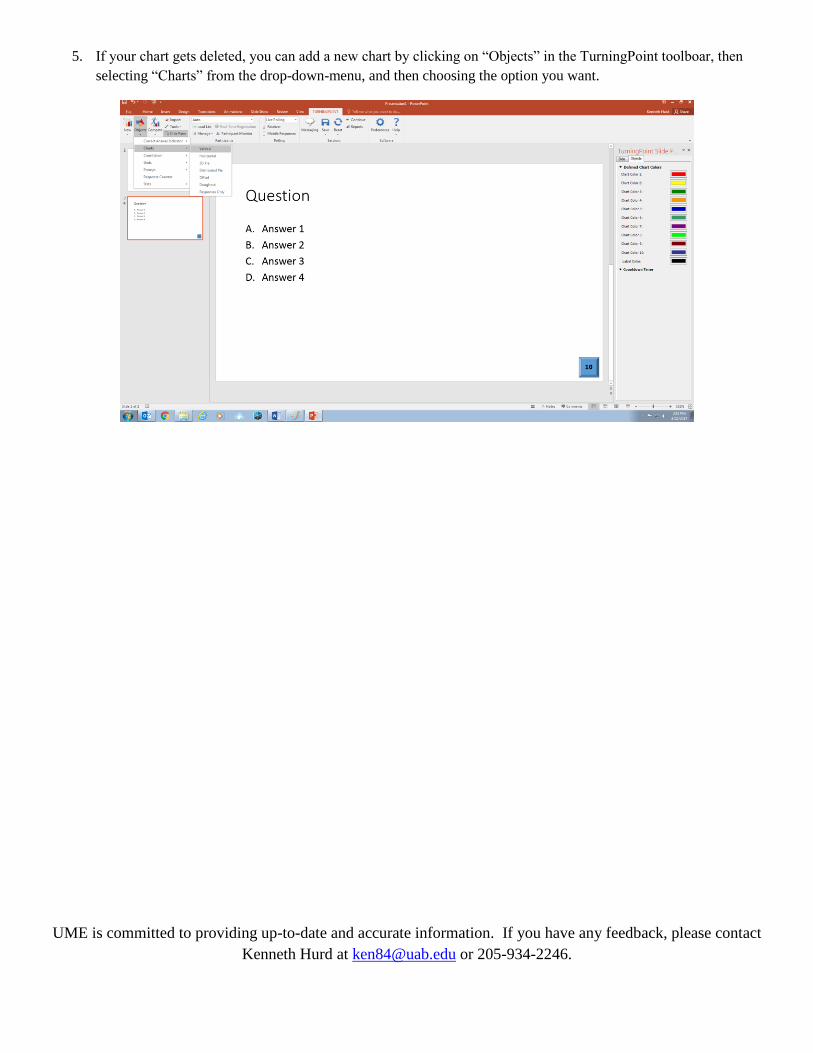
5. If your chart gets deleted, you can add a new chart by clicking on “Objects” in the TurningPoint toolboar, then
selecting “Charts” from the drop-down-menu, and then choosing the option you want.
UME is committed to providing up-to-date and accurate information. If you have any feedback, please contact
Kenneth Hurd at [email protected] or 205-934-2246.