wordpress page editing
TRANSCRIPT

WORDPRESS HOW-TO:
Editing Pages in your WordPress site
EDITING PAGES

Update a Page
Click on pages to see your list of
pages.

Update a PageClick on the
page you would like to update.

Update a Page You can edit your page from this screen.

Save Updates
If you want to see the changes you have made click View Page.
Be sure to save your changes before clicking here.
Any time you make changes you are going to want to
save them. To save changes click the update button.
This toolbar will allow you to edit text, add images, and incorporate
links .

Update Text
Adding text is as simple as
typing.
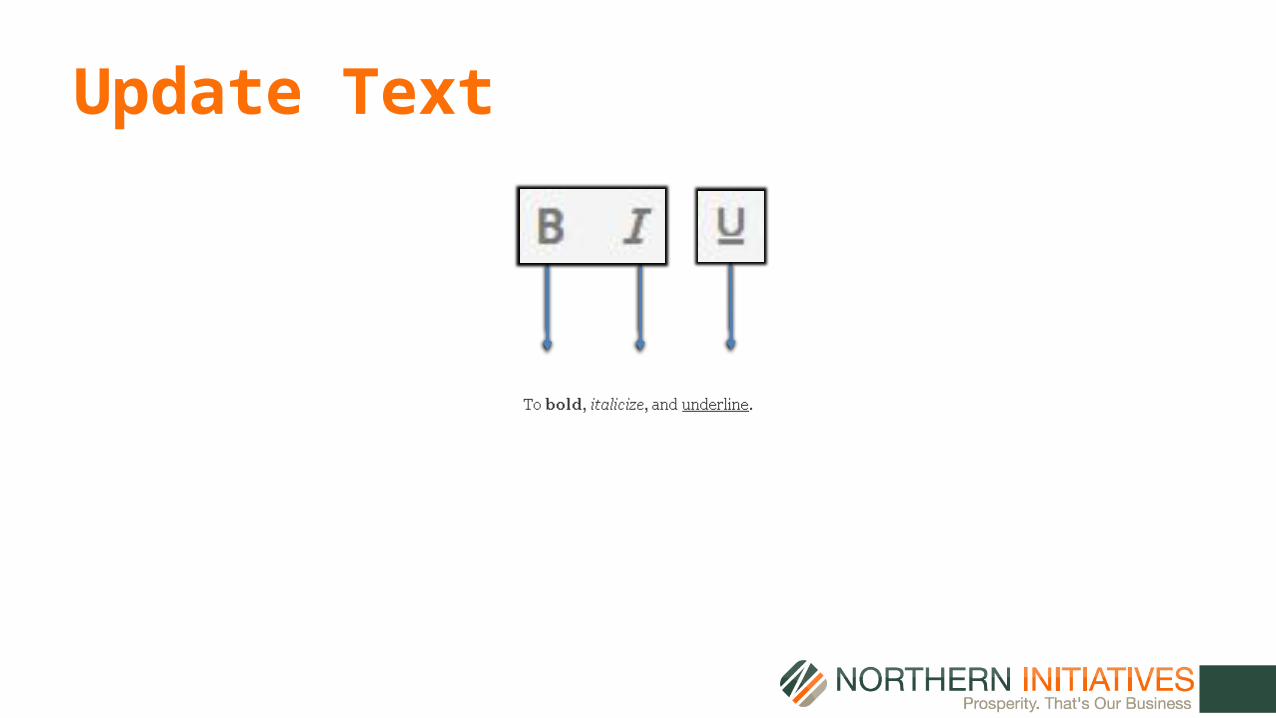
Update Text

Update Text
Choose your font and size or use pre-
formatted fonts
Texts on the edit screen

Adding a LinkStep 1 & 2: Highlight
what you want to link and click the link button.
Step 3: Input where you want it to link. Be sure to check this box for
links outside of your site.
Or link to another page
on your website.
Once a link is created it will be underlined and
highlighted.

Add Media from Your Page
Click “Add Media” to insert a photo or text into the page (see how to add
photos on the next slide)
(Make sure your cursor is placed where you want the
photo on the page)

Add Media from Your PageStep 2: Drag and drop photos, or click “Select Files” to browse for the
photos.
Step 1: Do you want to display multiple photos in the page? If so, click
to create a gallery. If not, go to Step 2.
Step 3: When done
uploading, click “Insert into page”
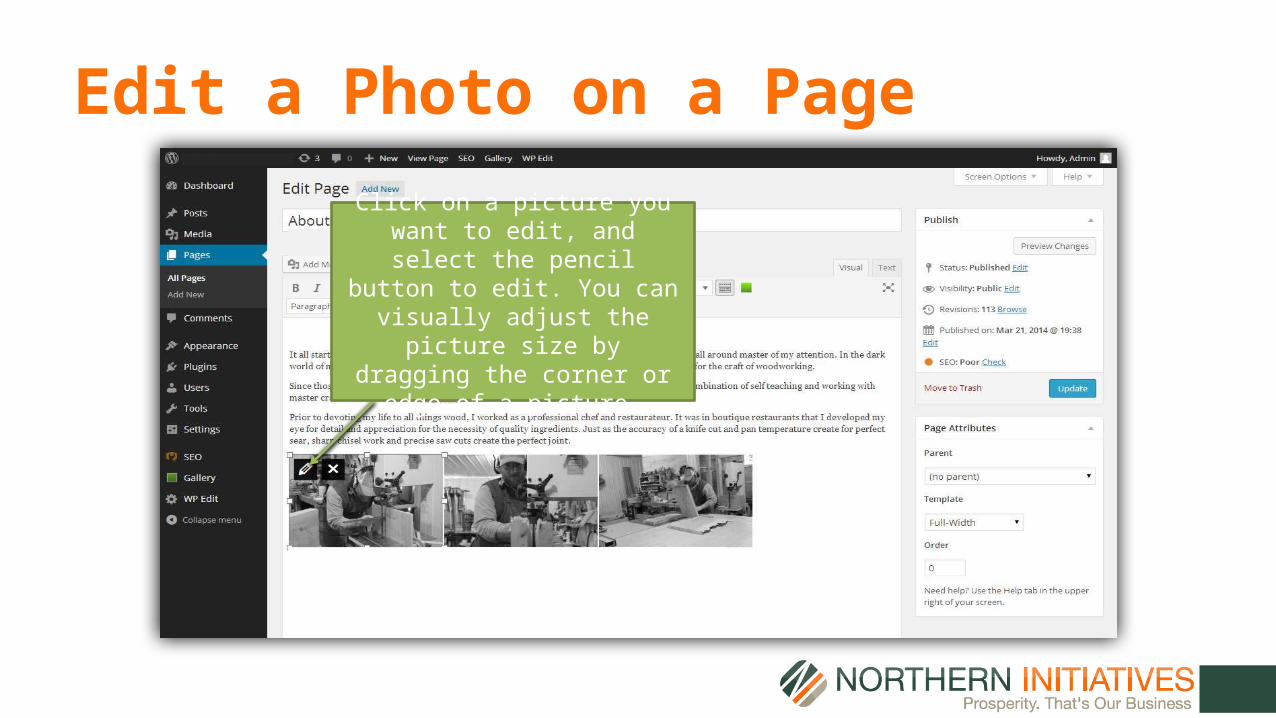
Edit a Photo on a Page
Click on a picture you want to edit, and select the pencil button to edit. You can visually adjust the
picture size by dragging the corner or edge of a picture.

Edit a Photo on a Page
Once a photo is on your page you can click on it to edit or delete the image.
If you edit a photo you can align it,
change the size, or edit the name.

Save & Publish Page
Step 3: When you are done making initial changes to your new page, click “Publish” to make page available to the
public
Step 2: Click “Save Draft” to save
changes, but not make available to the
public
Step 1: Preview your new page

Basic HTML Editing
• When placing text on a page formatting can be displayed improperly at times.
• Use of the “Text” tab view will allow for manual adjustment of text formatting.
• Some text needs to be placed between a <div> and </div> to display properly.

Basic HTML EditingClick on “Text”
view tab in order to edit
the page HTML

Basic HTML EditingStep 2: When making changes to a heading or text between any <h>
or <div> tags, the text must be placed between the original
beginning (<h> or <div>) and the ending (</h> or </div>) tags.
When text does not appear properly or in the wrong place, check the
HTML in “Text” view first!
Step 1: The heading requires placement between a pair of
<h2> tags.
Step 3: Most text will not require placement between a pair of
<div> tags.

Basic HTML Editing
• Placing text between <h> tags will result in a heading format.• The <div> tags are designed for formatting a block or
paragraph of text.• For more information on HTML editing and customizing the
look of your page, navigate to http://www.w3schools.com/html/DEFAULT.asp