station playlist creator - wruu
TRANSCRIPT
Station Playlist Creator
WRUU 107.5 Manual
Note: You are not required to utilize this software to air your show. You will still be required to know and utilize the software in the studio on occasion as it will store pre-recorded shows, PSA’s, Promos and Station ID’s.
The software is mainly for those who are going to have a show, but will not be in the studio at the time the show will air. Any sound recording, or play list software can be used to create your show. Just bring your device into the studio, plug into the auxiliary line and air your show directly from your device.
Overview
Station Play list Creator creates and manages a library of all recorded media that can be used for on air transmission.
Just like the name suggests, it is used to create play lists to be run on air in either interactive, or automated mode. It has a similar functionality to that of I-Tunes, Windows Media Player, or any other media player.
You will create your own directory of media that you will be able to find and insert into the program. Within the program you will be able to organize and prepare for airing your show.
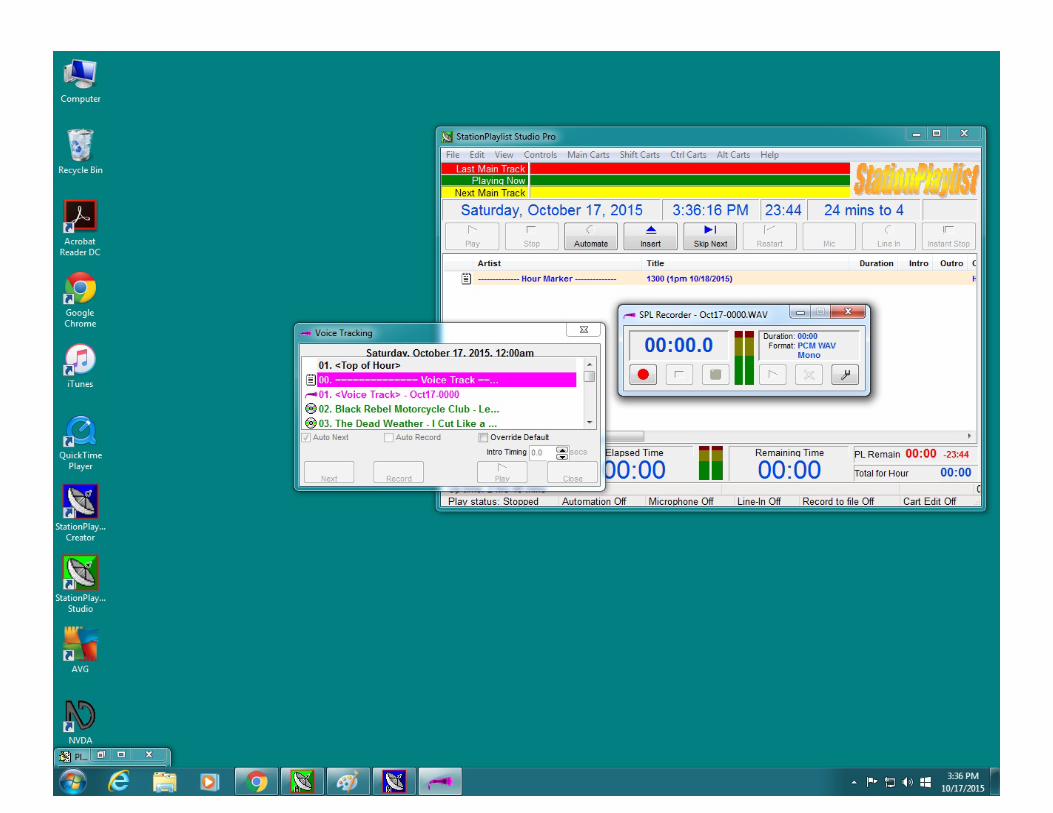
Within it you can compile an entire list of music, PSA’s, promos, station identification, or any other segments that will be a part of your particular show. The program can also capture voice recordings to be placed in the selected spots you want them to play within the play list sequence.
Once the list is created, the automation has been set and initiated in Studio, it will run on its own for the designated amount of time without having to touch any bit of equipment. This is convenient for anyone who will not be present in the studio when a show is presented on air. The show can be designed to run in the sequence you create.
Preliminaries Outside the Studio
Create a folder and add all of the media you intend to utilize for your show. With music, be sure to add tags.
Eg: artist, album, genre, year, similar artists, mood, etc These tags will all become active within the program itself.
Put the folder onto a USB drive.
Once this is all organized, you are ready to head to the studio.
Once you are in the studio with your USB drive:
Plug your USB drive into the top left computer labeled WRUU automation. It is located in the hallway. The files on the USB drive will then be accessed by using the computer to the left of the console in the studio.
On that computer, find the (E: Drive), create a folder with the name of your show in WRUU music directory. Then, Find your USB drive, select your Files or folder and import them into your folder on the E: drive of the computer. Import may take a moment.
On the same computer, open Station Playlist Creator software.
In the side bar to the left in the Creator Program, select category – click – A window pops up that states new category Create the new category - name category, what ever your show is, and the date the particular show will air – In the Middle right of that pop up window you will see – add files or add folder – select which one applies A new ‘my computer’ window pops up - find your folder, your files and select them all. Settings stay as system default Select OK That window closes


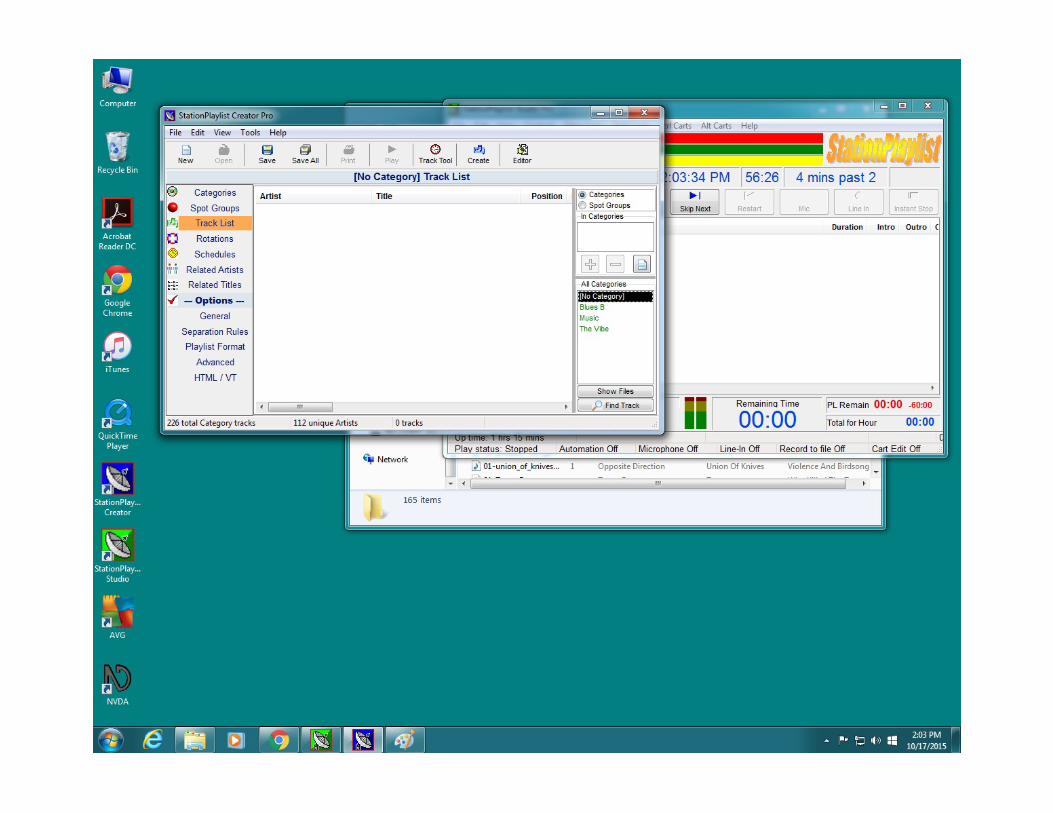
Then, on main screen of program - select track list
The main center panel will be empty.
Bottom right you will find the available categories Find your show category and select it. Your play list of songs will appear in the main center panel of the track list window
Check to make sure everything you want, or need is there and that it is labeled the way you need it to be.
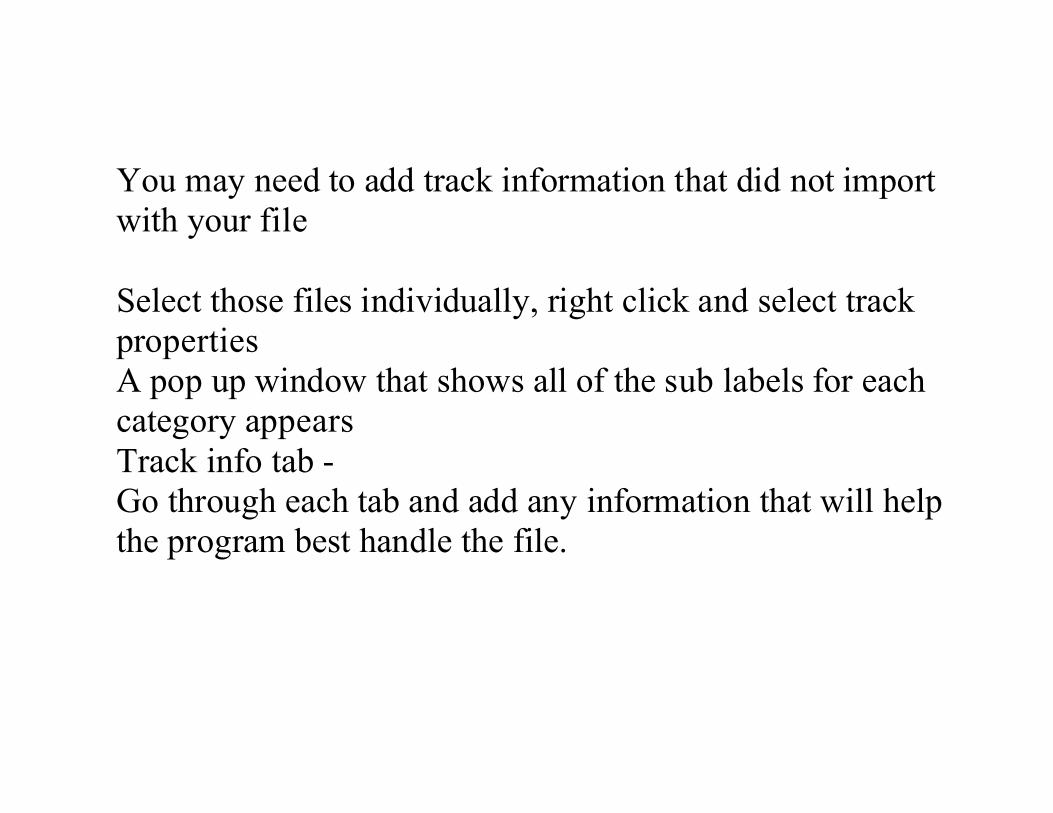
You may need to add track information that did not import with your file Select those files individually, right click and select track properties A pop up window that shows all of the sub labels for each category appears Track info tab - Go through each tab and add any information that will help the program best handle the file.
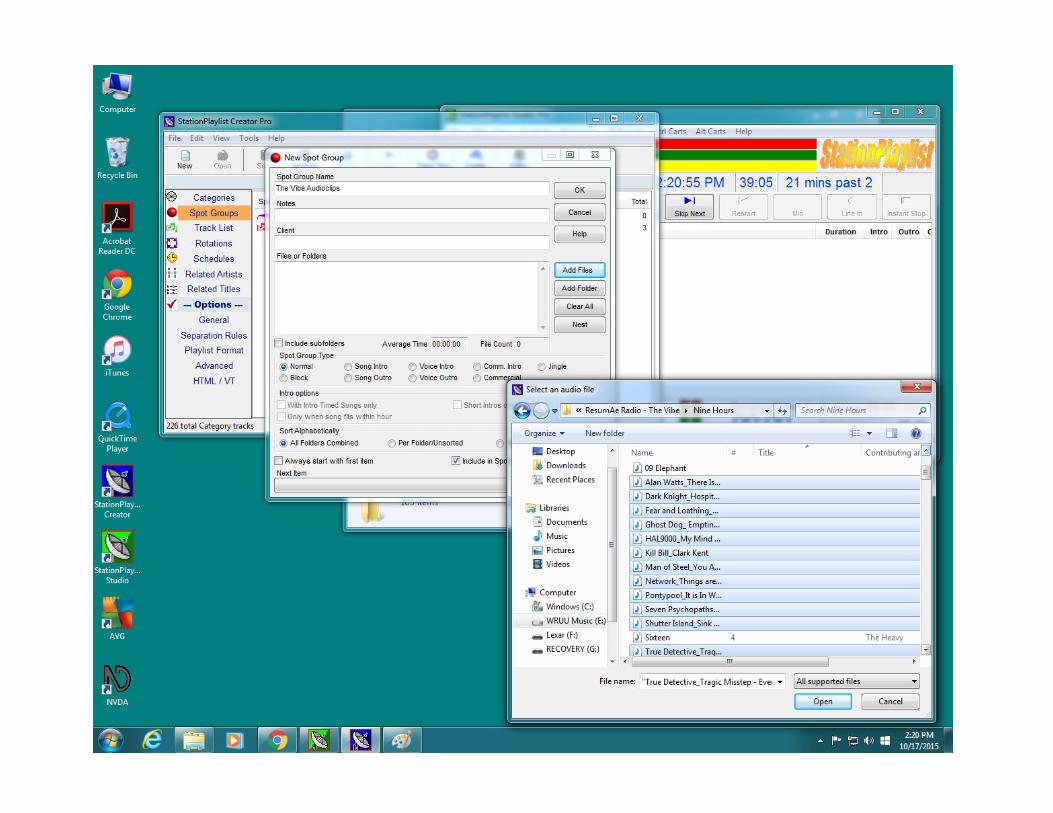
This next Step: Adding your perimeter elements that are not music Select Spot Groups in the Left panel on main window A new pop up window will appear – you will go through the same process as you did while creating a new category. Make sure you have not already uploaded these files to the new Category folder you already created. The program will ask you to note the Spot Group types Read over the options, there you will select which type of spot group you’re adding EG: voiceover of song intro/outro , any other sound clip you want to use in your show, promo, etc….. Fill in the spot group name; your show title and airing date. Click ‘add files’, find the files you want to import and then select OK
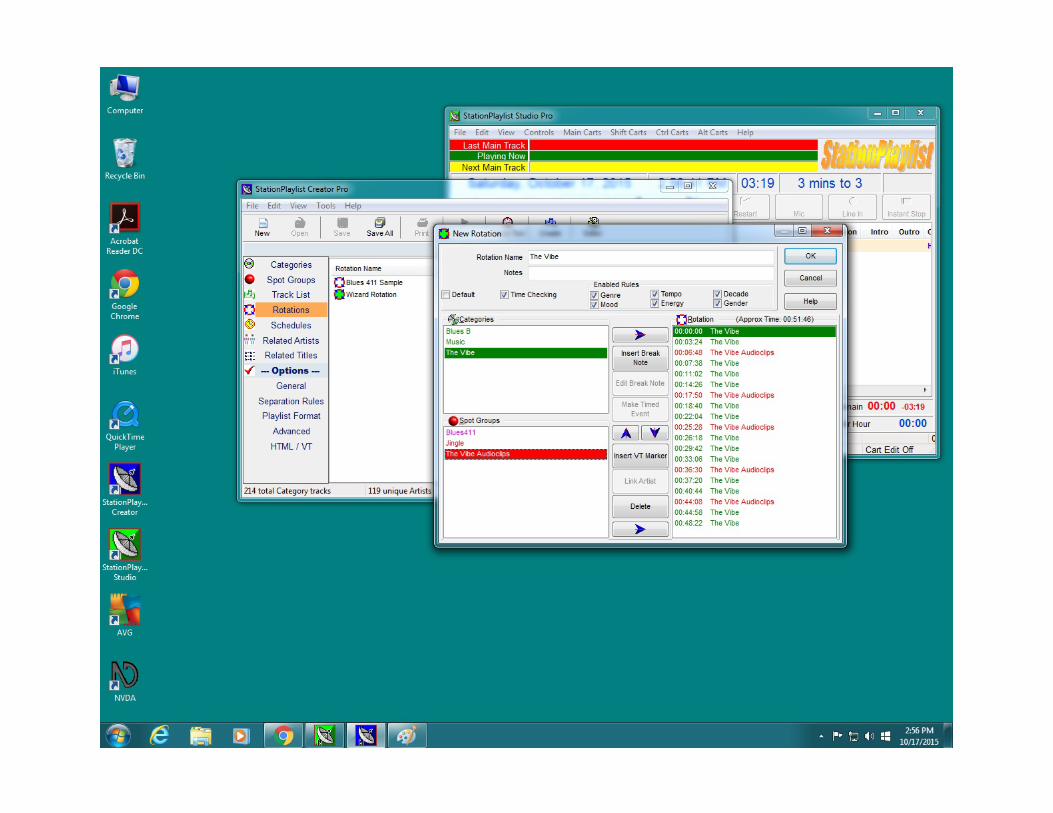
Next Step: Creating a new rotation element Select rotation – name the rotation - show name and airing date This step will show you the amount of time your show will run. You can add files at this stage to get it to meet the amount of time you plan on running your show. To the left you will see ‘Green’ for category and ‘Red’ for spots Find your labeled category and spot then select each one to create a sequence. Hit the arrow to place it into the right panel, which is the over all play list of your show. You can also drag the category label or spot into the right panel.
In this step you can adjust the order of the media by dragging a file to the desired spot in the play list. You can also right click, and select insert track This will take you to a window that allows you to select a specific track that will be placed in that highlighted spot in the rotation you are creating. When you close this window, it automatically brings you back to the program window In this step you can also insert VT markers – Voice Track markers hold the spots where you want to record directly into the program You can set the duration of time each marker will be. Place a VT marker in all spots of the play list for the entire show you are creating
How to record a VT: Create play list. Pulls up the playlist window. At the top you will see Record with the red arrow. Click record, then opens up the recording window feature. Set up the microphone at the board…. Channel 1 Depress the program and audition button. Test you level Make certain the program is reading the voice,,,you will see the eq bars moving Select the red record button in the VT record window Begin your recording Listen to make certain you like what you hear When you press the save button, the recording is automatically placed in the play list at each VT marker.