benefits of odoo studio 11
TRANSCRIPT
Benefits of Odoo Studio 11
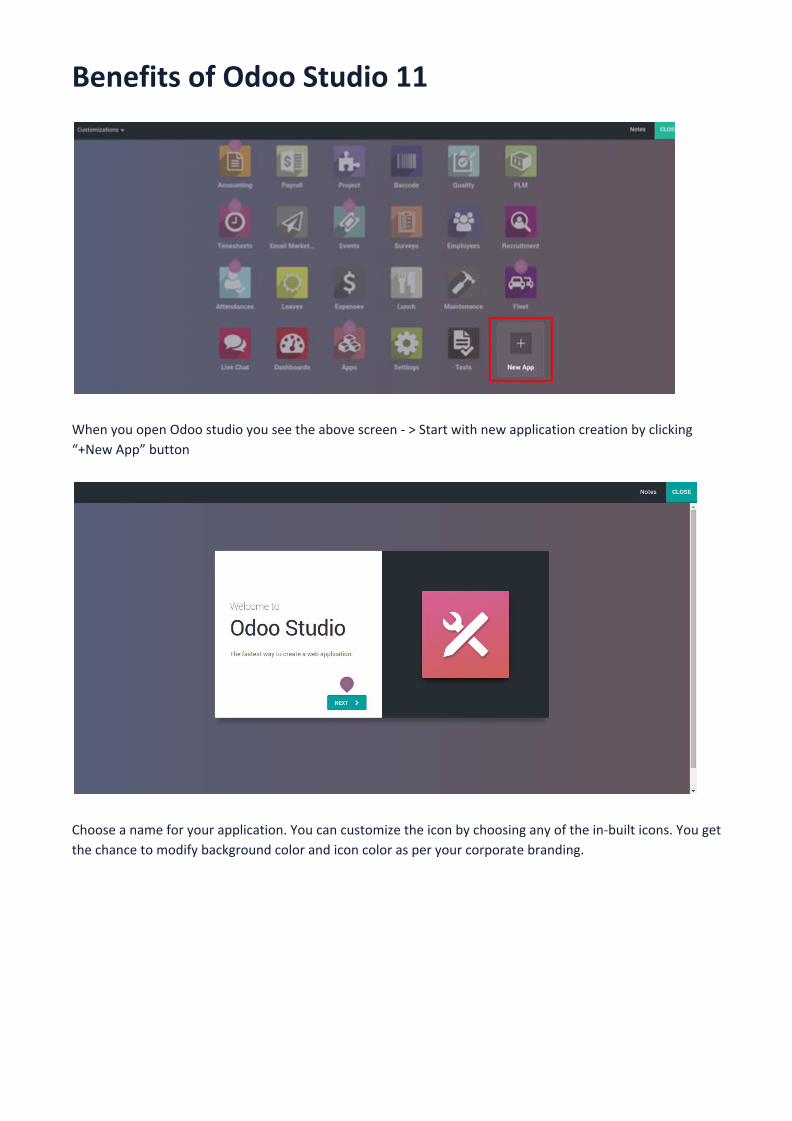
When you open Odoo studio you see the above screen - > Start with new application creation by clicking
“+New App” button
Choose a name for your application. You can customize the icon by choosing any of the in-built icons. You get
the chance to modify background color and icon color as per your corporate branding.
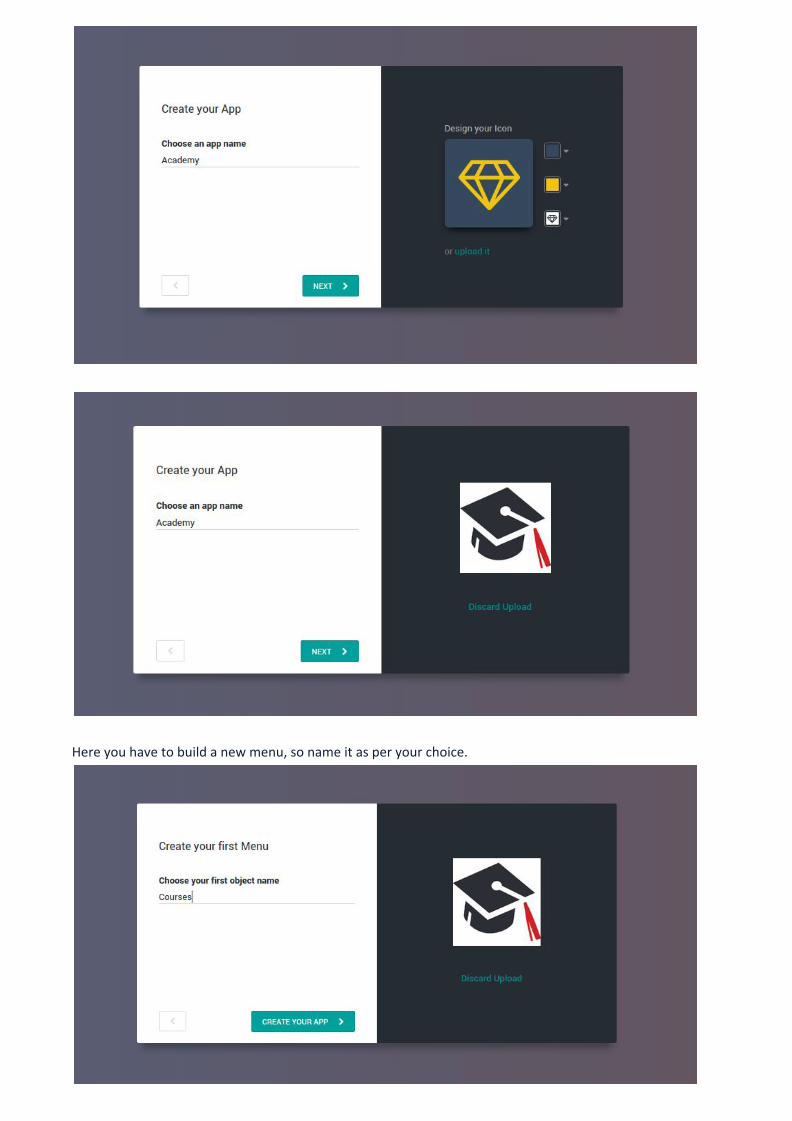
Here you have to build a new menu, so name it as per your choice.

First, let’s customize the Existing view. Go to the contacts module.
In Contacts there are many fields that already exist. If you want to add or edit any field you can open the form
view of your contact and activate Odoo Studio
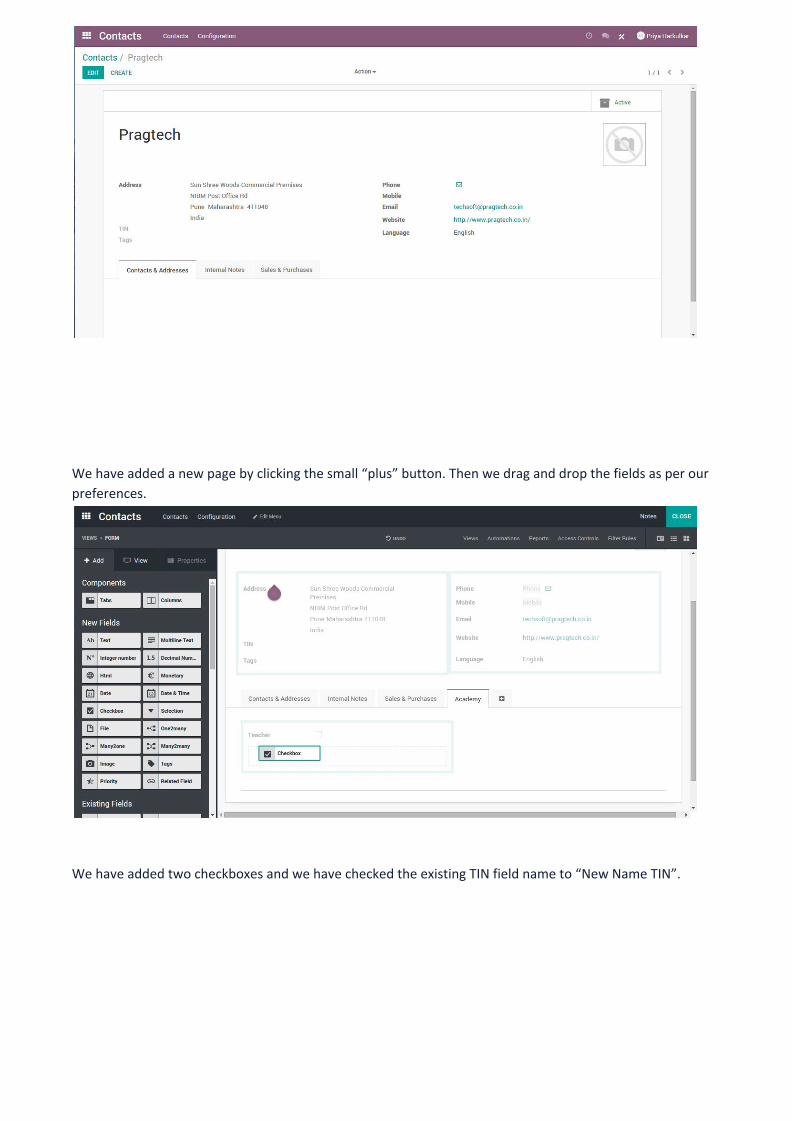
We have added a new page by clicking the small “plus” button. Then we drag and drop the fields as per our
preferences.
We have added two checkboxes and we have checked the existing TIN field name to “New Name TIN”.
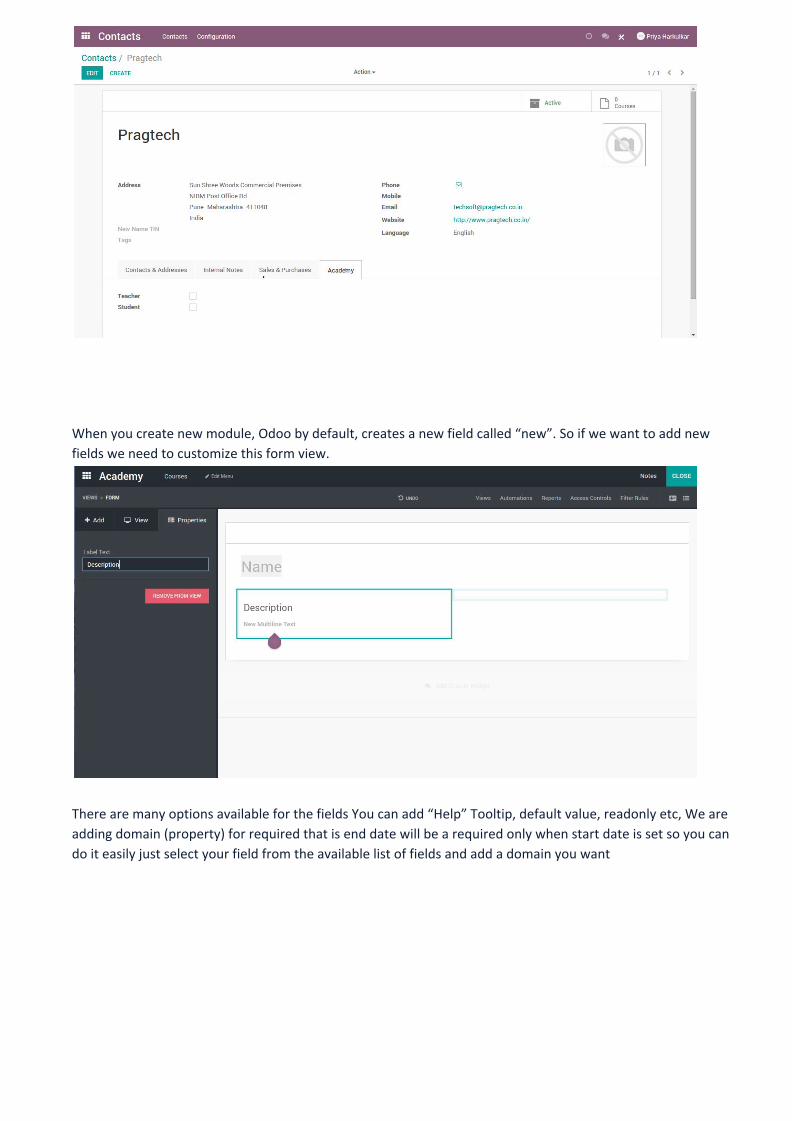
When you create new module, Odoo by default, creates a new field called “new”. So if we want to add new
fields we need to customize this form view.
There are many options available for the fields You can add “Help” Tooltip, default value, readonly etc, We are
adding domain (property) for required that is end date will be a required only when start date is set so you can
do it easily just select your field from the available list of fields and add a domain you want
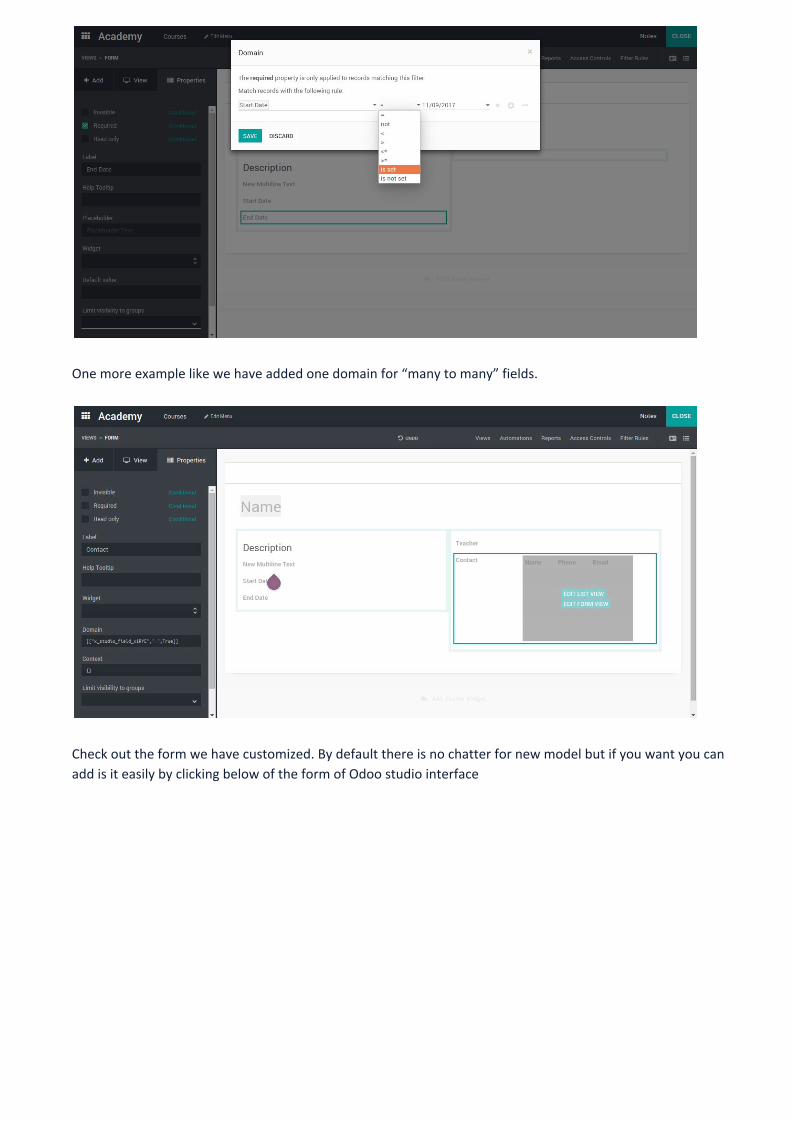
One more example like we have added one domain for “many to many” fields.
Check out the form we have customized. By default there is no chatter for new model but if you want you can
add is it easily by clicking below of the form of Odoo studio interface
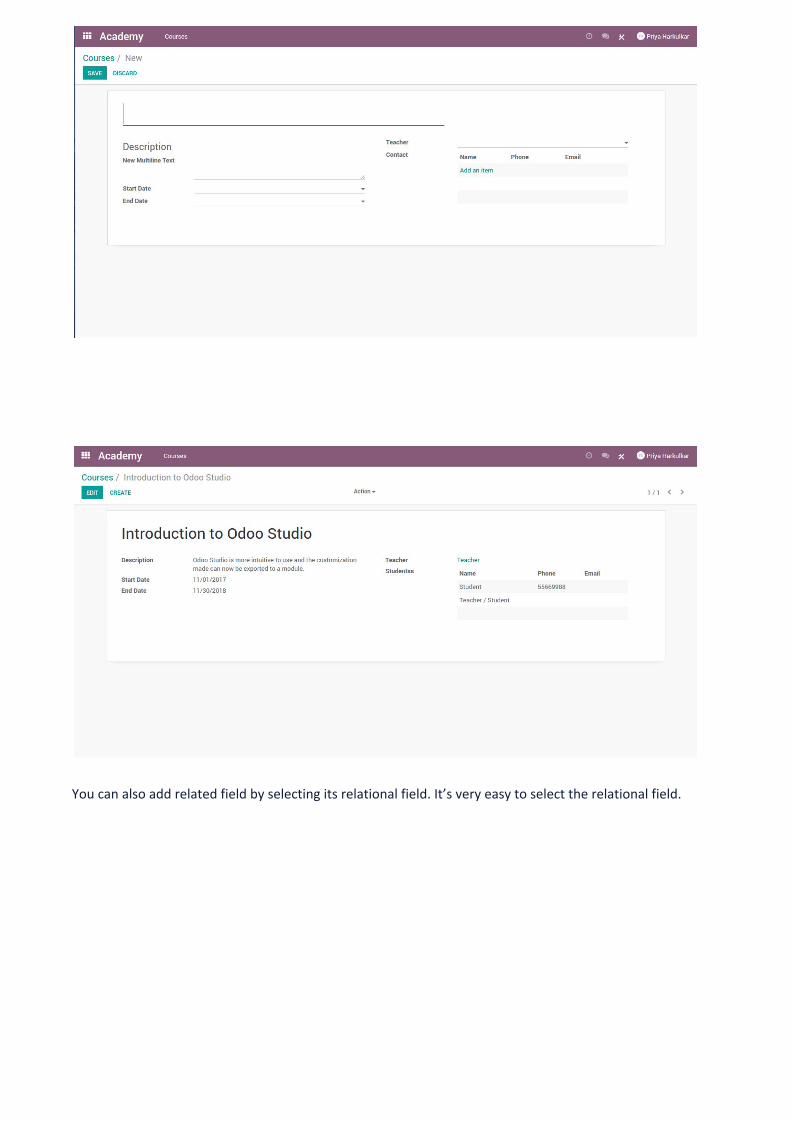
You can also add related field by selecting its relational field. It’s very easy to select the relational field.
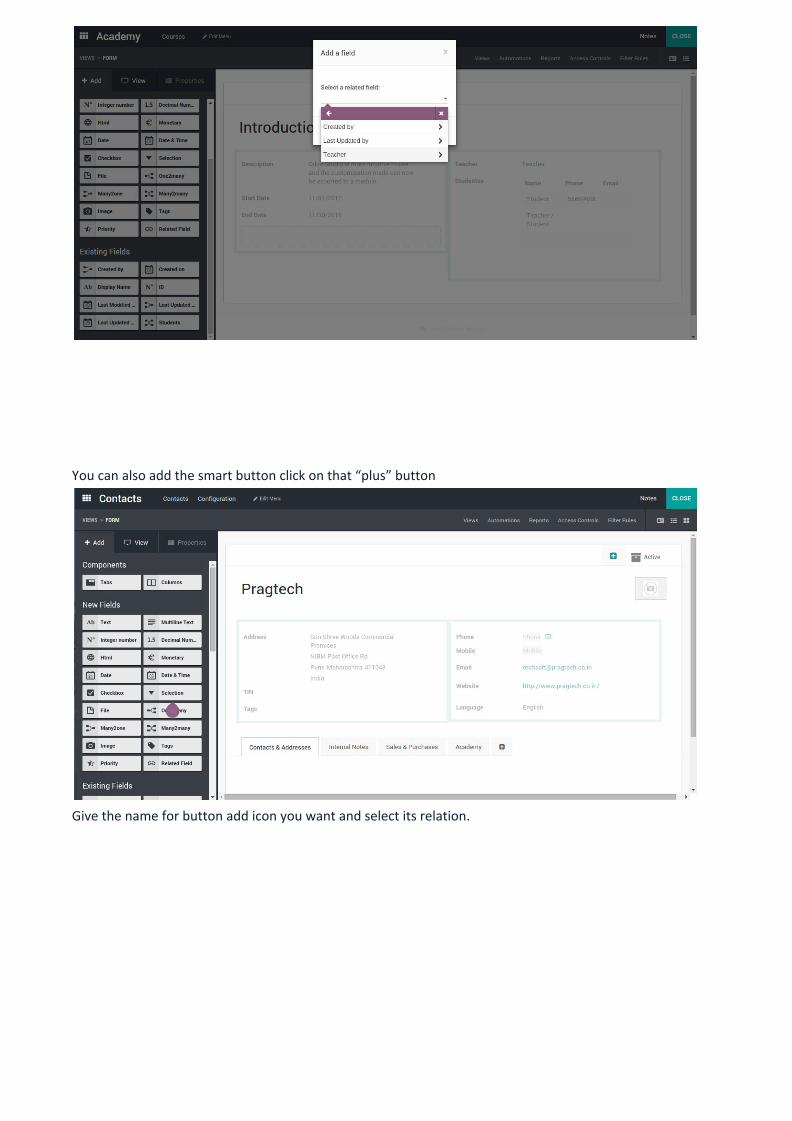
You can also add the smart button click on that “plus” button
Give the name for button add icon you want and select its relation.
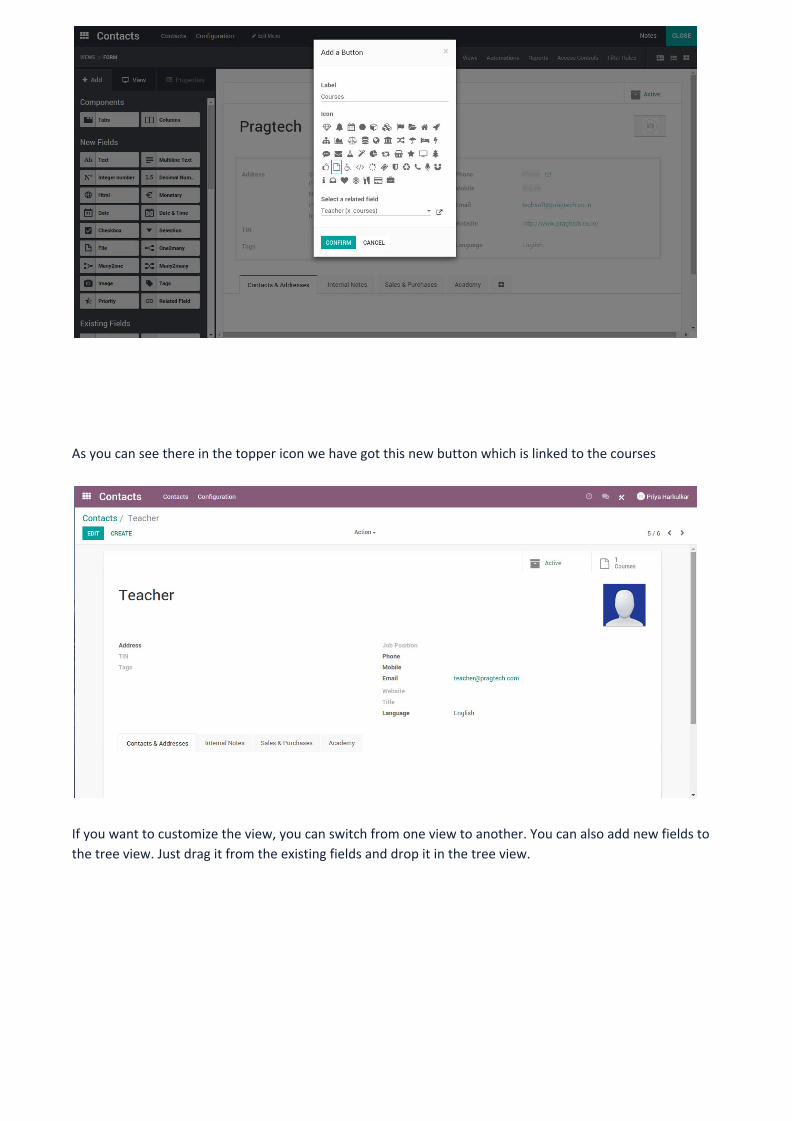
As you can see there in the topper icon we have got this new button which is linked to the courses
If you want to customize the view, you can switch from one view to another. You can also add new fields to
the tree view. Just drag it from the existing fields and drop it in the tree view.
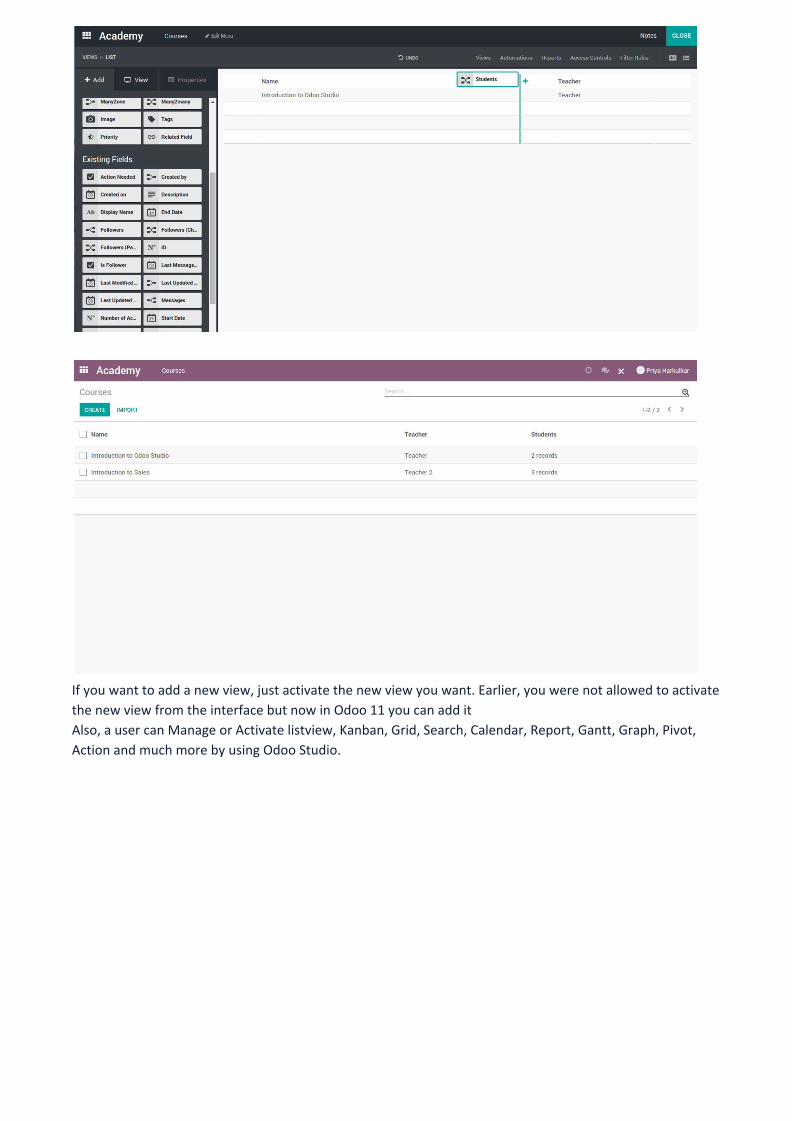
If you want to add a new view, just activate the new view you want. Earlier, you were not allowed to activate
the new view from the interface but now in Odoo 11 you can add it Also, a user can Manage or Activate listview, Kanban, Grid, Search, Calendar, Report, Gantt, Graph, Pivot,
Action and much more by using Odoo Studio.
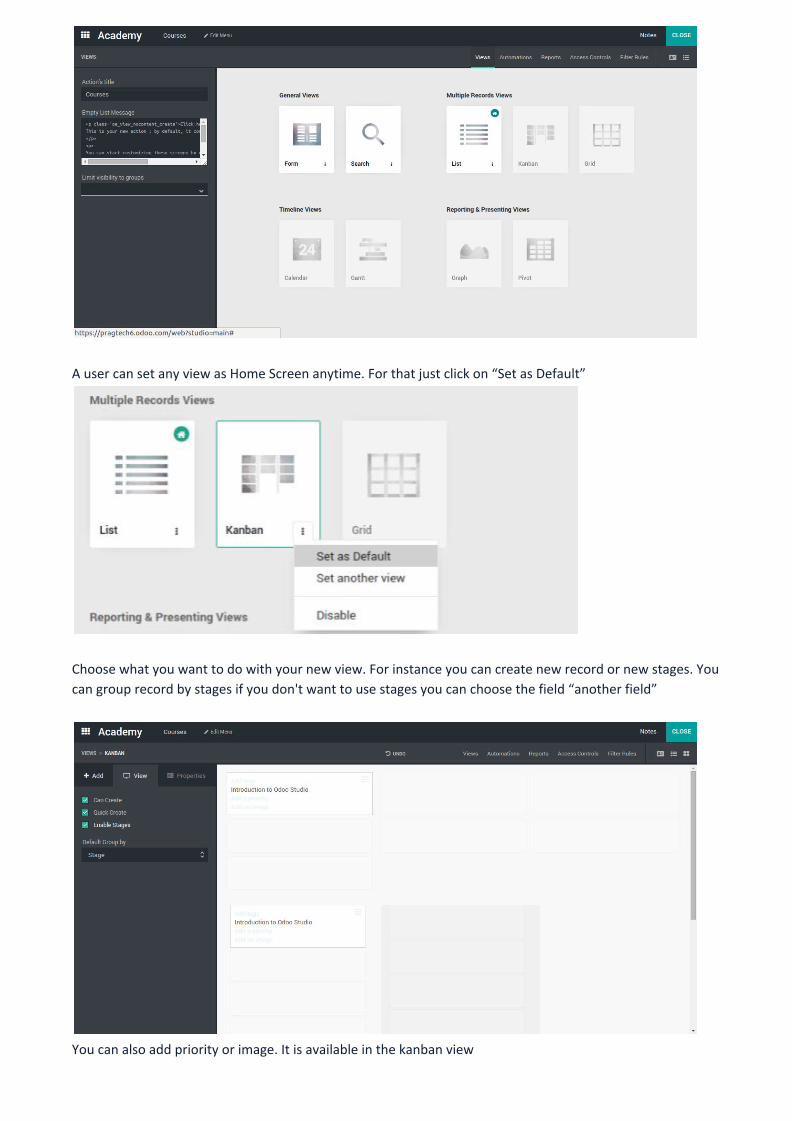
A user can set any view as Home Screen anytime. For that just click on “Set as Default”
Choose what you want to do with your new view. For instance you can create new record or new stages. You
can group record by stages if you don't want to use stages you can choose the field “another field”
You can also add priority or image. It is available in the kanban view

You can also enable sending of email through Odoo studio. For this go to the tab “Automation”; there you can
create automated actions
In the views, you can also change the search view available in the views tab for your custom fields or existing
fields. Search view is used to make filters, group by, and auto complete fields. You can add existing fields and
filter it as you want.
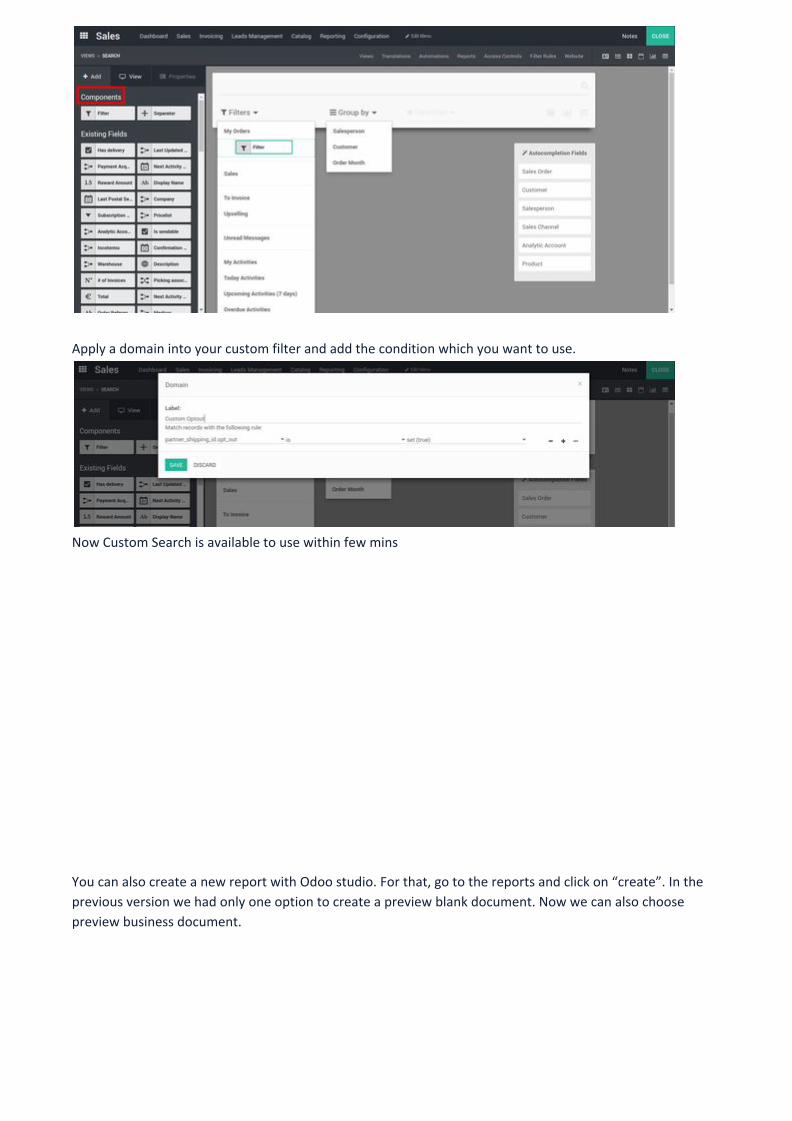
Apply a domain into your custom filter and add the condition which you want to use.
Now Custom Search is available to use within few mins
You can also create a new report with Odoo studio. For that, go to the reports and click on “create”. In the
previous version we had only one option to create a preview blank document. Now we can also choose
preview business document.
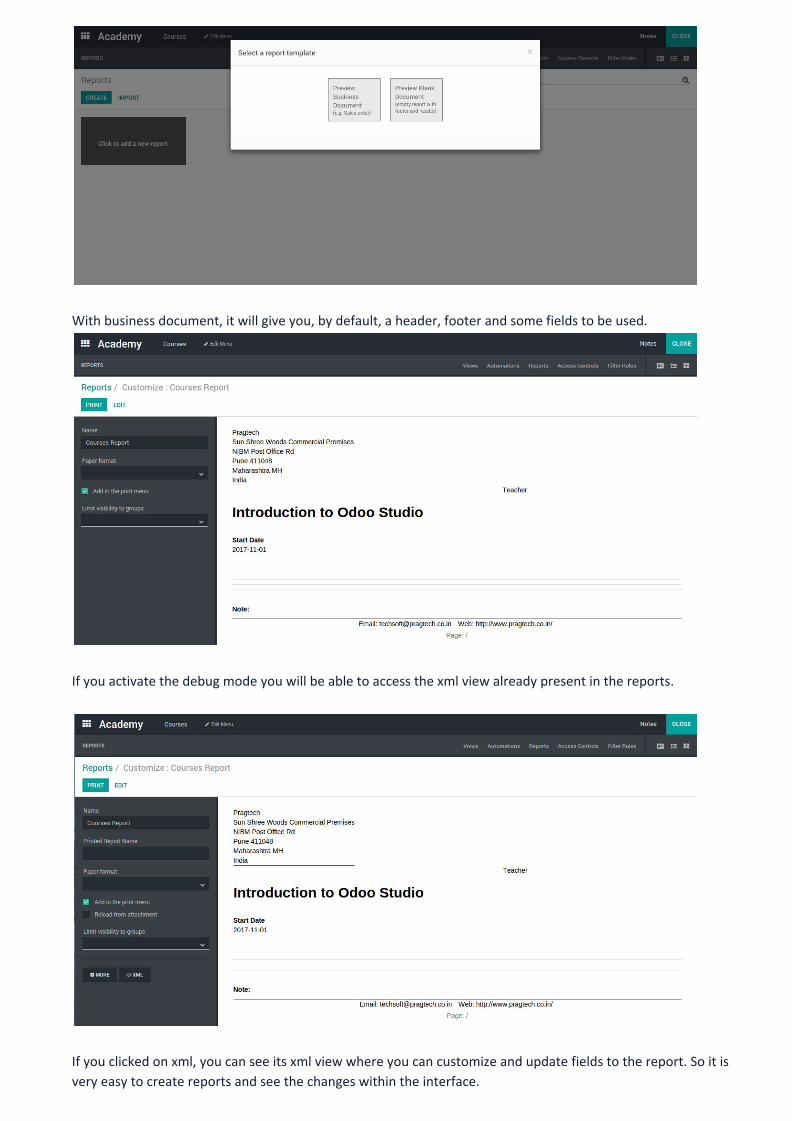
With business document, it will give you, by default, a header, footer and some fields to be used.
If you activate the debug mode you will be able to access the xml view already present in the reports.
If you clicked on xml, you can see its xml view where you can customize and update fields to the report. So it is
very easy to create reports and see the changes within the interface.
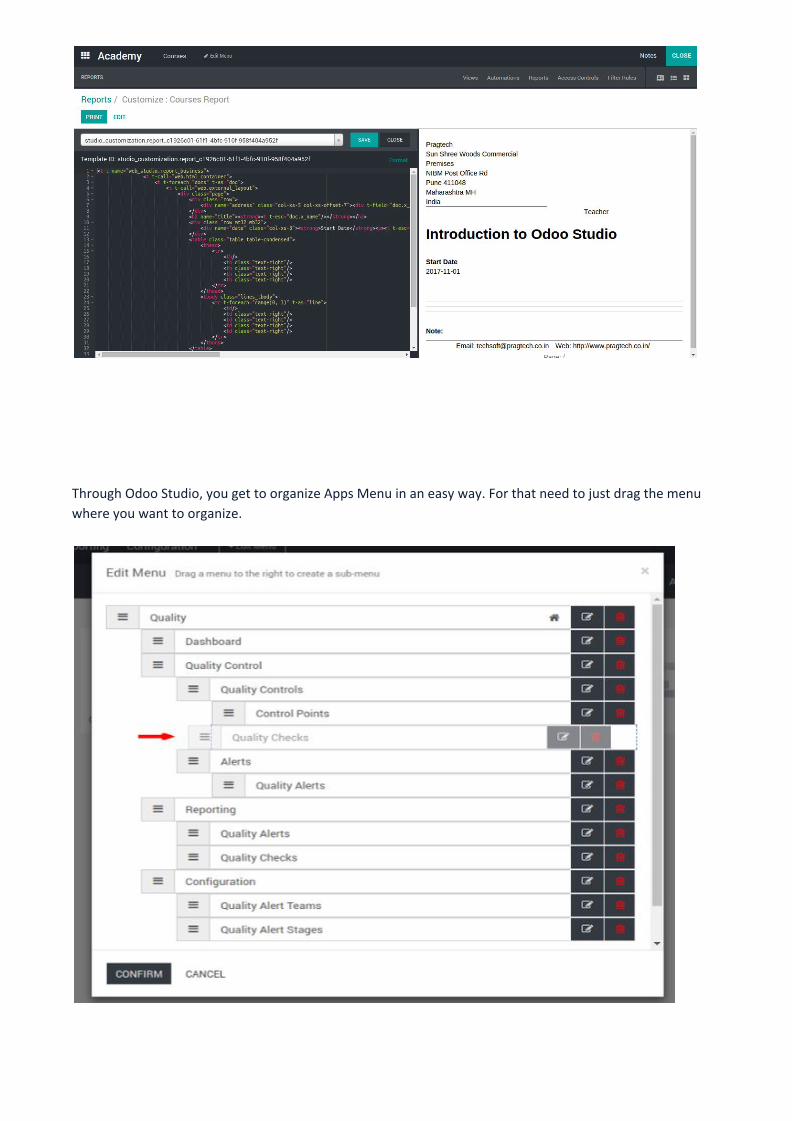
Through Odoo Studio, you get to organize Apps Menu in an easy way. For that need to just drag the menu
where you want to organize.
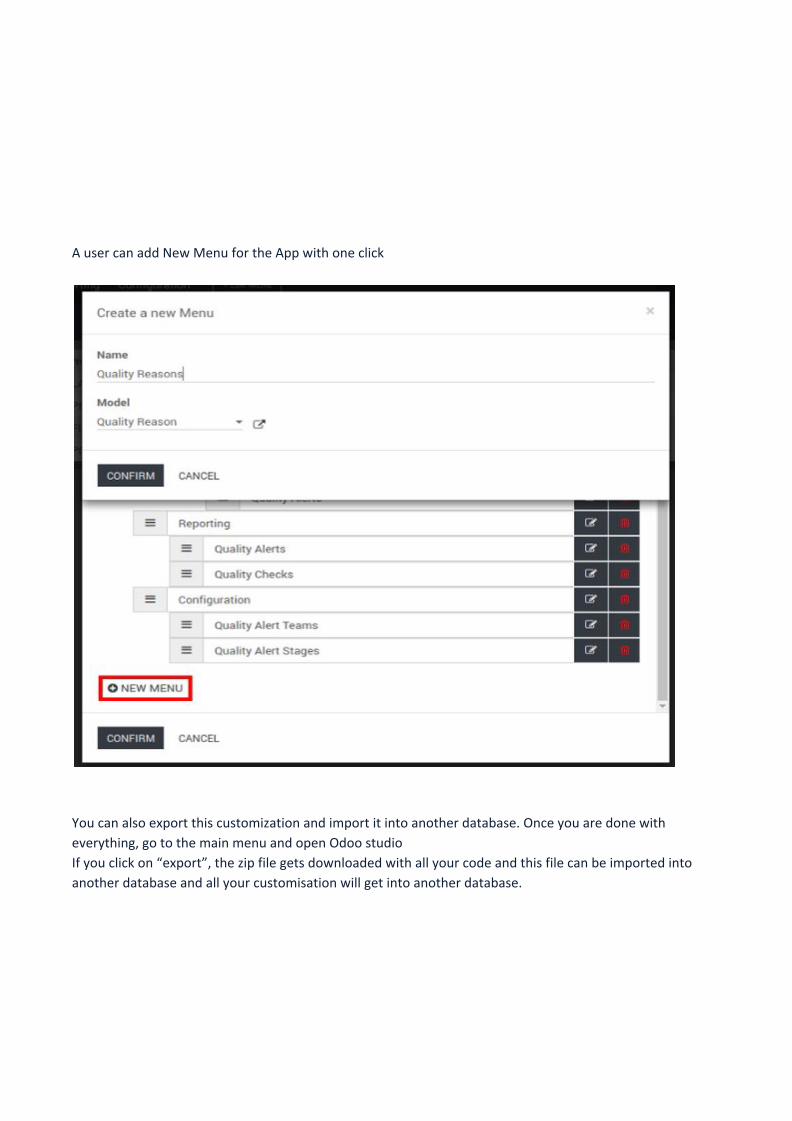
A user can add New Menu for the App with one click
You can also export this customization and import it into another database. Once you are done with
everything, go to the main menu and open Odoo studio
If you click on “export”, the zip file gets downloaded with all your code and this file can be imported into
another database and all your customisation will get into another database.
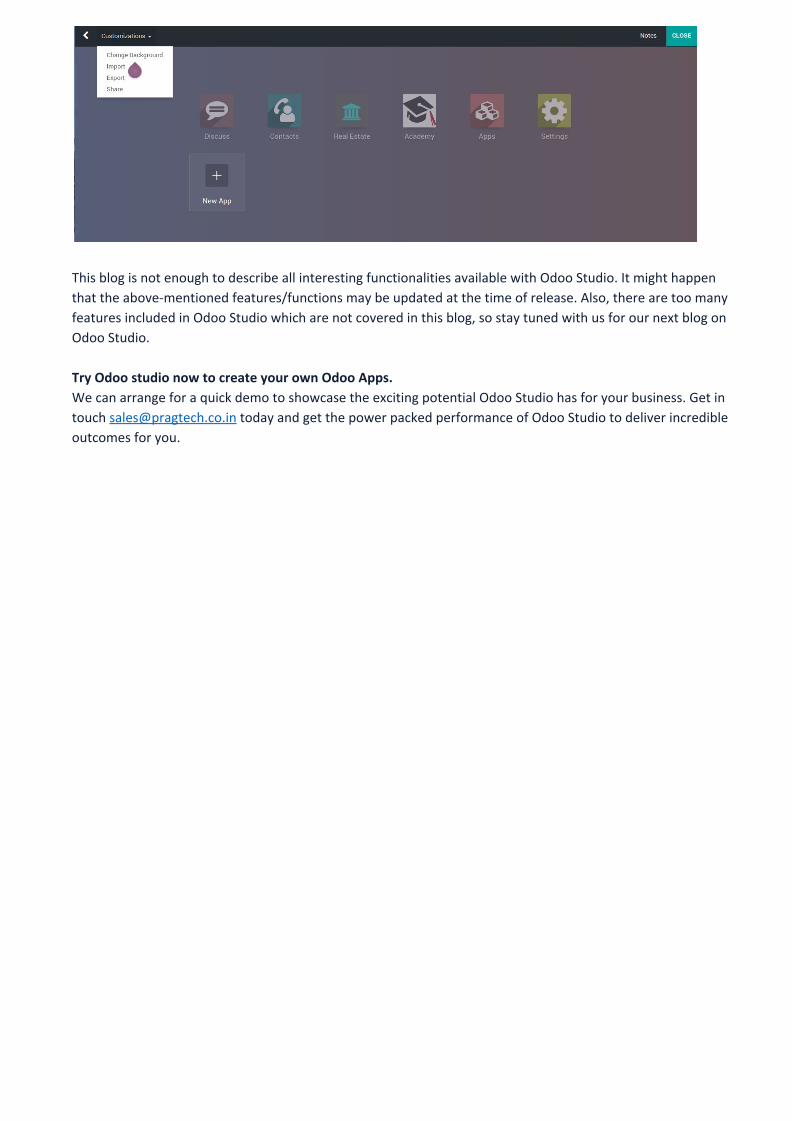
This blog is not enough to describe all interesting functionalities available with Odoo Studio. It might happen
that the above-mentioned features/functions may be updated at the time of release. Also, there are too many
features included in Odoo Studio which are not covered in this blog, so stay tuned with us for our next blog on
Odoo Studio.
Try Odoo studio now to create your own Odoo Apps.
We can arrange for a quick demo to showcase the exciting potential Odoo Studio has for your business. Get in
touch [email protected] today and get the power packed performance of Odoo Studio to deliver incredible
outcomes for you.