automatic payment transactions
TRANSCRIPT
Automatic Payment Transactions Vendor line item entry with payment and printing
In this process, you will complete a payment transaction automatically.
You should first enter some vendor invoices so that there are enough duepayables available in the system. In order to reduce the work you need to do, we have created a CATT (Computer Aided Test Tool) that generates invoices automatically when activated.
Secondly, you will create a payment program and enter the parameters necessary for selecting the items to be paid.
Next, you will execute a payment proposal list and check its log. You will find that some items are blocked for payment. You will need to update the list in order to remove the block.
Later, you will start an actual run. Then you will set the print programso that the payment forms and accompanying payment advice notes and payment summaries are correctly assigned to the payment run. Finally, you will print the payment forms. If you are using North American data, you will then need to analyze the check register.
Because of fundamental differences between payment transactions in Europe and in North America, parts of the last two steps are only relevant for North America and are marked accordingly.
You can find more information about this process under .
Process Flow
You can find the data for this process under .
1. Generating Vendor Invoices2. Additional Information3. Display List of Open Items4. Maintain Payment Program Parameters5. Schedule and Edit a Payment Proposal
6. Schedule Payments7. Configure Print Program8. Printing Payment Forms and Payment Summaries9. List Cleared Items (Europe and North America) and Display Check
Information (North America Only)10. Display Check Register (North America Only)
1. Generating Vendor Invoices Prerequisites
To ensure that due items are available, we have created a CATT which automatically generates invoices and goods receipts in Materials Management.
You can find more information about this process under .
Procedure
1. Call up the transaction as follows:
Menu Path Tools ABAP Workbench Test Test Workbench CATT Extended
Transaction Code SCAT
2. On the Computer Aided Test Tool: Initial Screen, enter the following data:
Field Europe North America
Test case ZIDC0336 ZID30819
Functions Select Select3. Choose .
4. On the CATT: Execute Test Case #### screen, enter the following data:
Settings Europe North America
Log type W/o W/o
Processing mode Background Background
Variants All All5. Choose .
The system displays the message: Document no. #### created.
On the CATT: Execute Test Case #### screen, choose Utilities Logs to display the log. On the CATT - Test Plan Log screen, choose
The program run can take a while. Then, the system displays a log in the form of a report tree. It provides information about the different documents with the accompanied numbers that have been generated: Purchase orders and goods receipts of materials, invoices.
6. Choose until the overview tree appears.
2. Additional Information CATT is an SAP test tool that we also use in IDES for generating data.
You can see the data generated by the CATTs listed below.
Example for Europe:
Altogether, 8 invoices from 4 different vendors are generated in this way in the background. The invoices are as follows:
Vendor 1000: 1 invoice for DEM 92,000 (100 pieces of material DPC 1005/PC parts) 1 invoice for DEM 20,700 (100 pieces of material DPC 1006/PC parts)
Vendor 1001: 1 invoice for DEM 575 (100 pieces of material 100-430/lantern ring) and 1 invoice for DEM 230 (100 pieces of material 100-431/washer)
Vendor 1002: 1 invoice for DEM 11,270 (100 pieces of material 100-130/screw) 1 invoice for DEM 36,800 (100 pieces of material 100-300/shaft)
Vendor 1003: 1 invoice for DEM 1,150 (100 pieces of material 100-110/slug) 1 invoice for DEM 5,175 (100 pieces of material 100-120/flat gasket)
Vendor 1005: 1 invoice for DEM 5,520 (100 pieces of material 100-110/slug) 1 invoice for DEM 27,600 (100 pieces of material 100-120/flat gasket)
No goods receipts have been posted for vendor 1005. Therefore, theinvoice is initially blocked for payment.
Example for North America:
Altogether, 4 invoices from 4 different vendors are generated in this way in the background. The invoices are as follows:
Vendor 3000: 1 invoice for USD 1,200 (100 pieces of material 100-120/flat gasket)
Vendor 3100: 1 invoice for USD 40 (100 pieces of material 100-130/hexagon head screw)
Vendor 3705: 1 invoice for USD 2,000 (100 pieces of material 1300-320/HD handle bar without crook lock)
In this case, the supplier number (3705) is different from the vendor number (3715). This does not really affect the process, though.
Vendor 3725: 1 invoice for USD 99,500 (100 pieces of material M-25/NEC Multisync XV15)
No goods receipts have been posted for vendor 3100. Therefore, theinvoice is initially blocked for payment.
3. Display List of Open Items Use
The following transaction enables you to look at the invoices in Financial Accounting. Two variants have been defined for this transaction: For company code 1000 the variant "accounts payable paymentprogram Europe" (1000, 1001, 1002, 1003, 1005) and for company code 3000the variant "accounts payable payment program" USA (3000, 3100, 3715, 3725).
Procedure
1. Call up the transaction as follows:
Menu Path Accounting Financial Accounting Accounts Payable Account Display/change line items
Transaction Code FBL1N2. On the Vendor Line Item Display screen, choose .3. The system displays a dialog box: Select
either KRED.EUROPA or KRED.USA and then choose .
You return to the first selection screen.
4. Choose .
The system displays the line item list. The system displays additional information pertaining to payment conditions for each invoice. The payment date is the latest date by which the payment has to be made in order to benefit from the highest level of cash discount.
5. Double-click on the first document of the following vendor to view the vendor line items:
Field Europe North America
Vendor 1001 3000
Where nothing is entered in the Pmnt block field the invoice can be paid.
If the field contains an "R", this means that another user has already processed the document. Choose another document.
6. From the Display Document: Line Item 001 screen, choose Environment Original Document.
The system displays an overview of the invoice in Materials Management with information on material, quantities, and gross invoice amount.
7. To display the purchase order history, position your cursor on thepurchase order number and choose PO history.
The system branches to the Order History for Purchase Order #### Item #### screen. Both a goods receipt and an invoice receipt have beenposted for the purchase order in Materials Management.
This transaction permits you to document the data that you generated using CATT. In the real world, an employee in Materials Management would have created the purchase order, the goods receipt, and the invoice receipt.
8. Choose until you reach the Vendor Line Item Display screen.9. Double click on a line item for the following vendor:
Field Europe North America
Vendor 1005 3100
As in the first example, the system provides you with an overview of the invoice items. On this occasion, the letter "R" is in the Pmnt block field.
This means that the invoice is blocked for payment. The block indicator "R" indicates an invoice verification block in MaterialsManagement. A block can be set here for different reasons, such asdiscrepancies between the purchase order quantity and the quantityof delivered goods.
10. On the Display Document: Line Item 001 screen, choose Environment Original Document.
The system displays an overview of the invoice in Materials Management with information on material, quantities, and gross invoice amount.
11. Position the cursor on the purchase order number and choose PO history to display the purchase order history.
In contrast to the first example, only the invoice has been postedhere. The ordered goods have not yet been delivered. For this reason, the system has blocked the invoice.
The block can either be removed automatically when the goods receipt has been posted, or the indicator can be manually removed by someone working in Financial Accounting or Materials Management.
12. Choose until the overview tree appears.
4. Maintain Payment Program Parameters Use
You need to identify a payment run with a name. Then you have to determine the company codes and vendors for which you want to trigger the payment program. The date of the next payment run is also important for deciding whether to pay with cash discount or to pay net. Once this
has been done, a payment proposal list can be automatically generated according to the terms of payment in the documents.
Procedure
1. Call up the transaction as follows:
Menu Path Accounting Financial Accounting Accounts Payable Periodic Processing Payments
Transaction Code F110
2. On the Automatic Payment Transactions: Status screen, enter the following data:
Field Europe North America
Run date Today’s date + 10 days Today’s date + 10 days
Identification Any 5-character identifier
Any 5-character identifier
3. Choose .
The system displays the status No parameters entered as yet.
4. Choose the Parameter tab page.5. On the Automatic Payment Transactions: Parameters screen, enter the
following data:
Field Europe North America
Company codes 1000 3000
Pmnt meths SU (S=Check, U=Transfer)
C (Check)
Next p/date Today’s date + 30 days Today’s date + 30 days
Vendor (from/to) 1000 to 1005 3000 to 3725
If more than one person has been working with this vendor, more items may be selected in the payment proposal list in addition to those seen in the previous transaction.
The system checks the due dates of all items for the vendors you selected for payment processing. With reference to the date of thenext payment run, the system decides which items are to be paid sothat no discount is lost.
6. Choose the Additional Log tab page. (This is used to evaluate the payment run).
7. Select Due date check, Payment method selection in all cases, and Line items of the payment documents.
8. Enter the following data:
Field Europe North America
Vendors from/to 1000 to 1005 3000 to 37259. Choose .10. Choose .11. Choose the Status tab page.
On the Automatic Payment Transactions: Status screen, the status is Parameters have been entered.
12. Remain on this screen.
5. Schedule and Edit a Payment Proposal Use
The payment proposal list allows you to execute a test run of your payments. You will be able to see which items are planned to be paid,
and which are blocked for payment. From this listing, you can then blockitems that were originally planned to be paid and unblock items that were originally blocked. When you execute the payment program it will use this proposal as its basis.
Procedure
1. On the Automatic Payment Transactions: Status screen, choose Proposal.2. Enter the following data:
Field Data
Start date Today’s date3. Choose Start immediately.4. Choose .
The status on the Automatic Payment Transactions: Status screen now reads Proposal is ready to be started.
5. Choose to refresh the status text. The system now displays the status Payment proposal has been created.
6. Choose Proposal.
The proposal log is used to evaluate the test run. The proposal log helps you determine whether there are any problems with any vendor invoice line items. If there are no problems, the log also displays proposed posting documents that will be generated in the actual payment run.
7. Locate the documents that you posted in the previous processes. Are they all included in the list? If not, can you explain why not?
The system checks the house bank and the payment method for each document and tells you if the payment is possible. If a payment document cannot be generated, the system issues error messages.
It may be that the vendors selected in the parameters cannot be cleared. The payment proposal list will tell you that the vendor is blocked by another payment proposal list. This means that another user is trying to run the process at the same time.
If this is the case, you will first need to delete the generated payment proposal list and then the parameters. Wait until the other user has finished with the process, and then start again from the beginning.
8. Choose Job log Print list.9. On the Print Screen List screen, enter the following
data:
Field Data
Output device Your printer10. Select Print immediately, then choose Continue.11. Now go and fetch your printed list from the printer.
Two of the invoices that you generated using CATT are blocked for payment with the block key R (invoice verification). The reason for this is that while invoices were indeed posted, no goods receipts have been posted. The blocked invoices are from the following vendor:
Field Europe North America
Vendor 1005 3100
It is possible that other invoices will be marked with block key Rand so cannot be paid. These invoices have been entered by other IDES users and are included when the payment proposal list is generated.
12. Choose until the Automatic Payment Transactions: Status screen appears.
13. Choose Proposal.14. Select All accounting clerks and then choose .
The list on the Edit Payment Proposal: Payments screen contains two types of lines.
The majority contains an amount and information about the vendor and the house banks. The amount corresponds to the sum total of all the given vendor’s invoices that are paid by the given house bank.
The other lines are exception lines. Exceptions are items which are blocked or contain errors and which cannot be cleared of this reason.
15. Double-click on the exceptions for the following vendor:
Field Europe North America
Vendor 1005 3100
On the Edit Payment Proposal: Open Items screen, the system displays a list of blocked invoices.
16. Select one of the invoices generated in step 1 (last and last but one line in the list) and choose Change.
17. Delete the entry "R" in the Payment block field. Then choose Reallocate.
18. Enter the following data:
Field Europe North America
Pyt meth. S (Check) C (Check)
House bank 1000 3000
Account ID (next to House bank)
1000 3000
19. Confirm your entries with .
The system displays the Edit Payment Proposal: Open Items.
20. Choose .21. Choose until the Automatic Payment Transactions: Status screen
appears.
22. Remain on this screen.
6. Schedule Payments Use
In this step, the system will read your payment proposal and clear the items selected for payment. The items are cleared in accounts payable. The payables are reduced accordingly in the general ledger. Payments areposted to bank sub-accounts for transfers and checks.
Procedure
1. On the Automatic Payment Transactions: Status screen, choose Pmnt run toschedule the payment.
2. Enter the following data in the dialog box:
Field Data
Start date Today’s date3. Select Start immediately.4. Choose .
The status now reads Payment run is ready to be started.
5. Choose and refresh until status Payment run has been carried out appears.
6. Choose Payments to display the payment run log.
The system displays an overview of the documents that have been posted for each vendor.
7. Choose until the Automatic Payment Transactions: Status screen appears.8. Choose Edit Payments Payment list...9. Choose to confirm the program name RFZALI20.
The system displays the list of paid amounts.
The list on the Payment List screen provides you with detailed information on the items that have been paid and on the selected payment methods.
The item that you have released is marked with the code 098 (Item was released later).
10. Choose until the Automatic Payment Transactions: Status screen appears.
11. Remain on this screen.
7. Configure Print Program Use
After posting the payments, you must print the payment media. Since you have specified different payment methods in the payment parameters, the print program requires print variants for the payment media and the payment advice notes.
Procedure
1. On the Automatic Payment Transactions: Status screen, choose the Printout/data medium tab page.
2. On the screen, you see 4 reports for Europe/3 reports for North America. Enter the following data:
Report Variants (Europe) Variants (North America)
RFFOAVIS AVIS ADVICE
RFFOD__S SCHECK Not shown
RFFOD__U UEBERWEIS Not shown
RFFOEDI1 Leave blank Leave blank
RFFOUS_C Not shown CHECK
Report RFFOEDI1 is ignored for the purposes of this demo. RFFOAVIScan be used to print separate payment advice notes if several items are paid at the same time. Based on the current system
settings, however, no separate payment advice notes will be printed. Payment advice notes will be printed with bank transfers.
Report RFFOD_U is used for printing domestic bank transfers, although only for Europe. The checks are printed using report RFFOD_S for Europe, or RFFOUS_C for North America.
3. Now you must actualize the program run date, the payment program name, and the printer in the variants.
Select the variant AVIS (for Europe) or ADVICE (for North America).
4. Choose Maintain variants.5. On the Maintain Variant: Report RFFOAVIS, Variant AVIS (North
America: ADVICE) screen, enter the following data:
Field Europe North America
Program run date Today’s date + 10 days Today’s date + 10 days
Identification feature The 5-character identifier you enteredearlier.
The 5-character identifier you enteredearlier.
Paying company code 1000 3000
Number of sample printouts
Leave blank Leave blank
Messages to printer Name of your printer Name of your printer
Print immediately Select Select6. Choose .
You will schedule the print program in the next transaction. Once the program has run, the forms are printed immediately. There is no sample printout. However, it is usually advisable to save the print request in a spool file and to carry out two sample
printouts so that the printout is set correctly on the forms (checks, bank transfers).
7. Choose until the Automatic Payment Transactions: Printout and DME screen appears.
8. Select SCHECK for Europe and CHECK for North America.9. Choose Maintain variants.10. On the Maintain Variant: Report ####, Variant SCHECK (North America:
CHECK) screen, enter the following data:
Field Europe North America
Program run date Today’s date + 10 days Today’s date + 10 days
Identification feature The 5-character identifier you enteredearlier.
The 5-character identifier you enteredearlier.
Paying company code 1000 3000
Payment methods S C
House bank Leave blank 3000
Account ID Leave blank 3000
Check lot number Not shown 2
Print checks Select Select
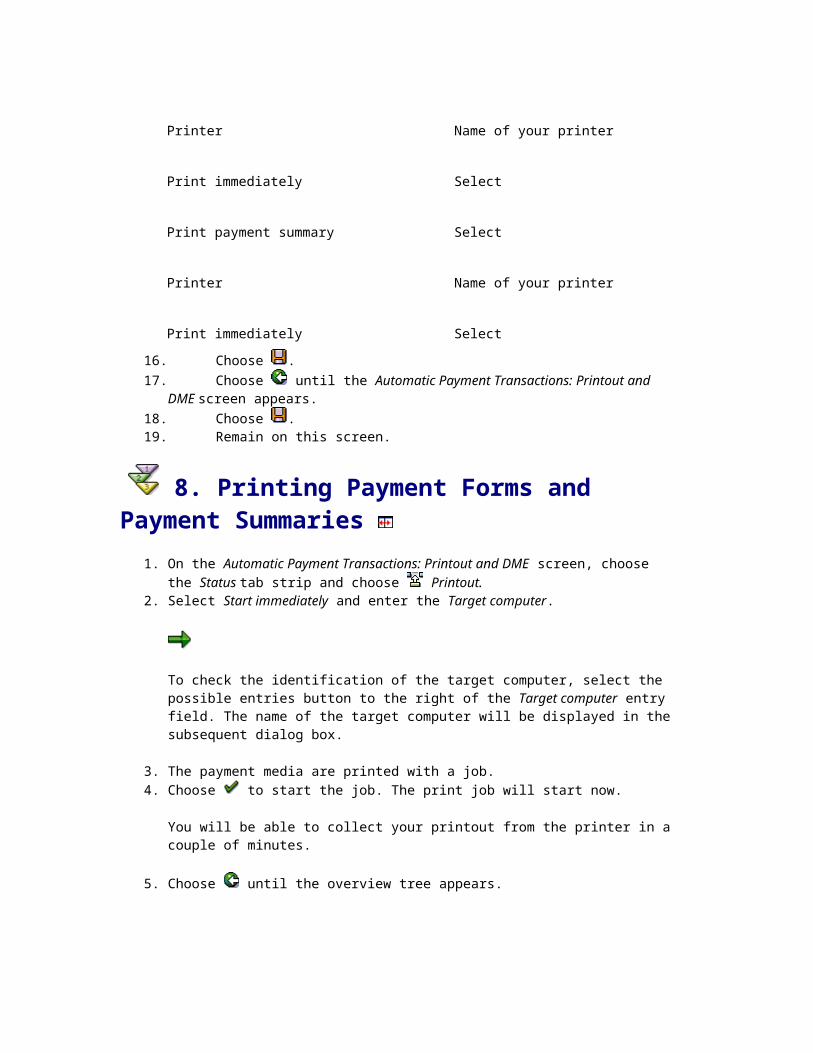
Printer Name of your printer Name of your printer
Print immediately Select Select
Print payment summary Select Select
Printer Name of your printer Name of your printer
Print immediately Select Select
No. of items in payment summary
9999 9999
11. Choose .12. Choose until the Automatic Payment Transactions: Printout and
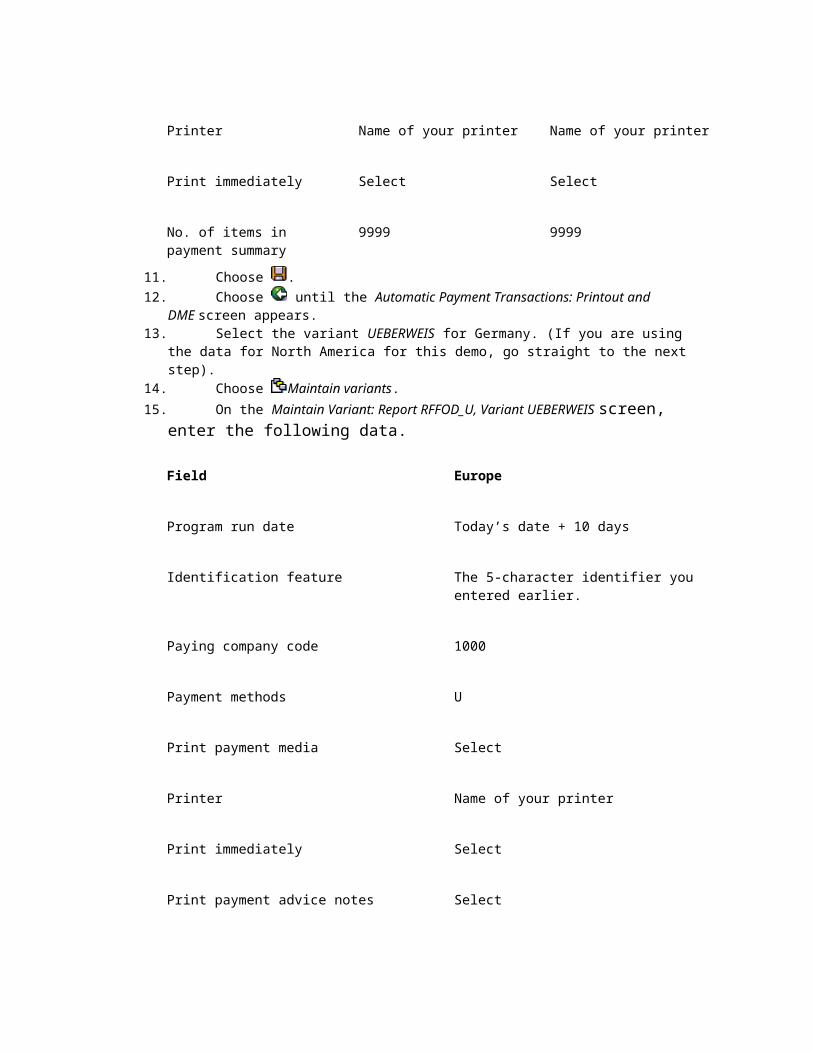
DME screen appears.13. Select the variant UEBERWEIS for Germany. (If you are using
the data for North America for this demo, go straight to the next step).
14. Choose Maintain variants.15. On the Maintain Variant: Report RFFOD_U, Variant UEBERWEIS screen,
enter the following data.
Field Europe
Program run date Today’s date + 10 days
Identification feature The 5-character identifier you entered earlier.
Paying company code 1000
Payment methods U
Print payment media Select
Printer Name of your printer
Print immediately Select
Print payment advice notes Select
Printer Name of your printer
Print immediately Select
Print payment summary Select
Printer Name of your printer
Print immediately Select16. Choose .17. Choose until the Automatic Payment Transactions: Printout and
DME screen appears.18. Choose .19. Remain on this screen.
8. Printing Payment Forms and Payment Summaries
1. On the Automatic Payment Transactions: Printout and DME screen, choose the Status tab strip and choose Printout.
2. Select Start immediately and enter the Target computer.
To check the identification of the target computer, select the possible entries button to the right of the Target computer entry field. The name of the target computer will be displayed in the subsequent dialog box.
3. The payment media are printed with a job.4. Choose to start the job. The print job will start now.
You will be able to collect your printout from the printer in a couple of minutes.
5. Choose until the overview tree appears.
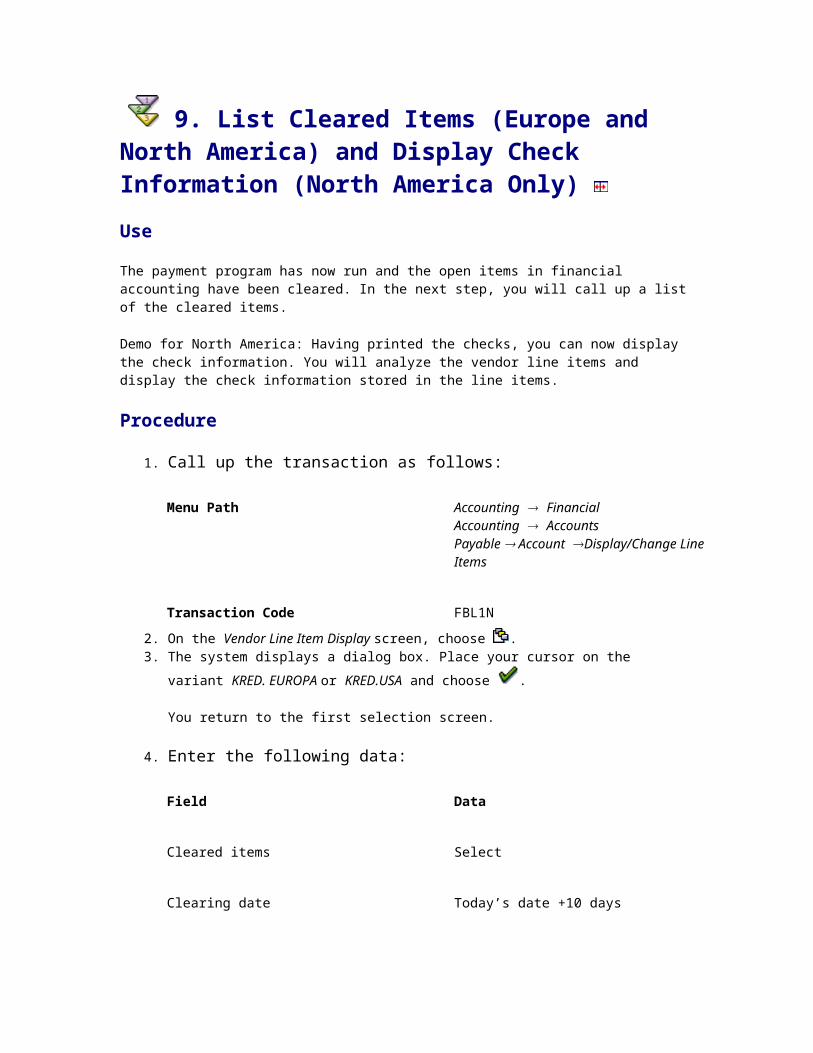
9. List Cleared Items (Europe and North America) and Display Check Information (North America Only) Use
The payment program has now run and the open items in financial accounting have been cleared. In the next step, you will call up a list of the cleared items.
Demo for North America: Having printed the checks, you can now display the check information. You will analyze the vendor line items and display the check information stored in the line items.
Procedure
1. Call up the transaction as follows:
Menu Path Accounting Financial Accounting Accounts Payable Account Display/Change Line Items
Transaction Code FBL1N2. On the Vendor Line Item Display screen, choose .3. The system displays a dialog box. Place your cursor on the
variant KRED. EUROPA or KRED.USA and choose .
You return to the first selection screen.
4. Enter the following data:
Field Data
Cleared items Select
Clearing date Today’s date +10 days

Display variant 1SAP-P5. Choose .
The system displays the line item list. The system displays additional information pertaining to payment conditions for each invoice.
6. Double-click on the first document of the following vendor to display the vendor line item.
Field Europe North America
Vendor 1001 3000
The system displays a document overview for the selected item.
7. From the Display Document: Line Item ... screen, choose Goto Other line item.
8. The Other line item dialog box appears. Enter the following data:
Field Data
Item 0019. Choose .10. From the Display Document: Line Item 001 screen,
choose Environment Payment usage.
The system outputs a list of line items cleared with the payment document on the Line Items for Payment Document: Basic List screen.
11. Choose until the Display Document: Line Item 001 screen appears.
If you are working in the European environment, the process is nowcomplete. If you have been working with the North American companycode 3000, proceed with steps 12 to 21.
12. Choose Goto Other line item.
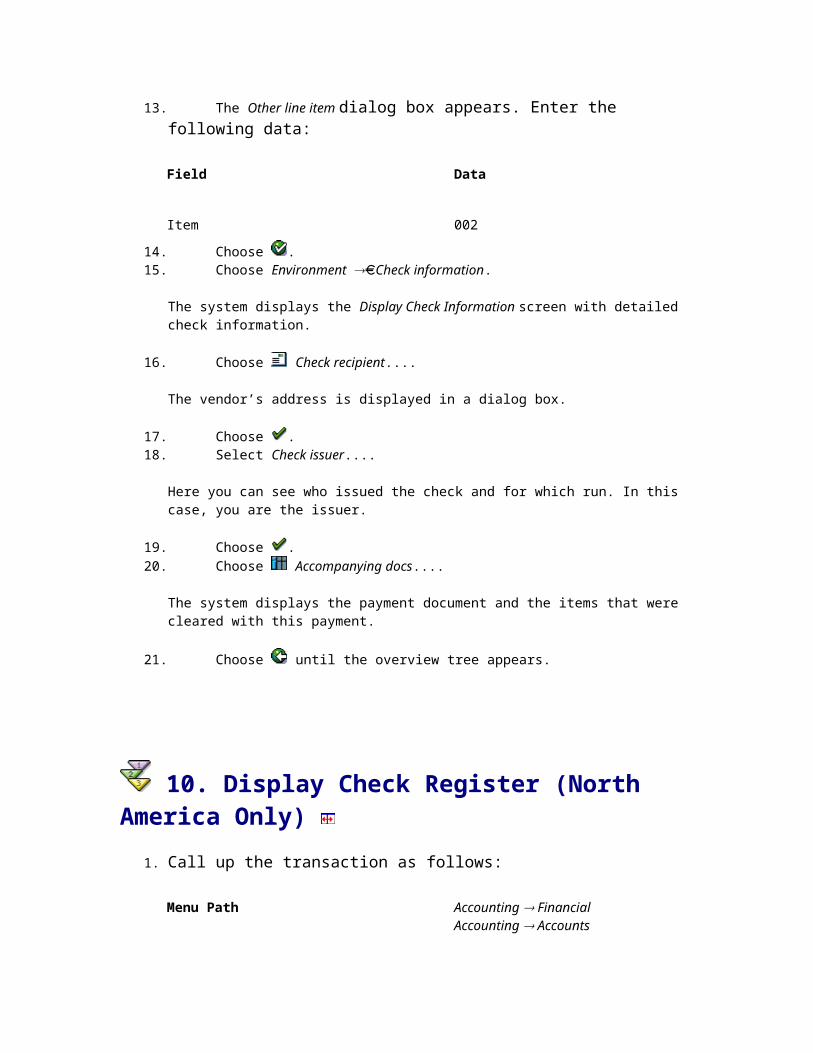
13. The Other line item dialog box appears. Enter the following data:
Field Data
Item 00214. Choose .15. Choose Environment Check information.
The system displays the Display Check Information screen with detailed check information.
16. Choose Check recipient....
The vendor’s address is displayed in a dialog box.
17. Choose .18. Select Check issuer....
Here you can see who issued the check and for which run. In this case, you are the issuer.
19. Choose .20. Choose Accompanying docs....
The system displays the payment document and the items that were cleared with this payment.
21. Choose until the overview tree appears.
10. Display Check Register (North America Only)
1. Call up the transaction as follows:
Menu Path Accounting Financial Accounting Accounts

Payable Environment Check Information Display Check Register
Transaction Code FCHN
2. On the Check Register screen, enter the following data.
Field North America
Paying company code 3000
House bank 30003. Choose the Further selections tab page.4. Enter the following data:
Field North America
Check issuer Your user name5. Choose .
The check register is displayed. The fourth check that you just issued should be at the end of the list.
6. Choose until the overview tree appears.