dedicated to the revival of the “king of crafts” coming...
TRANSCRIPT

Index Executive Reports……………………..…...2,3 Show and tell ……………...……………….4,5 The Science of Sharpening……………….....6-9 Membership……………………..………….10
Vanc
ouve
r Isl
and
Bla
cksm
iths
Dedicated to the revival of the “King of Crafts”
Volume 23 Issue 08 Sept 2009
COMING EVENTS
Sept 12,13 2009……. Clean up at Luxton fairgrounds Sept 18-20 2009…… Luxton Fall Fair Sept 27 2009 ……… Meeting and picnic at Luxton
The above photo shows the CanIRON VII obelisk, erected by the participants of the recently completed Ness Creek Sask. event. Reports suggest it was a very success-ful meeting with 8 demonstrators providing expert instruction in blacksmithing and bladesmithing. We are reaching the end of our busy summer fair schedule, with only the Luxton fall fair ahead. As outlined by President Ray, we all need to come out for the grounds cleanup this weekend (Sept 12,13) to help prepare for the event. Remem-ber we have committed 200 man hours to our landlord and this is their fall fund-raiser. The Metchosin Farmers need our help … and we may spring poor Charlie Low from the North Island Gulag (remember the smithy painting fiasco ...see July 2009 newsletter) if we do a good job. The annual picnic will supplant the next blacksmith meeting on Sunday, Sept 27. As noted by our president, spouses, significant others and other others are welcome to come. Bring a salad or desert to share plus chair and utensils. Beef should be ready by 4:30 PM.
2008 - Executive President::Ray Orchard 250 478-9839 V P: Marty Gilbertson 250 646-2334 Secretary: Charlie Low 250 479-6712 Treasurer: Norm Norby 250 478-3589
Librarian: Skip Kennedy 250 478-8172
Editor:Dennis Gillett Publishing Info: "Forge" is published monthly by and for members of the Vancouver Is-land Blacksmith Assoc. General Correspondence for VIBA: 1040 Marwood Ave, Victoria, BC, V9C 3C4. (or directly to appropriate executive member) Permission granted for repro-duction of any part of "Forge" provided credit is given to the original source, and the item is not marked 'copyright' or spe-cifically stated to be for the sole use of "Forge". Unless other-wise stated, the editors are the authors of all material. Dis-claimer Notice: "Forge" makes every effort to ensure accuracy of the information contained therein, but the executive offi-cers & general membership of the Vancouver Island Black-smith Association including the editors, specifically disclaim any responsibility or liability for damages or injuries as a result of any construction de-sign, use or application of infor-mation contained in this news-letter. The use of any informa-tion is solely at the user's own risk.
Submissions & Contributions Submissions to “Forge” can be made at any monthly meeting or by snail mail to:
VIBA - The Editor 1040 Marwood Avenue
Victoria, BC Canada V9C 3C4
OR Email: [email protected]
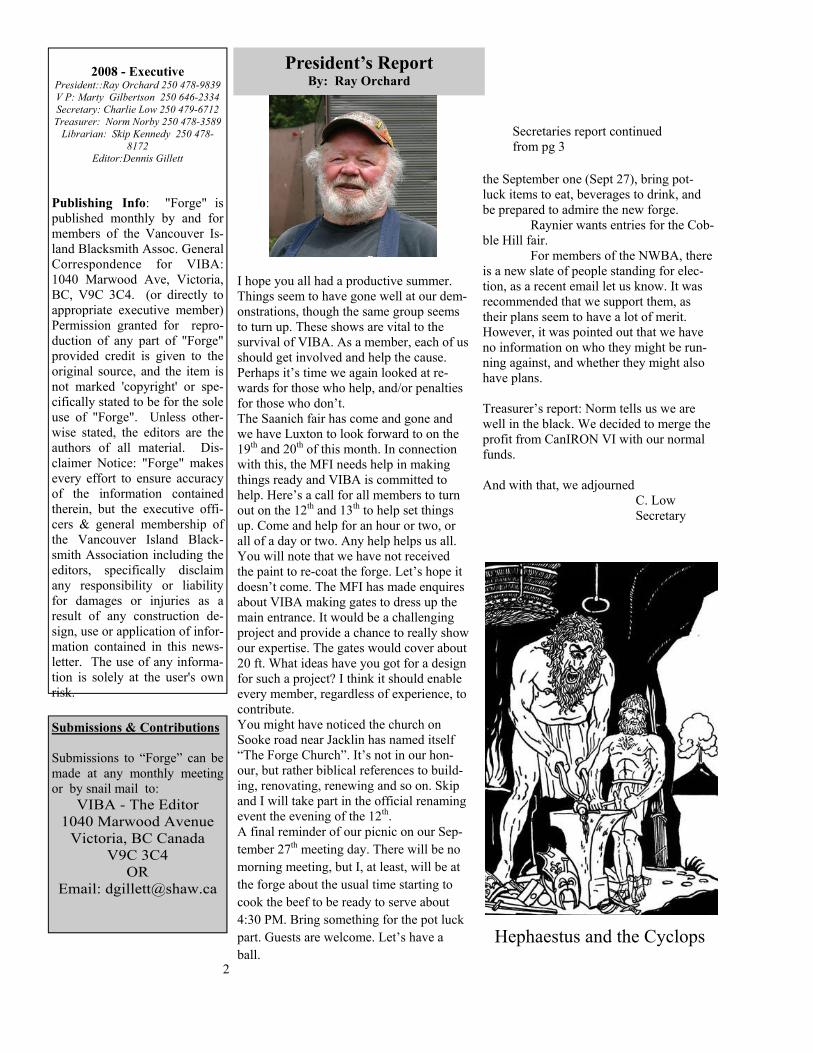
President’s Report By: Ray Orchard
2
I hope you all had a productive summer. Things seem to have gone well at our dem-onstrations, though the same group seems to turn up. These shows are vital to the survival of VIBA. As a member, each of us should get involved and help the cause. Perhaps it’s time we again looked at re-wards for those who help, and/or penalties for those who don’t. The Saanich fair has come and gone and we have Luxton to look forward to on the 19th and 20th of this month. In connection with this, the MFI needs help in making things ready and VIBA is committed to help. Here’s a call for all members to turn out on the 12th and 13th to help set things up. Come and help for an hour or two, or all of a day or two. Any help helps us all. You will note that we have not received the paint to re-coat the forge. Let’s hope it doesn’t come. The MFI has made enquires about VIBA making gates to dress up the main entrance. It would be a challenging project and provide a chance to really show our expertise. The gates would cover about 20 ft. What ideas have you got for a design for such a project? I think it should enable every member, regardless of experience, to contribute. You might have noticed the church on Sooke road near Jacklin has named itself “The Forge Church”. It’s not in our hon-our, but rather biblical references to build-ing, renovating, renewing and so on. Skip and I will take part in the official renaming event the evening of the 12th. A final reminder of our picnic on our Sep-tember 27th meeting day. There will be no morning meeting, but I, at least, will be at the forge about the usual time starting to cook the beef to be ready to serve about 4:30 PM. Bring something for the pot luck part. Guests are welcome. Let’s have a ball.
the September one (Sept 27), bring pot-luck items to eat, beverages to drink, and be prepared to admire the new forge. Raynier wants entries for the Cob-ble Hill fair. For members of the NWBA, there is a new slate of people standing for elec-tion, as a recent email let us know. It was recommended that we support them, as their plans seem to have a lot of merit. However, it was pointed out that we have no information on who they might be run-ning against, and whether they might also have plans. Treasurer’s report: Norm tells us we are well in the black. We decided to merge the profit from CanIRON VI with our normal funds. And with that, we adjourned C. Low Secretary
Secretaries report continued from pg 3
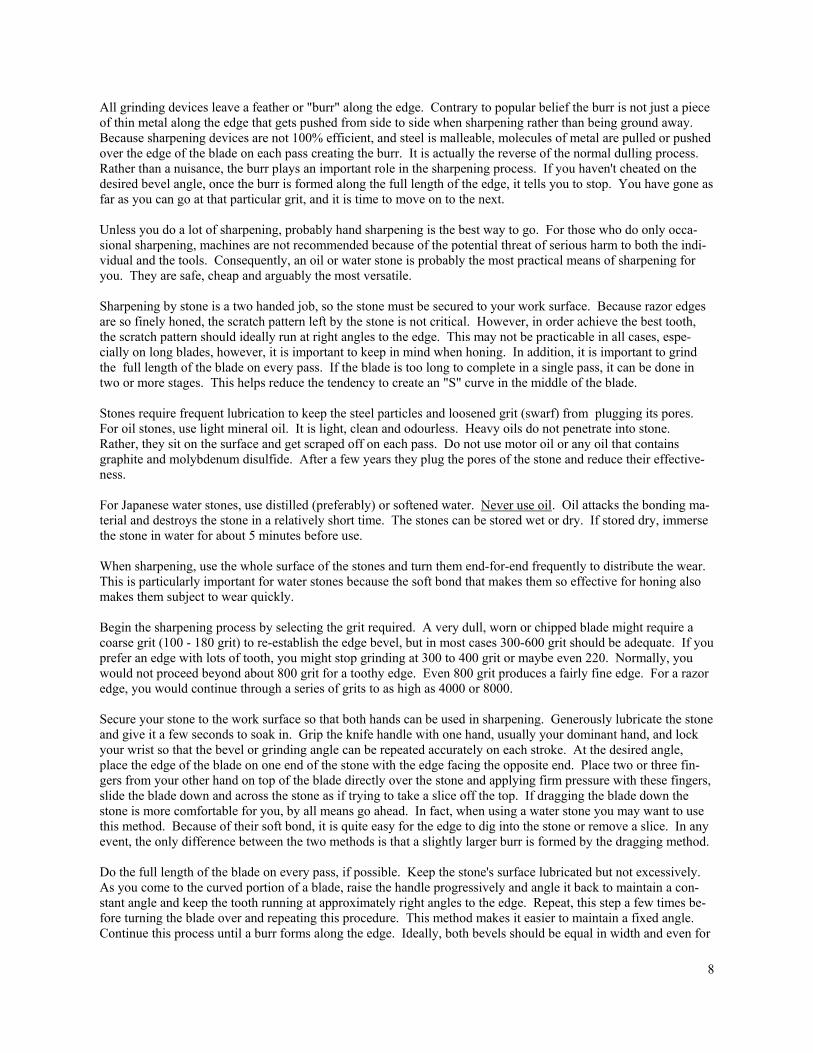
Hephaestus and the Cyclops

Secretary’s Report By: Charlie Low
Viba Jul 26 09 Show and Tell: Charlie L brought in 2 tirlings. These look like a door handle, and could indeed be used that way, but their primary purpose is similar to a door knocker. The tirling pin is run up and down the main tirling, and when attached to a door, makes a real racket. He also brought in 9 crooked knives, with various degrees of curvature. The blades were made from an old lawn mower blade, and were shaped, ground, oil quenched and tempered in a 500 degree oven before being mounted in the handles with hot glue. The ferrules are ¾ inch PVC. Dr Dave brought in 2 coat hooks, with the wall mount part in the shape of fish, so they are identi-fied as fish hooks, and about a dozen key chain fobs, also in the shape of fish. These are steelheads. Dave learned to make these from Chris Waters at the Calgary Stampede. If people want to get in touch with Chris, he is at Chinook Country Forge, Ste 113, Box 12, RR3, Sundre AB TO1 1X0. Marty brought in a set of bathroom fixtures, all made in the image of tree snakes. There was a towel rack, a wash cloth hanger and a toilet roll holder. Sadly his wife, who is not a snake person won’t let him install them in their house. Benoit brought in a finial, carved from a piece of 1 inch square stock, with about 4 inches cut into quarters, opened and twisted, and the top 8 inches or so also cut into quarters, and then curved back down in a series of complex, and identical curves. The cuts were made hot with a hammer and chisel Dennis brought in a Damascus knife, made of L6 and 1075 steels. The handle was Cocobolo. The butt end contained a button compass, which had a small problem. When a compass is next to some steel, it will not work, so he cleverly made the compass detachable, and when if it’s a foot or two from the knife, it will show you magnetic north quite nicely. The sheath is also a nice thing, with tooled leather, and a Velcro strap holding the knife in the sheath The minutes were adopted as published in the Forge.
Business arising: Painting the shop: Our agree-ment with the MFI is that they will provide the correct colour of paint and when they do we will apply it. We are considering a request from the MFI to build them a better gate for the main entrance to the fair-grounds. Our agreement with them commits us to 200 man hours of work a year. The gate would probably eat up enough man hours to put us ahead for years. However, it could be a really interesting thing to build, with lots of scope for artistic license. Unlike the Charles Ball fence, where we were duplicating exactly an existing pattern, this would allow us to make it up as we go along, an alto-gether easier construction technique. It was suggested that Charlie L contact Glen Closson about what requirements we would have to meet, including legal, structural, instal-lation problems, and probable costs. We will also need some design ideas, so we have a rough idea of what steel MFI should buy for us. The power hammer has been unwell for a while. Benoit has been working on it, and had the motor fixed up, but it still has problems. Raynier will look at the wir-ing, but the working hypothesis at the moment is that the hammer is underpowered, that the 2 hp motor we have is simply not up to the job of running the hammer. Benoit has also constructed a set of legs for the platen, so as soon as we lift the platen up and slide the legs under it, we will have a platen table, rather than a platen floor. The switch that controls the hydraulics which raise the flaps of the Flying Forge has a right place and a wrong place to attach it- and while it will work attached to the wrong place, the whole switch and the wiring at-tached to it get really hot. We recommended that it be made idiot proof, and the switch be hard-wired to the hydraulics, in the right place. Both Norm and Raynier have membership lists. Raynier will compare them, forward the edited list to our editor, and an up-to-date membership list will be included with the next issue of the forge. New Business: Dr Dave is in charge of the Coombs Fair, and is desperately in need of worker bees to man (or “person”) the flying forge, especially as we have raised our appearance fee this year. The problem is that most of the usual suspects will be at CanIRON Vll. Coombs is about the best of the fairs for just plain being fun, you can camp on site, there is a pub across the street, and it is a splendid chance at a learning experience, so anyone who can come out for the weekend of Aug 8-9, please get in touch with Dr Dave at 250 598 9377 Dr Dave has a very fancy new propane forge that he just built, cheap to run, hot enough to weld with, and with no blower. He will be demonstrating it at the September meeting, which is also the barbecue so re-member, there will not be a meeting in August, and for
3 Continued pg 2

Show and Tell Photos by D Gillett
Dave’s fish hooks and fish key rings
Charlie’s carving knives and door tirlings
4

Marty’s tree snake bathroom fixtures
Benoit’s fancy finial
Dennis’ Damascus knife
5

6
The Science of Sharpening August 2009 Most of you have experienced the pleasure of using a well sharpened tool. Like most things, sharpening is easy when you know what to do. Unfortunately, in spite of a vast amount of information on "how to" sharpen tools, there remains a great deal of confusion and uncertainty surrounding the proper way to accomplish it. That confu-sion is not surprising when you consider how much of the information is vague, incomplete and often wrong. Instead of just adding to the list of "how to" information, this will focus more on the "science of sharpening"— what is happening and why. With this knowledge and a little practice, you will be able to sharpen almost any edged tool quickly, easily and confidently. In order to understand sharpening, there are a few things you have to know. First, "What is sharp?" What we need is a working definition that can be used as a common reference for all edged tools. The definition I prefer is that "sharp is when the two sides of the edge meet at a point with zero width." That is as good as you can get any edge. Sharp, however, refers only to the edge condition. Using the definition above, that means that an axe, for chopping wood, or a cold chisel, for shearing metal, can be as sharp as a doctor's scalpel. However, we know that neither cuts like a scalpel. The ease of cutting or "cut-ability" that we associate with the doctors' scalpel is only partly dependent upon the condition of the edge. The larger bevel angles on an axe or a cold chisel create more resistance in its attempt to part the material being cut whereas the acute bevel on the scalpel causes virtually no resistance at all. Therefore, how well a blade cuts depends upon a combination of edge condition and edge bevel. Another factor that you have to be aware of is that there are two types of edges; the straight or razor edge and the serrated edge. Everyone is familiar with a razor edge. However, the serrations I am referring to here are not the large scalloped edges that are normally associated with bread knives, for in practice, each of those scallops or flutes is sharpened individually in the same way that a straight edge is sharpened. Instead, I am talking about mi-cro-serrations or the "tooth" that forms on the edge when honing with coarser grits. Tooth is a good description, for if you looked at the edge under a microscope, it would look like a series of fine saw teeth. That is important because a razor edge is not appropriate for all types of cutting. Kitchen knives, butcher knives, camp knives and any tools meant to slice fibrous materials such as rope, meat, vegetables, bread, etc. needs tooth to cut efficiently. Whereas, tools designed for shearing cuts such as wood chisels, razors and scalpels etc. require a more finely honed smooth edge. Both edges are produced by the same process. To produce the micro-serrations you stop hon-ing before getting to the very fine grits. There are two angles commonly referred to when sharpening that may cause some confusion. The first is the grinding angle, often mistakenly referred to as the micro bevel—that is the blade to stone angle on one side of the edge. The second is the edge bevel or "included angle"—that is the sum of the two grinding angles or it includes both bevel angles, hence "included angle". The included angle is normally given when referring to the edge but not always. Now, if there is any secret to successful sharpening, and there isn't, it would be to maintain a consistent bevel angle through every step in the sharpening process. As testament to its significance, a large industry has grown with all means of devices developed to help maintain the desired angle fool proof. Maintaining a consistent angle, while not absolutely necessary, should be strived for because it minimizes the amount of metal that must be removed to achieve the desired edge. This not only reduces the amount of time and effort necessary to achieve the desired edge but also prolongs the life of the tool. In other words, it is the most efficient means to produce a sharp edge. The actual working angle for each tool is open to debate. Because of differences in the characteristics of steels, in their design, and in the way different people use tools, there is no "correct" angle. Nevertheless, as a rule of thumb, the "ideal" angle for any tool is the smallest edge bevel that will provide a durable edge for the tool's in-tended use. The following list of common sharpening angles will make the effects of angles, edges, cut-ability and durability more apparent.
Wayne Hamilton was a presenter at CanIRON VII on various knifemaking topics. He gave two heat treating demos as well as a presentation on sharpening knives. He is an expert Knifemaker and member of the Saskatchewan Knifemak-ers Guild. Here is a text copy of his sharpening presentation

scalpels 8 razor blades 10 straight razor 12 utility blades 15 carver's draw knife (wood with no knots) 15-18 paring chisels 15-20 filleting & paring knives 17-20 felling axe & draw knives 20-25 kitchen, hunting & camp knives, & wood chisels 20-30 block plane blades 25 hand plane blades (bevel down) 30-35 mortising chisels 35 cleavers, survival, and special forces knives 35-45 utility axes 45-50 splitting maul (not important) 50-60 cold chisels 70-80
In addition to the specific angles recommended for each tool, what else does the chart tell us? To begin with, you can readily see that cut-ability decreases as the angle increases. Next, the edges become stronger as the angle increases. Then, if you draw a line between hand planes and mortising chisels, I call the tools above the line (smaller angles) "slicers and dicers" and those below the line "hackers and whackers." Generally speaking, the slicers and dicers are honed to a finer edge than the hackers and whackers. The edges on the hackers and whackers depend more on durability than sharpness. In practical use over many years, the angles above have been found to be effective. Nonetheless, they are only suggestions and may have to be adjusted to suit the individual. Consequently, when a tool stops cutting efficiently, especially if it fails prematurely, rather than just re- sharpening it at the same angle, check to see if you can determine why it quit cutting, then adjust the edge bevel accordingly. Edges dull in four ways: 1.0 Misuse (not the same as abuse) - refers to the consequences of using the tool for something it was not sharp-ened for. This usually results in edge folding or crumbling and indicates a need to replace the cutting surface or to increase the edge bevel to increase its strength and durability. i.e. glass, ceramic dishes and other hard cutting surfaces are death on fine edges. 2.0 Mechanical action - because all steels are malleable, even hardened steels, molecules of metal are pulled away from the edge during normal use causing the edge to thicken. This is normal dulling. 3.0 Abrasive action - cutting abrasive material, such as cardboard and paper or recycled wood, wears away the metal at the edge, just as in sharpening, but because the edge is the thinnest part the consequences are most appar-ent there. 4.0 Chemical action - metal is eaten away by corrosion and acids etc. Again the edge is most vulnerable because it is the thinnest part of the blade. Blades require proper cleaning and care after use, if they are to maintain their edge for a reasonable length of time. Even stainless steel blades are susceptible to corrosion. To prolong the use-able life of the edges, ensure that blades are cleaned and stored properly after use.
- corrosion (rust) i.e. salt water. - acids i.e. cutting citrus fruits, storing blades in leather sheaths or even worse
Angle
7
All grinding devices leave a feather or "burr" along the edge. Contrary to popular belief the burr is not just a piece of thin metal along the edge that gets pushed from side to side when sharpening rather than being ground away. Because sharpening devices are not 100% efficient, and steel is malleable, molecules of metal are pulled or pushed over the edge of the blade on each pass creating the burr. It is actually the reverse of the normal dulling process. Rather than a nuisance, the burr plays an important role in the sharpening process. If you haven't cheated on the desired bevel angle, once the burr is formed along the full length of the edge, it tells you to stop. You have gone as far as you can go at that particular grit, and it is time to move on to the next. Unless you do a lot of sharpening, probably hand sharpening is the best way to go. For those who do only occa-sional sharpening, machines are not recommended because of the potential threat of serious harm to both the indi-vidual and the tools. Consequently, an oil or water stone is probably the most practical means of sharpening for you. They are safe, cheap and arguably the most versatile. Sharpening by stone is a two handed job, so the stone must be secured to your work surface. Because razor edges are so finely honed, the scratch pattern left by the stone is not critical. However, in order achieve the best tooth, the scratch pattern should ideally run at right angles to the edge. This may not be practicable in all cases, espe-cially on long blades, however, it is important to keep in mind when honing. In addition, it is important to grind the full length of the blade on every pass. If the blade is too long to complete in a single pass, it can be done in two or more stages. This helps reduce the tendency to create an "S" curve in the middle of the blade. Stones require frequent lubrication to keep the steel particles and loosened grit (swarf) from plugging its pores. For oil stones, use light mineral oil. It is light, clean and odourless. Heavy oils do not penetrate into stone. Rather, they sit on the surface and get scraped off on each pass. Do not use motor oil or any oil that contains graphite and molybdenum disulfide. After a few years they plug the pores of the stone and reduce their effective-ness. For Japanese water stones, use distilled (preferably) or softened water. Never use oil. Oil attacks the bonding ma-terial and destroys the stone in a relatively short time. The stones can be stored wet or dry. If stored dry, immerse the stone in water for about 5 minutes before use. When sharpening, use the whole surface of the stones and turn them end-for-end frequently to distribute the wear. This is particularly important for water stones because the soft bond that makes them so effective for honing also makes them subject to wear quickly. Begin the sharpening process by selecting the grit required. A very dull, worn or chipped blade might require a coarse grit (100 - 180 grit) to re-establish the edge bevel, but in most cases 300-600 grit should be adequate. If you prefer an edge with lots of tooth, you might stop grinding at 300 to 400 grit or maybe even 220. Normally, you would not proceed beyond about 800 grit for a toothy edge. Even 800 grit produces a fairly fine edge. For a razor edge, you would continue through a series of grits to as high as 4000 or 8000. Secure your stone to the work surface so that both hands can be used in sharpening. Generously lubricate the stone and give it a few seconds to soak in. Grip the knife handle with one hand, usually your dominant hand, and lock your wrist so that the bevel or grinding angle can be repeated accurately on each stroke. At the desired angle, place the edge of the blade on one end of the stone with the edge facing the opposite end. Place two or three fin-gers from your other hand on top of the blade directly over the stone and applying firm pressure with these fingers, slide the blade down and across the stone as if trying to take a slice off the top. If dragging the blade down the stone is more comfortable for you, by all means go ahead. In fact, when using a water stone you may want to use this method. Because of their soft bond, it is quite easy for the edge to dig into the stone or remove a slice. In any event, the only difference between the two methods is that a slightly larger burr is formed by the dragging method. Do the full length of the blade on every pass, if possible. Keep the stone's surface lubricated but not excessively. As you come to the curved portion of a blade, raise the handle progressively and angle it back to maintain a con-stant angle and keep the tooth running at approximately right angles to the edge. Repeat, this step a few times be-fore turning the blade over and repeating this procedure. This method makes it easier to maintain a fixed angle. Continue this process until a burr forms along the edge. Ideally, both bevels should be equal in width and even for
8

the full length of the blade and all the grind marks should run at right angles to the edge. To check for the burr run your finger or thumb across the edge from the back of the blade, not into nor along the edge. If you have diffi-culty feeling the burr, which often occurs with very fine grits, dry your fingers. They are more sensitive. When everything meets your satisfaction, move onto the next grit and repeat through all the grinding stages. As previously mentioned, all grits produce a burr. After completing the last stage, the burr must be removed to achieve maximum sharpness. Because it is attached to the edge, it has thickness. Therefore, by our definition, the edge is not sharp. Various sources recommend four ways to remove the burr: 1) drawing the edge through a hard-wood block a few times, 2) drawing the edge through a lead block, 3) using a power buffer and 4) hand stropping. The hardwood block method just tears the burr off, leaving a ragged, thick edge that dulls quickly. The lead block tears the burr off as well, but also burnishes the edge somewhat, so it is marginally better. The power buffer does an effective job very quickly, however it is not recommended unless you are very familiar with a buffer. Besides being considered the most dangerous tool in a knifemaker's shop, it removes the burr so quickly that there is a strong likelihood of over-buffing and actually taking the edge off. In most cases hand stropping with a leather or wood strop charged with a honing compound (i.e. chromium oxide) easily removes the burr in very few strokes. For most people hand stropping is by far the most effective and safest way to remove a burr or finish a razor edge. Using a modern strop properly is similar to the honing process. While maintaining the same grinding angle, apply sufficient pressure on the blade to produce a slight depression where the edge contacts the strop. Then drag the blade along the strop away from the edge (not a cutting action). When you reach the end of the strop, turn the blade over and drag it back. The burr causes a scratch pattern on the strop that can readily be seen, if you orient your strop so that light is reflected off its surface. Continue stropping until both sides produce a continuous shinny surface on the strop and the burr has disappeared. In the proper light, you can see the burr popping off and laying on the surface of the strop. Brush the detached pieces off and continue stropping until all of the burr comes off, then give the edge a couple more swipes on each side, then stop. Your tool is as sharp as you can get it. Clean up the blade and it is ready to use. Any stubborn remains of the chromium oxide can easily be removed with mineral spirits and if the tool will be used in the preparation of food, wash it with soap and water. For toothed edges the strop is only used to remove the burr. Excessive stropping not only begins to smooth out the micro-teeth but, because the strop actually wraps over edge, it will begin to dull it too. For a razor edge, the strop is not only used to remove the burr but also to smooth and polish the edge. A strop can also be used for minor touch-ups between sharpenings where you want to move molecules back to the edge. However, always keep in mind that over stropping will take an edge off. In the case of knives, a sharpening steel should be used to dress the edge between sharpenings. Again, maintaining the original sharpening angle as best you can. In time, stones become hollow from wear and no longer sharpen properly. When that happens, they can be trued up. Moderately worn stones can be flattened by rubbing them in a coarse powdered carborundum, (around a 100 grit lapping compound) on a flat surface lubricated appropriately with oil or soapy water. A piece of plate glass works fine for a flat surface. A diamond stone may also be used. A piece of 100 grit embedded in a water stone is easily seen and can be picked out. This flattening method works well for water stones, but not so well for badly worn oil stones. Using powdered carborundum is a slow process and it along with diamond stones wear the sur-face smooth rather than exposing fresh sharp grit, as they do with water stones. To expose fresh grit after flatten-ing the carborundum stone, lightly sandblast its surface. That's all there is to sharpening. You should now have a good understanding of the sharpening process, what you are trying to achieve, and what to expect. With this information, you should have little trouble sharpening almost any tool. However, don't believe a word that I've told you. Rather, take this information and prove it to yourself. Wayne Hamilton
9

Vancouver Island Blacksmith Association Membership Application
Name: ______________________________ Address: ____________________________ City: __________ Prov./State: __________ Post/Zip Code: _______________________ Email: ______________________________ Phone: (_____) _______________________ Fax: (_____) _________________________ Are you a: New Member [ ] Renewal [ ] [ ] Regular Membership $30.00 Annually [ ] Contributory Member $100.00 Annually Members are required to sign a Liability Waiver Make cheques or money orders payable to:
Vancouver Island Blacksmith Assoc. (VIBA) 1040 Marwood Avenue Victoria, BC CANADA
V9C 3C4
Artist Blacksmiths Assoc. of North America Membership Application
Name: ________________________________ Address: ______________________________ City: ______________ State/Prov.: _______ Zip/Postal Code: _______________________ Phone: (_____) ________________________ Fax: (_____) __________________________ [ ] Full Time Student……….........….$35./year [ ] Regular Membership….........…….$45./year [ ] Senior Citizen (age 65+)…........…$40./year [ ] Overseas Surface Mail….......……$60./year [ ] Oversea Air Mail............................$80./year [ ] Contributory Membership............$100./year [ ] Public Library Subscription...........$35./year
Credit Card Payment Card No. _______________________
[ ] Visa [ ] Mastercard Expiry Date: ____________________ Signature: ______________________ by Phone: 703-680-1632 Mail: ABANA, 15754 Widewater Dr Dumfries, VA, USA, 22025-1212 Email: [email protected]
10