better reference the original webpage :
TRANSCRIPT

Building your first app
Better reference the original webpage httpdeveloperandroidcomtrainingbasicsfirstappindexhtml
Download the Android SDK httpdeveloperandroidcomsdkindexhtml
Install the ADT plugin for Eclipse (if yoursquoll use the Eclipse IDE)
Eclipse download httpeclipseorgmobile
Basic Requirements
ADT plugin downlaod Start Eclipse then select Help gt Install New Software Click Add in the top-right corner In the Add Repository dialog that appears enter ADT Plugin for
the Name and the following URL for the Locationhttpsdl-sslgooglecomandroideclipse
Click OKIf you have trouble acquiring the plugin try using http in the Location URL instead of https (https is preferred for security reasons)
In the Available Software dialog select the checkbox next to Developer Tools and click Next
In the next window youll see a list of the tools to be downloaded Click Next
Read and accept the license agreements then click FinishIf you get a security warning saying that the authenticity or validity of the software cant be established click OK
When the installation completes restart Eclipse
Basic Requirements(contrsquod)
Download the latest SDK tools and platforms using the SDK Manager
Basic Requirements(contrsquod)
Click New in the toolbarIn the window that appears open
the Android folder select Android Application Project and click Next
Fill in the form that appearsApplication Name Project Name Package NameMinimum Required SDK Target SDK Compile With Theme then click Nextselect BlankActivity and click Nextclick Finish
Create an Android project
AndroidManifestxml have ltuses-sdkgt element
src have includes an Activity class
res have app resources with is something like
drawable-hdpi layout values
Important checking
Plug in your device to your development machine with a USB cable(install the appropriate USB driver for your device if needed)
Enable USB debugging on your device(On Android 40 and newer its in Settings gt Developer options)
Run in Eclipse1click Run from the toolbar2 In the Run as window that appears
select Android Application and click OK
Run on a Real Device
Launch the Android Virtual Device ManagerIn Eclipse click Android Virtual Device Manager from the toolbar
In the Android Virtual Device Manager panel click New
Fill in the details for the AVD Click Create AVDSelect the new AVD from the Android Virtual
Device Manager and click StartAfter the emulator boots up unlock the
emulator screen
Run on emulator
Run in Eclipse1click Run from the toolbar2 In the Run as window that appears
select Android Application and click OK
Run on emulator(contrsquod)
The graphical user interface for an Android app is built using a hierarchy of View and ViewGroup objects
View objects are usually UI widgets such as buttons or text fields
ViewGroup objects are invisible view containers that define how the child views are laid out such as in a grid or a vertical list
Building a Simple User Interface
Open the activity_mainxml file from the reslayout directoryFirst delete the ltTextViewgt element and change the lt
RelativeLayoutgt element to ltLinearLayoutgt Then add the androidorientation attribute and set it to horizontal
Add a Text Field-To create a user-editable text field add an ltEditTextgt element inside the ltLinearLayoutgt The result looks like this
ltxml version=10 encoding=utf-8gtltLinearLayout xmlnsandroid=httpschemasandroidcomapkresandroid xmlnstools=httpschemasandroidcomtools androidlayout_width=match_parent androidlayout_height=match_parent androidorientation=horizontal gtltLinearLayoutgt
Create a Linear Layout
To create a user-editable text field add an ltEditTextgt element inside the ltLinearLayoutgt
Add a Text Field
By default your Android project includes a string resource file at resvaluesstringsxml Add a new string named edit_message and set the value to Enter a messageldquo
While yoursquore in this file also add a Send string for the button yoursquoll soon add called button_send
The result for stringsxml looks like thisltxml version=10 encoding=utf-8gt
ltresourcesgt ltstring name=app_namegtMy First Appltstringgt ltstring name=edit_messagegtEnter a messageltstringgt ltstring name=button_sendgtSendltstringgt ltstring name=menu_settingsgtSettingsltstringgt ltstring name=title_activity_maingtMainActivityltstringgtltresourcesgt
Add String Resources
Now add a ltButtongt to the layout immediately following the ltEditTextgt element
ltButton androidlayout_width=wrap_content androidlayout_height=wrap_content androidtext=stringbutton_send gt
The height and width are set to wrap_content so the button is only as big as necessary to fit the buttons text This button doesnt need the androidid attribute because it wont be referenced from the activity code
Add a Button
Respond to the Send ButtonTo respond to the buttons on-click event open
theactivity_mainxml layout file and add theandroidonClick attribute to the ltButtongt element
ltButton androidlayout_width=wrap_content androidlayout_height=wrap_content androidtext=stringbutton_send androidonClick=sendMessage gt
The androidonClick attributersquos value sendMessage is the name of a method in your activity that the system calls when the user clicks the button
Starting Another Activity
Intent represents an apprsquos intent to do something You can use intents for a wide variety of tasks but most often theyrsquore used to start another activity
Inside the sendMessage() method create an Intent to start an activity called DisplayMessageActivity
Intent intent = new Intent(this DisplayMessageActivityclass)
Build an Intent
The constructor used here takes two parameters
A Context as its first parameter (this is used because the Activity class is a subclass of Context)
The Class of the app component to which the system should deliver the Intent (in this case the activity that should be started)
Build an Intent(contrsquod)
An intent not only allows you to start another activity but it can carry a bundle of data to the activity as well Inside thesendMessage() method use findViewById() to get theEditText element and add its text value to the intent
Intent intent = new Intent(this DisplayMessageActivityclass)EditText editText = (EditText) findViewById(Ridedit_message)String message = editTextgetText()toString()intentputExtra(EXTRA_MESSAGE message)
Build an Intent(contrsquod)
To start an activity call startActivity() and pass it your Intent The system receives this call and starts an instance of the Activity specified by the Intent
With this new code the complete sendMessage() method thats invoked by the Send button now looks like this
Called when the user clicks the Send button public void sendMessage(View view) Intent intent = new Intent(this DisplayMessageActivityclass) EditText editText = (EditText) findViewById(Ridedit_message) String message = editTextgetText()toString() intentputExtra(EXTRA_MESSAGE message) startActivity(intent)
Now you need to create the DisplayMessageActivity class in order for this to work
Start the Second Activity
Click New in the toolbarIn the window that appears open theAndroid folder
and select Android Activity Click NextSelect BlankActivity and click NextFill in the activity detailsProject MyFirstAppActivity Name DisplayMessageActivityLayout Name activity_display_messageTitle My MessageHierarchial Parent
comexamplemyfirstappMainActivityNavigation Type NoneClick Finish
Create the Second Activity
Every Activity is invoked by an Intent regardless of how the user navigated there You can get the Intentthat started your activity by calling getIntent() and retrieve the data contained within it
In the DisplayMessageActivity classrsquos onCreate() method get the intent and extract the message delivered by MainActivity
Intent intent = getIntent()String message = intentgetStringExtra(MainActivityEXTRA_MESSAGE)
Receive the Intent
To show the message on the screen create a TextView widget and set the text using setText() Then add theTextView as the root view of the activityrsquos layout by passing it to setContentView()
The complete onCreate() method for DisplayMessageActivity now looks like this Override
public void onCreate(Bundle savedInstanceState) superonCreate(savedInstanceState)
Get the message from the intent Intent intent = getIntent() String message = intentgetStringExtra(MainActivityEXTRA_MESSAGE)
Create the text view TextView textView = new TextView(this) textViewsetTextSize(40) textViewsetText(message)
Set the text view as the activity layout setContentView(textView)
Display the Message
Better reference the original webpage if any question
END
- Building your first app
- Basic Requirements
- Basic Requirements(contrsquod)
- Basic Requirements(contrsquod)
- Create an Android project
- Important checking
- Run on a Real Device
- Run on emulator
- Run on emulator(contrsquod)
- Building a Simple User Interface
- Create a Linear Layout
- Add a Text Field
- Add String Resources
- Add a Button
- Starting Another Activity
- Build an Intent
- Build an Intent(contrsquod)
- Build an Intent(contrsquod) (2)
- Start the Second Activity
- Create the Second Activity
- Receive the Intent
- Display the Message
- END
-
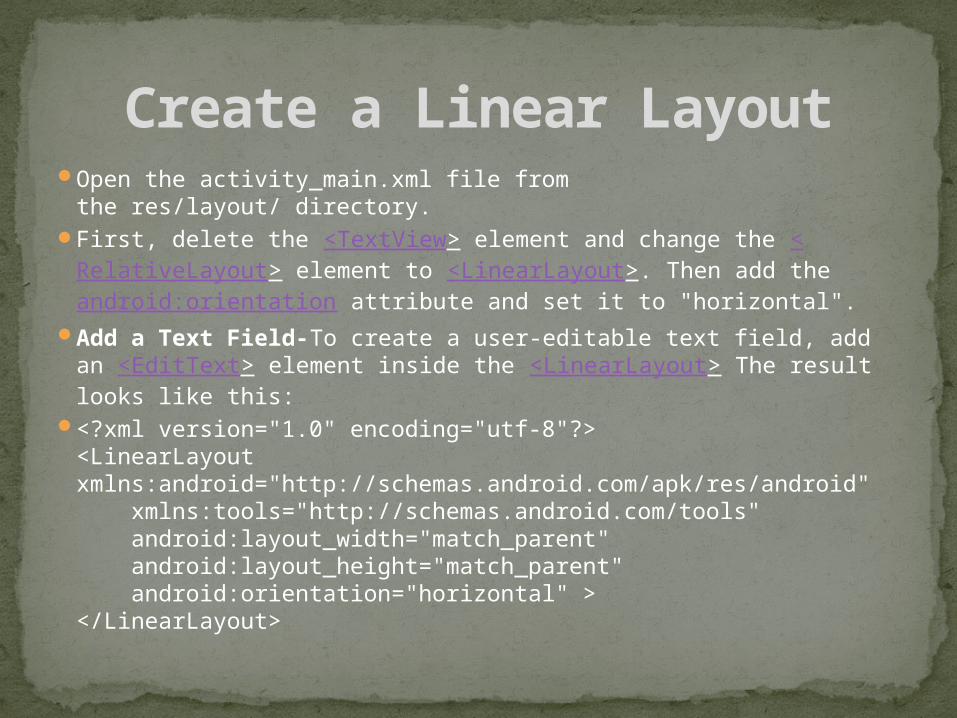
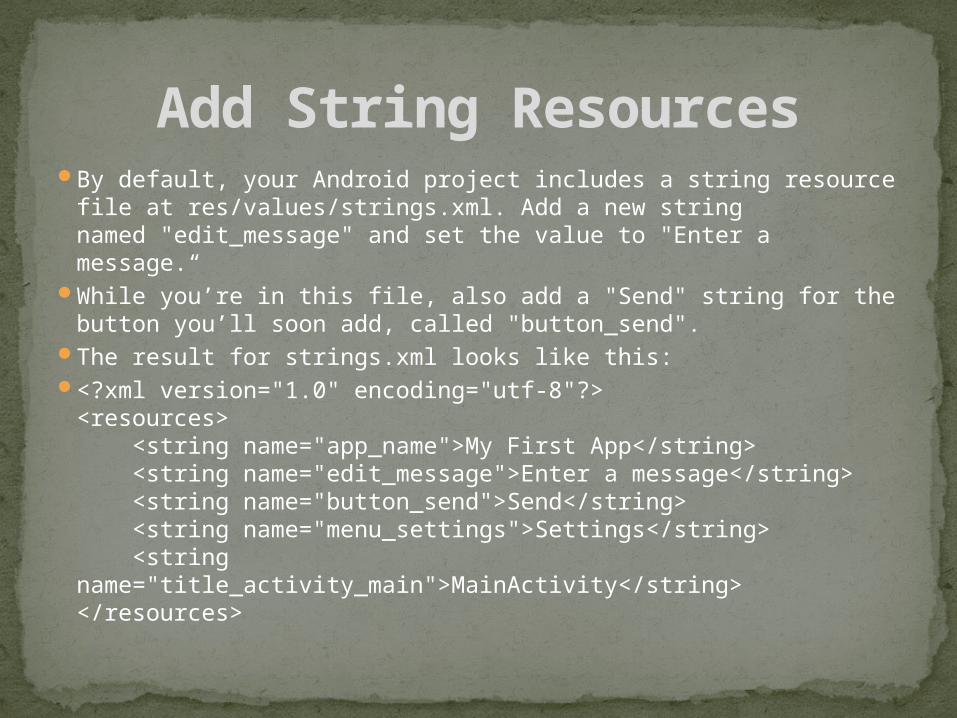
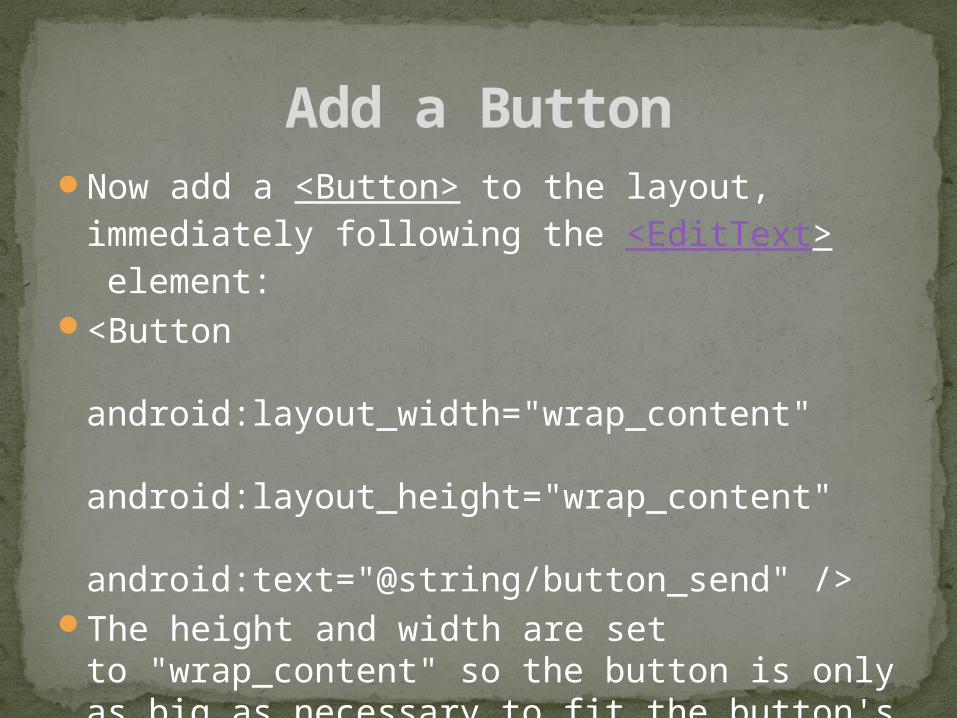
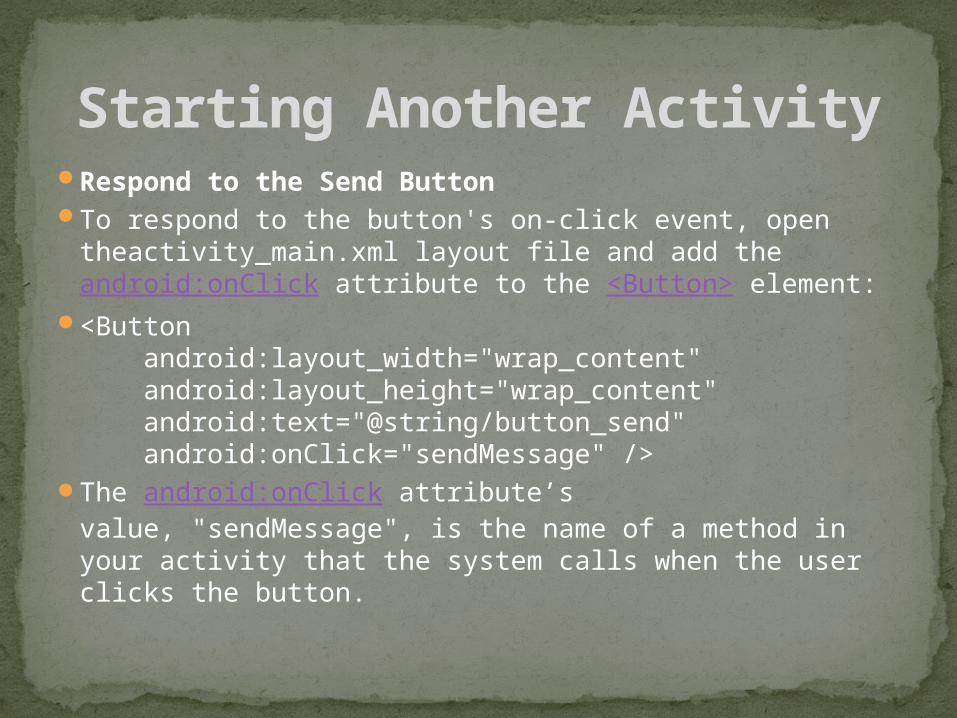
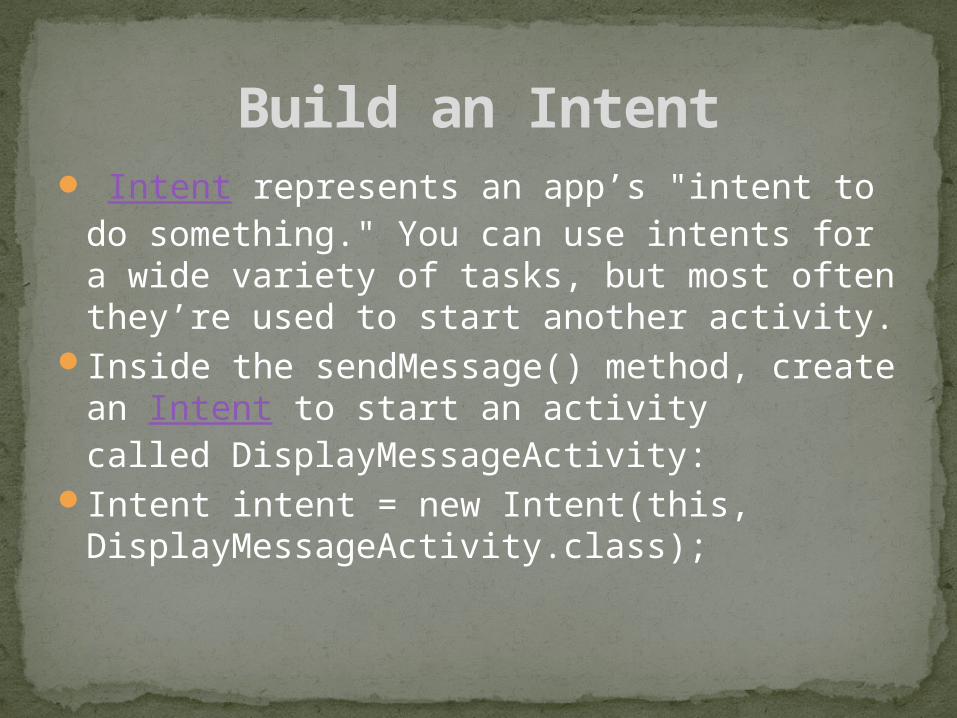
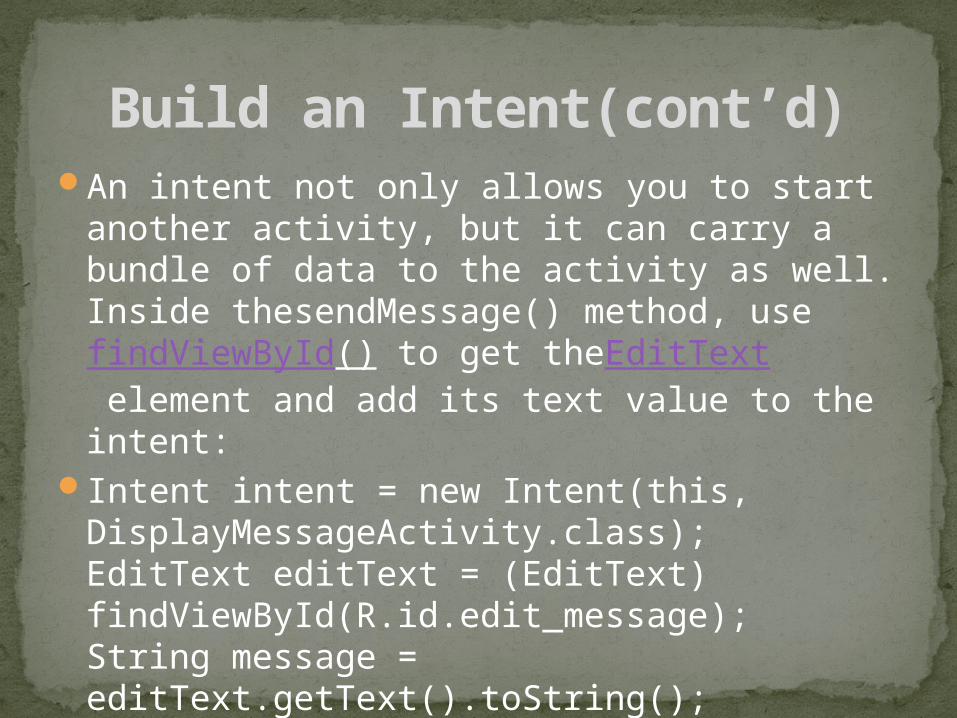
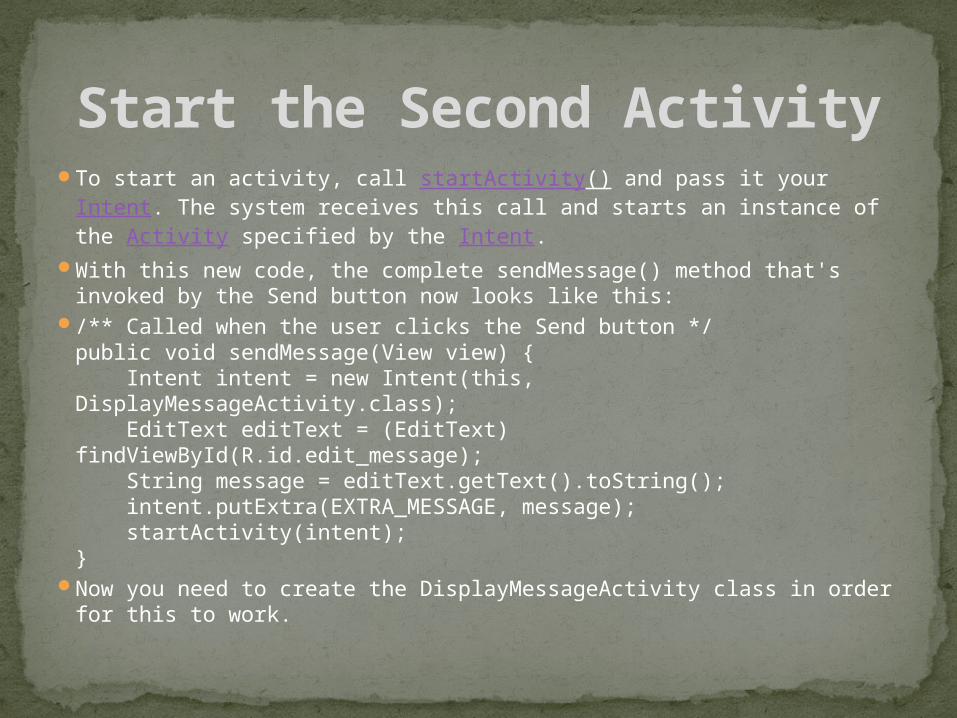
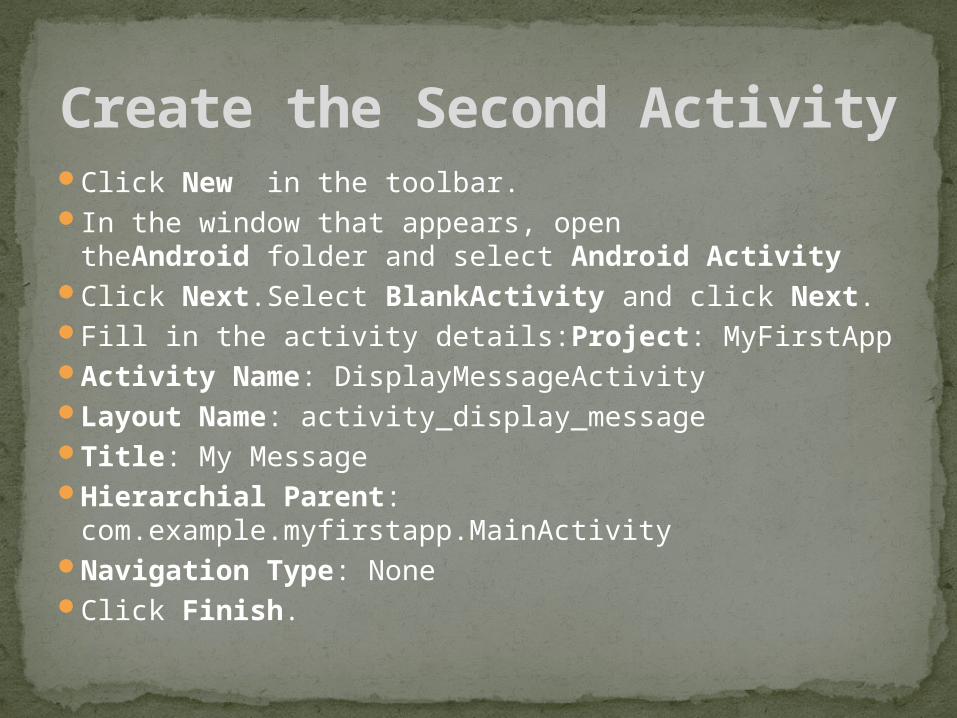
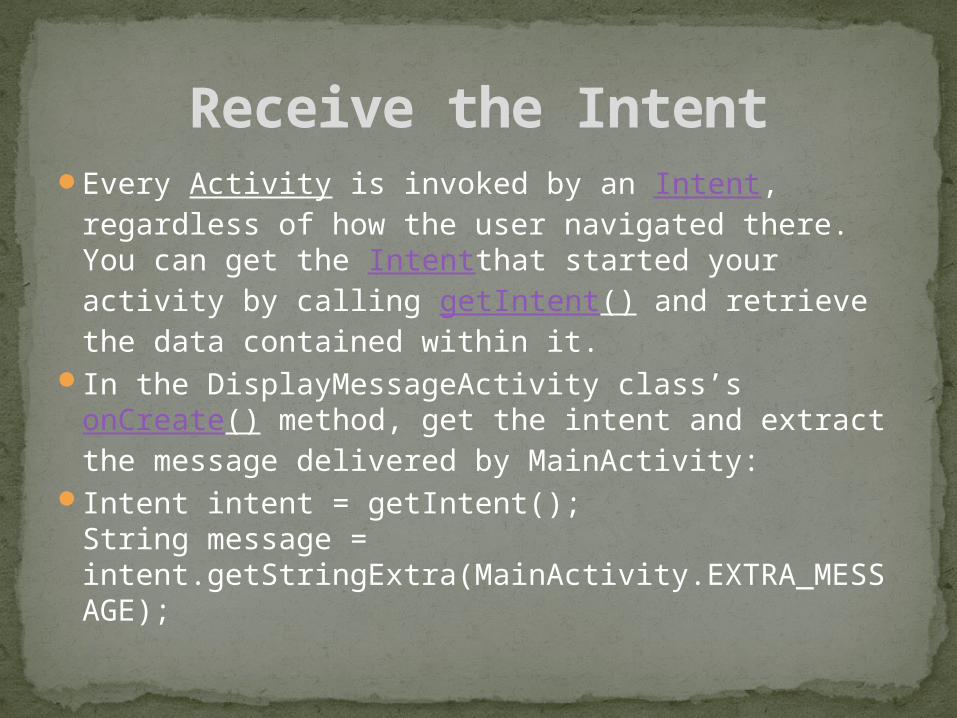
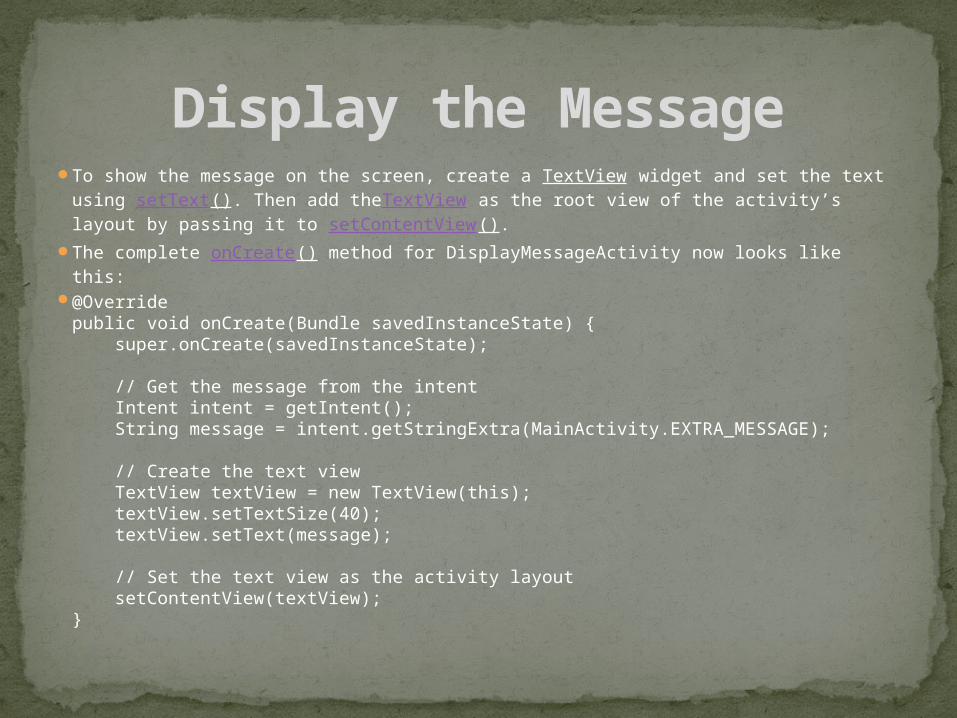