watermark - isenselabs€¦ · watermark allows you to adjust the position of the watermark in your...
TRANSCRIPT

Product Documentation
March, 2016
WaterMark
WaterMark in OpenCart, created by iSenseLabs
© 2016, iSenseLabs
isenselabs.com

WaterMark Documentation
2 http://isenselabs.com
http://isenselabs.com/users/support
Table of Contents
Table of Contents ....................................................................................................................... 2
Chapter 1: Introduction .............................................................................................................. 3
How to use this document ..................................................................................................... 3
Chapter 2: Installation instructions and Licensing ..................................................................... 4
Chapter 3: WaterMark Module Settings .................................................................................... 5
Chapter 4: Configuring WaterMark ............................................................................................ 6
Dimensions ............................................................................................................................. 6
Categories & Products ............................................................................................................ 6
Type of Watermark ................................................................................................................ 7
Position ................................................................................................................................... 8
Rotation .................................................................................................................................. 8
Opacity ................................................................................................................................... 9
Chapter 5: WaterMark on Products in OpenCart .................................................................... 11
Chapter 6: Uninstalling WaterMark ......................................................................................... 12
Uninstalling WaterMark ....................................................................................................... 12
Chapter 7: Getting support ...................................................................................................... 13

WaterMark Documentation
3 http://isenselabs.com
http://isenselabs.com/users/support
Chapter 1: Introduction
Welcome and thank you for your purchase of WaterMark by iSenseLabs. This document will
teach you all you need to know about the WaterMark extension.
How to use this document
The information you need is divided into chapters. In some sections you will notice the
following types of paragraphs, which give you extra information:
We highly encourage all users to read and understand this documentation.
If you have any questions, the iSenseLabs support team is here to help. Feel free to contact
us in our support system:
http://isenselabs.com/users/support
WaterMark Documentation
4 http://isenselabs.com
http://isenselabs.com/users/support
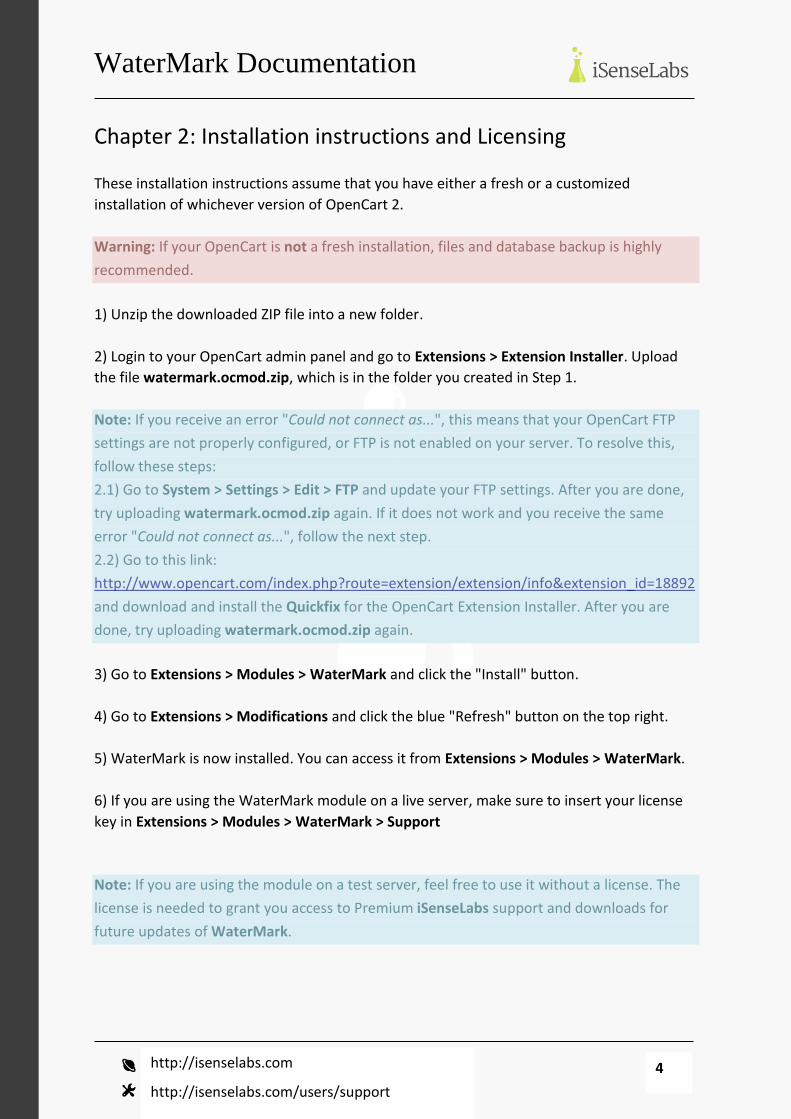
Chapter 2: Installation instructions and Licensing
These installation instructions assume that you have either a fresh or a customized
installation of whichever version of OpenCart 2.
1) Unzip the downloaded ZIP file into a new folder.
2) Login to your OpenCart admin panel and go to Extensions > Extension Installer. Upload
the file watermark.ocmod.zip, which is in the folder you created in Step 1.
3) Go to Extensions > Modules > WaterMark and click the "Install" button.
4) Go to Extensions > Modifications and click the blue "Refresh" button on the top right.
5) WaterMark is now installed. You can access it from Extensions > Modules > WaterMark.
6) If you are using the WaterMark module on a live server, make sure to insert your license
key in Extensions > Modules > WaterMark > Support

WaterMark Documentation
5 http://isenselabs.com
http://isenselabs.com/users/support
Chapter 3: WaterMark Module Settings
In the admin panel of WaterMark, you will only see one tab with settings and the other for
Support.
The first field lets you enable WaterMark and start placing a watermark for your product
images.
The settings below allow you to configure the watermark dimensions, type, position,
rotation and opacity.
WaterMark Documentation
6 http://isenselabs.com
http://isenselabs.com/users/support
Chapter 4: Configuring WaterMark
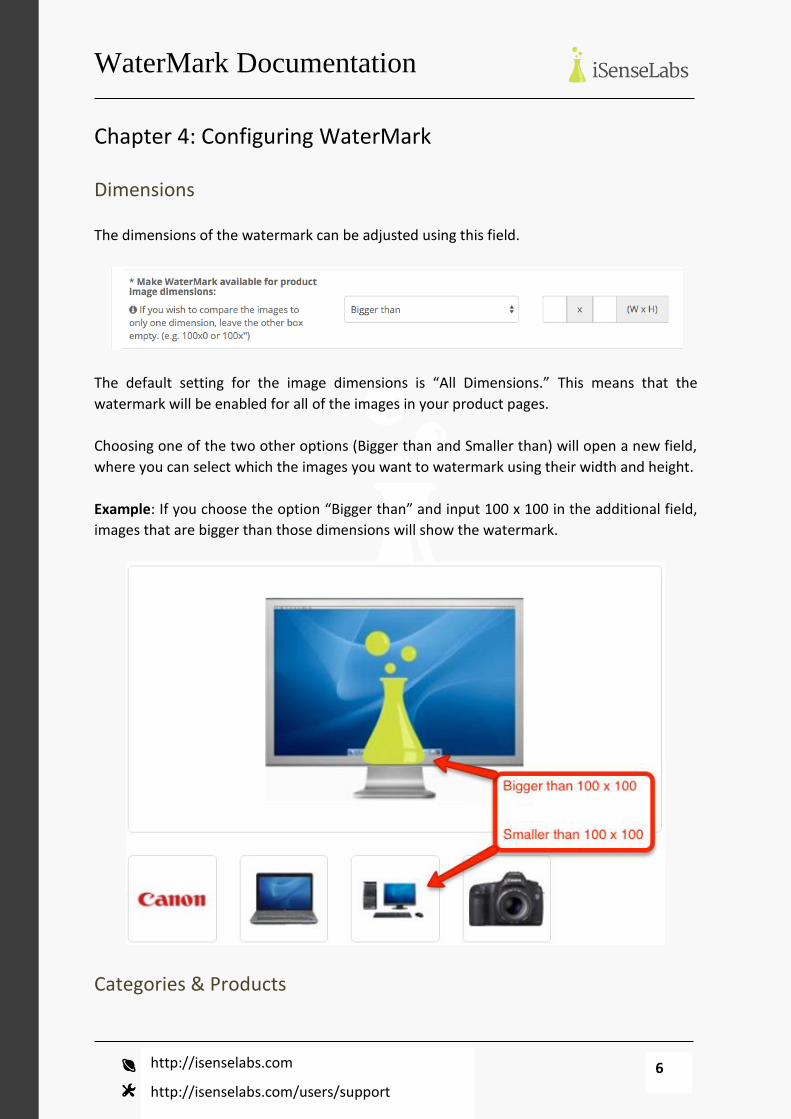
Dimensions
The dimensions of the watermark can be adjusted using this field.
The default setting for the image dimensions is “All Dimensions.” This means that the
watermark will be enabled for all of the images in your product pages.
Choosing one of the two other options (Bigger than and Smaller than) will open a new field,
where you can select which the images you want to watermark using their width and height.
Example: If you choose the option “Bigger than” and input 100 x 100 in the additional field,
images that are bigger than those dimensions will show the watermark.
Categories & Products

WaterMark Documentation
7 http://isenselabs.com
http://isenselabs.com/users/support
You can choose whichever products or categories you want to watermark using this field.
The default settings are for All Categories and All Products. However, you can choose specific
products and categories to watermark by choosing “The following categories/products” in
these fields.
They will open new fields where you will be able to view all of your products and categories
upon clicking and select the ones you want to watermark.
Type of Watermark
WaterMark allows you to use either images or text for your product watermarking. You can
choose them from the Type of watermark field.
The first default option is set on Image.
You can upload your image from your files. It can be either .png or .jpg and with a maximum
size of 7.5 MB. Optimize your image before uploading for a flawless web performance.
The second option is Text.

WaterMark Documentation
8 http://isenselabs.com
http://isenselabs.com/users/support
This option allows you to configure the text for the watermark, its font, size and color. You
can adjust any color from a diverse configuring tool.
Position
Display the watermark wherever you choose.
WaterMark allows you to adjust the position of the watermark in your product image using
the standard options – center, top left & right, and bottom left & right.
Rotation
WaterMark allows you to rotate the image or text of your watermark using Degrees.

WaterMark Documentation
9 http://isenselabs.com
http://isenselabs.com/users/support
This is a popular technique for most watermarking as it helps separate the watermark from
the image content itself.
Opacity
Adjust the image or text opacity using 0-100%.
If you are using a transparent .png image, it will look better if you do not adjust its opacity.
Transparent images have no background when they are uploaded, which means that
enabling opacity will give the image a dark background, which hurts the watermark
aesthetics.

WaterMark Documentation
10 http://isenselabs.com
http://isenselabs.com/users/support
If you are not using a transparent image, WaterMark allows you to choose custom opacity by
unchecking the box and adjusting the %.
Example 1:
When the opacity is set to 10%, the watermark will look like this:
Example 2:
When the opacity is set to 100%, the watermark will look like this:

WaterMark Documentation
11 http://isenselabs.com
http://isenselabs.com/users/support
Chapter 5: WaterMark on Products in OpenCart
We will show you how WaterMark performs in the front-end of your OpenCart store. This is
an example of how the product images look with an added watermark.
This is how the watermark looks without any additional settings or customizing. WaterMark
also works on the thumbnail images.
Another example:

WaterMark Documentation
12 http://isenselabs.com
http://isenselabs.com/users/support
Chapter 6: Uninstalling WaterMark
Uninstalling WaterMark
This process describes how to delete your WaterMark module from your system.
1. Navigate to Extensions > Modules and click the “Uninstall” icon next to the main
WaterMark module.
2. Navigate to Extensions > Modifications and remove the modification “WaterMark by
iSenseLabs”. Click the “Refresh” button on the top right.

WaterMark Documentation
13 http://isenselabs.com
http://isenselabs.com/users/support
Chapter 7: Getting support
If you have a valid iSenseLabs license for the WaterMark module, this means you have
access to the iSenseLabs support system on the following address:
http://isenselabs.com/users/support
If you have any questions, comments or recommendations, feel free to open up a support
ticket in our system. A support specialist will assist you as soon as possible.
Thank you for using our product!