personal hygiene slides.ppt - oregon.gov€¦ · lotion in place of soap on alternate days ... bath...
TRANSCRIPT

June 2012 DHS – Office of Licensing and Regulatory Oversight 1
PERSONAL HYGIENE
June 2012 DHS – Office of Licensing and Regulatory Oversight 2
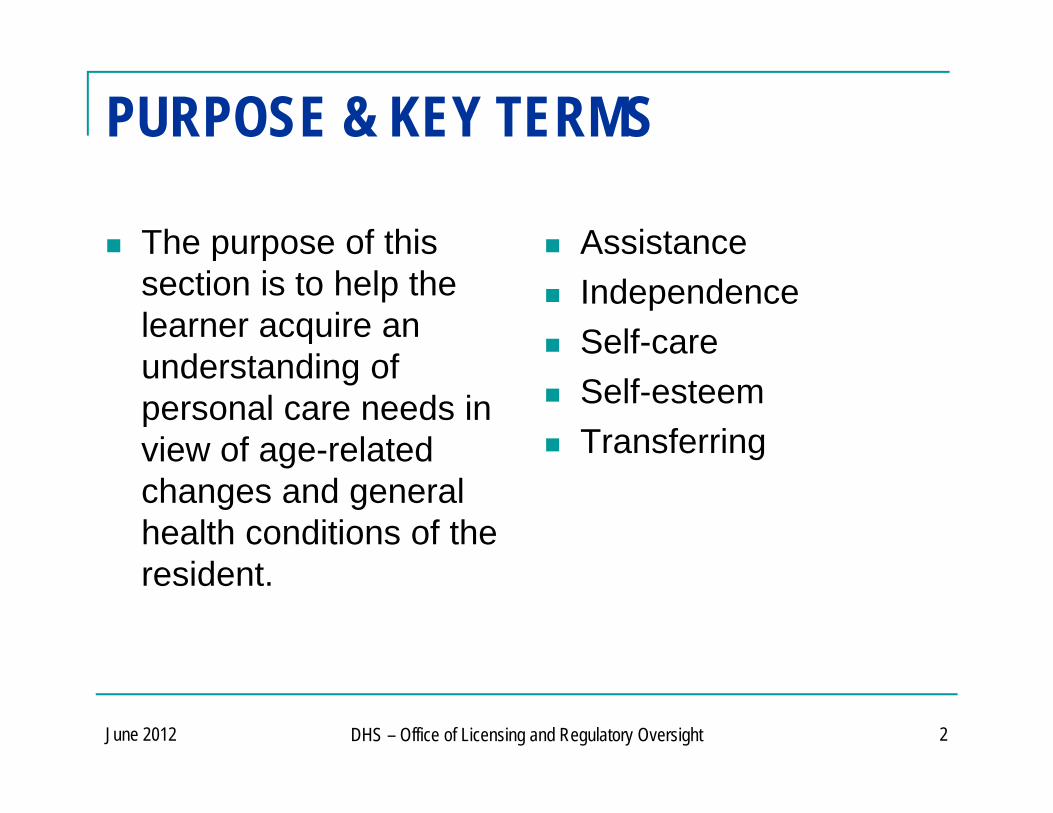
PURPOSE & KEY TERMS
The purpose of this section is to help the learner acquire an understanding of personal care needs in view of age-related changes and general health conditions of the resident.
Assistance Independence Self-care Self-esteem Transferring

June 2012 DHS – Office of Licensing and Regulatory Oversight 3
OBJECTIVES
The learner will be able to: Describe how to promote independence while
providing assistance to the resident; Explain what is meant by “individualized care”; Understand the concepts of personal care; Understand the basic concepts of proper body
mechanics during a transfer.
June 2012 DHS – Office of Licensing and Regulatory Oversight 4
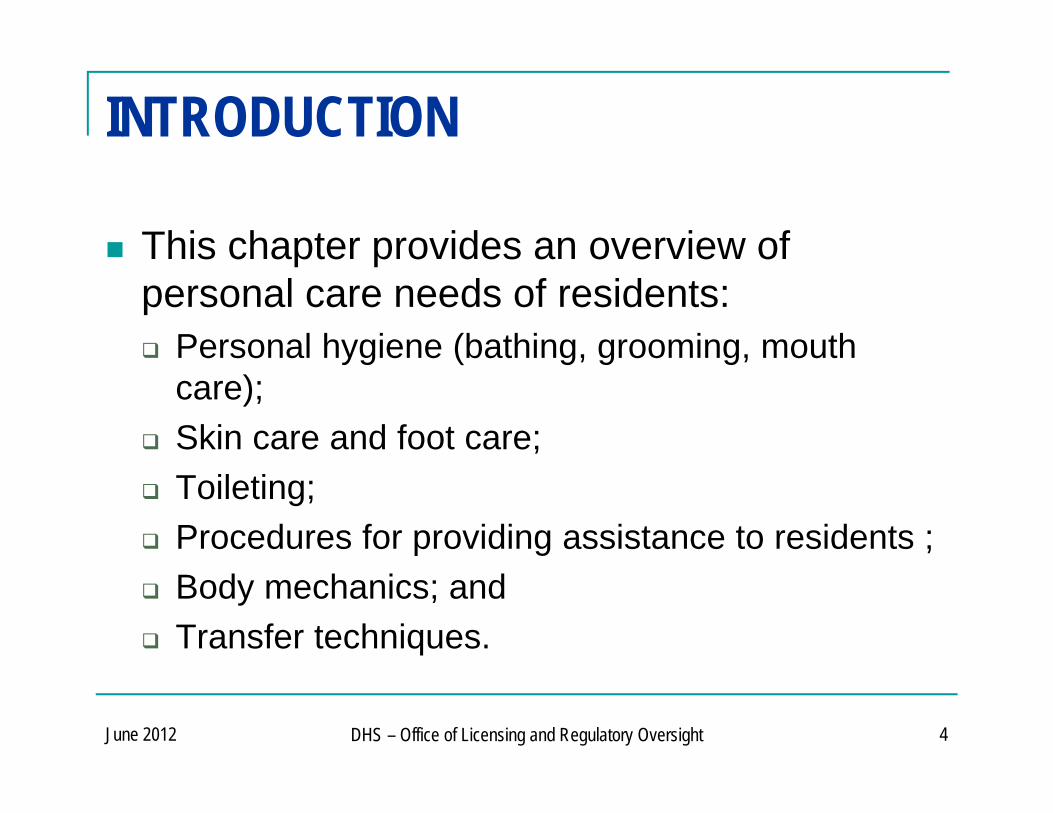
INTRODUCTION
This chapter provides an overview of personal care needs of residents: Personal hygiene (bathing, grooming, mouth
care); Skin care and foot care; Toileting; Procedures for providing assistance to residents ; Body mechanics; and Transfer techniques.
June 2012 DHS – Office of Licensing and Regulatory Oversight 5
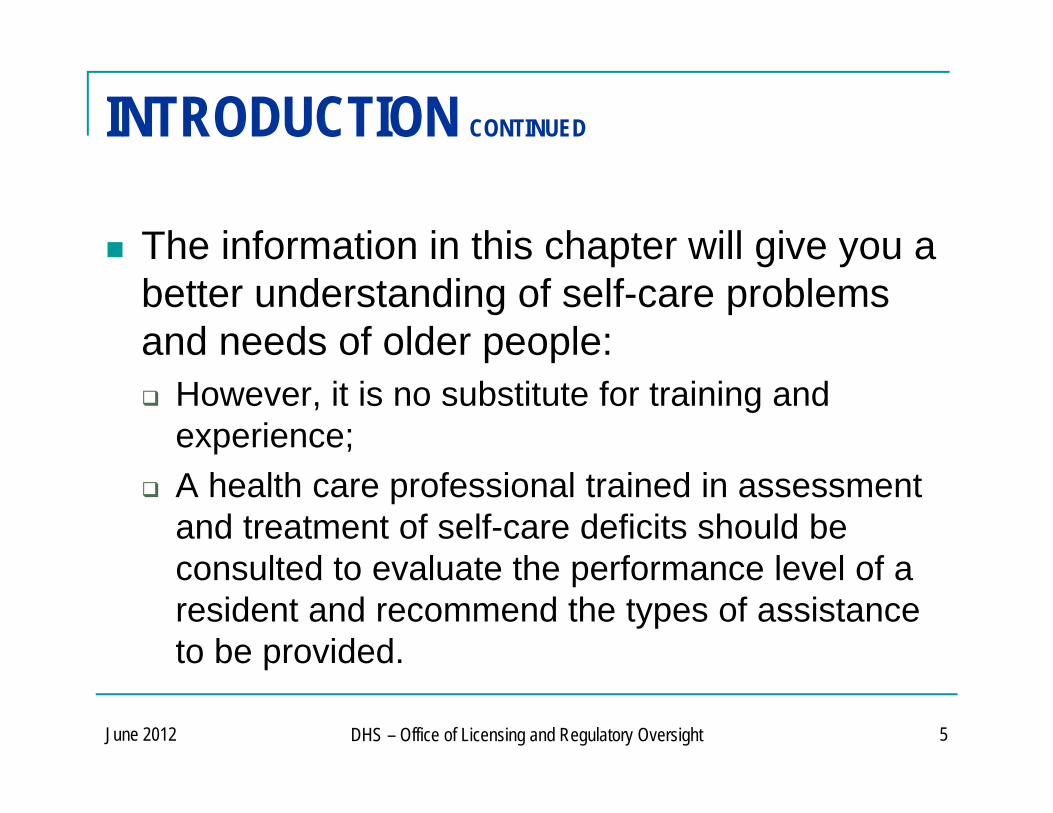
INTRODUCTION CONTINUED
The information in this chapter will give you a better understanding of self-care problems and needs of older people: However, it is no substitute for training and
experience; A health care professional trained in assessment
and treatment of self-care deficits should be consulted to evaluate the performance level of a resident and recommend the types of assistance to be provided.

June 2012 DHS – Office of Licensing and Regulatory Oversight 6
INTRODUCTION CONTINUED
Enhancement of residents’ independence and self-esteem is one of your primary goals as an AFH provider: Most residents in your care have performed
activities of daily living independently (and privately) for 60, 70, 80 or more years;
While it may be easier to provide hands-on assistance, such as dressing a resident who is having difficulties, your responsibility is to encourage rehabilitative and self-care efforts of residents as much as possible.

June 2012 DHS – Office of Licensing and Regulatory Oversight 7
INTRODUCTION CONTINUED
Doing for a person what they are capable of doing can lead to “learned helplessness” resulting in a decline in the person’s health or mental attitude, further loss of function or attention-seeking behavior problems.
Review care plans at least once a week to monitor a resident’s performance, as well as your own: Your observations and those of staff and care team
members should be documented on a regular basis. Discuss procedures and concerns with the resident
and the appropriate care team members.

June 2012 DHS – Office of Licensing and Regulatory Oversight 8
PERSONAL HYGIENE
A resident’s ability to manage his or her personal hygiene will determine your level of responsibility. Assisting with shaving, or helping with hair or nails may offer you an opportunity to spend individual time to touch and talk with a resident. This time together can make the person feel special.

June 2012 DHS – Office of Licensing and Regulatory Oversight 9
BATHING
Bathing cleanses and removes wastes from the skin, stimulates circulation, and provides passive and active exercise: Some residents may be able to bathe without help; Others may need assistance sometimes or all of the
time; Encourage as much Independence as possible.
There are steps you can take to promote self-care of ambulatory residents, as well as make bathing more enjoyable for residents.

June 2012 DHS – Office of Licensing and Regulatory Oversight 10
PROVIDE FOR SAFETY AND COMFORT
Be sure the room is warm and draft-free. If you start the bath or shower, use your inner
wrist to test the temperature of the water; water should be moderately warm (not over 105°F): Hot water dries the skin and can cause severe
bums. Use a non-slip bath mat in the tub and
shower. A closed toilet seat covered with a towel can serve as a chair.

June 2012 DHS – Office of Licensing and Regulatory Oversight 11
GET READY
Lay out towels, washcloth, shower cap, soap and other needed Items, as appropriate: Be sensitive to the resident’s feelings; Being able to do even the little things means so
much to any resident’s self-esteem. Be ready to provide assistance: For example, a resident may need help getting
into and out of the tub or shower, washing the back or hair, or towel drying.

June 2012 DHS – Office of Licensing and Regulatory Oversight 12
GET READY CONTINUED
Provide favorite brands of personal care products, if possible: Mild soaps are best. Cream-based soaps
moisturize the skin; Discourage use of deodorant and antibacterial
soaps; If dry skin is a problem, suggest the resident use
lotion in place of soap on alternate days Lotion is applied with a washcloth in the same manner
as soap.
June 2012 DHS – Office of Licensing and Regulatory Oversight 13
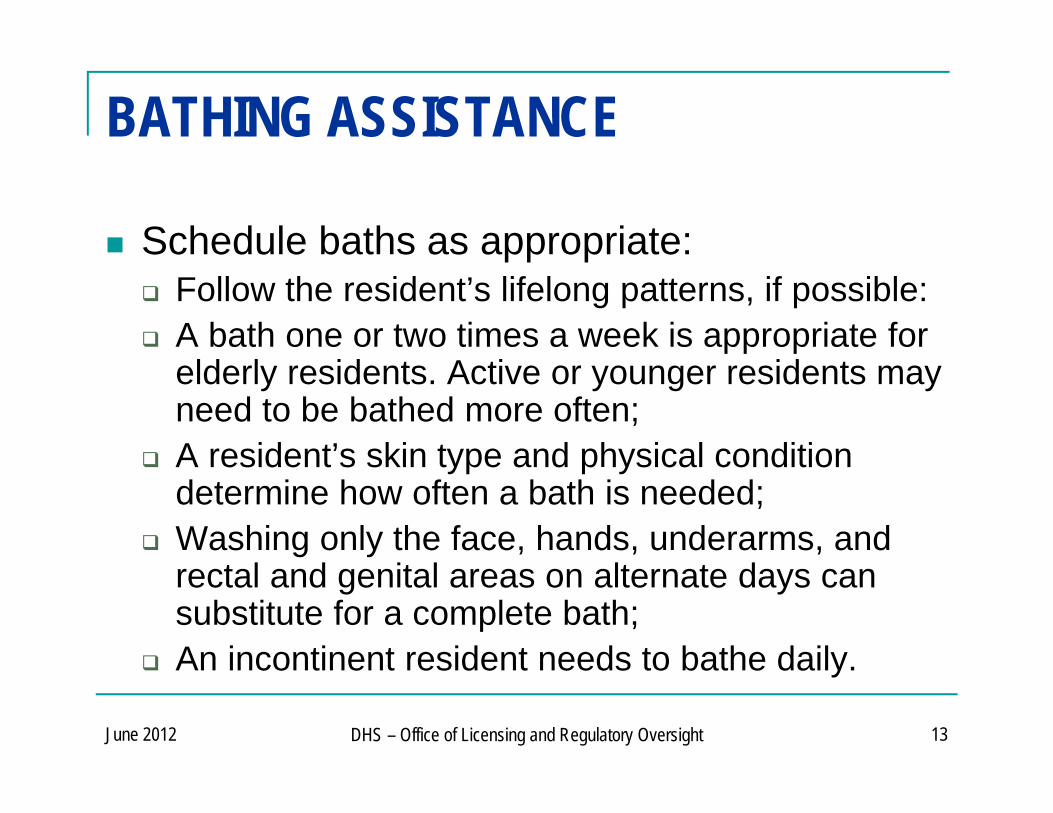
BATHING ASSISTANCE
Schedule baths as appropriate: Follow the resident’s lifelong patterns, if possible: A bath one or two times a week is appropriate for
elderly residents. Active or younger residents may need to be bathed more often;
A resident’s skin type and physical condition determine how often a bath is needed;
Washing only the face, hands, underarms, and rectal and genital areas on alternate days can substitute for a complete bath;
An incontinent resident needs to bathe daily.

June 2012 DHS – Office of Licensing and Regulatory Oversight 14
BATHING ASSISTANCE CONTINUED
Ask the resident if he or she needs to use the toilet before bathing: Assist the person to the toilet or commode, or
offer a bedpan or urinal, if appropriate; Wear disposable gloves if you will be in contact
with body fluids; Wash hands after helping.
Explain briefly what will be done and why.

June 2012 DHS – Office of Licensing and Regulatory Oversight 15
BATHING ASSISTANCE CONTINUED
Encourage resident to perform as much of the bathing routine as possible: Bathe from top to bottom, front to back; Dry the upper portion of the body while the resident is
still in the tub; After bathing, assist the person to the towel-covered
toilet seat or wheelchair and dry lower portion of body.
Provide for privacy: Be in the room only when the person needs
assistance or supervision.

June 2012 DHS – Office of Licensing and Regulatory Oversight 16
BATHING ASSISTANCE CONTINUED
Examine resident’s body for signs of skin problems: Shoulder blades, elbows, tailbone and heels are
prone to pressure sores; Look for reddened areas, breaks in skin, or other
signs of trauma or infection; Document your observations in the resident’s
narrative.

June 2012 DHS – Office of Licensing and Regulatory Oversight 17
TOWEL BATH
A towel bath is appropriate when a resident is confined to bed. The following routine is recommended for giving a bed bath: Follow a schedule that you and the resident have
agreed upon. Be as flexible as possible. If the person seems upset, suggest an alternative time, if feasible. For example, ask “Would you like your bath now or after Mrs. Johnson bathes?”
Wash your hands.

June 2012 DHS – Office of Licensing and Regulatory Oversight 18
TOWEL BATH CONTINUED
Have all supplies ready and should include: Two bath blankets or two beach towels; One large plastic bag containing:
One large lightweight towel (70” X 30”); One standard size bath towel; Two washcloths.
Two-quart plastic pitcher filled with bath temperature water (approximately 105°F), to which you have added: One ounce of no-rinse soap {such as Septa-Soft®,
manufactured by Calgon-Vestal);

June 2012 DHS – Office of Licensing and Regulatory Oversight 19
TOWEL BATH CONTINUED
Lotion or cream — lanolin products that contain no alcohol are recommended;
Deodorant, if desired; Comb or brush; Disposable gloves.
Preparing the bath: Pour the water from the pitcher into the plastic
bag; Put the towels and washcloths into the bag and
work the solution into them evenly;

June 2012 DHS – Office of Licensing and Regulatory Oversight 20
TOWEL BATH CONTINUED
The towels and washcloths should be damp but not soggy. If necessary, wring the excess water out through the open end of the bag into the sink. Twist-tie the bag to maintain the heat and bring the bag to the bedside.
Preparing the resident: Explain to the resident what is going to happen; Assure privacy.

June 2012 DHS – Office of Licensing and Regulatory Oversight 21
TOWEL BATH CONTINUED
Ask if they need to use the toilet before bathing: Assist to the toilet, or provide bedpan or urinal; Wear disposable gloves if in contact with body
fluids; Be sure to wash your hands after helping the
resident. Raise the bed to the high position, if possible,
to reduce back strain: The resident should be on the side closest to you; Use good body mechanics when moving the person.
June 2012 DHS – Office of Licensing and Regulatory Oversight 22
TOWEL BATH CONTINUED
Keep the bed linen over the resident or place a bath blanket over the resident: Keeping the person covered, help the resident
remove clothing, eyeglasses and jewelry. Talk the resident through each step: Before you begin the bath, explain what you plan
to do; Project a professional, caring attitude. This will
help relieve any discomfort you or the resident feels.

June 2012 DHS – Office of Licensing and Regulatory Oversight 23
TOWEL BATH CONTINUED
Follow a standard routine in bathing the resident: Bathe the face, neck and ears with one of the
washcloths. You may want to offer the washcloth to the resident and
encourage washing his or her own face.
Expose the resident’s shoulders and upper chest and immediately cover the area with the large, fan-folded, moist towel.

June 2012 DHS – Office of Licensing and Regulatory Oversight 24
TOWEL BATH CONTINUED
Gradually uncover the resident while unfolding the moist towel to recover the resident;
Gently massage the body with the towel, starting at the shoulders and working down;
Encourage the person to do as much as possible to wash self. Leave room, if appropriate, while resident is self-bathing.
Turn the resident to one side and place the smaller warm towel on the back: Use a similar motion to clean the resident’s back
and the back of the legs.

June 2012 DHS – Office of Licensing and Regulatory Oversight 25
TOWEL BATH CONTINUED
Use the second washcloth to clean the perineal (pelvis between genitals and anus) and rectal areas:
Look for skin problems (e.g., redness or sores). If the resident has any skin changes, document this
in the narrative; Consult the resident’s physician or nurse
practitioner if you have concerns about the condition of the resident’s skin.
Using this method, there is no need to rinse the skin.

June 2012 DHS – Office of Licensing and Regulatory Oversight 26
TOWEL BATH CONTINUED
Apply moisturizer while the skin is still moist: Do not massage legs; poor circulation often
causes clots to form, which can be dislodged by massage.
Assist the resident with dressing: Care for the hair and nails, if appropriate. Good
grooming helps people feel good, and promotes their comfort and appearance;
Hair care and shaving are two areas in which you might provide assistance to residents.

June 2012 DHS – Office of Licensing and Regulatory Oversight 27
HAIR CARE
Hair care involves washing, combing, drying and styling. It can be a difficult task, even for residents independent with most ADLs: A resident may enjoy going to a hair salon or
barbershop, or having you assist. If you assist with hair care, have needed
supplies ready: Shampoo, cream rinse or conditioner, a plastic
container, towels, comb and brush, and hair dryer; The resident’s own styling equipment (e.g., styling
brush, curlers and pins) should be used.

June 2012 DHS – Office of Licensing and Regulatory Oversight 28
HAIR CARE CONTINUED
A shampoo once a week may be appropriate for the older person: Shampoos can occur in the tub/shower, in sink or bed. Where will depend on what is appropriate for, and
desired by, the individual. The resident’s health, mobility, energy level and
personal preference should be considered. Washing, drying and styling a resident’s hair
can take 30 to 60 minutes: Consider scheduling a shampoo on non-bath days to
conserve the resident’s energy.

June 2012 DHS – Office of Licensing and Regulatory Oversight 29
SHAVING
For most men, shaving is a lifelong ritual, and they are able to perform this task in later life despite impairments: Shaving usually boosts morale; A male resident should be allowed to shave
himself unless (or until) to do so. A female resident may desire to have leg,
armpit or facial hair shaved. Shaving can improve appearance and self-
image.

June 2012 DHS – Office of Licensing and Regulatory Oversight 30
SHAVING CONTINUED
An electric razor is easiest and safest to use: Residents who have diabetes or who take
anticoagulants should only use an electric razor. If a safety razor is used to shave a male
resident’s beard area, follow this procedure: Have needed supplies ready. This includes a
safety razor (should be sharp and clean), shaving lather, soap, washcloth, face towel, mirror, after-shave lotion and gauze or tissue (in case of nicks).

June 2012 DHS – Office of Licensing and Regulatory Oversight 31
SHAVING CONTINUED
Have the resident in a comfortable sitting position; Explain what you plan to do step by step. Ask the
resident about sensitive areas; Inspect for moles or sores so you can avoid these
areas; Place a towel around the resident’s shoulders; Wash area to be shaved with warm water and
soap or apply a moist warm washcloth for several minutes (to soften whiskers). Leave skin moist;
Shave one side at a time;
June 2012 DHS – Office of Licensing and Regulatory Oversight 32
SHAVING CONTINUED
If using a non-electric razor: Apply a thin layer of shaving cream; Keep the skin taut by stretching it with the opposite hand
while you shave. This prevents nicking the skin. Use care around the nose and lips;
Use short, firm, even strokes; Shave in the direction that the hair grows.
Rinse area with warm water or place a warm wet washcloth over face: Pat the face dry; If resident desires, apply after-shave lotion.

June 2012 DHS – Office of Licensing and Regulatory Oversight 33
SHAVING CONTINUED
Rinse razor in warm water to remove hair and shaving cream.
All residents must have their own razor: Razors, including electric, are personal equipment
and cannot be shared.

June 2012 DHS – Office of Licensing and Regulatory Oversight 34
MOUTH CARE
Age-related changes of the mouth and lower face in the older person includes: Soft tissues of the teeth tend to harden; Pain perception is reduced (painful tooth aches
are uncommon); Gum tissues recede from around the teeth; The oral membranes are usually pale and dry,
heal slowly; Older people are prone to disorders involving the
gums, salivary glands, lips, muscles and jawbone.

June 2012 DHS – Office of Licensing and Regulatory Oversight 35
MOUTH CARE CONTINUED
No matter what age, oral hygiene is very important. Good oral hygiene prevents: Sores; Bad breath; Tooth decay; Gum disease; Keeps mucous membranes from becoming dry
and cracked. Poor oral hygiene can contribute to poor
appetite.

June 2012 DHS – Office of Licensing and Regulatory Oversight 36
MOUTH CARE CONTINUED
Encourage residents to brush their teeth daily, especially at bedtime: Electric toothbrushes or brushes with larger or
longer handles promote self-care; Consult their dentist about adaptive mouth care
equipment. If you assist a resident with oral hygiene: Examine the mouth regularly for signs of redness,
swelling or bleeding; A dentist should check any red or white spots or
sores that bleed and do not go away within two weeks.

June 2012 DHS – Office of Licensing and Regulatory Oversight 37
DENTAL CARE
When assisting with dental care, keep the following tips in mind: Have all the supplies at hand: Water (for rinsing); Towel; Basin; Soft toothbrush, toothpaste or powder; Dental floss; Disposable gloves; and Four-inch-square gauze pads.

June 2012 DHS – Office of Licensing and Regulatory Oversight 38
DENTAL CARE CONTINUED
Wash your hands and put on disposable gloves; Place a towel under the resident’s chin; Have the person rinse the mouth with water to
remove food particles: If unable to rinse, gently wipe the mouth with a gauze
pad. (Ask health care professional for suggestions if rinsing is a problem.)
Brush all sides of the teeth with short, gentle strokes. Pay special attention to the gum line;

June 2012 DHS – Office of Licensing and Regulatory Oversight 39
DENTAL CARE CONTINUED
Brush the tongue and roof of the mouth to remove germs and prevent bad breath: Be careful not to go too far back or you will cause
gagging. Have the resident rinse the mouth with water: If not possible, wipe with gauze pad.
Use dental floss to gently clean between teeth; Provide mouthwash or rinse, if requested: Talk with the resident’s hygienist for suggestions.

June 2012 DHS – Office of Licensing and Regulatory Oversight 40
DENTURE CARE
Dentures need to be cleaned at least once a day to prevent staining, bad breath and gum irritation. If you perform this task: Wash your hands before and after handling
dentures, and wear disposable gloves; Use a tissue or clean washcloth to lift one end,
break the suction and remove the dentures from the person’s mouth;
Place dentures in a container filled with water;

June 2012 DHS – Office of Licensing and Regulatory Oversight 41
DENTURE CARE CONTINUED
Clean dentures over a sink filled with water or lined with a washcloth, to prevent breakage if dentures are accidentally dropped;
Cup the dentures in your hand. Brush the upper inside first, then the tooth and palate area. Rinse thoroughly;
Apply denture cream or adhesive as directed; Have the resident rinse the mouth before
replacing dentures. Provide a mouth rinse such as a salt-water (saline) solution and a basin;

June 2012 DHS – Office of Licensing and Regulatory Oversight 42
DENTURE CARE CONTINUED
Store dentures in water when they are not in the resident’s mouth: This keeps them from warping. Dentures should soak in
water for six to eight hours each day (usually overnight). Partial dentures require the same care as full
dentures; Have dentures repaired by a professional when
they need relining or replacement: Home repair of dentures can lead to injury of the
resident’s gums.
June 2012 DHS – Office of Licensing and Regulatory Oversight 43
TRANSFERRING
Physical demands of care include helping non-ambulatory residents. It is recommended that AFH providers receive training in safe transfer from a physical therapist or nurse: You need to understand safe and effective
methods of transferring to reduce risk or injury to either the resident or yourself; and
To transfer with a feeling of security and ease.

June 2012 DHS – Office of Licensing and Regulatory Oversight 44
TRANSFERRING CONTINUED
Transferring safely requires good body mechanics: Use the chest, abdominal, leg and arm muscles to
lift, pull and push which are designed for heavy work; Do not use the lower-back muscles to do heavy
work which are only designed to support and protect the spinal column, while allowing it to bend and turn.
Use an RN consultant or physical therapist to teach the correct transferring techniques.

June 2012 DHS – Office of Licensing and Regulatory Oversight 45
TRANSFERRING CONTINUED
People over 40 and overweight are a high-risk group for low-back strain. Keep these guidelines in mind: Use chest, abdominal, arm and leg muscles to
pull, push and lift; Remember, pulling is easier than pushing. Both
are better than lifting; Always keep your back straight and aligned; Bend at the knees and hips. Never bend or twist
at the waist when lifting;

June 2012 DHS – Office of Licensing and Regulatory Oversight 46
TRANSFERRING CONTINUED
To lower yourself, place one foot in front of the other and bend at the knees;
To rise (pull or lift), straighten your legs by using thigh and hip muscles;
Maintain a broad base of support; Stand with buttocks and abdomen held in, and
feet shoulder-width apart, one slightly in front of the other, and parallel;
Shift your feet by taking small steps; Do not stretch or reach, which pulls you off your
base of support.
June 2012 DHS – Office of Licensing and Regulatory Oversight 47
TRANSFERRING CONTINUED
If able, encourage the resident to exercise trunk and leg muscles, especially before getting out of bed in the morning: This warms up the muscles and reduces stiffness
and the risk of falling. When a person cannot help, usually two
people are required to lift and transfer: If you are not sure that you can handle the
transfer alone, get help; Remember, sliding an older person across
surfaces can cause skin breakdown.

June 2012 DHS – Office of Licensing and Regulatory Oversight 48
TRANSFERRING CONTINUED
Explain the steps involved in transfer: Use simple terms. If possible, demonstrate what
you mean (this is especially helpful for the hearing-impaired).

June 2012 DHS – Office of Licensing and Regulatory Oversight 49
DISCUSSION/QUESTIONS