lab 6 – testing the alu - eth zürich · lab 6 – testing the alu goals • learn how to write...
TRANSCRIPT

1
LAB 6 – Testing the ALU
Goals • Learn how to write testbenches in Verilog to verify the functionality of the design.
• Learn to find and resolve problems (bugs) in the design.
To Do • We will write a Verilog testbench that will verify that your ALU designed in Lab5
works correctly.
• Verilog will be used to simulate the circuit using the testbench.
• You will be given an ALU code that contains some bugs. Using the same testbench you will simulate the new design, find the bugs and correct them.
• Follow the instructions. Paragraphs that have a gray background like the current paragraph denote descriptions that require you to do something.
• To complete the lab, you need to show your results to an assistant. The last pages of this document is formatted as a report that contains some (optional) exercises. You only need to show your work to assistants when instructed in the report. The assistants will note down your work in their internal grading sheet. Other questions are optional.
Introduction We have seen that it is impossible in practice to verify the functionality of the ALU designed in Lab5 using direct observation, like we did in the earlier lab exercises. What we need is a method that sort of automatically checks if the circuit works correctly. This is called the functional verification problem and there are several approaches for this. The basic idea of verification is not really different than what we do normally when we check if the circuit is functioning. For a given input, you essentially know what the circuit should produce (the expected output). You apply some inputs to the circuit (we call them stimuli) and observe the output. If the actual output matches the expected output for all the stimuli we conclude that the circuit works fine. This is what your assistants were doing to see if you managed to complete the previous exercises. If we can make the computer do this task for us, we can check many more stimuli than if we were to apply the inputs manually. This is where simulation software comes in. There are additional advantages of the simulation software. In a real circuit, we can only observe the circuit outputs. In contrast, when we use a software tool that ‘simulates our circuit’ we also have access to all internal nodes as well. If something is wrong, we can go hunting for the problem inside the circuit as well. So far we have used Verilog to describe circuit functionality. As you have learned in class, Verilog can also be used to describe so-called testbenches that:
• instantiate the circuit you want to test

2
• apply a set of stimuli to the inputs
• collect the outputs
• and compare the outputs with the expected responses. In this exercise, we implement such a testbench in Verilog and simulate our circuit from Lab5. If there are mistakes in the circuit, we can find what went wrong and correct the mistakes.
Preparation In this lab exercise, we continue using the Verilog description of the ALU from the previous Lab. You should finish that exercise before starting with this exercise.
Download the zip file containing three files from the course webpage. They include a template/example for a testbench file, the template for the testvectors, and a verilog description of an ALU, which has some problems in it.
Expected Responses Before we can start with writing our testbench, we need to agree on what is the correct response for the circuit to a given set of inputs. For a larger project, we would use a so-called golden-model, a program written in a suitable language (C, Matlab, Perl, Java, etc.) that defines what is the correct result given a set of inputs. We would also use a systematic way of generating several inputs so that the circuit is verified thoroughly1.
In this exercise, you will be given a set of inputs for the ALU designed in Lab5. Determine the correct ‘result’ output for each of these inputs and fill in the table in Part1 of the exercise by hand. Using a text editor (i.e., wordpad) open and edit the file ‘testvectors_hex.txt’. This file contains the inputs for the ALU and the expected value of ‘result’ in hexadecimal notation. Copy your answers from Part 1 into this file.
Notice that our ALU has a second one-bit output called ‘zero’. The functionality of this output is simple (it is one if the result is all zeroes) so we can determine its value directly from the expected value of the result within our testbench. In other words, if the expected value of ‘result’ is all zeroes, we conclude that the expected value of the signal ‘zero’ is one.
1 As mentioned earlier, simulating each and every possible input is not practical. Therefore, it is important to find a subset of all inputs that verify the most of the functionality. Inputs are chosen so that all functions of the circuit are tested, all limits and special cases are covered.

3
Preparing the Testbench Create a new RTL project and make sure Verilog is selected as simulator:
Since you want to test the ALU you wrote in Lab5, you need to import your ALU as a source. Do that in this dialog and hit next until done. After creating the project, you can start writing the testbench. In this exercise we have provided you with a testbench template that is almost complete. To use the provided file, you have to first add this file to the project. Open the menu
ProjectàAdd Source and select “Add or create simulation sources”. Then add the file ALU_test.v.
You will not see that much has changed. The new file will not be visible under the project hierarchy. This is because by default, the hierarchy shows the sources for “Design Sources”. This is shown at the top of the hierarchy display. To view Simulation Sources, expand the “Simulation Sources” folder. After adding the ALU from the previous lab as a source, you should see both the ALU and the testbench we have just loaded. The testbench is very similar to the one presented in your textbook, but it is not exactly the same2. There are a few modifications that we need to make in the testbench, so that we can simulate the ALU properly.
2 The main difference in this testbench is that we use a single process to apply both the stimulus and to compare the expected responses. One test clock period is 100 ns. The inputs are applied at 20 ns into the test clock period and the outputs are sampled 60 ns

4
Using the text editor, open the ALU_test.v and make the following modifications. The parts where you are supposed to make a modification are stated in the comments.
1. Declare an array that is big enough to hold all our test cases and can store the inputs aluop, a, b and the expected value of the output exp_result.
2. Add a statement that reads the contents of the ‘testvectors_hex.txt’ file into the array declared above. Hint: You can use the readmemh function (check online documentation for how to use). It is best to specify the entire path for the file when reading it.
3. Generate the value of ‘exp_zero’ from the ‘exp_result’. A simple assign statement should be sufficient to generate this.
4. Instantiate the ALU in this testbench. Ensure that you connect the signals correctly.
We have described the ALU, we have written a testbench that will apply the vectors in the file testvectors_hex.txt and check the actual outputs of our ALU against what we expect. Now it is time to simulate.
Simulating the ALU There are many commercial digital simulators that can be used to simulate Verilog circuits. In this exercise, we use the built-in simulator from Vivado.
Select the ALU_test on the hierarchy (if it is not already selected). On the Flow Navigator window, there will be the a ‘Simulation’ section. Expand ‘Run Simulation’ and select ‘Run Behavioral Simulation’ If everything is OK, you should see a window similar to the one below. In order to view the entire simulation period, you may have to right click the waveforms window and select ‘Full View’:
later. This gives ample time for the outputs to propagate and is sufficiently far away from the next clock edge.

5
Fig.1 Vivado main window
Navigating your way in Vivado The bottom part of Vivado contains the Tcl console. This is pretty important, as the $display messages within the testbench will be displayed in this window3. If for some reason the simulator did not start, it most probably means that the simulator has encountered an error while compiling your Verilog code. The most common cause for this is a syntax error in your testbench. Scroll up on the console to find the reason why the code did not compile. Exit the simulator, correct the error in the editor and restart the simulator by selecting ‘Run Behavioral Simulation’.
Since in the testbench we have a $finish statement, the simulator will automatically stop once the $finish is reached4.
In the top part of the Vivado window select ‘Run all’ or press F3
so that the simulator continues the simulation until the end. Examine the console, make sure that the circuit is working. Show an assistant the working ALU from Lab5.
3 If you look carefully at Fig.1 you will see that the simulation has completed with 1 error. You could scroll up and see the error messages displayed during the simulation that will help you identify the problems. 4 This happens when all the test vectors have been exhausted.

6
Debugging Problems Using a simulator can help you locate the problems in your circuits. You can not only observe the outputs, but the state of all internal variables as well. Since you have significant experience in writing Verilog code, a friend has asked you for help. The code ‘bad_ALU.v’ is supposed to work the same way as your ALU, but it does not simulate correctly using the same testbench and testvectors.
Add the source ‘bad_ALU.v’ to your project and adapt your testbench so that bad_ALU is instantiated (and not your ALU). Simulate the circuit and make sure you see the errors.
There should be at least 7 errors (in 12 testvectors). The console will display all the problems (you can adapt the style of reporting errors to suit your preferences). In addition, you have the wave window at your disposal. By default, this window will display all values in a reasonable radix. You can select a signal and press the right mouse button, this will display a context menu. Select
Radix àHexadecimal to change the display to hexadecimal (or any other option that you find practical). You can even select multiple signals and change all of them at the same time.
By selecting the name of your instance (typically called uut) in the hierarchy browser, you will be able to select internal signals of the bad_ALU in the objects window. This can be seen in the figure below.
Fig.2 uut is highlighted in Vivado, and internal signals of the bad_ALU are selected
7
You can then use the context menu (by pressing the right mouse button) and select Add to Wave Window
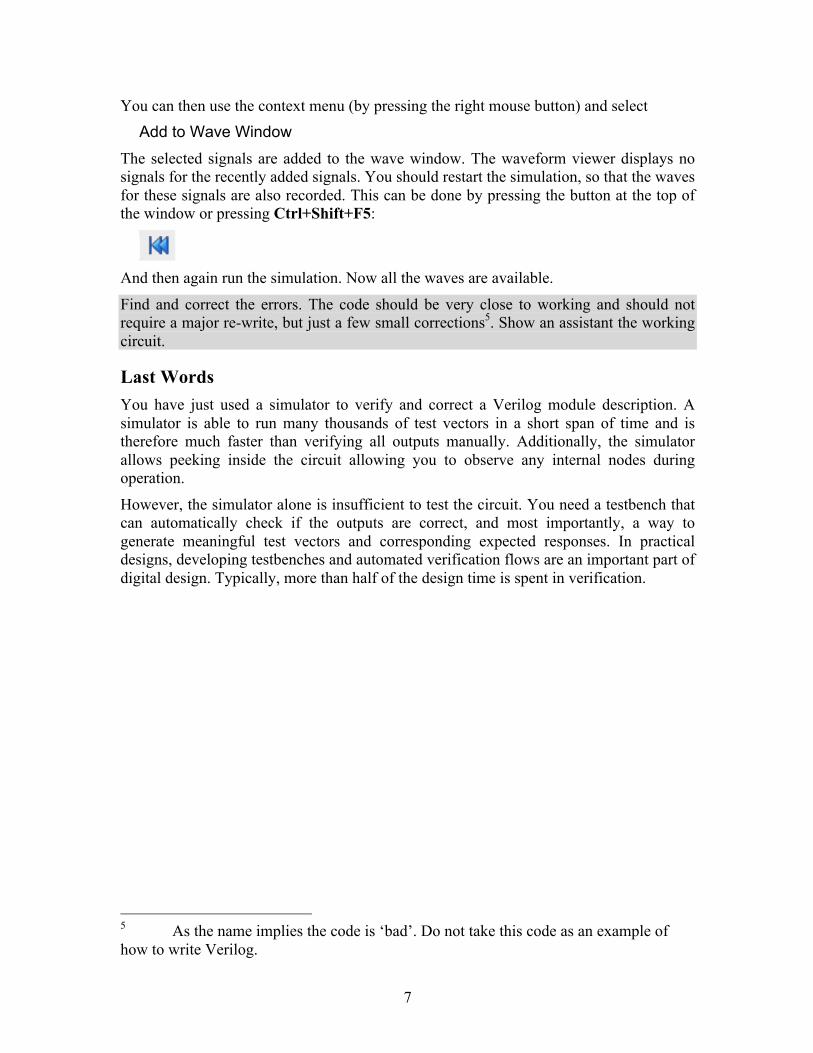
The selected signals are added to the wave window. The waveform viewer displays no signals for the recently added signals. You should restart the simulation, so that the waves for these signals are also recorded. This can be done by pressing the button at the top of the window or pressing Ctrl+Shift+F5:
And then again run the simulation. Now all the waves are available.
Find and correct the errors. The code should be very close to working and should not require a major re-write, but just a few small corrections5. Show an assistant the working circuit.
Last Words You have just used a simulator to verify and correct a Verilog module description. A simulator is able to run many thousands of test vectors in a short span of time and is therefore much faster than verifying all outputs manually. Additionally, the simulator allows peeking inside the circuit allowing you to observe any internal nodes during operation.
However, the simulator alone is insufficient to test the circuit. You need a testbench that can automatically check if the outputs are correct, and most importantly, a way to generate meaningful test vectors and corresponding expected responses. In practical designs, developing testbenches and automated verification flows are an important part of digital design. Typically, more than half of the design time is spent in verification.
5 As the name implies the code is ‘bad’. Do not take this code as an example of how to write Verilog.

8
Part 1 Fill in the table below the expected outputs of the ALU for the given inputs. Values are in hexadecimal notation: Inst aluop a b result
ADD 0 00 00 00 00 00 00 00 00 00 00 00 00
ADD 0 00 00 00 01 00 00 00 00
ADD 0 00 00 00 01 FF FF FF FF
SUB 2 00 00 00 00 00 00 00 01
AND 4 01 23 45 67 89 AB CD EF
OR 5 01 23 45 67 89 AB CD EF
XOR 6 01 23 45 67 89 AB CD EF
NOR 7 00 00 00 00 F0 A5 E1 87
SLT A 00 00 01 00 FF FF FF EF
SLT A 00 00 01 00 00 00 10 00
SLT A 00 00 01 00 00 00 01 00
SLT A 00 00 01 FF 00 00 01 00
Part 2 Confirmation Required. Show an assistant that your ALU from Lab5 is working correctly.
Digital Circuits Laboratory Exercises Lab 6: Testing the ALU
Date Grade
Group Number
Names Assistant

9
Part 3 Confirmation Required. Show an assistant that you have corrected the problems with the faulty ALU. List the problems you have found in this code below: 1)
2)
3)
Part 4 Is there anything else wrong with the Verilog code of bad_ALU? Is it possible that the Verilog code is not suitable for synthesis even though it simulates correctly? (Hint: Look in the Design Summary to compare the performance and efficiency of the circuit with your ALU implementation in Lab 5.)
Part 5 If you have any comments about the exercise please add them here: mistakes in the text, difficulty level of the exercise, anything that will help us improve it for the next time.