here’s a step-by-step on fully ... - gateway to air guns · pdf filegamo, crosman,...
TRANSCRIPT

GAMO, CROSMAN, CHINESE TRIGGER GROUP DISASSEMBLY:
Here’s a step-by-step on fully disassembling and reassembling your trigger pack.
Here’s what your trigger pack looks like once you have it out of the rifle. This particular
one is from a newer Gamo, so it doesn’t have an integrated tab attached to the rear, but
everything else is the same:
Note: Removal of the trigger itself isn’t necessary to remove all the other parts so I won’t
be doing it in this write up.
Disassembly Let’s begin. Flip the trigger pack around and you’ll see the safety lever spring
(highlighted in yellow). We start by disengaging that spring. I simply use a small flat
head screwdriver to pry and lift one end off:


Now that the safety spring is off the safety, we’ll remove the sear and sear spring. Start
by backing out the pin (yellow) holding the sear and spring inside. Don’t take it all the
way out, just back it out enough for the sear and spring to clear (you’ll see why next:


The highlighted spring in the photo above is the intermediate lever spring. That spring is
under tension against the sear pin, so you’re backing the pin out just enough to remove
the sear and sear spring, while still retaining the tension of the intermediate lever spring:
Once the sear pin is backed out enough, you can now lift both the sear and sear spring
out. Notice the intermediate lever spring is still being held under by the sear pin:

You can now begin removing the sear pin and safety spring. I use a small flat head to
push the intermediate lever spring down, releasing tension against the pin. Once you pull
the pin out, slowly let the lever spring go. Be careful, there’s a good amount of tension on
that spring to flip forward and whack your hand. It’s also thin and many times can have a
sharp end. Use a rag or glove on your hand when doing this to protect your hand from
getting whacked by it:

Now we can remove the intermediate lever and its spring. The pin holding those two
parts in place also holds the safety lever in place. Remove the highlighted e-clip, then
slide it right out. The rest of the parts should now fall out:


Here’s a complete parts identification guide:

Reassembly Time to reassemble. This next photo illustrates how the intermediate lever, its spring and
the safety lever are all held in relation to each other in the trigger housing:

Here they are when place back into the trigger housing:
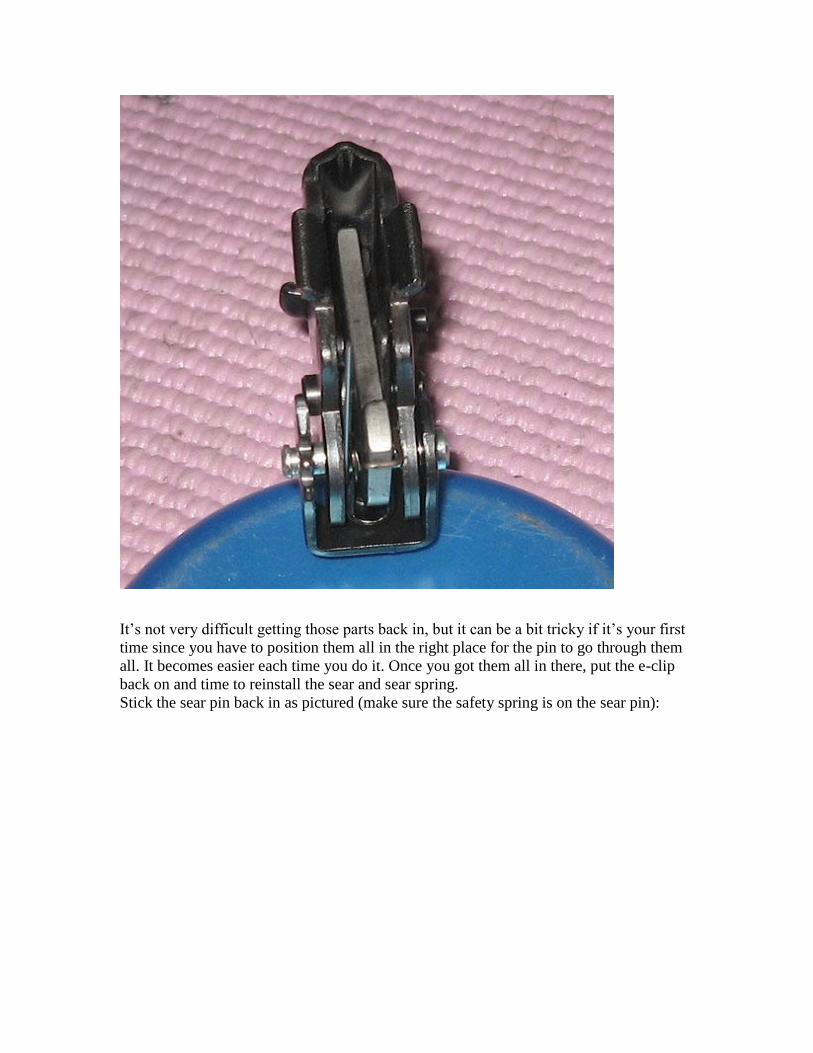
It’s not very difficult getting those parts back in, but it can be a bit tricky if it’s your first
time since you have to position them all in the right place for the pin to go through them
all. It becomes easier each time you do it. Once you got them all in there, put the e-clip
back on and time to reinstall the sear and sear spring.
Stick the sear pin back in as pictured (make sure the safety spring is on the sear pin):

Now take a small flat head screwdriver and carefully work the end of the intermediate
lever spring (highlighted) underneath the sear pin as pictured:

You can now insert the sear spring (highlighted), legs down and tab facing forward:

Once the sear spring is in place, position your sear by placing it over the notch and in
between the sear spring. Grab that little screwdriver again, press down on the
intermediate lever spring to release the tension against the sear pin, and push the pin all
the way through:
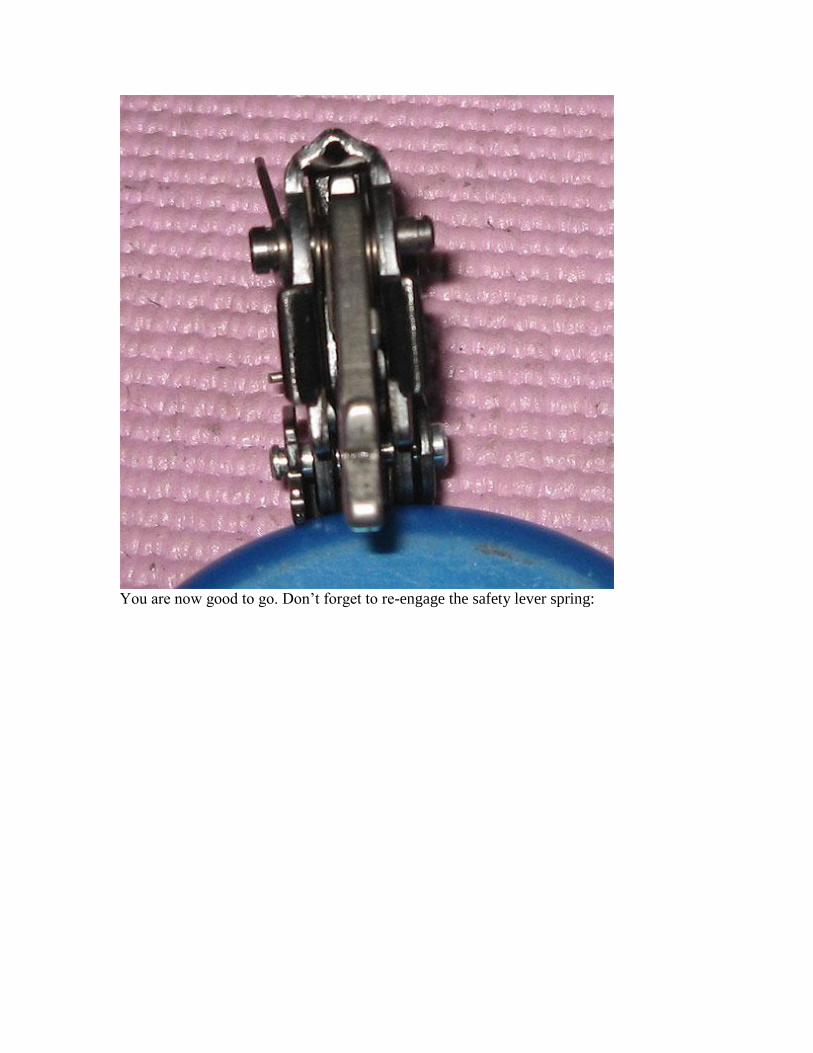
You are now good to go. Don’t forget to re-engage the safety lever spring:

ALL DONE !!