mini 4-h sewing - purdue extension
TRANSCRIPT
Mini 4-H
SEWING
We would like to thank Elkart County 4-H & Karla Smith, Program Assistant-
Purdue Extension Hendricks County for sharing their work with us. This manual utilizes parts of each of their work.
Tippecanoe County Mini 4-H Sewing Manual
Revised March 2020
2
4-H Facts
The 4-H Symbol: A four leaf clover with an “H” in each leaf.
4-H Colors: Green and White The 4-H Motto: To make the best better! The 4-H Pledge:
I Pledge My Head to clearer thinking My Heart to greater loyalty My Hands to larger service My Health to better living For my Club, My Community, My Country, and my World.
3
Mini 4-H Parent’s Page
We welcome you and your child to the Mini 4-H program. Mini 4-H is for children in kindergarten, first and second grades during the current 4-H year. Mini 4-H is designed to supplement and introduce Mini 4-H to the Tippecanoe County 4-H program. As a Mini 4-H parent, your job is to guide your child through the activities. It is suggested that you do not complete the activities for them. Instead, help them, guide them, work with them, and let them do all that they possibly can. Learning by doing is the best educational tool that we can provide for our youth. Additionally, the Mini 4-H program is set up to allow your child to exhibit a project at the 4-H Fair. This project is based on information within this manual. The 4-H Fair is an exciting time for 4-H members and families. It is a week that allows community youth to showcase their talents, interests and enthusiasm for learning. Mini 4-H is fun! Your child will certainly enjoy it. You can have fun too, by guiding and helping as your child participates in the program. Encourage and praise your child as he/she has fun learning and sharing with you.
Arts & Crafts Including Sewing Rules
Kindergarten: Complete the kindergarten section of the Mini 4-H Sewing Manual
and display the project listed in the manual OR complete one activity in the Mini 4-H Arts and Crafts Manual and display what you created in the activity following the general rules for projects (listed in the rule book).
First Grade: Complete the first grade section of the Mini 4-H Sewing Manual and display the project listed in the manual OR complete two activities in the Mini 4-H Arts and Crafts Manual and display one of the items you created in the activity following the general rules for projects (listed in the rule book).
Second Grade: Complete the second grade section of the Mini 4-H Sewing Manual and display the project listed in the manual OR complete three activities in the Mini 4-H Arts and Crafts Manual and display one of the items you created in the activity following the general rules for projects (listed in the rule book
4
Why do I need to know how to sew? Sewing is an important skill to know. Sometime in your life a button will fall off or a favorite pair of pants will get a hole in the pocket. You will need to repair them and you will be glad you know how to do some simple sewing. Also, sewing is a great way to create way to create beautiful items like quilts, decorative pillows, aprons and dresses to decorate and enhance your home or wardrobe. You do not need a sewing machine to do this project. There are choices for you, if you would like to use a machine to sew.
Important Tips for Sewing
• Before you start, make sure your hands and work station are clear of anything that could soil your beautiful fabric.
• Don’t be in a rush when you sew. This is how mistakes happen.
• Make sure you have good posture and are sitting in a chair with a back on it so you do not tire out.
• Sit where there is lots of good light.
• Always clean up your work station when you are done and put your work in a safe spot.
• It is a good idea to have an adult help you press your fabric before starting your project.
5
Tools Every Grade Level Needs
A sewing kit is a box that will keep all your sewing tools together and safe until you need to use them for a project or repair. A pin cushion is used to store your pins safely while not in use. Always make sure your pins make it back to your pin cushion. Nobody likes finding a pin on the floor…with their foot.
Materials for Sewing Kit: Sturdy Box – to hold your sewing tools. Scissors – for trimming and clipping. Small pair works best. Pins – for holding fabric together and steady while you sew. Thread – good to match your thread color to your fabric color. Thimble – choose the right size to fit your pointer finger. Tailor’s Chalk – use it to mark the lines you want to sew or cut. Needles – ones that you can use with regular thread (size #7 or #8). Ruler – a six inch ruler to check hems or seam margins. Measuring Tape – used to measure while sewing. A coated tape is best. Embroidery Needle – Large needle that can be used with embroidery floss. Stitch Ripper – helps remove machine made stitches when a mistake is made. Pin Cushion – stores pins safely between projects. 1st graders have the option of making one. Once you have selected your sewing box, decorate it however you like! Make it personal. You can cover it with fabric, paper, add stickers, trim, spray paint or hand paint. Place all your items inside. Make sure they fit and your box will close. You can follow the instructions for a pin cushion on the following page or make a pin cushion from a different pattern. Pinterest has lots of cute ideas if you would prefer to make a different style.
6
Kindergarten
Each Mini 4-Her to complete the project will learn how to knot a thread, sew on a 2 holed button, basic hand stitiching, record their practice in this manual and
complete a travel tic tac toe board to display.
Skills: Knot a Thread Twist the end of your thread around the first finger of your hand 2 times and with your thumb, roll it off your finger. Pull the thread with your finger and thumb, and you will have knotted the thread. Do this several times until you can easily tie a knot. If you use a double thread, your thread will not come out of your needle while you are sewing. A double thread means you knot both ends of your thread together. Sewing 2 Holed Button Please visit the website below. The link leads to a tutorial on sewing a two holed button including excellent pictures and a downloadable one sheet instruction page. https://www.allfreesewing.com/Basics-and-Tutorials/Hand-
Sewing-Buttons Basic Hand Stitching
Make It and Love It, a blog, offers an excellent activity to learn and practice straight stitches. https://makeit-loveit.com/teaching-kids-to-hand-sew
Practice:
1. Practice each skill at least 3 times. Record you practice dates below.
Skill Date 1 Date 2 Date 3
Threading a Needle
Sewing a 2 Holed Button
Practice Basic Hand Stitching
7
Project:
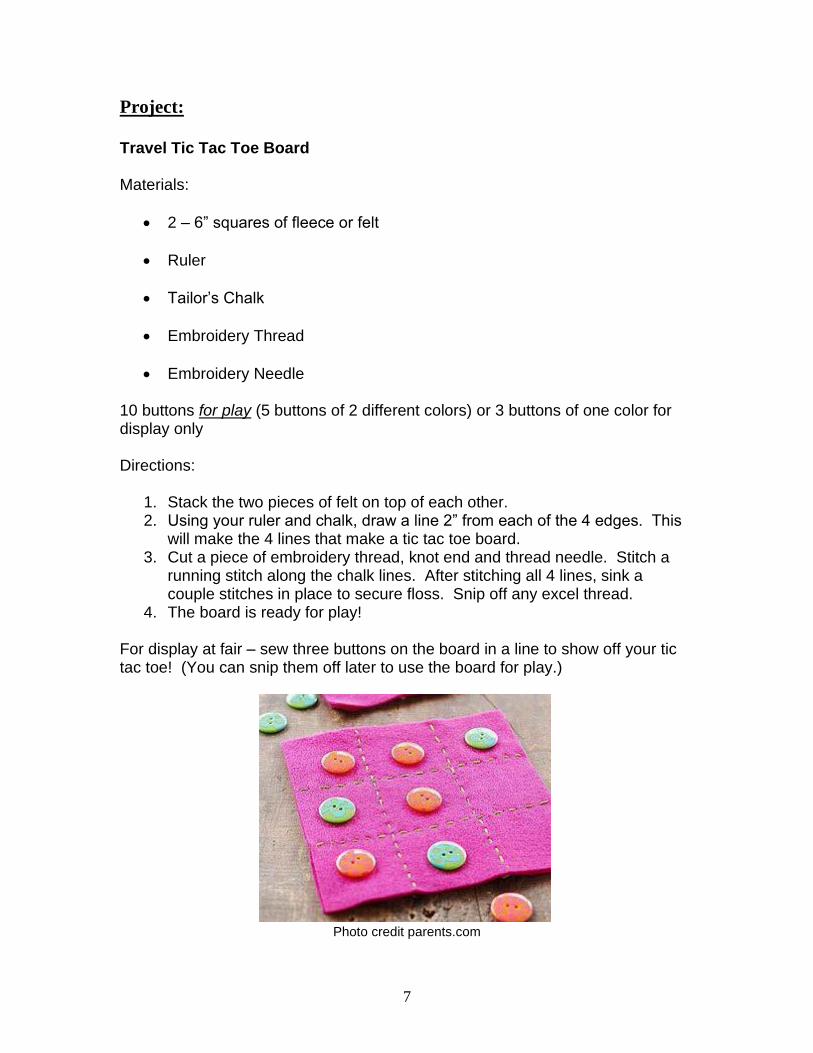
Travel Tic Tac Toe Board Materials:
• 2 – 6” squares of fleece or felt
• Ruler
• Tailor’s Chalk
• Embroidery Thread
• Embroidery Needle 10 buttons for play (5 buttons of 2 different colors) or 3 buttons of one color for display only Directions:
1. Stack the two pieces of felt on top of each other. 2. Using your ruler and chalk, draw a line 2” from each of the 4 edges. This
will make the 4 lines that make a tic tac toe board. 3. Cut a piece of embroidery thread, knot end and thread needle. Stitch a
running stitch along the chalk lines. After stitching all 4 lines, sink a couple stitches in place to secure floss. Snip off any excel thread.
4. The board is ready for play! For display at fair – sew three buttons on the board in a line to show off your tic tac toe! (You can snip them off later to use the board for play.)
Photo credit parents.com
8
What did you learn? How did you keep your lines straight? __________________________________ ________________________________________________________________ ________________________________________________________________ Was it hard to sew on your buttons? ________________________________________________________________ ________________________________________________________________
9
First Grade Each Mini 4-Her to complete the project will learn how to knot a thread, sew on a
4 holed button, perform four basic stitches, record their practice in this manual and complete either a pin cushion or a button apple tree to exhibit at the fair.
Skills: Knot a Thread Twist the end of your thread around the first finger of your hand 2 times and with your thumb, roll it off your finger. Pull the thread with your finger and thumb, and you will have knotted the thread. Do this several times until you can easily tie a knot. If you use a double thread, your thread will not come out of your needle while you are sewing. A double thread means you knot both ends of your thread together. Sewing 4 Holed Button Please visit the website below. The link leads to a tutorial on sewing a two holed button including excellent pictures and a downloadable one sheet instruction page. https://www.allfreesewing.com/Basics-and-Tutorials/How-to-
Sew-a-4-Hole-Button Four Basic Hand Stitches
Please visit the website below. Pixie Faire, a blog, offers a great visual tutorial on how to perform four hand stitches. https://www.pixiefaire.com/blogs/sewing-tips-resources/14211157-how-to-do-four-basic-hand-stitches
Practice:
1. Practice each skill at least 3 times. Record you practice dates below.
Skill Date 1 Date 2 Date 3
Threading a Needle
Sewing a 4 Holed Button
Practice All Four Stitches
10
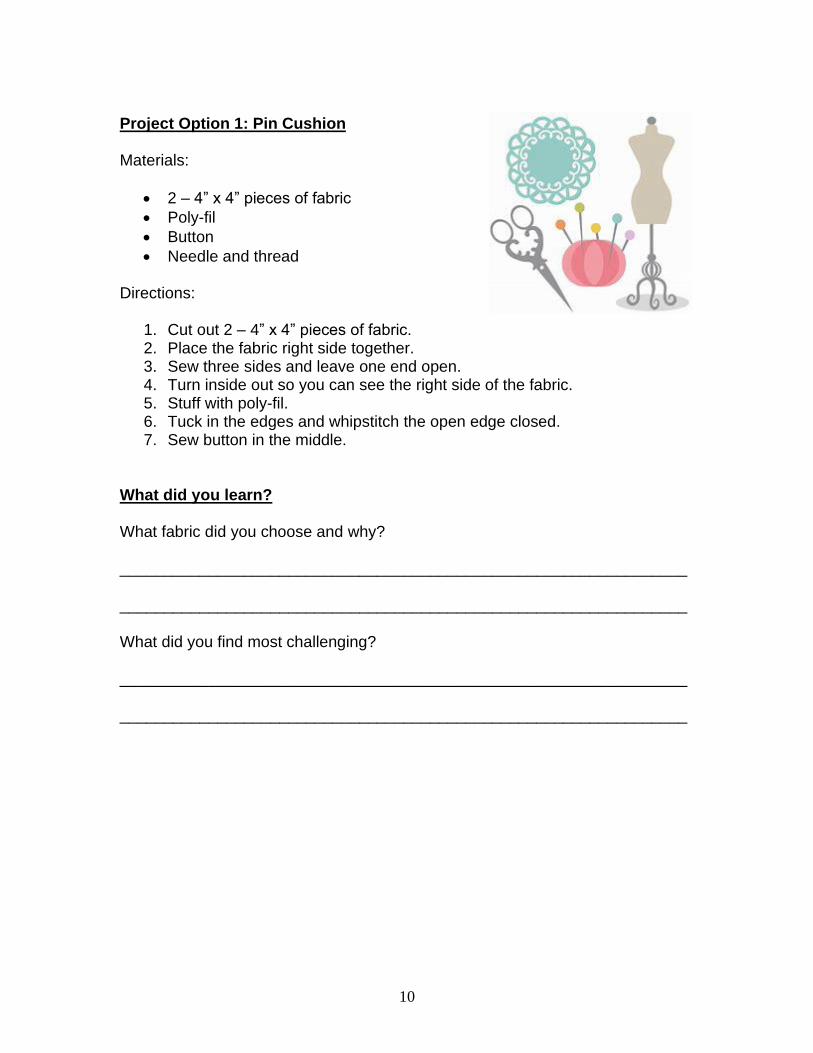
Project Option 1: Pin Cushion Materials:
• 2 – 4” x 4” pieces of fabric
• Poly-fil
• Button
• Needle and thread Directions:
1. Cut out 2 – 4” x 4” pieces of fabric. 2. Place the fabric right side together. 3. Sew three sides and leave one end open. 4. Turn inside out so you can see the right side of the fabric. 5. Stuff with poly-fil. 6. Tuck in the edges and whipstitch the open edge closed. 7. Sew button in the middle.
What did you learn? What fabric did you choose and why? ________________________________________________________________ ________________________________________________________________ What did you find most challenging? ________________________________________________________________ ________________________________________________________________
11
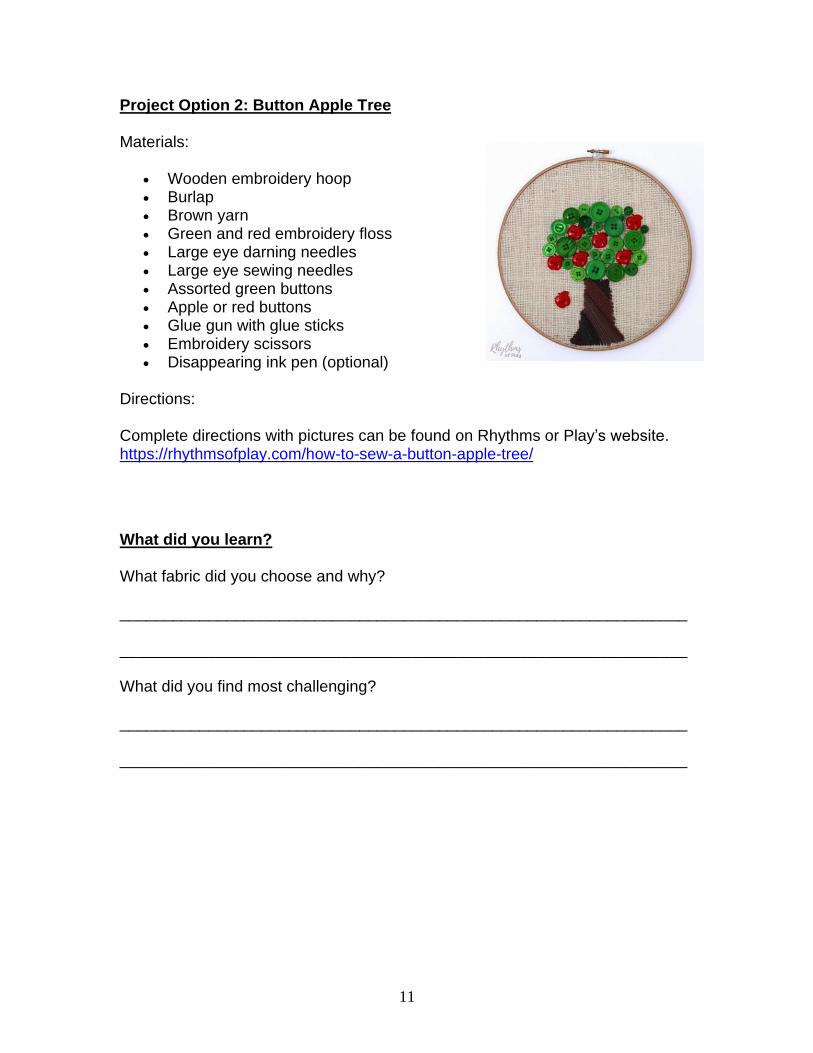
Project Option 2: Button Apple Tree Materials:
• Wooden embroidery hoop • Burlap • Brown yarn • Green and red embroidery floss • Large eye darning needles • Large eye sewing needles • Assorted green buttons • Apple or red buttons • Glue gun with glue sticks • Embroidery scissors • Disappearing ink pen (optional)
Directions: Complete directions with pictures can be found on Rhythms or Play’s website. https://rhythmsofplay.com/how-to-sew-a-button-apple-tree/
What did you learn? What fabric did you choose and why? ________________________________________________________________ ________________________________________________________________ What did you find most challenging? ________________________________________________________________ ________________________________________________________________
12
Second Grade
Each Mini 4-Her to complete the project will learn how to operate a sewing machine, practice sewing on the machine, record their practice in this manual and complete either a machine sewn reversable place mat or machine sewn
fabric flower. Skills: Learning How to Use a Sewing Machine and Perform Basic Stitches
Make It and Love It, a blog, offers an excellent tutorial on sewing machines and basic stitches. https://makeit-loveit.com/teaching-kids-sew-intro-sewing-machine
Practice:
1. Practice sewing machine stitches at least 6 times.
Skill Date 1 Date 2 Date 3
Date 4 Date 5 Date 6
Practice Stitches
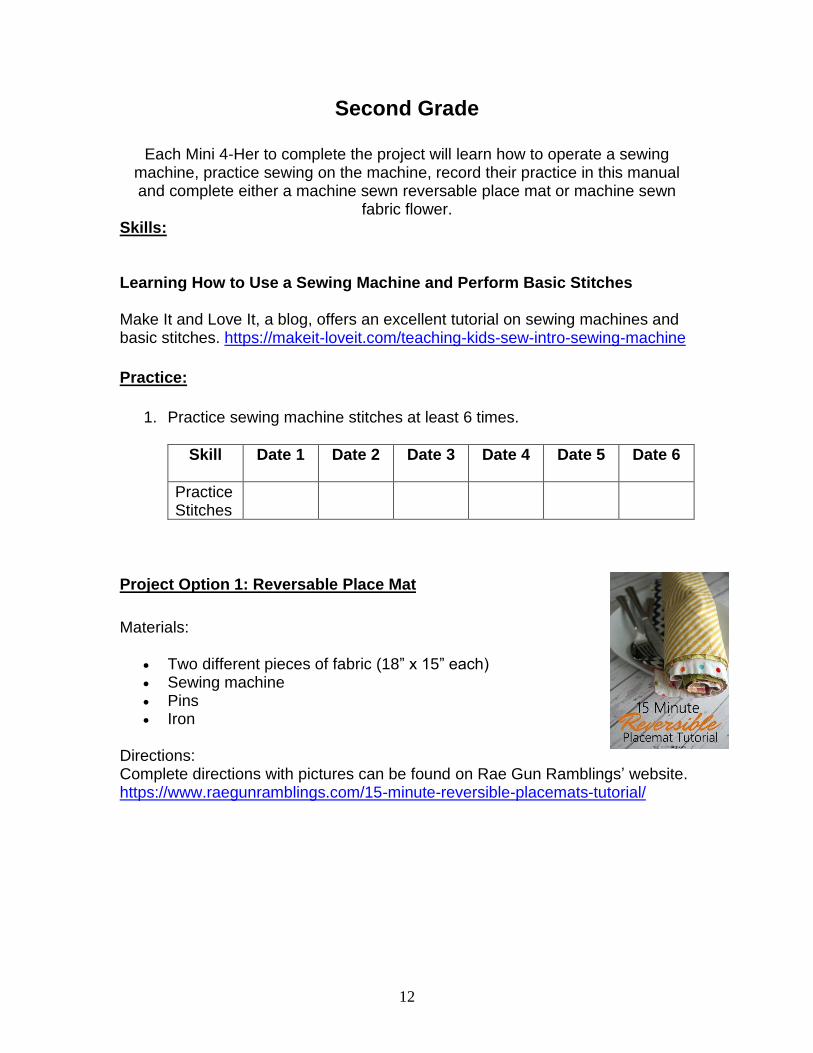
Project Option 1: Reversable Place Mat
Materials:
• Two different pieces of fabric (18” x 15” each) • Sewing machine • Pins • Iron
Directions: Complete directions with pictures can be found on Rae Gun Ramblings’ website. https://www.raegunramblings.com/15-minute-reversible-placemats-tutorial/
13
What did you learn? What fabric did you choose? Why did you choose it? ________________________________________________________________
What was the hardest thing about using the sewing machine? ________________________________________________________________
What did you do enjoy best about this project? ________________________________________________________________
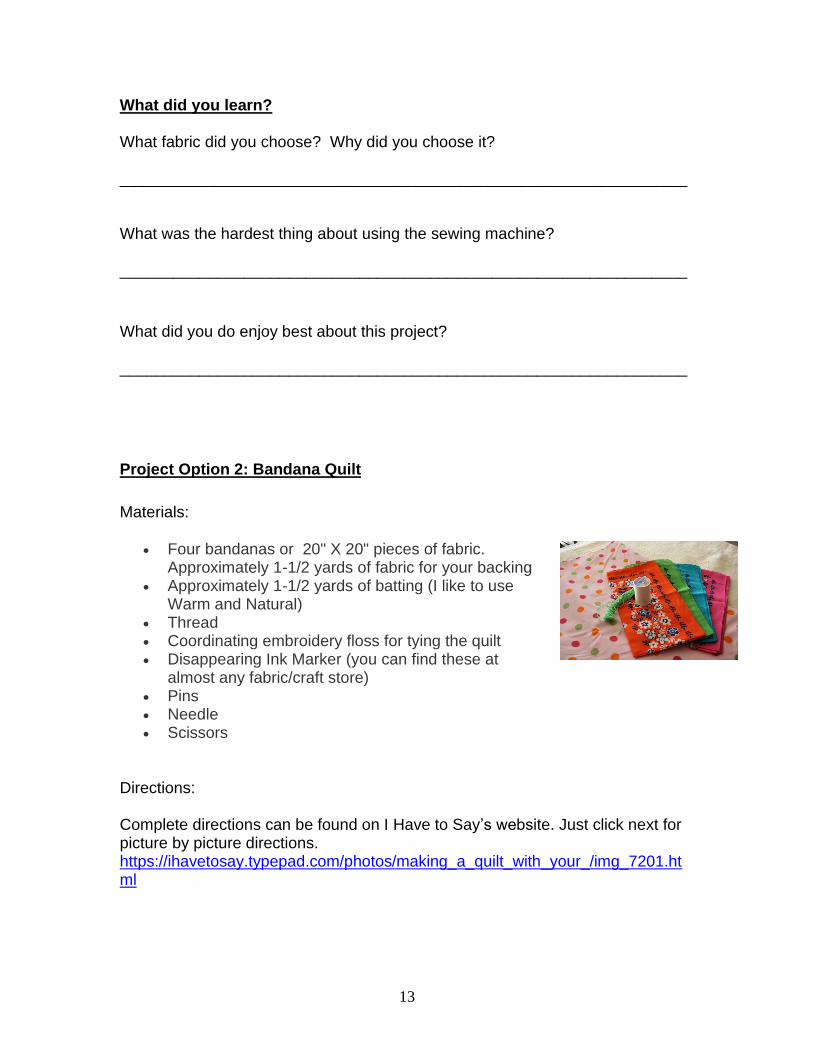
Project Option 2: Bandana Quilt
Materials:
• Four bandanas or 20" X 20" pieces of fabric. Approximately 1-1/2 yards of fabric for your backing
• Approximately 1-1/2 yards of batting (I like to use Warm and Natural)
• Thread • Coordinating embroidery floss for tying the quilt • Disappearing Ink Marker (you can find these at
almost any fabric/craft store) • Pins • Needle • Scissors
Directions: Complete directions can be found on I Have to Say’s website. Just click next for picture by picture directions. https://ihavetosay.typepad.com/photos/making_a_quilt_with_your_/img_7201.html
14
What did you learn? What fabric did you choose? Why did you choose it? ________________________________________________________________
What was the hardest thing about using the sewing machine? ________________________________________________________________
What did you do enjoy best about this project? ________________________________________________________________
15
Record Sheet
Name ______________________________________________Grade _______
What did you make to exhibit at the fair?
________________________________________________________________
How much time did you spend on this project?___________________________
What kind of fabric did you use? _____________________________________
________________________ Color? ____________ Cost?________________
Who helped you with your project?_________________________________
What do you like about sewing? ______________________________________
________________________________________________________________