html session plan - technocamps
TRANSCRIPT

HTML Session Plan
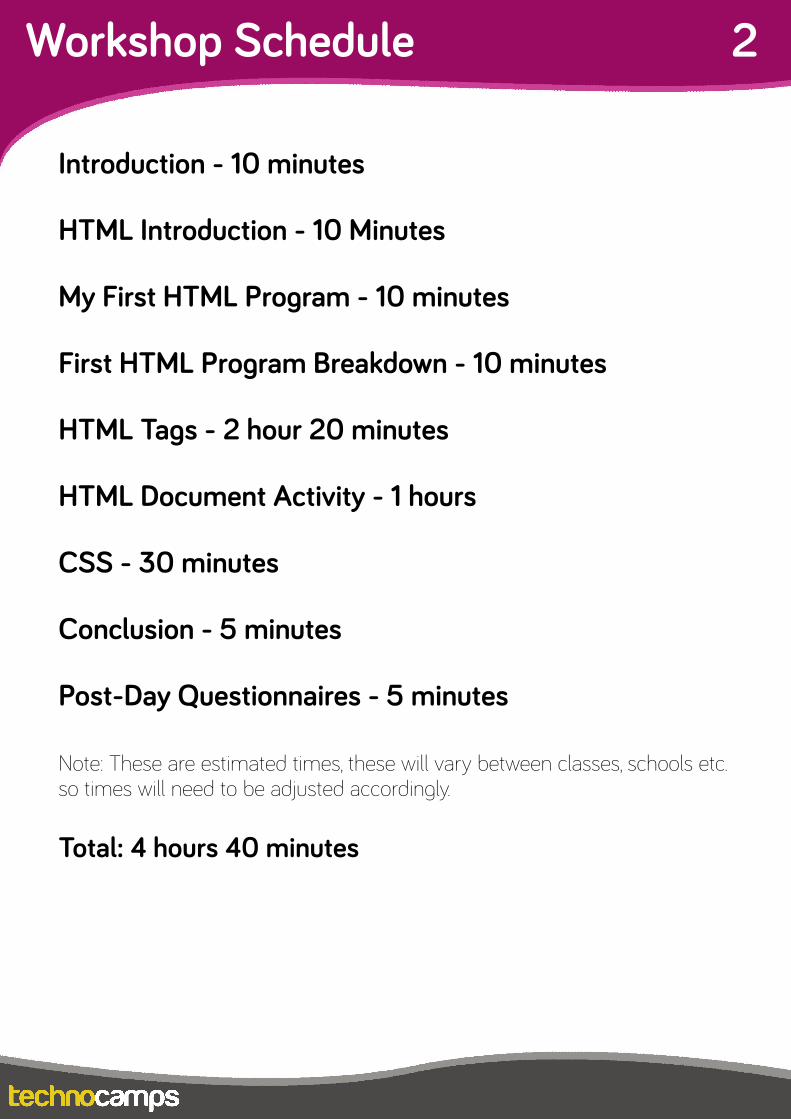
Workshop Schedule 2
Introduction - 10 minutes
HTML Introduction - 10 Minutes
My First HTML Program - 10 minutes
First HTML Program Breakdown - 10 minutes
HTML Tags - 2 hour 20 minutes
HTML Document Activity - 1 hours
CSS - 30 minutes
Conclusion - 5 minutes
Post-Day Questionnaires - 5 minutes
Note: These are estimated times, these will vary between classes, schools etc. so times will need to be adjusted accordingly.
Total: 4 hours 40 minutes
Learning Outcomes 3
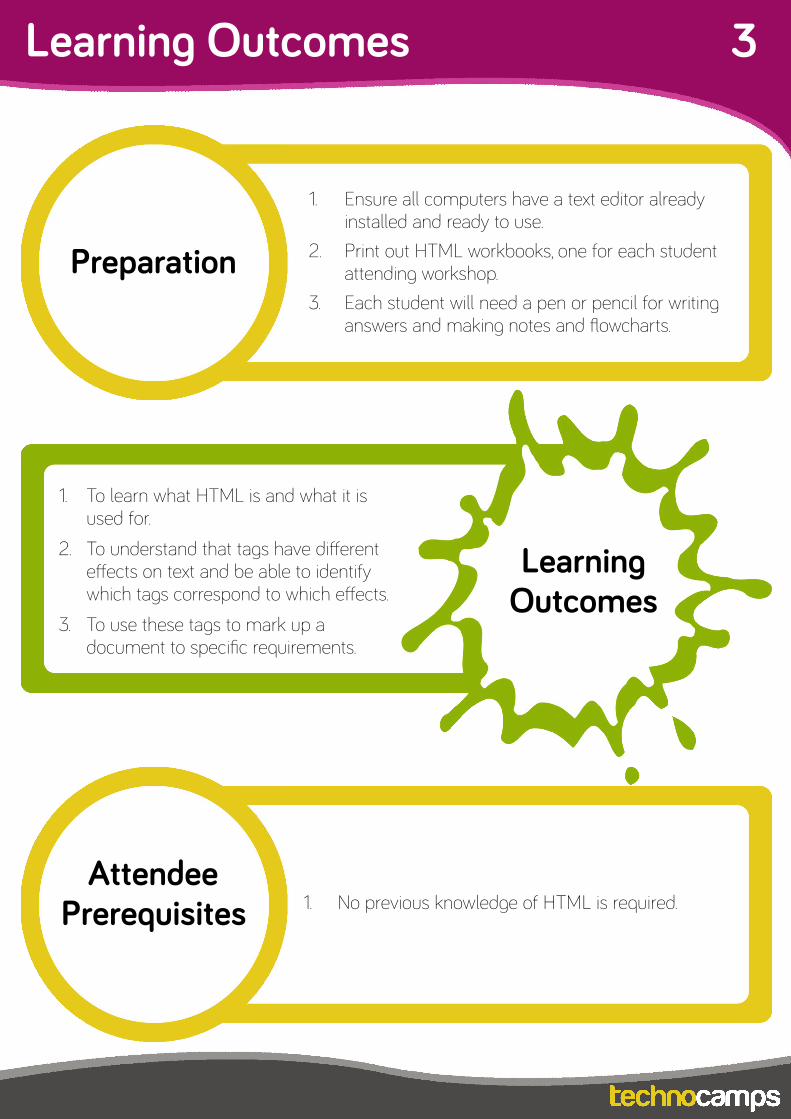
1. Ensure all computers have a text editor already installed and ready to use.
2. Print out HTML workbooks, one for each student attending workshop.
3. Each student will need a pen or pencil for writing answers and making notes and flowcharts.
1. To learn what HTML is and what it is used for.
2. To understand that tags have different effects on text and be able to identify which tags correspond to which effects.
3. To use these tags to mark up a document to specific requirements.
Preparation
Learning Outcomes
Attendee Prerequisites 1. No previous knowledge of HTML is required.

Introduction 4
In this session plan we use the following colours to differentiate the types of activities:
• Yellow - Explain. Teachers should explain the slide/example to the class. • Green - Discuss. Teachers should start an open discussion with the class to get them to feedback some answers/ideas.
• Purple - Activity. Students are expected to complete an activity whether it be in their workbooks or on the computer, followed by a discussion of their solutions.
• Green - Introduction/Conclusion. The introduction/conclusion is also colour coded green. Teachers should hand out materials in the introduction and conclude the day and collect materials at the end.
Session Plan Key
Begin with introductions, and a brief explanation of the Technocamps programme, before handing out pre-day questionnaires to be filled out by the students and teacher.
Introduction
Students to write what they think HTML is and it’s uses in their workbooks. Ask students for answers to see what they think: • What is HTML? • What does it stand for? • What is it used for? • What are HTML tags? Does anyone know?
Activity: What is HTML?
What is HTML? 5
What does HTML look like?
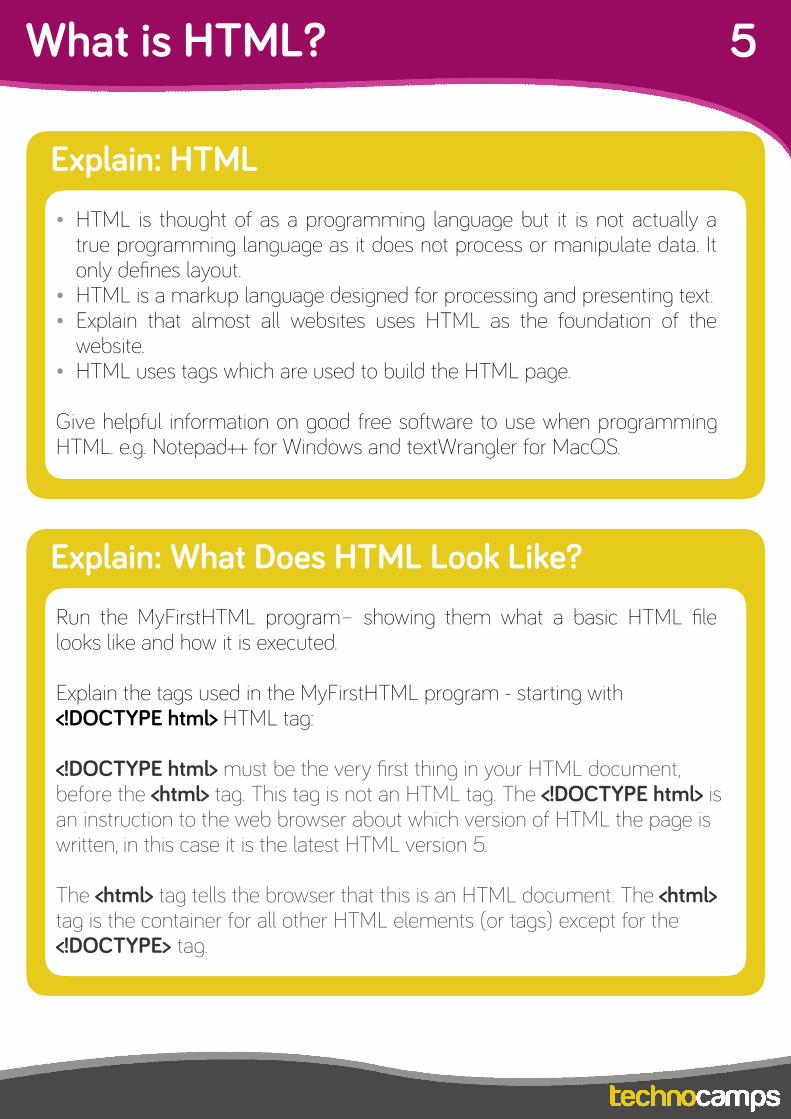
• HTML is thought of as a programming language but it is not actually a true programming language as it does not process or manipulate data. It only defines layout.
• HTML is a markup language designed for processing and presenting text. • Explain that almost all websites uses HTML as the foundation of the
website. • HTML uses tags which are used to build the HTML page.
Give helpful information on good free software to use when programming HTML. e.g. Notepad++ for Windows and textWrangler for MacOS.
Explain: HTML
Run the MyFirstHTML program– showing them what a basic HTML file looks like and how it is executed.
Explain the tags used in the MyFirstHTML program - starting with <!DOCTYPE html> HTML tag:
<!DOCTYPE html> must be the very first thing in your HTML document, before the <html> tag. This tag is not an HTML tag. The <!DOCTYPE html> is an instruction to the web browser about which version of HTML the page is written, in this case it is the latest HTML version 5.
The <html> tag tells the browser that this is an HTML document. The <html> tag is the container for all other HTML elements (or tags) except for the <!DOCTYPE> tag.
Explain: What Does HTML Look Like?

HTML Tags 6
Ask the students to open a HTML editor and type in <!DOCTYPE html>, then the <html> and </html> as shown on the slides.
Activity: DOCTYPE
The <head> tag is a container for all the head elements. The <head> element can include a title for the document, scripts, styles, meta information, and more. The <title> tag is required in all HTML documents. The <title> tag: defines a title in the browser toolbar. provides a title for the page when it is added to favourites. displays a title for the page in search-engine results.
The <body> tag defines the document's body. The <body> tag contains all the contents of an HTML document, such as text, hyperlinks, images, tables, lists, etc.
Explain: HTML Tags <head>, <title>, <body>
Students should copy and execute the code from the slide.
Activity: <head>, <title>, <body>
Students should fill the blanks on the HTML description in their workbooks.
Activity: Fill the Blanks
7Pairwise Tags
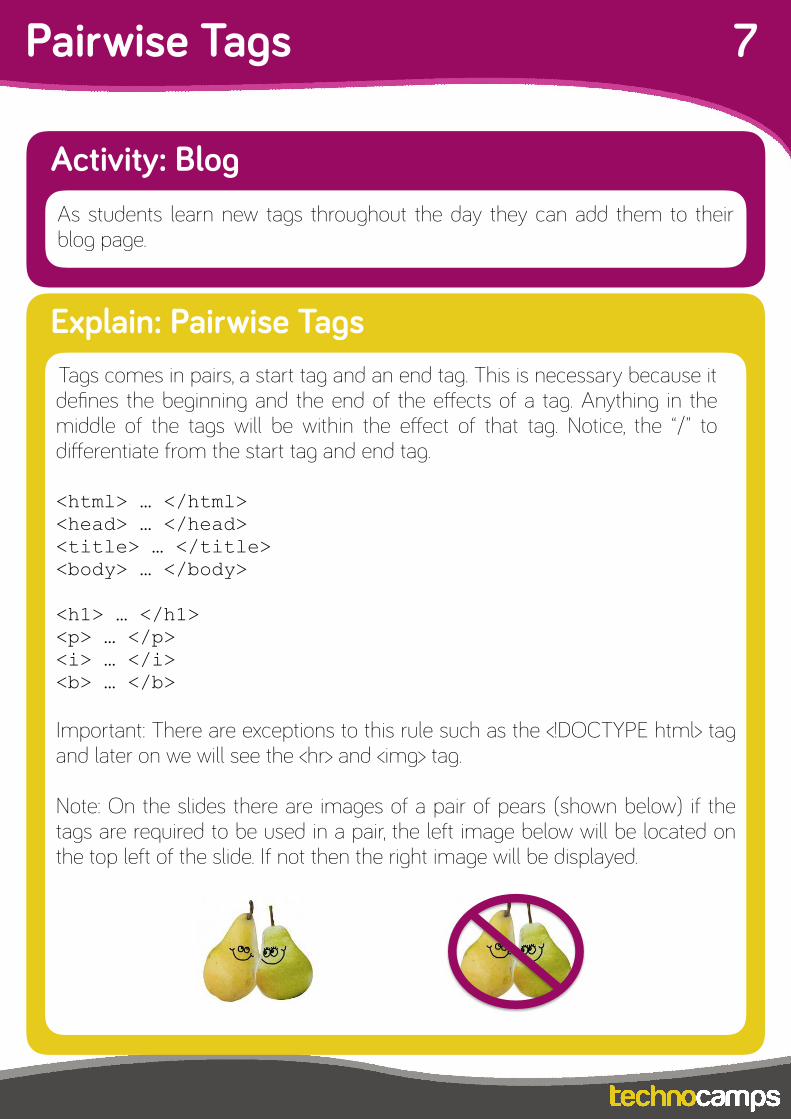
Tags comes in pairs, a start tag and an end tag. This is necessary because it defines the beginning and the end of the effects of a tag. Anything in the middle of the tags will be within the effect of that tag. Notice, the “/” to differentiate from the start tag and end tag.
<html> … </html> <head> … </head> <title> … </title> <body> … </body> <h1> … </h1> <p> … </p> <i> … </i> <b> … </b>
Important: There are exceptions to this rule such as the <!DOCTYPE html> tag and later on we will see the <hr> and <img> tag.
Note: On the slides there are images of a pair of pears (shown below) if the tags are required to be used in a pair, the left image below will be located on the top left of the slide. If not then the right image will be displayed.
Explain: Pairwise Tags
As students learn new tags throughout the day they can add them to their blog page.
Activity: Blog
8Headings
Explain: Headings <h1> - <h6>
Activity 3
The <h1> to <h6> tags are used to define HTML headings. h1 defines the most important heading. h6 defines the least important heading. Note: use h1 to h6 tags only for headings. Do not use them just to make text bold or big. Use other tags for that.
Explain: Headings <h1> - <h6>
Using the tags <h1> to <h6> students are to create a new HTML code to produce the output on the slide.
Note: use the HTML program examples provided or create the files using the code from the slides and run the program to show the students.
Activity: Headings <h1> - <h6>
The <p> tag defines a paragraph in HTML. Browsers automatically adds line spacing before and after each <p> tags.
Explain: Paragraphs <p>
Students are to create and execute HTML code which generates the output on the slide.
Activity: Paragraphs <p>
9Comments
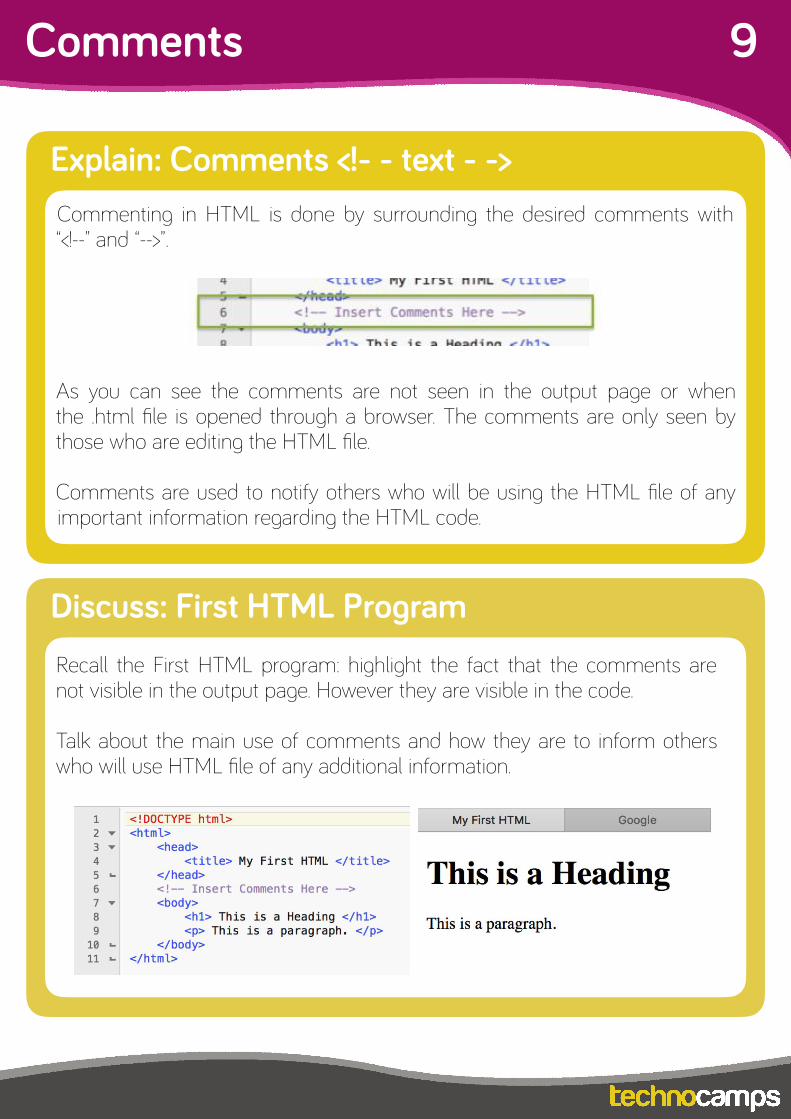
Commenting in HTML is done by surrounding the desired comments with “<!--” and “-->”.
As you can see the comments are not seen in the output page or when the .html file is opened through a browser. The comments are only seen by those who are editing the HTML file.
Comments are used to notify others who will be using the HTML file of any important information regarding the HTML code.
Explain: Comments <!- - text - ->
Recall the First HTML program: highlight the fact that the comments are not visible in the output page. However they are visible in the code.
Talk about the main use of comments and how they are to inform others who will use HTML file of any additional information.
Discuss: First HTML Program
10Italic
The <i> tag defines a part of text in an alternate tone. The content of the <i> tag is displayed in italic.
Explain: Italic <i>
Using the tags <i> and <p> students are to create and execute HTML code to produce the output shown on the slide.
Activity: Italic <i>
The <b> tag specifies bold text.
Explain: Bold <b>
Using the tags <b> and <p> students are to create and execute HTML code to produce the output shown in the slide.
Activity: Bold <b>
The <center> tag is used to center-align text. Similar to that alignment function used in documents such as Microsoft word where the text is moved to the middle of the page or text box. Important note: the word ‘center’ is spelt the American way, not the British way which is spelt ‘centre’.
Explain: Centre-Align <center>

11Centre-Align
Using the tag <center> students are to create and execute HTML code to produce the output shown on the slide.
Activity: Centre-Align <center>
In HTML, links are defined with the <a> anchor tag. The anchor is often associated with an attribute. The href attribute is used to specify the destination of the link. The name attribute specifies the name of the link. When clicked the webpage will go to the specified location.
Important note: < a href= “#C10”> combined with <a name= “C10 ”> can be used to create a shortcut to text in the web page e.g when the link ‘Goto Chapter 10’ is clicked the web page scrolls down as it jumps to Chapter 10. However because a low number of chapters are used, the ‘jump’ seems like a single scroll down the page. <a href= “https://www….”> on its own is used to open a website via URL.
Explain: Anchor <a>
Using the tag <a>, students are to copy and execute the HTML code. Afterwards, they are to click on the links “Goto Chapter 10” and ”Link to Technocamps”. Ask the students to explain the difference between the two links.
Activity: Anchor
12Horizontal Rule
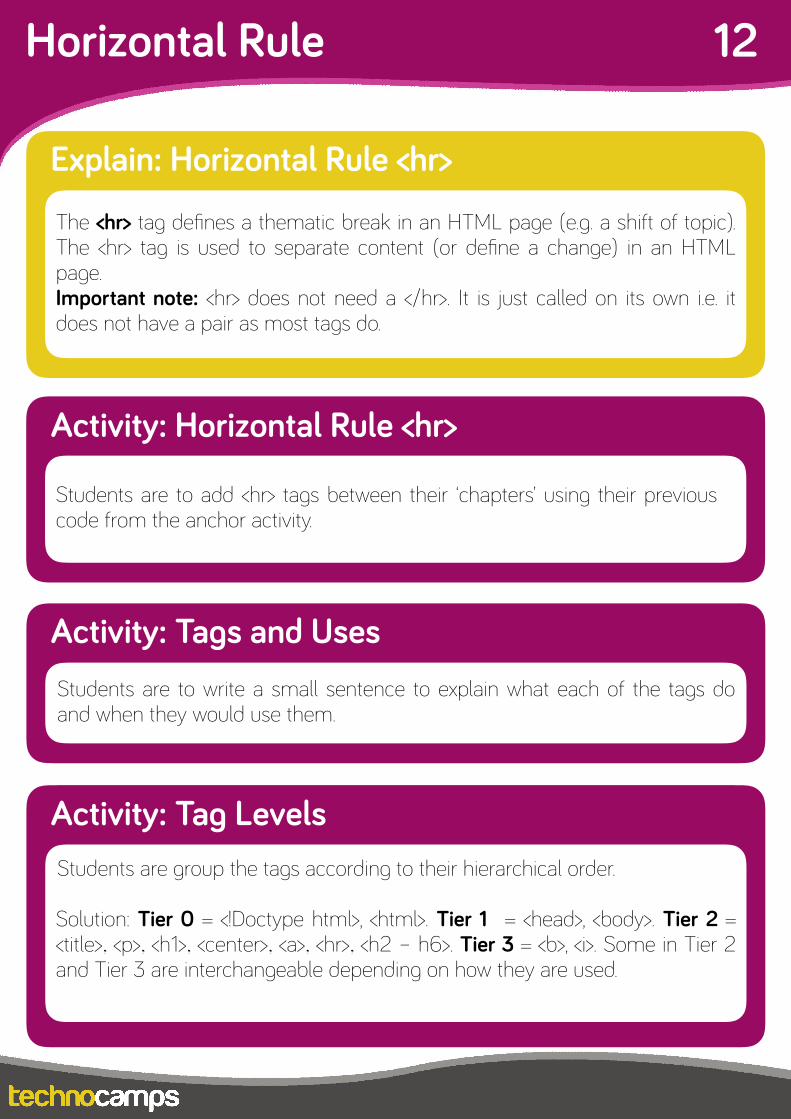
The <hr> tag defines a thematic break in an HTML page (e.g. a shift of topic). The <hr> tag is used to separate content (or define a change) in an HTML page. Important note: <hr> does not need a </hr>. It is just called on its own i.e. it does not have a pair as most tags do.
Explain: Horizontal Rule <hr>
Students are to add <hr> tags between their ‘chapters’ using their previous code from the anchor activity.
Activity: Horizontal Rule <hr>
Students are to write a small sentence to explain what each of the tags do and when they would use them.
Activity: Tags and Uses
Students are group the tags according to their hierarchical order.
Solution: Tier 0 = <!Doctype html>, <html>. Tier 1 = <head>, <body>. Tier 2 = <title>, <p>, <h1>, <center>, <a>, <hr>, <h2 – h6>. Tier 3 = <b>, <i>. Some in Tier 2 and Tier 3 are interchangeable depending on how they are used.
Activity: Tag Levels
13Blockquote
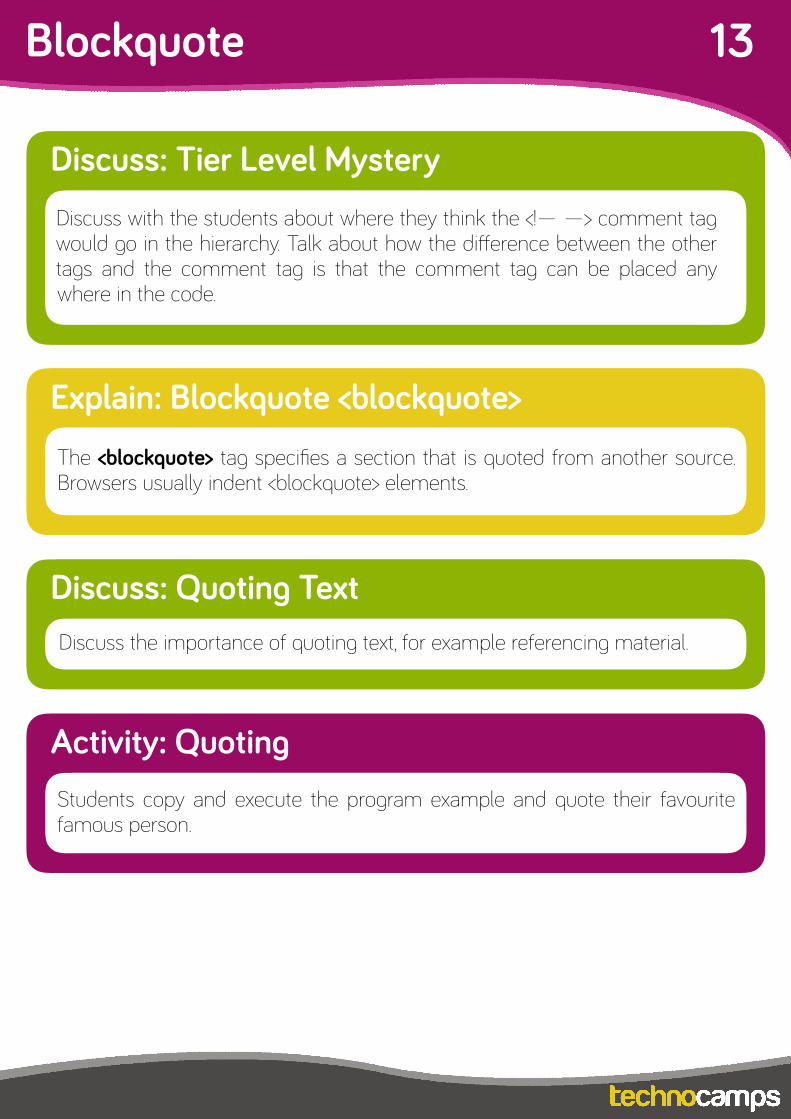
The <blockquote> tag specifies a section that is quoted from another source. Browsers usually indent <blockquote> elements.
Explain: Blockquote <blockquote>
Discuss the importance of quoting text, for example referencing material.
Discuss: Quoting Text
Students copy and execute the program example and quote their favourite famous person.
Activity: Quoting
Discuss with the students about where they think the <!— —> comment tag would go in the hierarchy. Talk about how the difference between the other tags and the comment tag is that the comment tag can be placed any where in the code.
Discuss: Tier Level Mystery
14Images as a Link
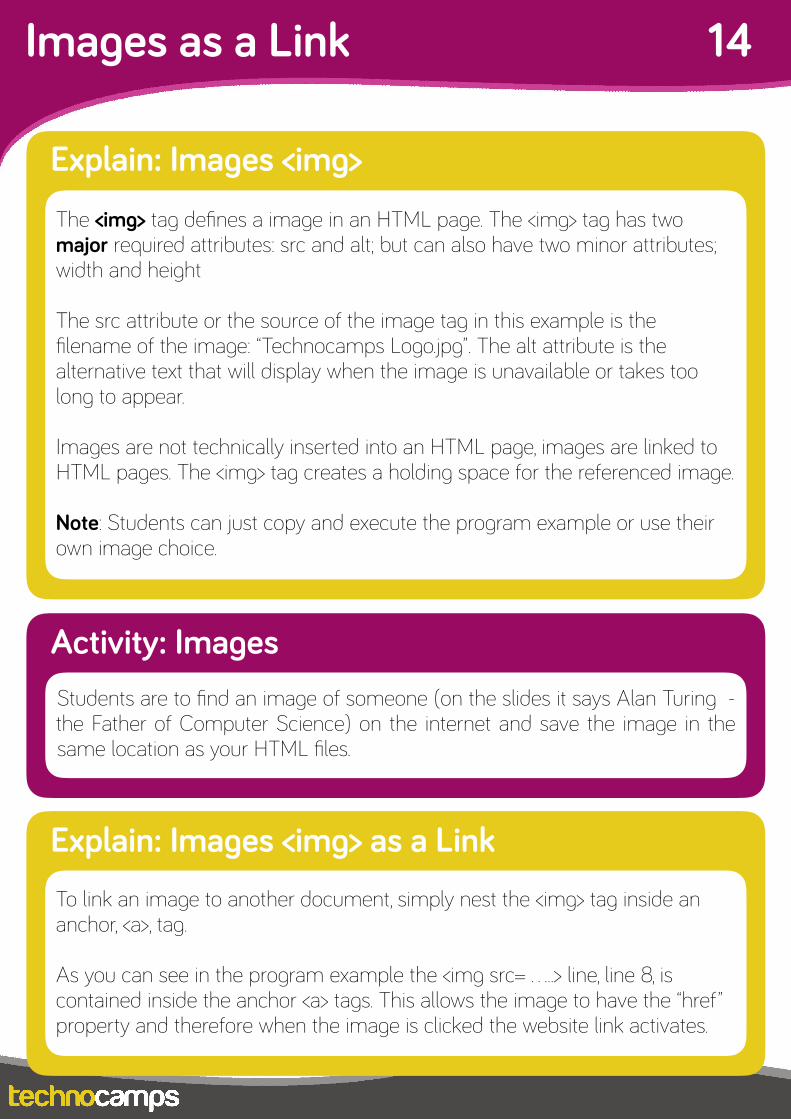
To link an image to another document, simply nest the <img> tag inside an anchor, <a>, tag.
As you can see in the program example the <img src= …..> line, line 8, is contained inside the anchor <a> tags. This allows the image to have the “href” property and therefore when the image is clicked the website link activates.
Explain: Images <img> as a Link
The <img> tag defines a image in an HTML page. The <img> tag has two major required attributes: src and alt; but can also have two minor attributes; width and height
The src attribute or the source of the image tag in this example is the filename of the image: “Technocamps Logo.jpg”. The alt attribute is the alternative text that will display when the image is unavailable or takes too long to appear.
Images are not technically inserted into an HTML page, images are linked to HTML pages. The <img> tag creates a holding space for the referenced image.
Note: Students can just copy and execute the program example or use their own image choice.
Explain: Images <img>
Students are to find an image of someone (on the slides it says Alan Turing - the Father of Computer Science) on the internet and save the image in the same location as your HTML files.
Activity: Images
15Lists and List Items
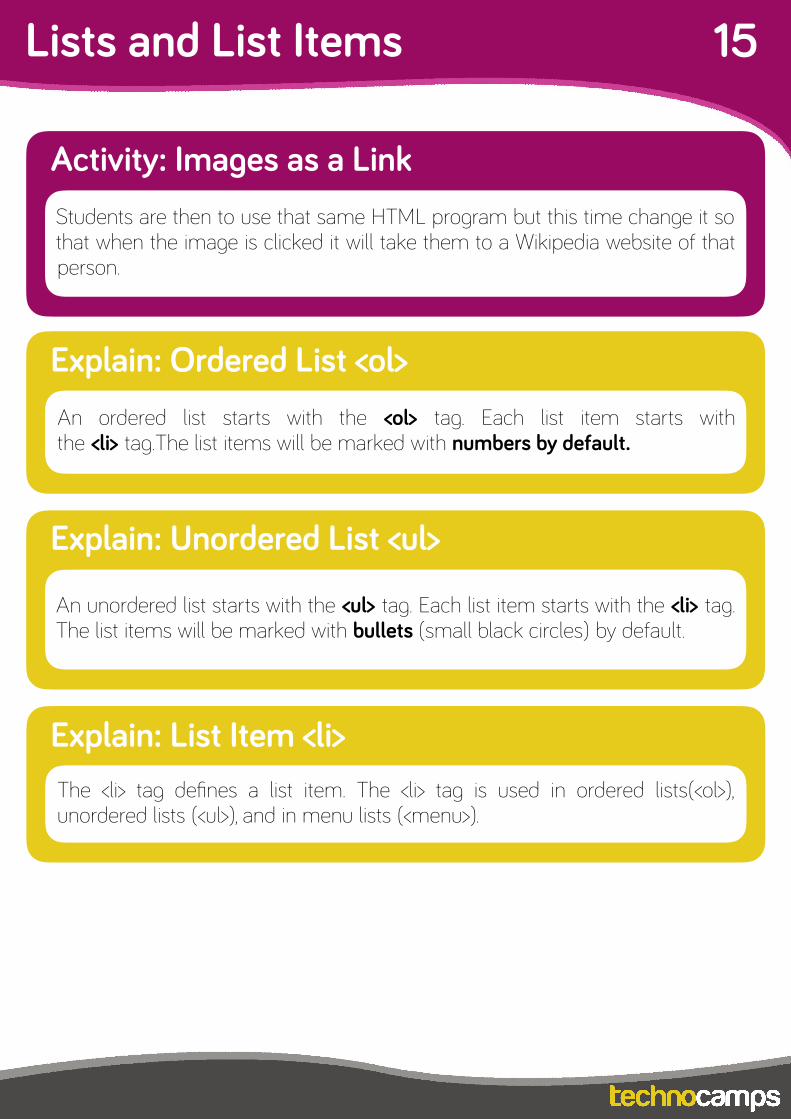
An ordered list starts with the <ol> tag. Each list item starts with the <li> tag.The list items will be marked with numbers by default.
Explain: Ordered List <ol>
The <li> tag defines a list item. The <li> tag is used in ordered lists(<ol>), unordered lists (<ul>), and in menu lists (<menu>).
Explain: List Item <li>
Students are then to use that same HTML program but this time change it so that when the image is clicked it will take them to a Wikipedia website of that person.
Activity: Images as a Link
An unordered list starts with the <ul> tag. Each list item starts with the <li> tag. The list items will be marked with bullets (small black circles) by default.
Explain: Unordered List <ul>
16Ordered List Type
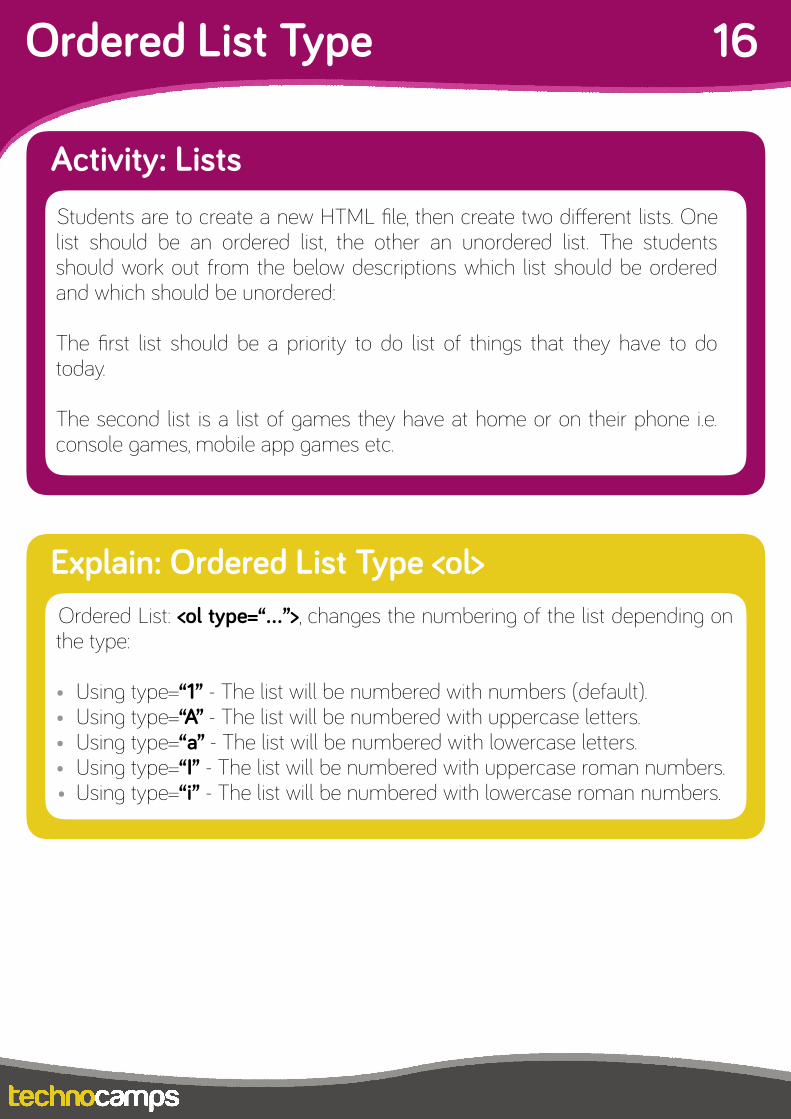
Students are to create a new HTML file, then create two different lists. One list should be an ordered list, the other an unordered list. The students should work out from the below descriptions which list should be ordered and which should be unordered:
The first list should be a priority to do list of things that they have to do today.
The second list is a list of games they have at home or on their phone i.e. console games, mobile app games etc.
Activity: Lists
Ordered List: <ol type=“…”>, changes the numbering of the list depending on the type:
• Using type=“1” - The list will be numbered with numbers (default). • Using type=“A” - The list will be numbered with uppercase letters. • Using type=“a” - The list will be numbered with lowercase letters. • Using type=“I” - The list will be numbered with uppercase roman numbers. • Using type=“i” - The list will be numbered with lowercase roman numbers.
Explain: Ordered List Type <ol>
17Ordered List Type
Students are to create three different ordered lists each with a different ordered list type:
The first list should be a list of their favourite drinks, their most favourite being at the top of the list.
The second list is a list of things which they would describe themselves e.g. I am quite adventurous I love to going to new places outside.
The third list should be a list of things that they dislike the most e.g. I don’t like being caught in the rain.
Activity: Ordered List Type
An HTML table is defined with the <table> tag. • Each table row is defined with the <tr> tag. • A table header is defined with the <th> tag. • By default, table headings are bold and centred. • A table data/cell is defined with the <td> tag.
Explain: Tables <table>, <tr>, <th>, <td>
Students are to create a table which contains three columns, each column contains three rows: • The first column is about their favourite Music/Songs • The second column is the Artist/Band who made those songs. • The third column is the number of times (estimate, unless they actually
know the exact number of times) they’ve listened to that song.
Activity: Tables

18Styling Tables
Add the following code on the right inside your <head> tag and have a look at what happens to your table(s) in your HTML file.
After adding this bit of code to the students html file, the tables will be formatted with colours as shown in the following pages. This is an example of css/styling html tags to make them look more professional.
Explain: Styling HTML Tables
Using the HTML tags, students are to match up each tag with its corresponding output. Note: some tags may have been used twice.
Activity: Match Up
19Styling Tables
Students are to open up their Table Activity code and add the style code from the previous page in the <head> tag to see what happens.
Next, students are to change the font used for their table and the size of the padding.
Using the internet students are to research different HTML #?????? colour code e.g. #FFFFFF is the code for the colour black. Students are to change the colour of their table rows.
Students need only to add codes inside <head> … </head> tags to their previous Table HTML file and change the background-colour using <styles> covered on the previous page. It is not necessary to write the rest of the code.
Activity: Styling Tables
Students are to use all the tags learned up until now to mark up the document below to specific requirements. Show them the final HTML document running.
Activity: HTML Document
Explain how HTML can be styled using CSS. CSS stands for Cascading Style Sheets. CSS describes how HTML elements are to be displayed on screen, paper or in other media. CSS saves a lot of work. It can control the layout of multiple web pages all at once.
Explain: CSS
20CSS
Students should add background colour to the HTML.
Activity: Background Colour
Students should change their font in their HTML.
Activity: Changing Font
Students should highlight text in their HTML.
Activity: Highlighting Text
HTML Session Plan
Workshop Schedule 1
Workshop Schedule
Introduction - 10 minutes
HTML Introduction - 10 Minutes
My First HTML Program - 20 minutes
First HTML Program Breakdown - 30 minutes
HTML Tags - 1 hour 20 minutes
HTML Document Activity - 2 hours
Conclusion - 5 minutes
Post-Day Questionnaires - 5 minutes
Note: These are estimated times, these will vary between classes, schools etc. so times will need to be adjusted accordingly.
Learning Outcomes 2What is HTML? 4
Ask for answers from students to see what they think: • What is HTML, what does it stand for and what it is used for?• What are HTML tags, does any one know?
Students are to fill in blanks in the workbook about what HTML is. This will help them remember what it is, what it does and what it stands for.
What does HTML look like?
Starter – run the MyFirstHTML program– showing them what a basic HTML file looks like and how it is executed.
Discuss – • How HTML is thought of as a
programming language but it is not actually a true programming language as it does not process or manipulate data. It only defines layout.
• How HTML is a markup language designed for processing and presenting text.
• Inform them that almost all websites uses HTML as the foundation of the website.
• Lastly, HTML uses tags which are used to build the HTML page.
Content Overview 3
Content Overview
• Introduction
• What is HTML
• My First HTML
• Headings, Paragraph,
• Comments, Italic, Bold
• Anchor, Horizontal Rule, Blockquote
• Images
• Ordered and Unordered List, List item
• Tables
• Activity
Content Description
Introduction:
Begin with introductions, and a brief explanation of the Technocamps programme, before handing out pre-day questionnaires to be filled out by the students and teacher.
What is HTML? – Students to write what they think HTML is and its uses in workbooks.
My First HTML 5
My First HTML program:
Program output:
Explain the tags used in the MyFirstHTML program - starting with <!DOCTYPE html> HTML tag:
<!DOCTYPE html> must be the very first thing in your HTML document, before the <html> tag. This tag is not an HTML tag. The <!DOCTYPE html> is an instruction to the web browser about what version of HTML the page is written, in this case it is the latest HTML version 5.
The <html> tag tells the browser that this is an HTML document. The <html> tag is the container for all other HTML elements (or tags) except for the <!DOCTYPE> tag.
6
Explain the HTML tags <head>, <title>, <body>:
The <head> element is a container for all the head elements. The <head> element can include a title for the document, scripts, styles, meta information, and more.The <title> element is required in an HTML document. The <title> tag is required in all HTML documents and it defines the title of the document. The <title> element:defines a title in the browser toolbar.provides a title for the page when it is added to favourites.displays a title for the page in search- engine results.
T h e < b o d y > t a g d e fi n e s t h e document's body. The <body> element contains all the contents of an HTML document, such as text, hyperlinks, images, tables, lists, etc.
Pairwise Tags: Tags comes in pairs. A start tag and an end tag, this is necessary because it tells our HTML the beginning and the end of the effects of a tag. Anything in the middle of the tags will be within the effect of that tag. Notice, the “/” to differentiate from the start tag and end tag.
<html> … </html><head> … </head><title> … </title><body> … </body>… and<h1> … </h1>
7
Headings: <h1> - <h6>
The <h1> to <h6> tags are used to define HTML headings. h1 defines the most important heading. h6 defines the least important heading. Note: use h1 to h6 elements only for headings. Do not use them just to make text bold or big. Use other tags for that.
Headings program example and output: Note: use the HTML program examples provided or create the files using the images provided below and run the program to show the students.
Discuss - • The different effects of different <h..> tags and
uses for each one.
Extra Activity - • Go on a website and show examples of different headings.
Important Note: Students are to create a new HTML file named ‘Headings” and are to program the code shown above. This will add to the number of HTML files students make and have a way to look back and revise how to use the tags learned here.
8
Paragraphs: <p>
The <p> tag defines a paragraph in HTML. Browsers automatically add some space (margin) before and after each <p> element.
Program Example:
Program output:
Discuss- • Highlight the fact that the use of <p> automatically adds a margin before
and after each tag.
Important Note: Again students are to create a new HTML file named appropriately i.e ‘Paragraphs’ and are to program the code shown above. This will add to the number of HTML files students make and have a way to look back and revise how to use the tags learnt here. Students are to do this for all HTML tags learnt.
9
Comments: <!— —>
Commenting in HTML is done by surrounding the desired comments with “<!--” and “-->”.
As you can see the comments are not seen in the output page or when the .html file is opened through a browser.
The comments are only seen by those who are editing the HTML file.
Comments are used to notify others who will be using the HTML file of any important i n f o r m a t i o n regarding the HTML code.
Recal l the MyFirstHTML p r o g r a m code:
Discuss- • Recall the MyFirstHTML program: highlight the fact that the comments
are not visible in the output page (right image). However it is visible only in the code.
• Talk about the main use of comments and how they are to inform others who will use HTML file of any information necessary for others to know
My First HTMLHeadingsParagraphsComments 10Italic and Bold 11Centre-align 12Anchor 13Horizontal Rule 14Blockquote 15Images 16Images as a link
Italic: <i>
The <i> tag defines a part of text in an alternate voice or mood. The content of the <i> tag is usually displayed in italic.
Program Example:
Program output:
Discuss- • The purpose of using italic and give examples
Bold: <b> The <b> tag specifies bold text.
Program Example:
Program output:
Discuss- • The purpose of using bold and give examples
1. Basic experience of HTML Programming.
1. To learn what HTML is and what it is used for.
2. To design, write, test and refine HTML pages.
3. To understand that tags have different effects on text and be able to identify tags that have these effects.
Attendee Prerequisit
LearningOutcomes
Preparation
1. Ensure all computers have a text editor already installed and ready to be used: either Notepad++ for Windows or textWrangler for MacOS.
2. Print out HTML workbooks, one for each student attending workshop.
3. Each student will need a pen or pencil for writing answers and making notes and flowcharts.
Centre-align: <center>
The <center> tag is used to center-align text. Similar to that alignment function used in documents such as Microsoft word where the text is moved to the middle of the page or text box.
Program Example:
Program output:
Important note: the word ‘center’ is spelt the American way, not the British way which is spelt ‘centre’.
Remember: Again students are to create a new HTML file named appropriately and are to program the code shown above. This will add to the number of HTML files students make and have a way to look back and revise how to use the tags learned here. Students are to do this for all HTML tags learned.
Anchor: <a>
The name attribute specifies the name of an anchor. The name attribute is used to create a bookmark inside a document.
Anchor program example and output:
Important note: the < a href= “#C10”> (in line 8) combined with <a name= “C10 ”> (in line 39) can be used to create a shortcut to text in the web page e.g when the link ‘Goto Chapter 10’ is clicked the web page scrolls down as it jumps to Chapter 10. However because a low number of chapters are used, the ‘jump’ seems like a single scroll down the page. The <a href= “https://www….”> (in line 5) on its own is used to open a website via URL.
Horizontal Rule: <hr>
The <hr> tag defines a thematic break in an HTML page (e.g. a shift of topic). The <hr> element is used to separate content (or define a change) in an HTML page.
Program Example:
Program output:
Blockquote: <blockquote>
The <blockquote> tag specifies a section that is quoted from another source. Browsers usually indent <blockquote> elements.
Program Example:
Program output:
Images: <img>
The <img> tag defines an image in an HTML page. The <img> tag has two required attributes: src and alt.
The src attribute or the source of the image tag in this example is the filename of the image: “Technocamps Logo.jpg”. The alt attribute is the alternative text that will display when the image is unavailable or takes too long to appear.
Note: Images are not technically inserted into an HTML page, images are linked to HTML pages. The <img> tag creates a holding space for the referenced image.
Program Example:
Program output:
Images as a link
To link an image to another document, simply nest the <img> tag inside Anchor: <a> tags.
As you can see in the program example below the <img src= …..> line, in line 8 is contained inside the Anchor: <a> tag. This allows the image to have the “href” property and therefore when the image is clicked the website link activates..
Program Example:
Program output:
17Lists and List items
Unordered List: <ul>
An unordered list starts with the <ul> tag. Each list item starts with the <li> tag. The list items will be marked with bullets (small black circles) by default.
Ordered List: <ol> An ordered list starts with the <ol> tag. Each list item starts with the <li> tag.The list items will be marked with numbers by default.
Program Example:
Program output:
18List Item
List item: <li>
List item: <li> The <li> tag defines a list item. The <li> tag is used in ordered lists(<ol>), unordered lists (<ul>), and in menu lists (<menu>).
Program Example:
Program output:
19Ordered list
Ordered list types: <ol type=“…”>
Ordered List: <ol type=“…”>, depending on the type changes the numbering of the list:
• Using type=“1” - The list will be numbered with numbers (default). • Using type=“A” - The list will be numbered with uppercase letters. • Using type=“a” - The list will be numbered with lowercase letters. • Using type=“I” - The list will be numbered with uppercase roman numbers. • Using type=“i” - The list will be numbered with lowercase roman numbers.
Program Example and Output:
20Tables
Tables:<table>,<tr>,<th>,<td>
An HTML table is defined with the <table> tag. • Each table row is defined with the <tr> tag. • A table header is defined with the <th> tag. • By default, table headings are bold and centred. • A table data/cell is defined with the <td> tag.
Program Example and Output:
21Create Your Own
Students are asked to create their own revision webpage on a subject of their choosing (preferably one which they are currently studying).
They are to use each of the tags learned at least once i.e. in their webpage there should be at least one table, one image, heading, sub-headings etc.
Students are to use the workbooks provided to first brainstorm ideas such as what subject, what topics within that subject, what sub-topics within those topics, what information regarding those sub-topics they need to include and how they would like it to look i.e. where will the headings, sub-headings, tables, images etc. be place.
Students are to research all the information they need using their books or the internet. An example could be: Subject: Mathematics
Topics: • Numbers
• Prime Factors • Index notation • Venn diagrams • Ratio
• Algebra • Equation of lines • Equations of curves • Basic Algebra
• Geometry and Measure • Polygons
• Statistics • Probability • Histograms
etc. (Topics taken from BBC Bitesize WJEC).
Activity: Create Your Own