amour 159 - avianonline.co.uk
TRANSCRIPT
AMOUR 159
Owner's ManualBHPA certificate of air worthiness
number: 9307092
Serial Number
......................
Before flying your glider please read this manual completely,check all your battens against the batten profile (adjusting
them if necessary) and do a thorough pre-flight check.
AVIAN LTD
Stretfield Bradwell
Hope ValleyS33 9JT
UK
Tel (01433) 621308

Amour 159 owner`s manual Mk1
SECTION Page Number
INTRODUCTION.........................................3
OPERATING LIMITS..................................3
SPECIFICATIONS........................................4
RIGGING THE GLIDER..............................5
PRE-FLIGHT CHECKLIST.........................8
FLYING THE AMOUR ..............................10
LANDING THE AMOUR ............................10
DE-RIGGING................................................10
POST FLIGHT INSPECTION......................11
TUNING INSTRUCTIONS..........................11
BATTENS AND BATTEN PROFILE..........12
MAINTENANCE..........................................14
RECOMMENDED COMPONENT LIFE.....16
REPAIR.........................................................16
TRANSPORTING AND STORAGE OF YOUR HANG GLIDER ......................... 17
TROUBLE SHOOTING................................18
APPENDIX (OWNERSHIP).........................20INTRODUCTION
3
Amour 159 owner`s manual Mk1
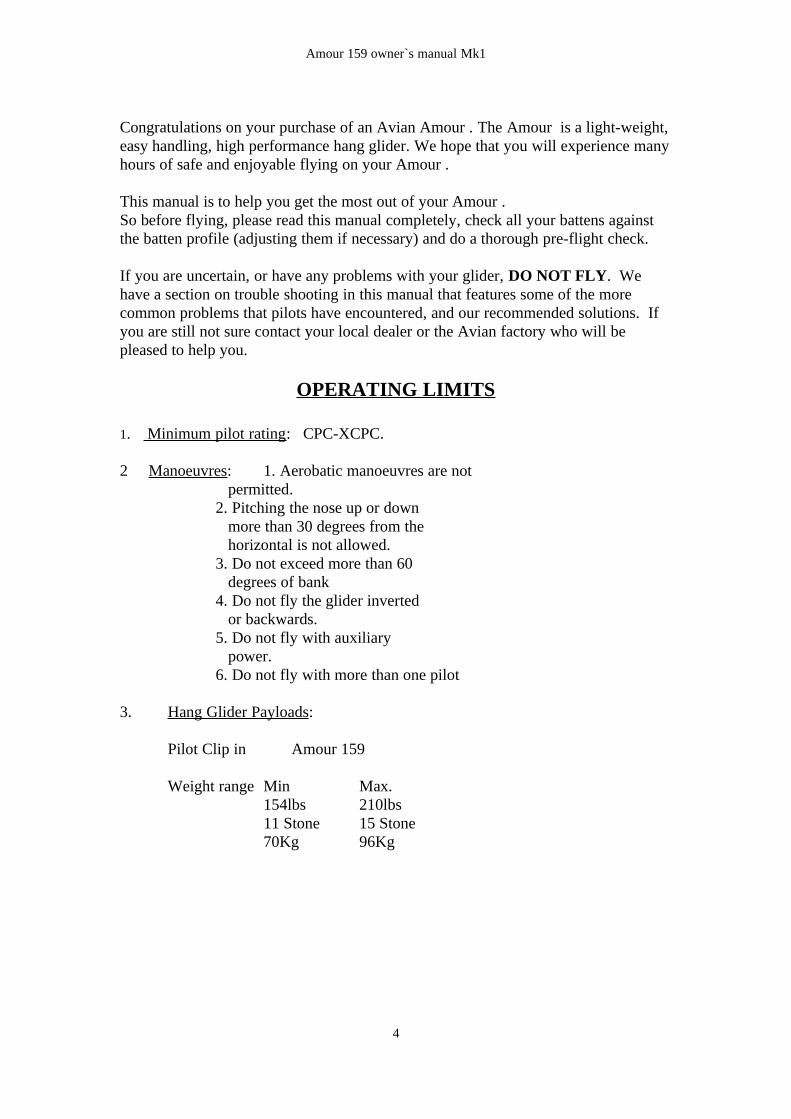
Congratulations on your purchase of an Avian Amour . The Amour is a light-weight,easy handling, high performance hang glider. We hope that you will experience manyhours of safe and enjoyable flying on your Amour .
This manual is to help you get the most out of your Amour .So before flying, please read this manual completely, check all your battens against the batten profile (adjusting them if necessary) and do a thorough pre-flight check.
If you are uncertain, or have any problems with your glider, DO NOT FLY. We have a section on trouble shooting in this manual that features some of the more common problems that pilots have encountered, and our recommended solutions. If you are still not sure contact your local dealer or the Avian factory who will be pleased to help you.
OPERATING LIMITS
1. Minimum pilot rating: CPC-XCPC.
2 Manoeuvres: 1. Aerobatic manoeuvres are not permitted.2. Pitching the nose up or down more than 30 degrees from the horizontal is not allowed.3. Do not exceed more than 60 degrees of bank4. Do not fly the glider inverted or backwards.5. Do not fly with auxiliary power.6. Do not fly with more than one pilot
3. Hang Glider Payloads:
Pilot Clip in Amour 159
Weight range Min Max.154lbs 210lbs11 Stone 15 Stone70Kg 96Kg
4

Amour 159 owner`s manual Mk1
4. Hang Point position range (Measured from the front of the keel.)Maximum Forwards Rearwards
Imperial 61" 63 1/2"Metric 1500mm 1613mm
Measured behind the centre of the top of upright bolt:
Imperial 3 1/2" 6"Metric 90mm 150mm
The normal trim and that at which we recommend that you first fly the glider is 5" or125mm behind the top of upright bolt.
SPECIFICATIONS
Glider weight 63 lbs 28.9 KgWing span 32' 9.75 m
Wing area 157sq.ft 14.6 m2
Normal packed length 19' 4" 5.9mBreakdown length 15' 2" 4.6mMin sink rate 170ft/min 0.86m/s
(wing loading = 1.4 lbs/sq.ft 10.3kg/m2)Max L/D ratio 11.5Speed range 15 - 55 mph. 24 - 90 kmh
5
Amour 159 owner`s manual Mk1
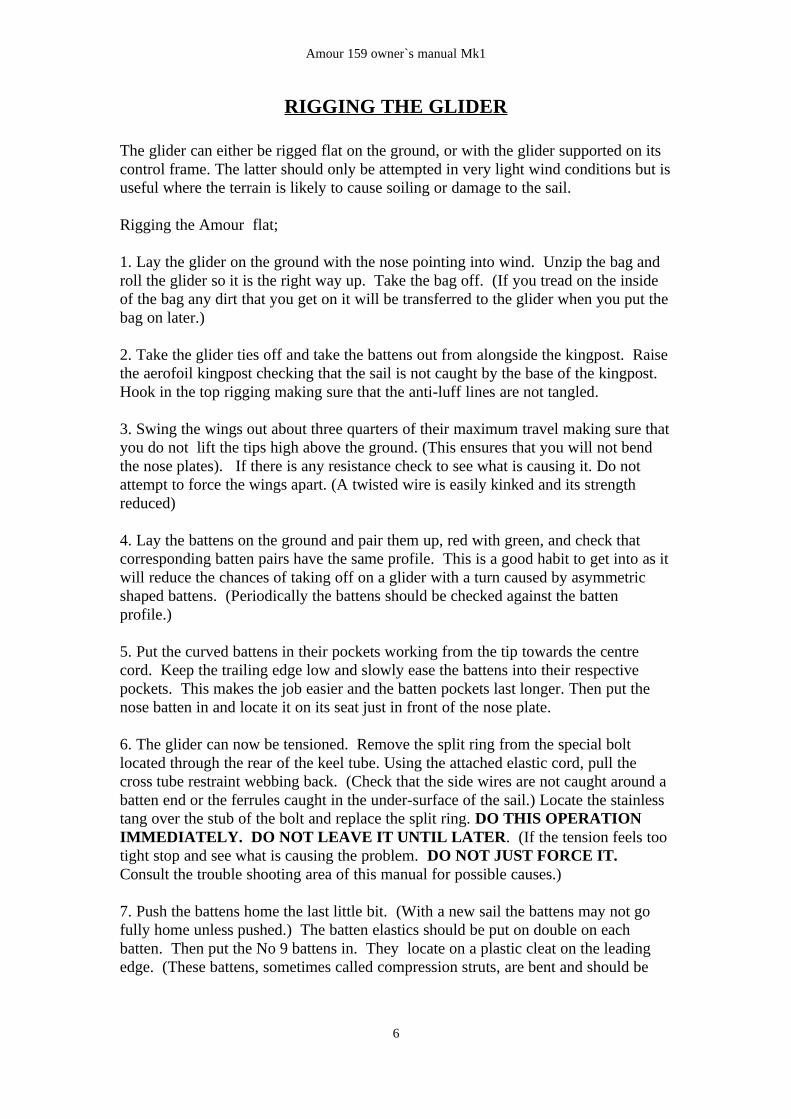
RIGGING THE GLIDER
The glider can either be rigged flat on the ground, or with the glider supported on its control frame. The latter should only be attempted in very light wind conditions but isuseful where the terrain is likely to cause soiling or damage to the sail.
Rigging the Amour flat;
1. Lay the glider on the ground with the nose pointing into wind. Unzip the bag and roll the glider so it is the right way up. Take the bag off. (If you tread on the inside of the bag any dirt that you get on it will be transferred to the glider when you put thebag on later.)
2. Take the glider ties off and take the battens out from alongside the kingpost. Raisethe aerofoil kingpost checking that the sail is not caught by the base of the kingpost. Hook in the top rigging making sure that the anti-luff lines are not tangled.
3. Swing the wings out about three quarters of their maximum travel making sure thatyou do not lift the tips high above the ground. (This ensures that you will not bend the nose plates). If there is any resistance check to see what is causing it. Do not attempt to force the wings apart. (A twisted wire is easily kinked and its strength reduced)
4. Lay the battens on the ground and pair them up, red with green, and check that corresponding batten pairs have the same profile. This is a good habit to get into as itwill reduce the chances of taking off on a glider with a turn caused by asymmetric shaped battens. (Periodically the battens should be checked against the batten profile.)
5. Put the curved battens in their pockets working from the tip towards the centre cord. Keep the trailing edge low and slowly ease the battens into their respective pockets. This makes the job easier and the batten pockets last longer. Then put the nose batten in and locate it on its seat just in front of the nose plate.
6. The glider can now be tensioned. Remove the split ring from the special bolt located through the rear of the keel tube. Using the attached elastic cord, pull the cross tube restraint webbing back. (Check that the side wires are not caught around a batten end or the ferrules caught in the under-surface of the sail.) Locate the stainless tang over the stub of the bolt and replace the split ring. DO THIS OPERATION IMMEDIATELY. DO NOT LEAVE IT UNTIL LATER. (If the tension feels too tight stop and see what is causing the problem. DO NOT JUST FORCE IT. Consult the trouble shooting area of this manual for possible causes.)
7. Push the battens home the last little bit. (With a new sail the battens may not go fully home unless pushed.) The batten elastics should be put on double on each batten. Then put the No 9 battens in. They locate on a plastic cleat on the leading edge. (These battens, sometimes called compression struts, are bent and should be
6

Amour 159 owner`s manual Mk1
profiled correctly and put in the right way up. Like all the other battens the curve should be up. The top surface of the wing should be convex NOT concave.)
8. The under surface battens are more easily inserted once the glider has been tensioned. They should be pushed home so that only the rope projects from the batten pocket. Put the most outboard U/S batten in first. The under surface battens can be pushed home with another under surface batten.
9. Put the bottom bar on and insert the two stainless pins and their rings.
10. Make sure that the wires will not kink and then stand the glider on its control frame and attach the swan catch, pip pin and safety washer.
11. Make sure that the nose catch is correctly attached and then put the nose cone on.
12. The glider is now fully rigged and you should now make sure that you do a thorough pre-flight check before you fly.
We suggest that if there is any wind that the glider is left flat on the ground into wind and securely weighted or tied down at the nose until you are ready to fly.
Rigging the Amour standing on its A-frame;
This is essentially very similar to rigging the glider flat:
1. Lay the glider on the ground. If there is any wind the nose should be pointing cross or down wind. Unzip the bag and take enough ties off to assemble the A frame.Assemble the A frame.
2. Stand the glider on its A-frame and then take the bag and remaining ties off, and remove the battens from alongside the kingpost.
3. Walk the wings out to about three quarters of their full extension. NB: Whilst spreading the wings, particularly when the glider is standing on its A frame, it is essential that the leading edges and keel are kept in the same plane. (This is to avoid distortion to the nose plates, kingpost channel or any other component.)
4. Take care to place the tips on a piece of ground that is not likely to cause them damage. The glider should now be standing on its A frame, wing tips and keel.
5. Raise the aerofoil kingpost checking that the sail is not caught by the base of the kingpost. Hook the top rigging in making sure that the anti-luff lines are not tangled.Now making, sure that the wires are not kinked, attach the swan catch, pip pin and safety washer. (If you attached the swan catch earlier you might find it difficult to hook in the top rigging.)
6. Lay the battens on the ground and pair them up, red with green, and check that corresponding batten pairs have the same profile. This is a good habit to get into as it
7

Amour 159 owner`s manual Mk1
will reduce the chances of taking off on a glider with a turn caused by asymmetric shaped battens. (Periodically the battens should be checked against the batten profile)
7. Put the curved battens in their pockets working from the tip towards the centre cord. Keep the trailing edge low and slowly ease the battens into their respective pockets. (This makes the job easier and the batten pockets last longer.)
8.The glider can now be tensioned. Remove the split ring from the special bolt located through the rear of the keel tube. Using the attached elastic cord, pull back thecross tube restraint webbing, locate the stainless tang over the stub of the bolt and replace the split ring. DO THIS OPERATION IMMEDIATELY. DO NOT LEAVE IT UNTIL LATER. This operation is much easier if you get a friend to lift a wing while tensioning. DO NOT JUST FORCE IT. Consult the trouble shooting section of this manual for possible causes.) (If the tension feels too tight stop and see what is causing the problem.
9. Push the battens home the last little bit. (With a new sail the battens may not go fully home unless pushed.) The batten elastics should be put on double on each batten. Then put the No 9 battens in. They locate on a plastic cleat on the leading edge. (These battens, sometimes called compression struts, are bent and should be profiled correctly and put in the right way up. Like all the other battens the curve should be up. The top surface of the wing should be convex NOT concave.)
10. The under surface battens are more easily inserted once the glider has been tensioned. They should be pushed home so that only the rope projects from the batten pocket. Put the most outboard U/S batten in first. The under surface battens can be pushed home with another under surface batten.
11. Put the nose batten in and locate it on its seat just in front of the nose plate. This operation could be done earlier if preferred. (Some pilots remove this batten only occasionally to check the profile.)
12. Make sure that the nose catch is correctly attached and then put the nose cone on.
13. The glider is now fully rigged and you should now make sure that you do a thorough pre-flight check before you fly.
As the glider is standing on its A frame it is obviously very prone to being ground looped by gusts of wind, thermals or, in hotter countries, dust devils. It is probably safest with its tail slightly into wind but we strongly recommend that you keep a closeeye on it.
8

Amour 159 owner`s manual Mk1
PRE-FLIGHT CHECK-LIST
Detailed pre-flight checks must be carried out during assembly. Always use the same assembly and packing up procedure. The following must be checked:
1. All tubes are straight and not dented.
2. Cross-tube hinge, nose plates and A frame fittings O.K.
3. All cables unkinked, unfrayed and correctly terminated.LUFF LINES CLEAR OF ALL BATTENS WITH RINGS SECURE ABOVE AND BELOW THE SAIL EYELET (Small rings above the sail and large below the sail.) Luff lines must be checked every flight. Incorrect rigging, for instance catching a luff line under a batten end, could cause a serious turn in the glider.
4. All sail seams intact with no frayed stitching, particularly in high stress areas (eg. wing tips, rear of keel pocket etc.)
5. Battens correct shape and undamaged with no cracks or splits in the fibreglass section.
6. All nuts and bolts secure.
7. All quick release fittings secure.(i) cross tube tensioner(ii) nose catch (check the clevis pin and split ring as well)(iii) tip battens correctly located on leading edge and the right way up(iv) quick pins and rings on bottom bar secure(v) outboard leading edge section fully engaged. (Be especially vigilant if the L/Ehas been packed short recently.)
8. Cross tube tensioner unfrayed and twist free.
9. Sail zips done up and centre velcro correctly attached.
10. Batten elastics unfrayed and engaged over the batten ends.
11. Hang loops in good condition and in the correct position.
12. The glider is symmetrical when viewed from the front.
13. The king post is straight and joint at its base is secure.
14. The four nose plate bolts are secure.
16. Walking along the length of the leading edges feel with your fingers to check thatthey are free from dents. Check that there is a similar leading edge curvature when looking down the inside of the wing from the nose to each wing tip.
9

Amour 159 owner`s manual Mk1
17. Check through the sail inspection zip to ensure that the wing wire and cross tube leading edge bolts are secure. 18. Check that the keel is straight and then check that the tensioning strap is secure, correctly fitted and that the split ring is in place.
19. Check that the cross-tube ends are meeting correctly. Also check that the cross-tubes are straight and undented.
20. Check that the A frame fasteners are secure and that the quick pin split rings are fitted correctly.
21. Finally check that the wires are undamaged. Look out for corrosion and fraying. Pay particular attention to inspection of the wing wires as, in normal flight, these are the most heavily loaded. INSPECT BOTH ENDS: THE BASE BAR END AND THE CROSS TUBE JUNCTION END.REMEMBER: IF IN DOUBT DO NOT FLY!! RETURN YOUR GLIDER TO AVIAN LTD FOR A THOROUGH STRIP-DOWN.
10

Amour 159 owner`s manual Mk1
FLYING THE AMOUR
Please note the following is not meant to be an exhaustive flying manual but merely abrief note and should be read with that in mind.
Take off
Before take-off MAKE SURE: that you have pre-flight checked the glider, that you are clipped in and that you have performed an adequate hang check.On take-off the wings should be held level with the nose slightly raised. A strong andcommitted take off run is always recommended, with the angle of attack being kept low. Once sufficient air speed has been achieved increase the angle of attack slowly to take off. Once settled in flight move your hands to a comfortable position on the base bar.
In Flight
The control in both pitch and roll is light and precise. Accordingly the glider should be flown with moderate and precise inputs. The glider should not be flown too slow or in a semi-stalled condition as the roll response becomes much slower.
Stall
The Amour recovers quickly from stalls but will lose height doing so. A wing close to the stall becomes difficult to control. For both these reasons the glider should be flown with sufficient airspeed close to the ground, hill or any other aircraft.
Spin
Hang gliders are generally resistant to spin. It is very unlikely that you will ever experience a spin in normal flight. To recover from a spin pull the bar in and increase speed BEFORE applying opposite bank.
LANDING THE AMOUR
The secret of a good landing is good field selection followed by a precise approach with plenty of airspeed.
Always plan your landings from high up and make sure you can get your feet out of pod type harnesses well before landing. Check the surrounding air for other aircraft preparing to land. Look and check that your approach and over-shoot path have as few obstacles as possible. (Never choose to land immediately behind other gliders or obstacles but land to one side. You might make a lot more friends on the hill!)
DE-RIGGING
This is the reverse of the assembly sequence. Lay the glider flat on the ground and into wind. Remove the under-surface battens and the number 9 battens (or
11

Amour 159 owner`s manual Mk1
compression struts). Release the cross tube tension and swing the wings in a few feet.Remove the nose batten first and then the other battens.
The wings can then be closed and the king post lowered. The luff lines can be clippedto the edge of the king post hole.
Bring the leading edges in further and then dismantle the 'A' frame. Place the padding around the tension bolt and then connect the ends of the uprights with the spacer provided. The side wire can then be threaded though the 'A' frame padding which is located around the bottom of upright castings. When packed the side wires should loop out of the bottom of this padding so that they are not kinked.
The wing tips can then be brought together. Next the sail should be be rolled and tucked inside the mylar of the leading edge. One side can be rolled and retained witha tie while the other is being done.
The battens can be stowed at the front of the glider between the leading edges with the curves over the nose section. The ties can then be placed round the glider holdingthe leading edges neatly together. Place the glider bag over the glider and then turn the glider on its back. Place the supplied packing around the top of the uprights.
Put the speed bar in the sail near the wing tip. Any remaining ties should be put around the glider. Tuck the nose cone under the tie near the nose of the glider.
Zip the bag up and store the glider dry in a cool dry dark place.
POST FLIGHT INSPECTION
After landing, especially if heavily, the glider should be inspected as outlined in the pre-flight inspection.
TUNING INSTRUCTIONS
Trim speed - The trim speed is adjustable by moving the hang point. Forward movement will speed the glider up, whilst rearward movement will slow it down. The hang point should only be moved in small increments (of 1/4" or less). DO NOTmove the hang point further forwards or rearwards than specified at the front of this manual. (See section: OPERATING LIMITS)
A turn in the Amour is unusual. If your glider previously flew straight then the mostlikely explanation is that you have bent a leading edge. If a turn is detected first check the battens. Check them against each other (making sure that they are the sameon both sides) and then against the profile. Next check that the batten elastic tension is the same on both sides of the glider. If there is still a turn check that the leading edges are straight and undamaged.
A slight turn may be tuned out using the tip adjusters:
12

Amour 159 owner`s manual Mk1
The self-tapping screw should be removed and the black plastic cap turned slightly. The wing that is lifting should have the washout increased while the wing dropping should have the washout reduced. ONLY ALTER THE WASHOUT IN THIS WAY IN SMALL INCREMENTS. (MAXIMUM 3mm.) The total movement should NOT exceed 10mm each side. DON'T FORGET TO REPLACE THE SELF-TAPPING SCREW.
Other tuning should NOT be carried out without reference to Avian Ltd., or an approved dealer.
BATTENS AND BATTEN PROFILE
The Amour battens should be maintained in the correct profile. Failure to do this could result in adverse flying characteristics.
How often should your battens be checked?
At first check your battens regularly. This will give you some idea of how fast they are changing profile. They tend to get harder, and hold their shape better, once they have been re-profiled a few times.
Don't forget: If you don't know how the glider has been treated while it is out of yourcare (for instance if it has been sent by carrier or on an aeroplane) check the battens against the profile and to do a very thorough pre-flight check before flying.
If you do a lot of winch flying?
Experience has shown that this does tend to flatten battens much quicker than normal flying. Avian recommend that you order 7075 battens if you intend to do a lot of winching.
Checking the profile
The best place to check the profile of your battens is at home on a flat surface. (It is very difficult to do on the hill with no flat surfaces and the wind blowing the printed profile away.)
The printed profile should be rolled out flat and a book placed at either end to hold it down.
The battens can then be compared to the profile:
Place green (right) number 1 batten against number 1 profile. Place the front end of the batten against the profile and check that it matches the profile along its whole length.
If it does not match the profile see where it deviates and adjust the batten accordingly in that area. (See below.) Continue this process until the batten matches the profile.
13

Amour 159 owner`s manual Mk1
Then do the same for red number 1 batten. Check that both number 1 battens are exactly the same shape. It is more important that the battens are symmetrical than that they are a perfect copy of the profile. Asymmetrical battens could cause a turn inyour glider.
Then move onto batten number 2 and so on until you have checked all the battens. Do not forget to check number 9 batten, the compression strut, with the slight bend.
Nose Batten
The nose batten profile should not be under-cambered but can be a little over-cambered. This is because the cut of the sail will tend to flatten the batten if it is over-cambered. The objective with the nose batten is to get the sail to fit tightly around the nose area.
How to alter the shape of the batten:
The objective is to get a lovely smoothly curved batten but it is not quite as easy as it looks. It is very difficult to bend the batten very close to its front end. Do not attempt to alter the profile over the first 3-5cm of the batten. If your battens need profiling do the 6082 (see below) battens first as they are much softer.
To increase the curve in the batten hold the batten either side of where you want to increase the curve and run the batten over your knee or leg exerting a gentle pressure. (It helps if you are wearing something slippery.) Compare with the profile and repeatif necessary. Try to avoid point bends (With the 7075 tube this might result in breaking the battens.) and make sure that the bends are all in the same plane.
To reduce the curve, do the opposite of the above either over your knee or on the floor. If you have a point bend try and remove it.
Batten Material
The nose batten and compression struts (no 9 battens) are made from 1/2" OD 6082 tube.
Battens No 1 and 2 are made from 10.8mm OD 7075 tube.
Battens No 3 to 8 and the undersurface battens are made from 10.8mm OD 6082 tube.
N.B. If you chose the hard batten option battens 1 to 8 and the under surface are all made from 7075 tube
6082 Aluminium is easier to bend. 7075 aluminium is brittle and more difficult to bend but it holds its shape much better.
The larger 1/2" tube is much stiffer than the thinner 10.8mm tube.
14

Amour 159 owner`s manual Mk1
MAINTENANCE
General
Careful attention to the rigging and de-rigging sequences will protect the wing from the risk of unnecessary damage. Avian recommend that the glider has a factory inspection every year or fifty flying hours which ever is the sooner. Repairs should be undertaken by the Avian factory or an approved dealer using genuine Avian spares.
The correct storage of your glider will also greatly influence its life.
The glider should always be stored:
WELL PACKEDCOMPLETELY DRYWELL SUPPORTEDIN A DARK, COOL AND DRY PLACE.
N.B. Regular coastal flying will cause increased corrosion of spars and fastenings. More frequent regular inspection is therefore recommended in this case.
Airframe Maintenance
Apart from damage caused by over stressing the glider i.e crashing etc the major wearand tear on the glider happens in transit.
Aluminium Tubing
Care and consideration in de-rigging and transportation will pay dividends in airframelife. Damage to any one of the structural members is serious and the only remedy is replacement. Insufficient care during ground handling or transportation can lead to tube abrasion or indentation. The former accelerates fatigue fracture and the latter reduces the strength of a part. Keep a regular watch for tell-tale hair-line cracks, which are most likely to occur in high stress areas such as around bolt holes. If you bend, dent or damage the tubular members in any way, seek immediate professional advice before flying again and have replacement parts fitted.
Fasteners
Any fastener (ie nuts bolts etc) which is bent or shows signs of wear or corrosion should be replaced immediately. Nylock nuts should only be used ONCE.
Rigging Cables
The main danger with the rigging lies in kinking the cable. This is usually caused by careless rigging and de-rigging. Once a cable has a kink the strands are damaged and replacement is the only cure. The side cables are particularly important and should
15

Amour 159 owner`s manual Mk1
receive a frequent detailed inspection. Check for cable damage along the length but the main failure area lies immediately adjacent to the swaged fitting. Look carefully for signs of strand fracture at this position. Corrosion shows itself as a white powdery deposit. Corrosion cannot be cured and the only answer, again, is replacement.
Cross tube tensioner
The stitching on the cross tube tensioner is easy to see and should be inspected frequently. The rest of the tensioner strop is hidden in the sail and keel pocket so thatany damage is more difficult to see. Thus do take time to inspect this thoroughly, particularly around the base of the kingpost and where the strop passes around the cross tube centre junction shackle. If any damage to the strop is found (fraying, abrasions, cuts or wear to the stitching) the strop should be changed before flying.
Wing fabric maintenance
Any cuts or tears at critical areas such as the trailing edge, sail fixing points or similarhigh load areas, must be repaired at either the Avian factory or an Avian approved workshop. Small damage to panels, leading edge covers etc., can be repaired with proprietary self adhesive tape. We define small damage as abraded holes no more than 10mm diameter and small cuts no longer than 15mm. Anything larger should beinspected by Avian approved personnel.
Stitching Damage
Thread damage never gets better and eventually runs. If you abrade a seam or damage the stitching in any way, have the damage repaired before it gets worse. Small, non load-bearing areas can often be repaired in situ by the tedious but effectivemethod of hand sewing back through the original stitch holes. Use a needle and only the correct thread: available from Avian or a good sailmaker.
Wing fabric cleaning
It is, without doubt, better to keep the wing clean than to try and clean it. Some dirt never comes off completely. If you decide you do need to wash your wing, then select a dry day and have access to a good hose and clean water supply. Never use bleaches, strong soaps or detergents. The soap residue can react with ultra violet lightand degrade the fabric. We recommend a very mild liquid soap (washing-up liquid) and a soft sponge. Gently wash the fully rigged wing, frequently hosing clean. Copious amounts of clean water will not harm the wing and can be very beneficial in removing sand and grit which may get trapped inside the leading edge pocket. (Usually in the nose or wing tip areas.) Ensure that the wing is completely dry beforede-rigging.
Battens
Battens form the wing shape and substantially influence the performance of the wing. They need treating with care and, since they are subject to constant stress both during
16

Amour 159 owner`s manual Mk1
flight and rigging, they may lose their shape. It is essential that they are checked against the template at frequent intervals and re-profiled if necessary. The correct way to re-form is to hold the batten against your knee and, whilst applying pressure tobow the batten, slide it side to side across your knee over the area that you want to re-shape. Direct point bending will usually result in either a poor shape or a broken batten.
RECOMMENDED COMPONENT LIFE
The safe working life of the structural components of the Amour is dictated by the environment in which the aircraft is used and the care taken during day to day operations. Inspection, therefore, is an essential tool in deciding the continued use of most components, particularly the sail. Due to the nature of their material, construction and position within the structure, certain components have a critical fatigue life and it is mandatory that these components are replaced within the time stated below.
Cross Tubes 2000hoursLeading Edges 1000hoursControl frame / fittings 1000hoursKeel 1000hoursRigging wires / Tension strop200hours
REPAIR
Warning: The Amour airframe is deceptively simple, but like all aircraft requires skilled and qualified attention. We do not recommend self repair or re-assembly by other than Avian or Avian nominated repair agents. No replacement parts should be fitted unless they are factory supplied and identified as such. Repairs should only be undertaken by Avian approved personnel.Sail repairs are only to be undertaken by the Avian factory.Repairs of all other parts by replacement only.Replacement parts must be obtained from Avian Ltd. or an Avian Ltd. appointed agency to ensure that they are genuine.When ordering spares always quote your glider number (make a note of it if you haveto replace your keel).Bent aluminium tubes must never be straightened, always replaced. Frayed cables and cables with damaged or twisted thimbles must always be replaced.
17

Amour 159 owner`s manual Mk1
TRANSPORTING AND STORAGE OF YOUR HANGGLIDER
Storage general
The glider should always be stored:
WELL PACKEDCOMPLETELY DRYWELL SUPPORTEDIN A DARK, COOL AND DRY PLACE.
The glider should always be stored dry. The sail is made from anti-mould treated cloth but extended storage wet might never-the-less encourage mildew. Wet storage will greatly encourage corrosion of the airframe wires and fasteners. Salt water will of course be many times more damaging. After flying on the coast the glider should be washed with fresh water. Always try and store your glider inside. If it is wet leave the bag open and try and open the glider out to dry properly as soon as possible.If you must store your glider outside again keep it dry and keep it out of direct sunlight. (U.V.light gradually damages the bag and sail)
Transportation general
The wing must always be transported inside its bag, well packed and with all the protective padding in place. We recommend that the glider is placed kingpost down. The zip on the bag can be placed down to prevent entry of rainwater. During transportation, or when stored on slings, the wing must be supported at its centre and at two points not more than one metre from each end. Supports should be padded andrelative movement between glider and supports must be avoided at all times. (If travelling abroad pay attention to the legal requirements for both glider overhang and coloured flags etc.)
Breakdown
The Amour leading edge has been specially designed in two main sections, the inner (nose to out board of the cross spar leading edge junction) and the outer (tip section of the leading edge). These can be separated to allow a reduction in total glider packed length. This facility will be found useful for transport overseas or storage. It may also reduce the cost of a damaged leading edge should the damage be confined toeither the outer or inner leading edge sections.
Removal of the outer leading edge
First mark your leading edge outers, left and right. The outer section is kept in position by a clevis pin and slot. The outer section can be taken off without removingthe clevis pin (THE CLEVIS PIN SHOULD NOT BE REMOVED ON ANY ACCOUNT). To take the outer section off, take the glider out of its bag, turn it
18
Amour 159 owner`s manual Mk1
upside down and remove the sail ties. Release the leading edge tension at the nose byunscrewing the philips self tapping screws. The sail can then be disconnected from the end plugs. To do so will require the use of two 4mm allen keys.
The leading edge outer can now be pulled out. The sail can now be folded smaller buttake care not to crease the mylar or damage the sail on the end of the inner leading edge. (We suggest that a padded bag is placed over the end of the inner leading edge.)
To put the leading edge back together reverse the above procedure making sure that you push the leading edge fully home. (THIS IS VERY IMPORTANT AND VISUAL CONFIRMATION THAT THE LEADING EDGE OUTER IS FULLY HOME UP TO THE 5" LINE IS ESSENTIAL).To replace the self tapping screws at the nose we recommend rigging the glider first taking great care to pull the sail towards the nose when opening the wings out.
IMPORTANT: Check that you have your outer leading edges in the correct sides. (CHECK THE MARKS THAT YOU PUT ON THEM) When the glider is rigged the location for the tip rod should be on the top of the leading edge and the philips self tapping screw should be facing backwards.
TROUBLE SHOOTING
The tension strop gets caught
When rigging the glider and spreading the wings the tension strop should appear through the keel-pocket. If it does not, stop and check to see where it is caught ratherthan force it. Check for any damage to the tension strop before flying.To stop this getting caught again, make sure that the elastic attached to the strop is tight enough so that it disappears into the keel when fully rigged. Also check that the strop has no twists in it and that the elastic loop is on the outside of the stainless tang (i.e. not next to the keel) when the tension is released. The tension strop is difficult to pull on
1. The tension strop might be twisted around the cross tube centre bolt. When freed, inspect the strop for damage and replace if necessary. Try and keep the strop twist free.
2. The side wire is caught:
(i) Check and replace if necessary(ii) The side wire is caught behind a batten end or wrapped around the control frame: Release the wire, check for damage and replace if necessary.(iii) The side wire tang, at the junction with the leading edge, is twisted andthe side wire is kinked over it: Release the wire, check for damage and replace if necessary. (This kinking is more likely if the tang is very loose.
19

Amour 159 owner`s manual Mk1
The tang should offer some resistance to movement with light to moderate pressure from the fingers.)
The wings are difficult to close when de-rigging the glider
When the tension strop is released it should be pushed towards the keel pocket to feedsome slack into it. This allows the wings to move together more easily.
The kingpost base gets caught on the sail when rigging
Check the rigging instructions: The kingpost should be raised before the wings are moved out. When the kingpost is raised the kingpost hole should be held back to allow the base of the kingpost through the hole in the sail.
A 'pop' is heard on take off
The lower wing wire goes though a small hole in the sail. During the "pre-flight" thisarea should be checked. One of the ferrules on the wire can get caught in the sail. If this happens the ferrule will normally "pop" through the hole on take off. (See above:this can also make the tension difficult to pull on when rigging.)
The glider has a turn see tuning instructions.
The glider has become more difficult to turn
1. This can be caused by an incorrect but symmetrical batten profile. (Asymmetrical battens tend to cause turns.) The glider handling does deteriorate significantly if battens are out of profile. The centre section (nose batten and battens 1, 2, 3 & 4) seems to make the largest difference. Check the battens against the profile more regularly.
2. This may also be caused by an incorrect trim position (position of the hang loop on the keel). The glider might be trimmed too slow "hands off" and be flying in a semi-stalled condition. See tuning instructions. When the trim you prefer is found the keel position should be marked and the hang loop fixed in place.
The Glider is heavy or "strange" in pitch
The glider is heavy or handling badly despite the hang point apparently being in the correct position. The backup hang loop might be too short so that it interferes with the other loop when moving the bar (in or out depending on the position of the backup loop relative to the main loop.) Lengthen the backup loop so that it is loose atany flying speed.
The Glider appears to be trimmed too fast despite having the hang loop at its furthest rearward position
20

Amour 159 owner`s manual Mk1
1. As above this might be caused by a backup loop that is too short and interfering with the main loop when flying. Extend the backup loop so that you are sure it is loose in flight.
2. If you are new to the glider and have previously flown a glider which has a heavierpitch response you may actually be pulling the bar in with out realising. On a smooth day, when you have a safe ground clearance and are clear of all other aircraft,slowly release your grip on the base bar and check the bar position and trim speed without holding the speed bar.
T he short undersurface batten has been put in the long undersurface batten pocket
You can sometimes do this accidentally if rigging quickly. If you have pushed the batten in a long way, you may have to totally de-rig to remove it.
In future always work in from the tip with the undersurface battens i.e. put the shorter battens in first. In this way if you get the wrong batten it will be too long and easy to remove from the pocket.
You have lost your nose cone
Check that the nose cone is not down the leading edge pocket of the glider. Hold the leading edge up to the light and look for the silhouette of the nose cone.
The leading edge pocket appears to have black marks or other dirt on the inside
This is usually grass or other debris which has got down the leading edge pocket. Tryand get is out as best you can. The problem is usually caused by the storage of the battens in the leading edge pocket which tends to fill the pockets with debris and encourages mildew. DO NOT STORE YOUR BATTENS IN THE LEADING EDGE POCKET.
OWNERSHIP
Please notify Avian Ltd. of change of ownership and change of address. Your name and address will go onto a computer file but we hope that you won't worry about that.The reason for wanting your address is so that we are able to contact the owners of any of our gliders should we decide to offer upgrades or in the unfortunate case of having to recall components or gliders.
Please keep a record of all work done on your hang glider.
Please let us know of any ideas for changes that you think would improve our hand book, hang gliders or company. We are interested and would also like to hear if you have any complaints about the gliders or our service.
We would be most grateful to receive any interesting photographs of our gliders.Finally we hope that you have many hours of safe and most enjoyable flying.
21