cowl neck sweatshirt women’s pdf pattern · cowl neck sweatshirt women’s pdf pattern ... sewing...
TRANSCRIPT

Cowl Neck Sweatshirt Women’s PDF Pattern Sizes XSmall thru XXLarge
www.sewingrabbit.com


The Cowl Neck Sweatshirt The perfect sweater / sweatshirt to throw on every day of the week! Appropriate for Spring, Fall or Winter you will love having this cover up to keep you cozy all day long. Wear it to look stylish while exercising, picking your kids up from school, while running errands, or to the movies! A fabulous staple for everyone’s closet. SIZE CHART
XSmall Small Medium Large XLarge XXLarge
Bust 32” 34” 36” 38” 40” 42”
Waist 26” 28.5” 31” 33” 36” 38”
Height 65” 65” 65” 65” 65” 65”
SEAM ALLOWANCE
The pattern includes a ½” seam allowance. FINISHED MEASUREMENTS
XSmall Small Medium Large XLarge
Bust 40” 43” 46” 49” 52”
Length 25.5” 25.5” 25.5” 25.5” 25.5”
***The sweatshirt is designed to fall above the hips. The finished length is determined from shoulder to the bottom of the sweatshirt. FABRIC REQUIREMENTS
XSmall Small Medium Large XLarge
Main 2 ¼ yds 2 ¼ yds 2 ¼ yds 2 ¼ yds 2 ¼ yds
All fabric requirements are based on 58” width of fabric (typical for sweatshirt and fleece knits). Allow extra fabric if matching up stripes or plaids. FABRIC RECOMMENDATIONS This fabric was intended for use with sweatshirt and fleece knit fabrics. Fabric with a slight stretch is preferred, but not necessary. If using a sweatshirt fabric with no stretch, then use ribbing for the Sleeve Hem pattern pieces.

SUPPLIES NEEDED
● Fabric ● 55” ½” Twill Tape ● Coordinating Thread ● Scissors / Rotary Cutter ● Pins or Binder Clips ● Sewing Machine, and other basic sewing essentials
TIPS FOR SEWING THIS PATTERN
● Wash and dry all fabric before sewing. ● Read through entire pattern instructions before beginning to sew. ● Trace your pattern pieces onto tracing or freezer paper to minimize printing.
TIPS FOR SEWING WITH KNITS
● DO NOT STRETCH AS YOU SEW!!! If you stretch as you sew, you will end up with a wavy / wonky looking seam. Adjust your presser foot to the lowest amount of pressure, this will help you not to stretch as you sew! The use of a walking foot also helps.
● The use of a ball point needle is recommended to avoid skipping stitches. ● Use a zig zag stitch, stretch stitch, overlock (serger) or cover stitch when sewing.
Printing and Piecing Instructions
● All pages should be printed on standard paper. Using Adobe Reader (free to download) is recommended but may not be necessary.
● Make sure that “Auto Rotate and Center” is checked and that “Scaling” is NOT checked (scaling may be in a dropdown menu make sure to find it and check the setting). If you have a newer version of Adobe Reader, your options might look like “Fit to Size” or “Actual Size”. If that is the case, make sure you choose “Actual Size”.
● To make sure you’re printing the right size pattern, measure the 2 inch by 2 inch test square. Do your troubleshooting here so you don’t print out the wrong size pages.
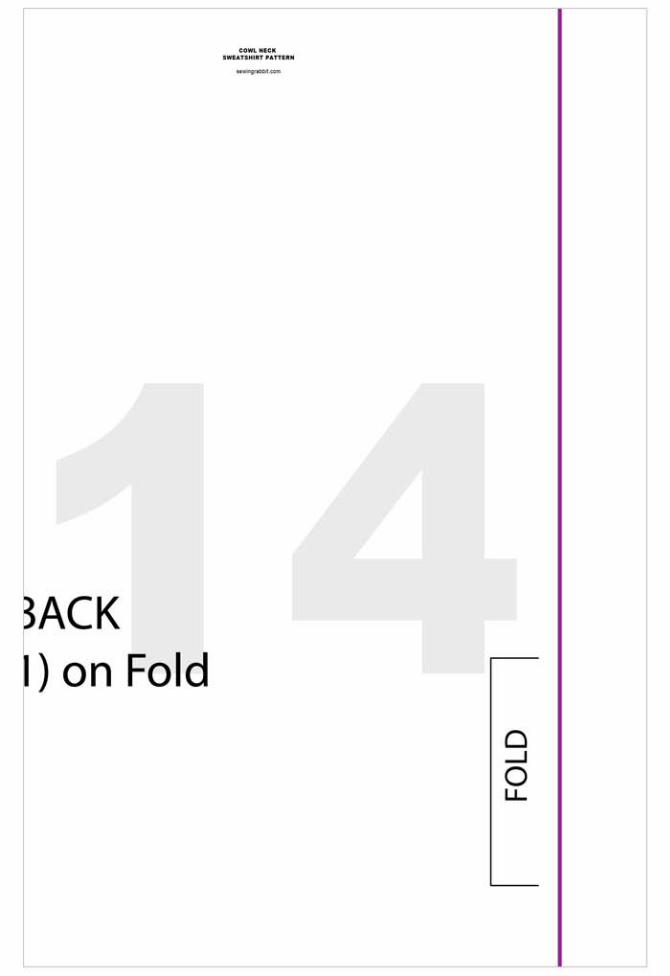
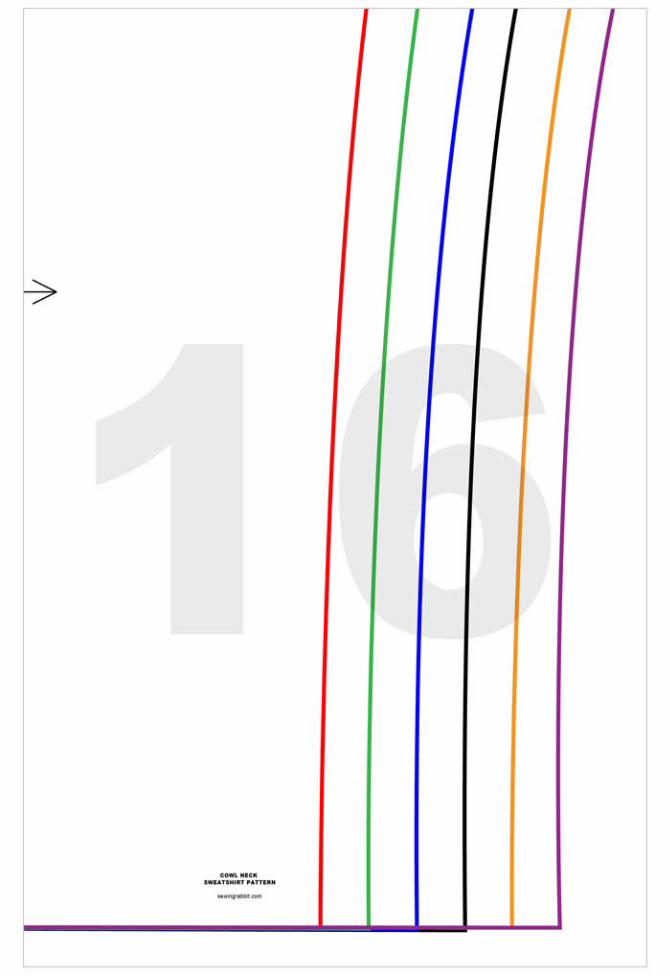
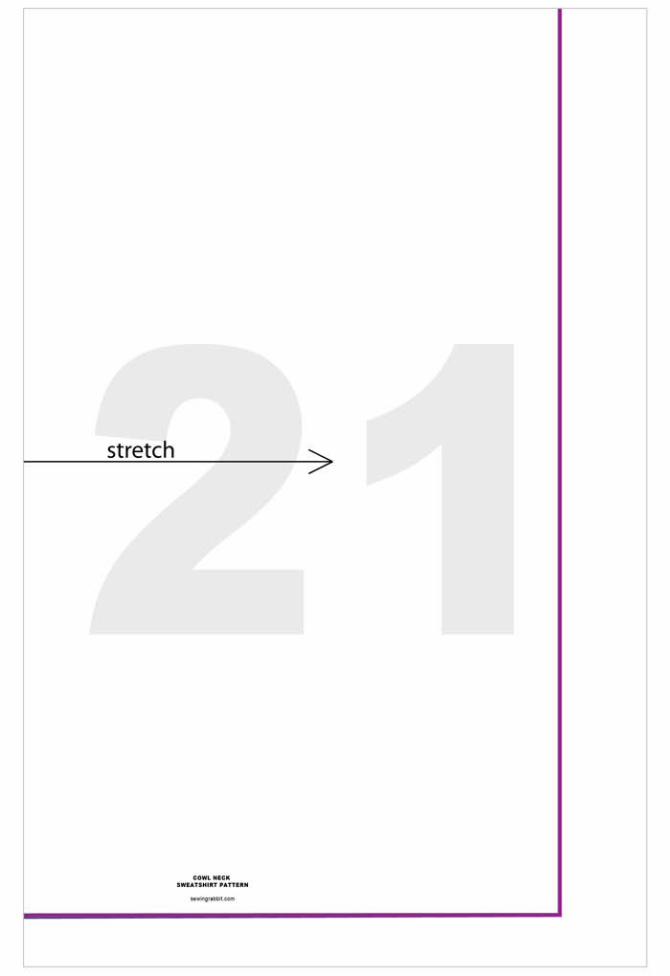
● If you live outside Canada or the US, print the pages to your standard paper size. ● To connect each page, trim to the grey border (do not cut the grey border off), and
match up the numbers of each page with the pattern image diagram below. ● Tape the pages together. ● Once the whole pattern is printed and taped, cut along your size line according to the
size chart. You may prefer to trace your size onto tracing paper and then cut it out.
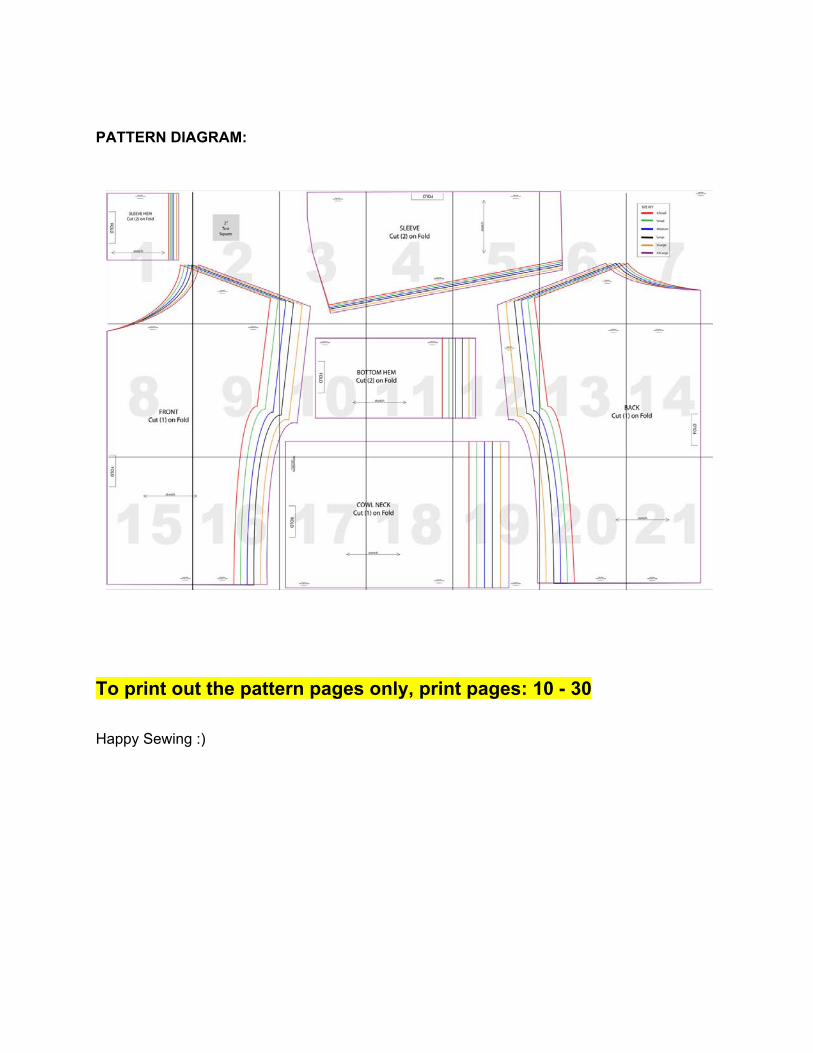
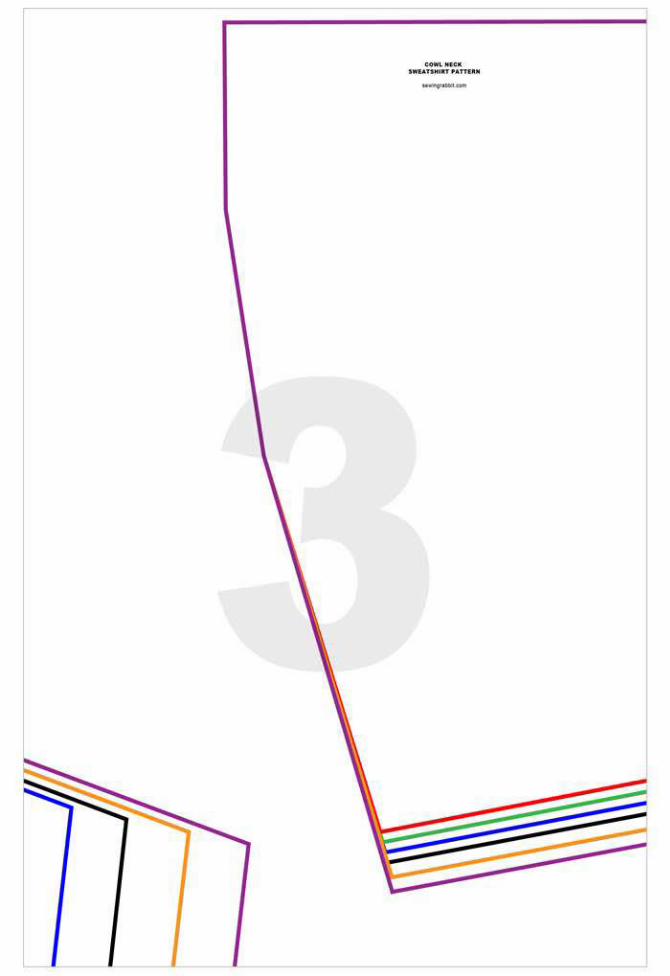
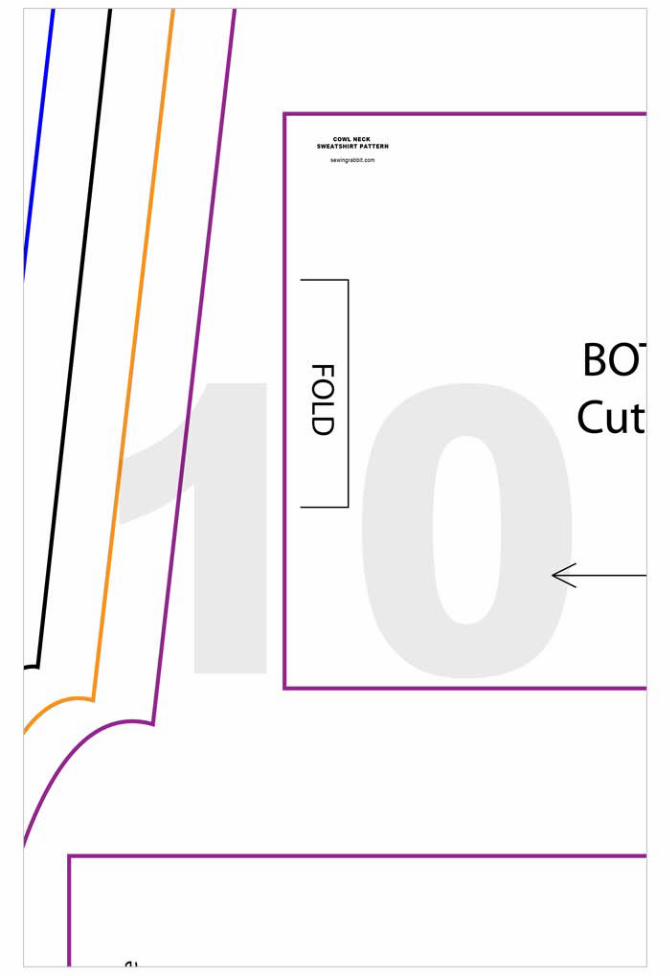
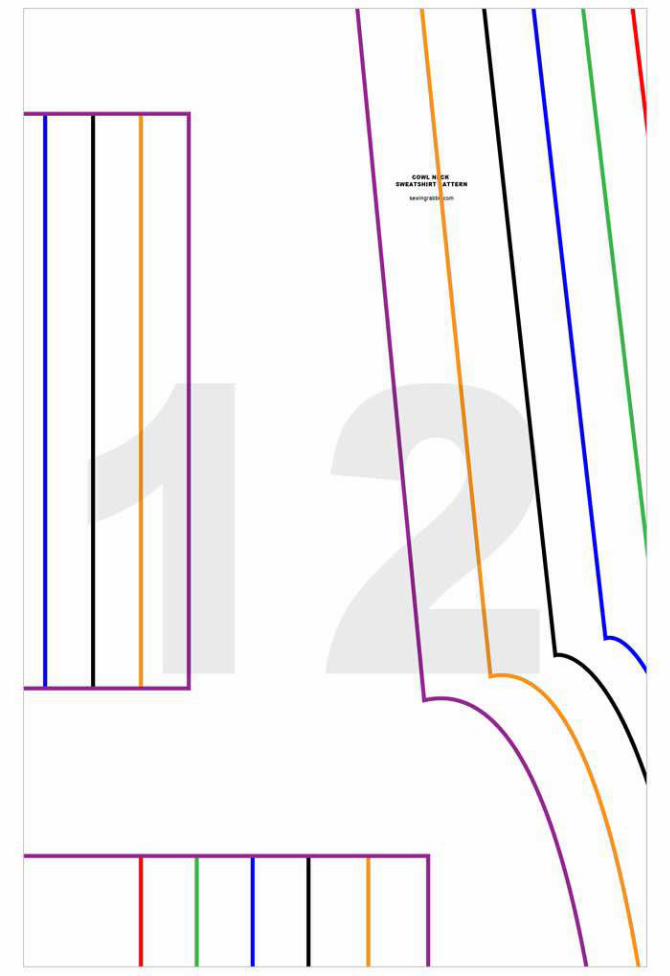
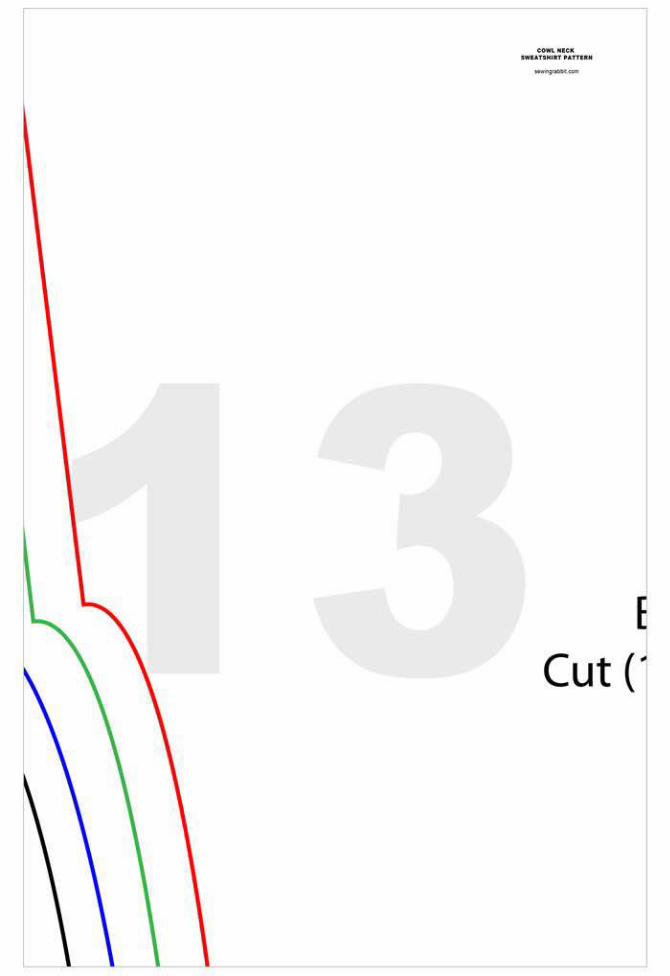
PATTERN DIAGRAM:
To print out the pattern pages only, print pages: 10 30 Happy Sewing :)

Print out pattern pieces as instructed. Fabric with stretch is preferred, but if using a nonstretchy sweatshirt material, then USE RIBBING for the sleeve cuffs. Sew Shoulder Seams 1. Place Front and Back right sides together, pin and sew shoulder seams.
Sew Sleeves 2. Line up the sleeve curve to the armsyce, matching the center of the curve with the shoulder seam.
3. Flip the sleeve over, so that the curve matches up with the armsyce, right sides together. Pin and sew. Repeat for other Sleeve.
Sew Side Seam 4. Fold front and back right sides together matching up the side seams. Pin and sew. Repeat for both sides.
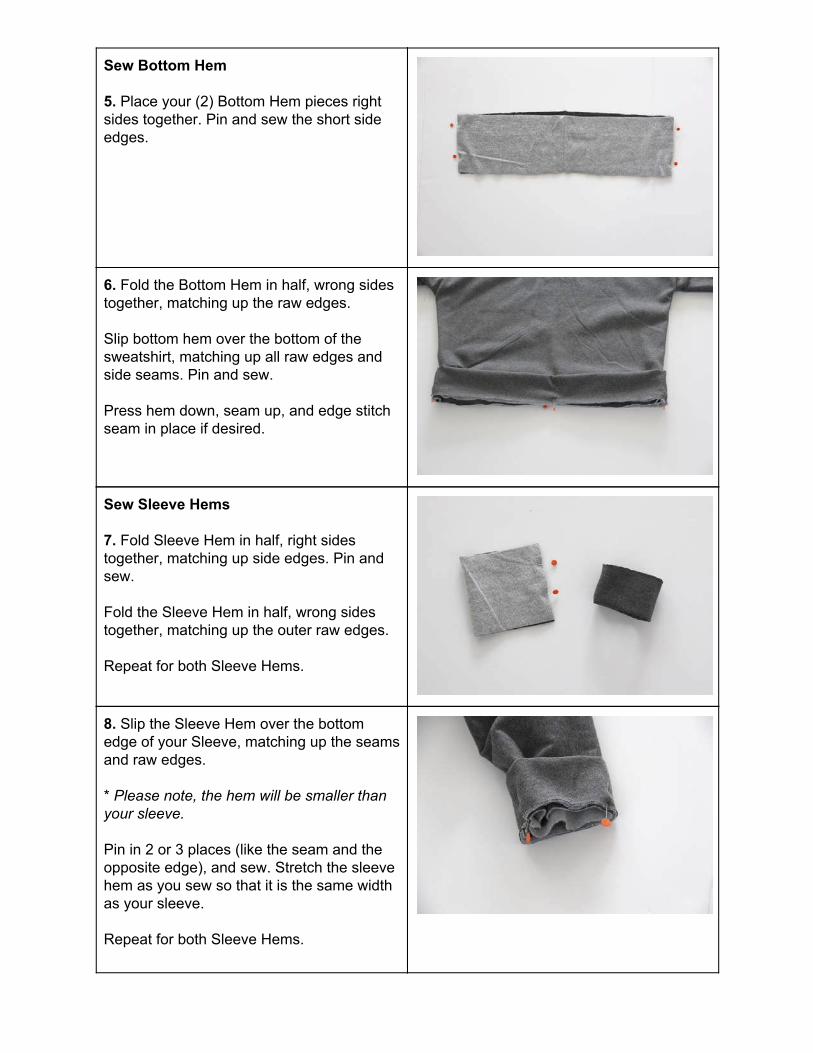
Sew Bottom Hem 5. Place your (2) Bottom Hem pieces right sides together. Pin and sew the short side edges.
6. Fold the Bottom Hem in half, wrong sides together, matching up the raw edges. Slip bottom hem over the bottom of the sweatshirt, matching up all raw edges and side seams. Pin and sew. Press hem down, seam up, and edge stitch seam in place if desired.
Sew Sleeve Hems 7. Fold Sleeve Hem in half, right sides together, matching up side edges. Pin and sew. Fold the Sleeve Hem in half, wrong sides together, matching up the outer raw edges. Repeat for both Sleeve Hems.
8. Slip the Sleeve Hem over the bottom edge of your Sleeve, matching up the seams and raw edges. * Please note, the hem will be smaller than your sleeve. Pin in 2 or 3 places (like the seam and the opposite edge), and sew. Stretch the sleeve hem as you sew so that it is the same width as your sleeve. Repeat for both Sleeve Hems.

Press Sleeve Hem down, seam up, and edge stitch seam in place if desired.
Sew Cowl Neck 9. Using the markings on your pattern as a guide, sew (2) buttonholes along the top of your Cowl Neck. * If desired, place a small piece of lightweight or tear away interfacing underneath your buttonhole for a cleaner finish.
10. Fold Cowl Neck in half right sides together, matching up the side seam. Pin in place and sew.
11. Fold the top edge down 1” towards the wrong side, and press. Pin in place and sew all around, creating a casing.
12. Slip the Cowl Neck over the top of your sweatshirt, right sides together, matching up the raw edges. Line up the seam on the Cowl Neck with the back center of your sweatshirt’s neckline. Pin in place, and sew. Press Cowl Neck up, and seam down. Edge stitch in place if desired.
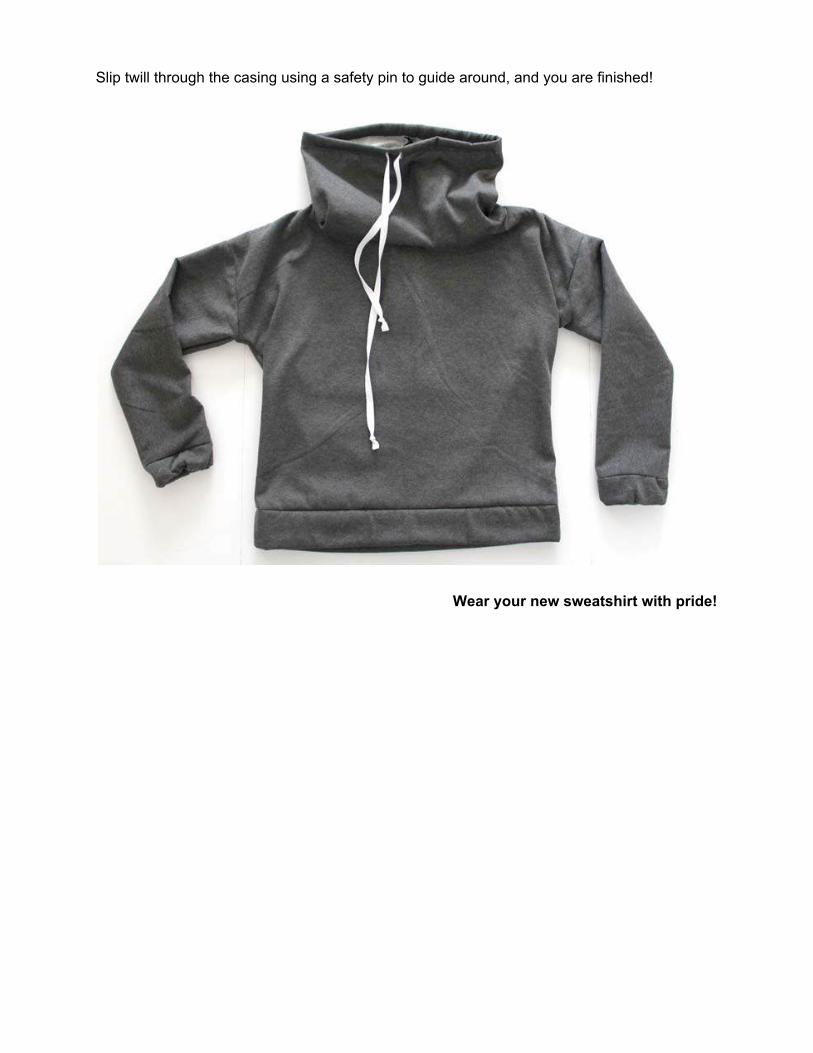
Slip twill through the casing using a safety pin to guide around, and you are finished!
Wear your new sweatshirt with pride!