cleaning the printhead in a hp photosmart plus b210a (gentle) · 2019-12-02 · cleaning the...
TRANSCRIPT
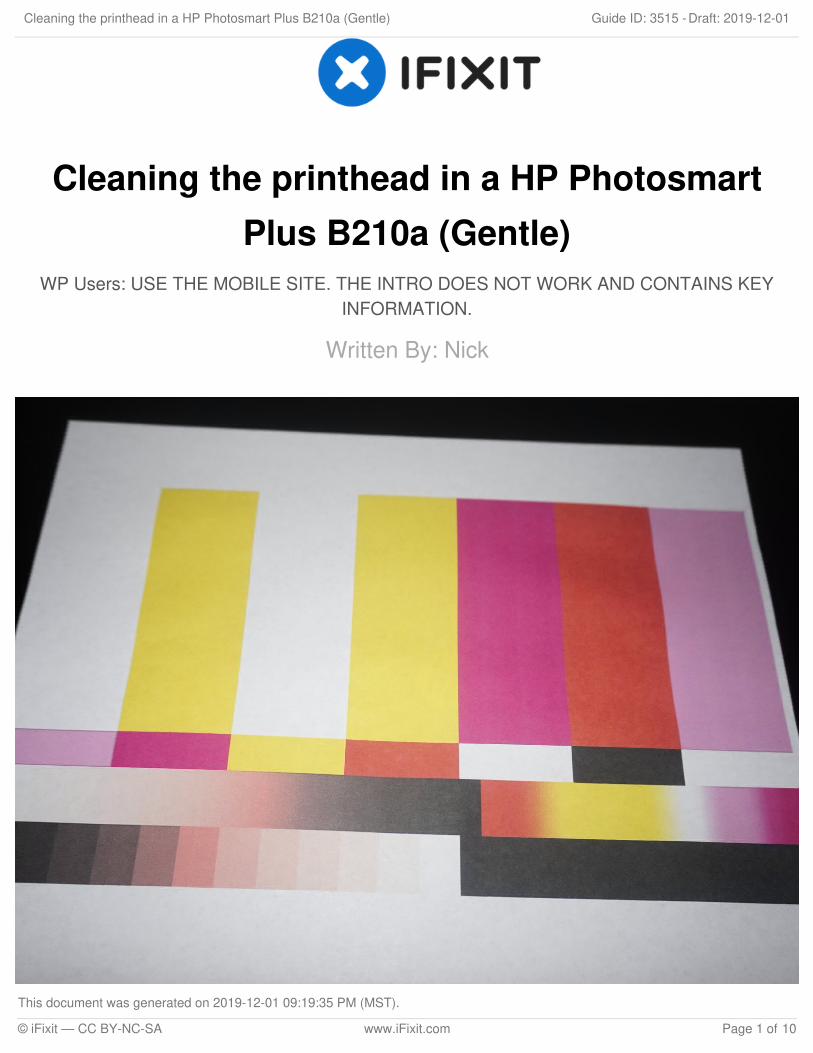
Cleaning the printhead in a HP PhotosmartPlus B210a (Gentle)
WP Users: USE THE MOBILE SITE. THE INTRO DOES NOT WORK AND CONTAINS KEYINFORMATION.
Written By: Nick
Cleaning the printhead in a HP Photosmart Plus B210a (Gentle) Draft: 2019-12-01Guide ID: 3515 -
This document was generated on 2019-12-01 09:19:35 PM (MST).
© iFixit — CC BY-NC-SA www.iFixit.com Page 1 of 10

INTRODUCTION
If your HP B210a has a clogged printhead, this guide can be used to try and clear the clog.
IMPORTANT: This does not fix every printer. If your printer has predisposed hardwareproblems, this will not work. If the problem persists, your printer has a different problem or abad printhead. It is typically more cost efficient to replace the printer as an entire unit if thishappens.
Guide Notes
WARNING: THIS PROCEDURE MAY DAMAGE PRINTHEADS WITH OTHER DEFECTS!If the printhead has failed, it likely had predisposed damage.
This guide is primarily made for the HP Photosmart Plus B210a, it is universal among all HP564 printers, as the same method can be used on other models.
Non-removable printhead models (Ex: Photosmart 6520) require special attention topreserve the calibration. These may not work again if SETUP cartridges areexpected.If I have not tested your specific printer with the bypass, I cannot guarantee calibrationpreservation. It generally doesn't hurt to try (removable only), but I cannot guarantee it willwork.
Printhead bypass validated models
Photosmart C6380Photosmart Premium C309gPhotosmart Plus B209aPhotosmart Plus B210a
Cleaning the printhead in a HP Photosmart Plus B210a (Gentle) Draft: 2019-12-01Guide ID: 3515 -
This document was generated on 2019-12-01 09:19:35 PM (MST).
© iFixit — CC BY-NC-SA www.iFixit.com Page 2 of 10
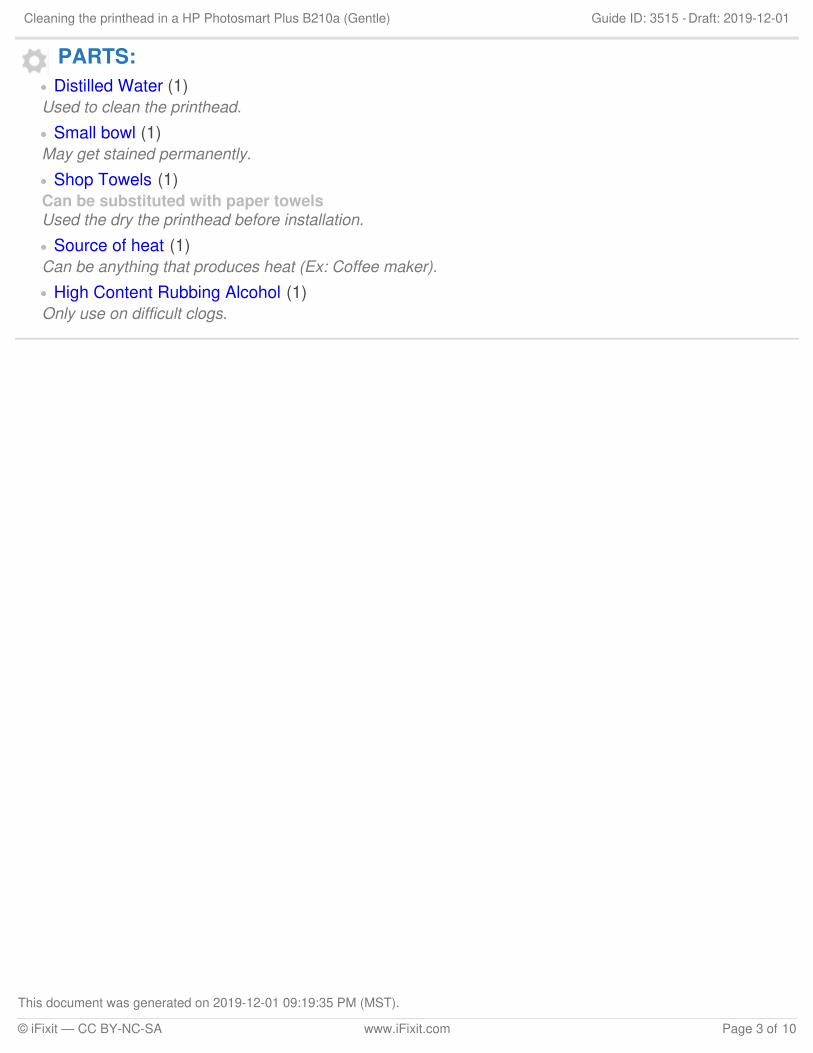
PARTS:Distilled Water (1)
Used to clean the printhead.Small bowl (1)
May get stained permanently.Shop Towels (1)
Can be substituted with paper towelsUsed the dry the printhead before installation.
Source of heat (1)Can be anything that produces heat (Ex: Coffee maker).
High Content Rubbing Alcohol (1)Only use on difficult clogs.
Cleaning the printhead in a HP Photosmart Plus B210a (Gentle) Draft: 2019-12-01Guide ID: 3515 -
This document was generated on 2019-12-01 09:19:35 PM (MST).
© iFixit — CC BY-NC-SA www.iFixit.com Page 3 of 10
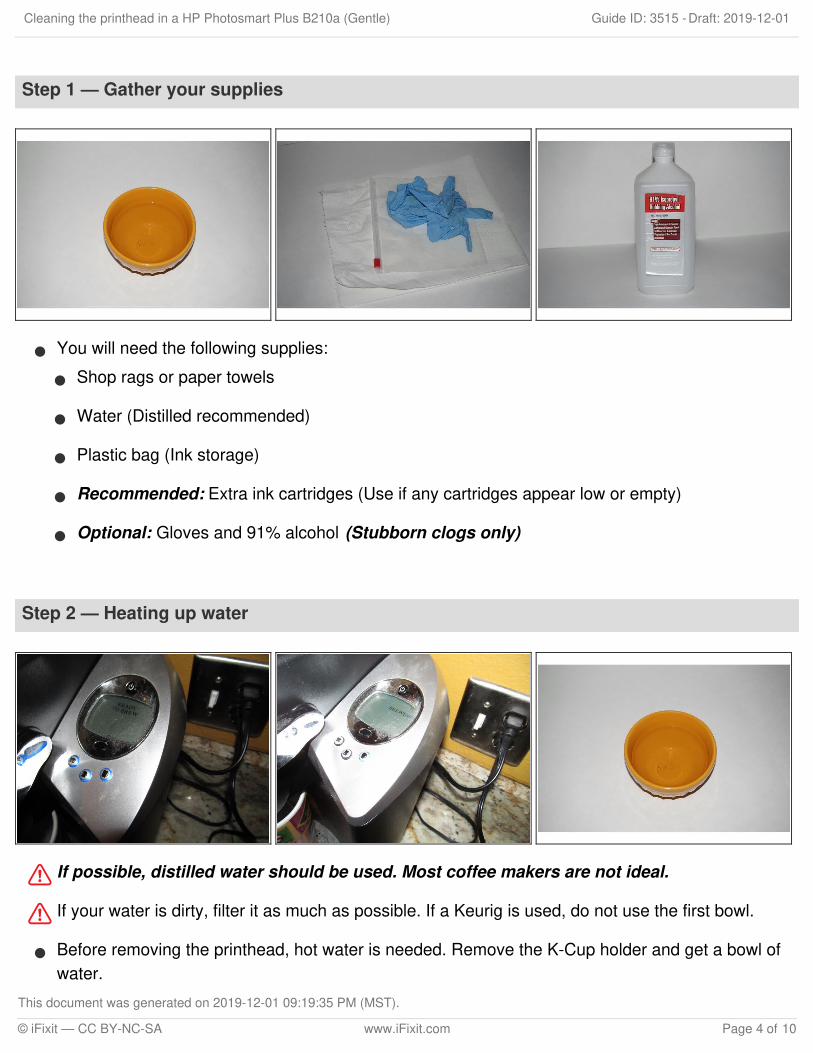
Step 1 — Gather your supplies
You will need the following supplies:
Shop rags or paper towels
Water (Distilled recommended)
Plastic bag (Ink storage)
Recommended: Extra ink cartridges (Use if any cartridges appear low or empty)
Optional: Gloves and 91% alcohol (Stubborn clogs only)
Step 2 — Heating up water
If possible, distilled water should be used. Most coffee makers are not ideal.
If your water is dirty, filter it as much as possible. If a Keurig is used, do not use the first bowl.
Before removing the printhead, hot water is needed. Remove the K-Cup holder and get a bowl ofwater.
Cleaning the printhead in a HP Photosmart Plus B210a (Gentle) Draft: 2019-12-01Guide ID: 3515 -
This document was generated on 2019-12-01 09:19:35 PM (MST).
© iFixit — CC BY-NC-SA www.iFixit.com Page 4 of 10

Step 3 — Print a baseline image
Print a test image as a baseline. Agood image can be found here:SMPTE color bars.
Step 4 — Remove the ink tanks
If you still have shipping caps, these can be used.
Remove the ink cartridges from the printer and put them in a plastic bag.
Cleaning the printhead in a HP Photosmart Plus B210a (Gentle) Draft: 2019-12-01Guide ID: 3515 -
This document was generated on 2019-12-01 09:19:35 PM (MST).
© iFixit — CC BY-NC-SA www.iFixit.com Page 5 of 10
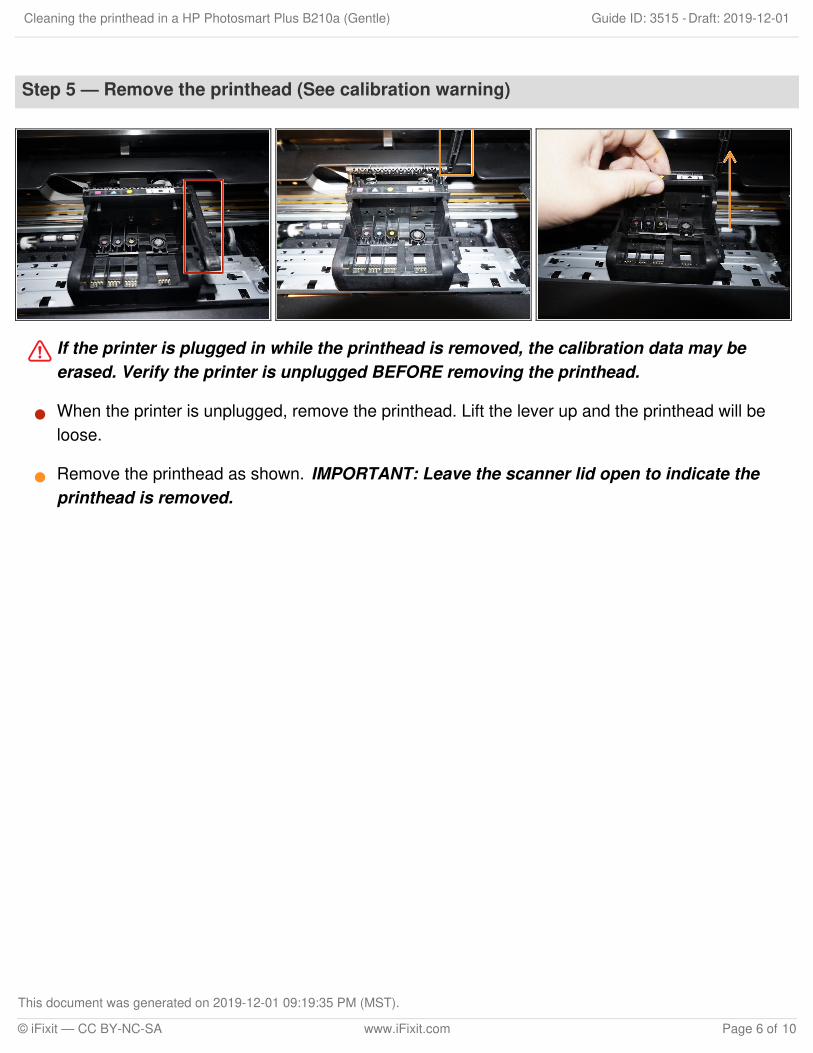
Step 5 — Remove the printhead (See calibration warning)
If the printer is plugged in while the printhead is removed, the calibration data may beerased. Verify the printer is unplugged BEFORE removing the printhead.
When the printer is unplugged, remove the printhead. Lift the lever up and the printhead will beloose.
Remove the printhead as shown. IMPORTANT: Leave the scanner lid open to indicate theprinthead is removed.
Cleaning the printhead in a HP Photosmart Plus B210a (Gentle) Draft: 2019-12-01Guide ID: 3515 -
This document was generated on 2019-12-01 09:19:35 PM (MST).
© iFixit — CC BY-NC-SA www.iFixit.com Page 6 of 10

Step 6 — Clean the printer contacts
Failure to clean this area may result in Ink System Failure warnings and a lost calibration.
Using a alcohol wipe, clean the printhead interface. This will stop any Ink System Failurewarnings from appearing.
Cleaning the printhead in a HP Photosmart Plus B210a (Gentle) Draft: 2019-12-01Guide ID: 3515 -
This document was generated on 2019-12-01 09:19:35 PM (MST).
© iFixit — CC BY-NC-SA www.iFixit.com Page 7 of 10

Step 7 — Clean the printhead
Do not use alcohol unless you are out of options. This may damage the printhead! Purgethe printhead 3 times if alcohol is used to avoid problems.
Recommended circulation times: Alcohol: 5-10 minutes. Without alcohol: 15 minutes.
The water will get lighter as the ink breaks down. An ultrasonic cleaner can be used onstubborn clogs.
Pour hot water into a bowl and let the printhead sit. Change the water until the printhead isreasonably clean.
Dry the printhead contacts and nozzles by hand to ensure these areas are dry.
Before reinstalling the printhead, let it air dry for ~3-4 hours. Use a fan to reduce the dry time.
Cleaning the printhead in a HP Photosmart Plus B210a (Gentle) Draft: 2019-12-01Guide ID: 3515 -
This document was generated on 2019-12-01 09:19:35 PM (MST).
© iFixit — CC BY-NC-SA www.iFixit.com Page 8 of 10

Step 8 — Reinstall the printhead and ink
Since the calibration will be erased if the printer errors out, wait until the printhead is bonedry before installation. Printhead initialization uses 1/2 of your ink (non-XL).
While the printhead will not be seen as "new", a unavoidable Printhead Preparation processmust run.
Once the printhead is satisfactorily dry, reinstall the printhed and ink in the reverse order they wereremoved. Plug the printer in when installed.
Cleaning the printhead in a HP Photosmart Plus B210a (Gentle) Draft: 2019-12-01Guide ID: 3515 -
This document was generated on 2019-12-01 09:19:35 PM (MST).
© iFixit — CC BY-NC-SA www.iFixit.com Page 9 of 10

If your printer is working correctly, it was just a clog. Persistent issues usually total out the printer as aunit.
Step 9 — Test the printer
All ink cartridges must have ink physically in the cartridge.
If your printer has issues, try the built-in cleaning utility. If the printhead is bad, a new oneis ~$80.
If you have a 5 color printer (C/M/Y/K/PK), print in photo mode to test Photo Black.
After replacing the printhead, test the printer. Match the settings used before and check forimprovement.
Cleaning the printhead in a HP Photosmart Plus B210a (Gentle) Draft: 2019-12-01Guide ID: 3515 -
This document was generated on 2019-12-01 09:19:35 PM (MST).
© iFixit — CC BY-NC-SA www.iFixit.com Page 10 of 10