1 blackboard 5.5x using small groups darek sady fall 2003
TRANSCRIPT
1
Blackboard 5.5xUsing Small Groups
Darek Sady
Fall 2003
2
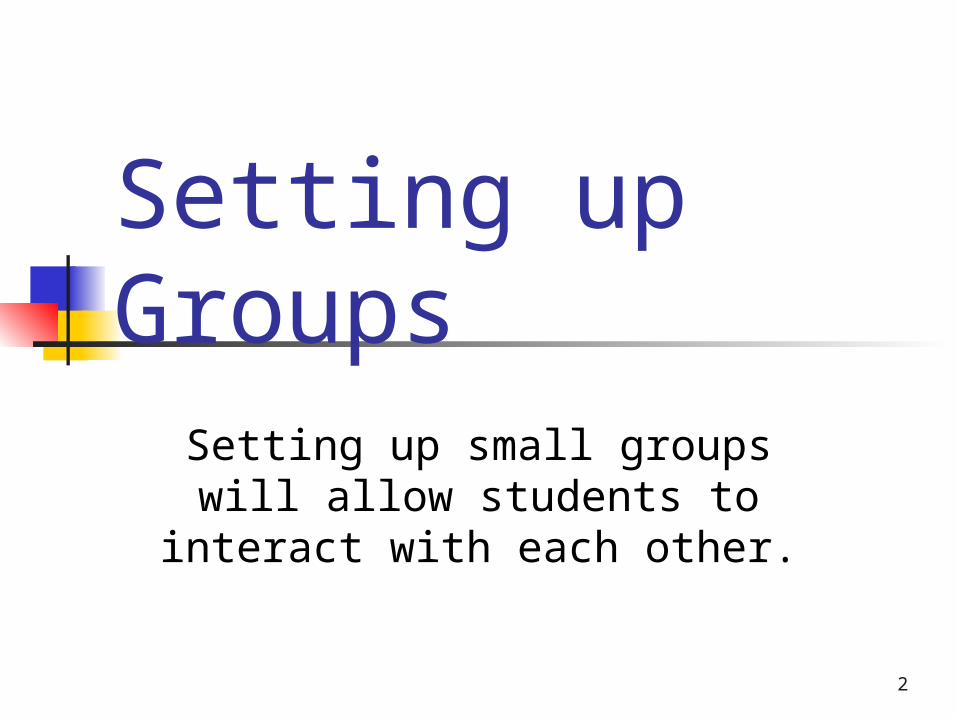
Setting up GroupsSetting up small groups will allow students to interact with each other.

3
Choose Manage Groups
Choose the Manage Group option from the Control Panel.
4
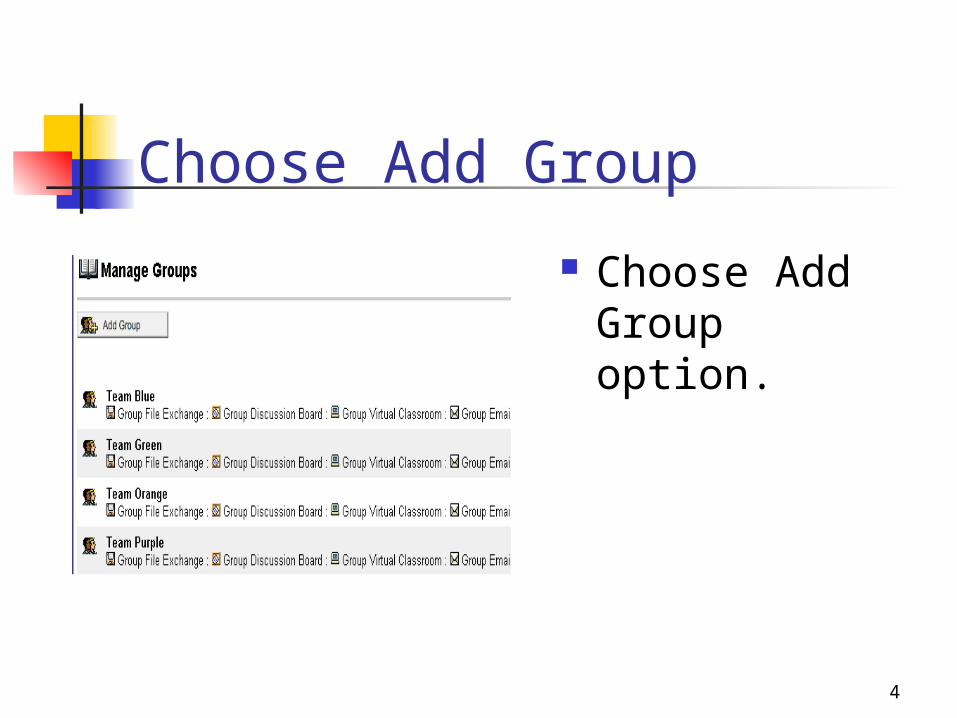
Choose Add Group
Choose Add Group option.
5
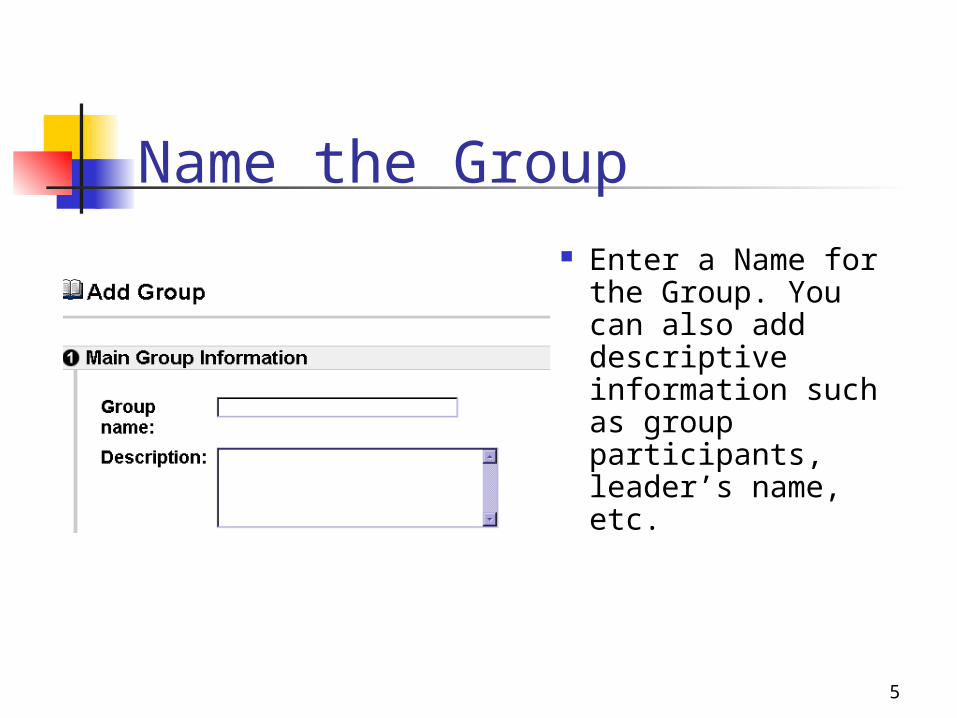
Name the Group
Enter a Name for the Group. You can also add descriptive information such as group participants, leader’s name, etc.
6
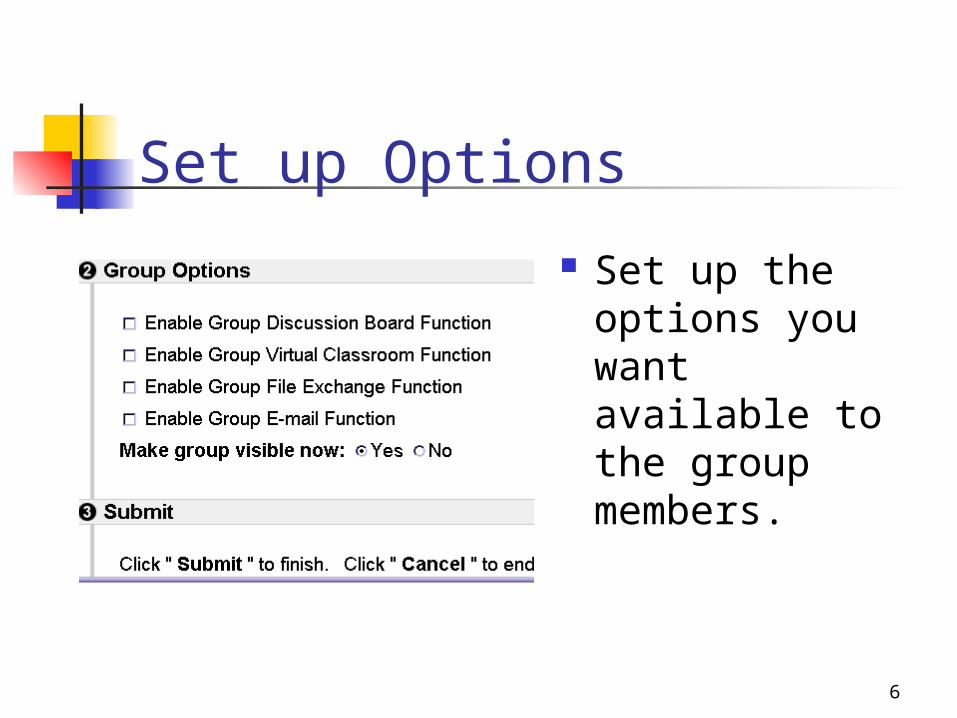
Set up Options
Set up the options you want available to the group members.
7
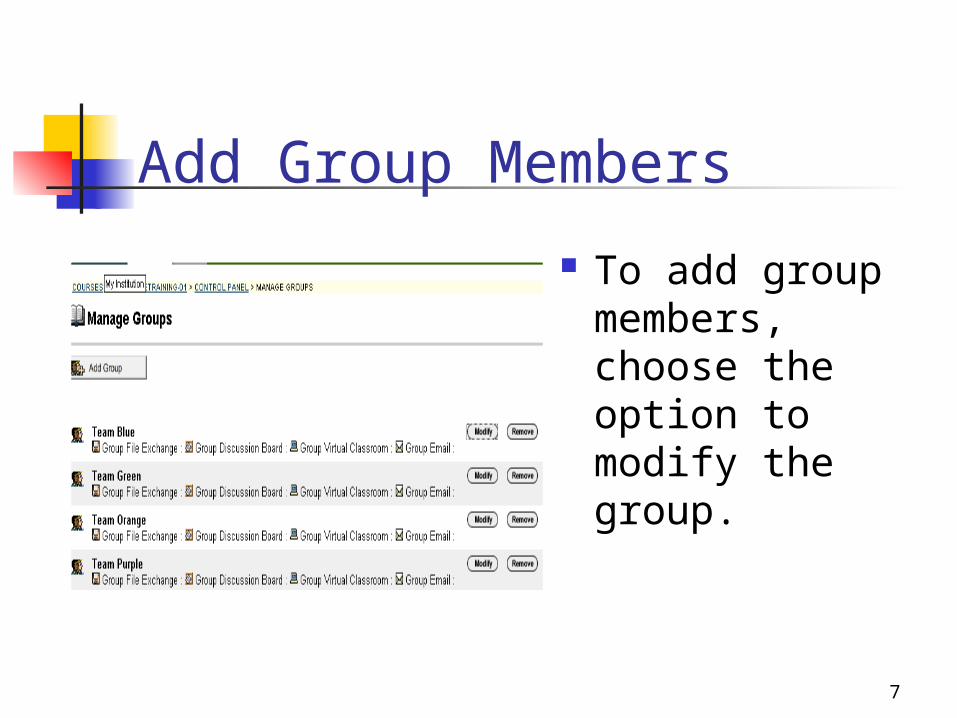
Add Group Members
To add group members, choose the option to modify the group.
8
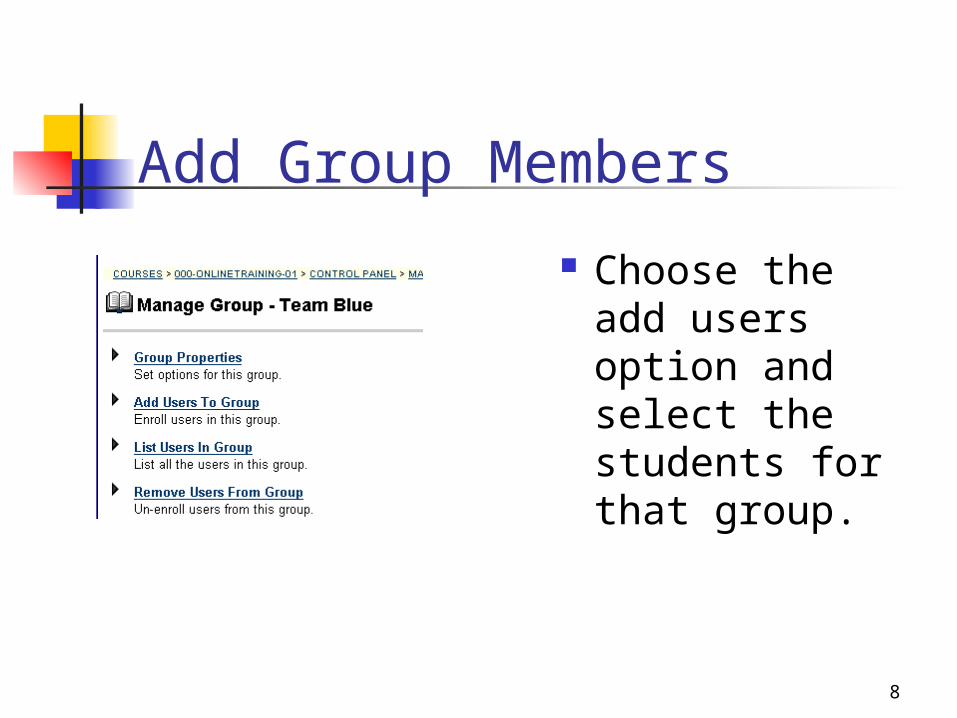
Add Group Members
Choose the add users option and select the students for that group.

9
Adding Discussion Boards
If you want the groups to have their own discussion board, you will have to add one to each group.
10
Virtual ClassroomUse the virtual classroom to schedule
a chat room with the students.
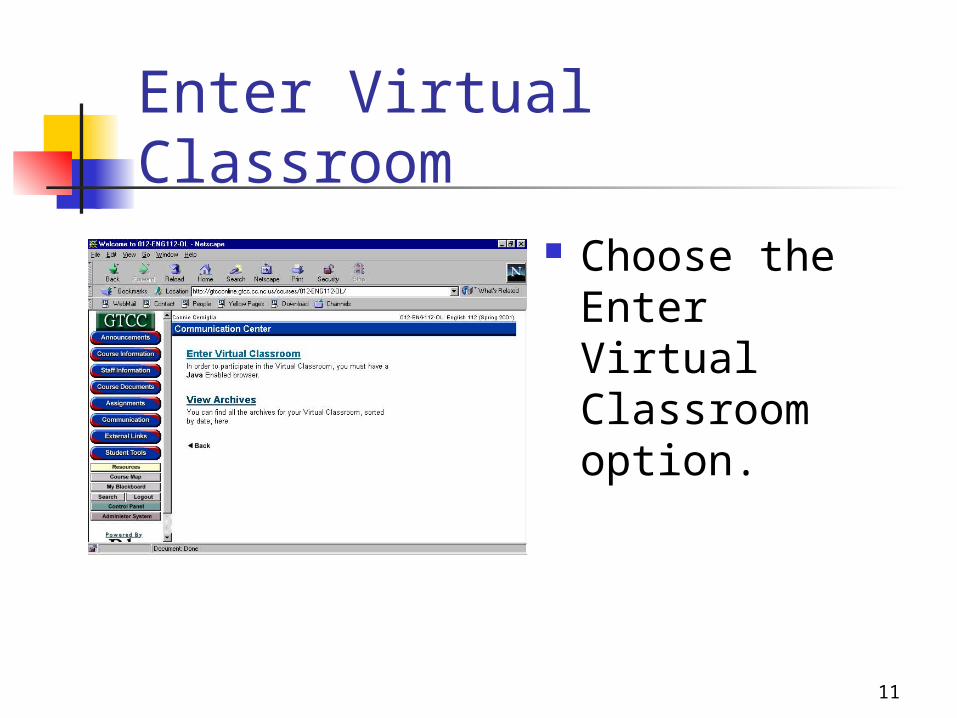
11
Enter Virtual Classroom Choose the Enter
Virtual Classroom option.
12
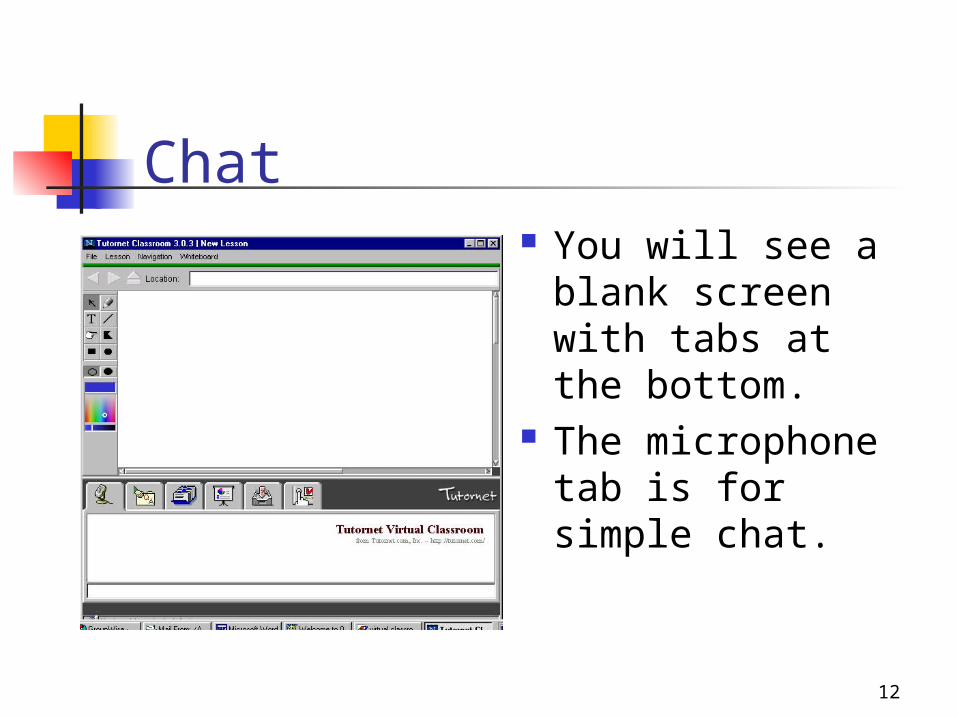
Chat You will see a
blank screen with tabs at the bottom.
The microphone tab is for simple chat.
13
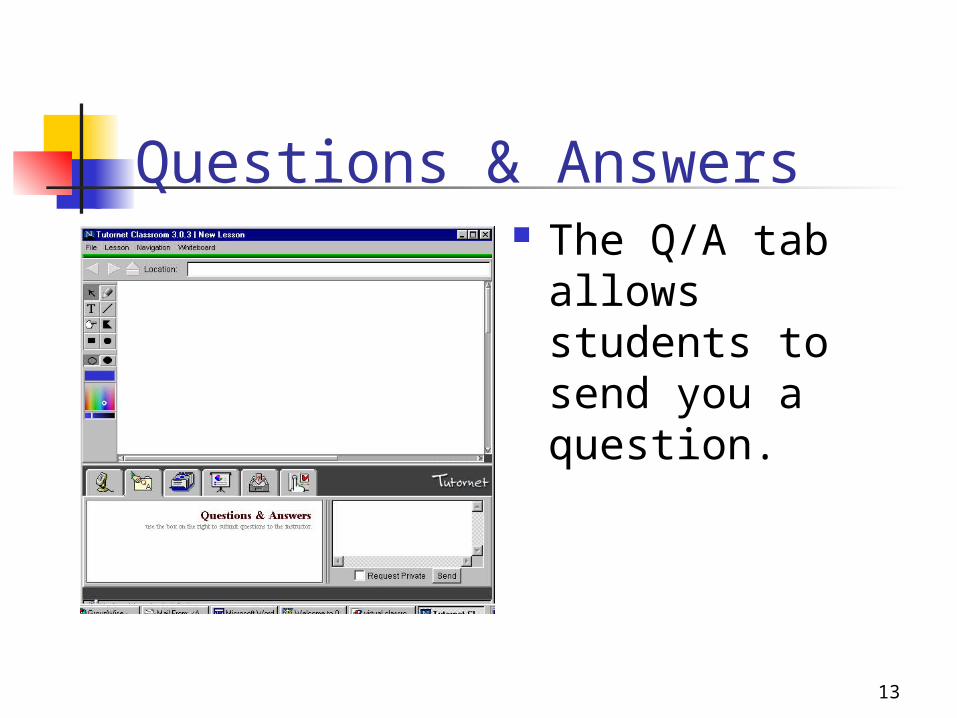
Questions & Answers The Q/A tab allows
students to send you a question.
14
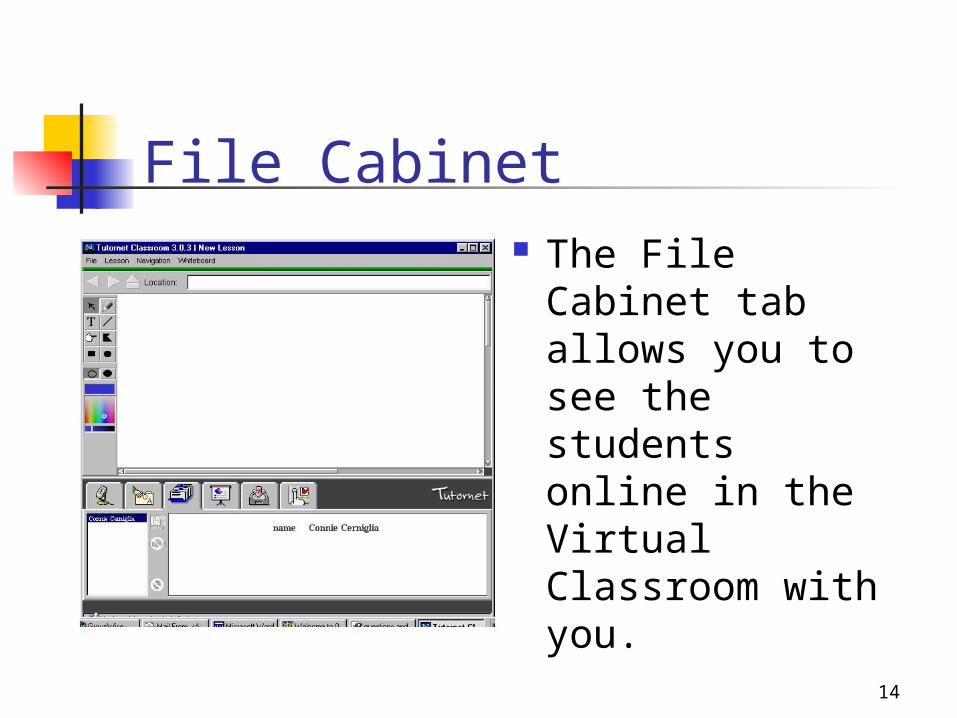
File Cabinet The File Cabinet
tab allows you to see the students online in the Virtual Classroom with you.
15
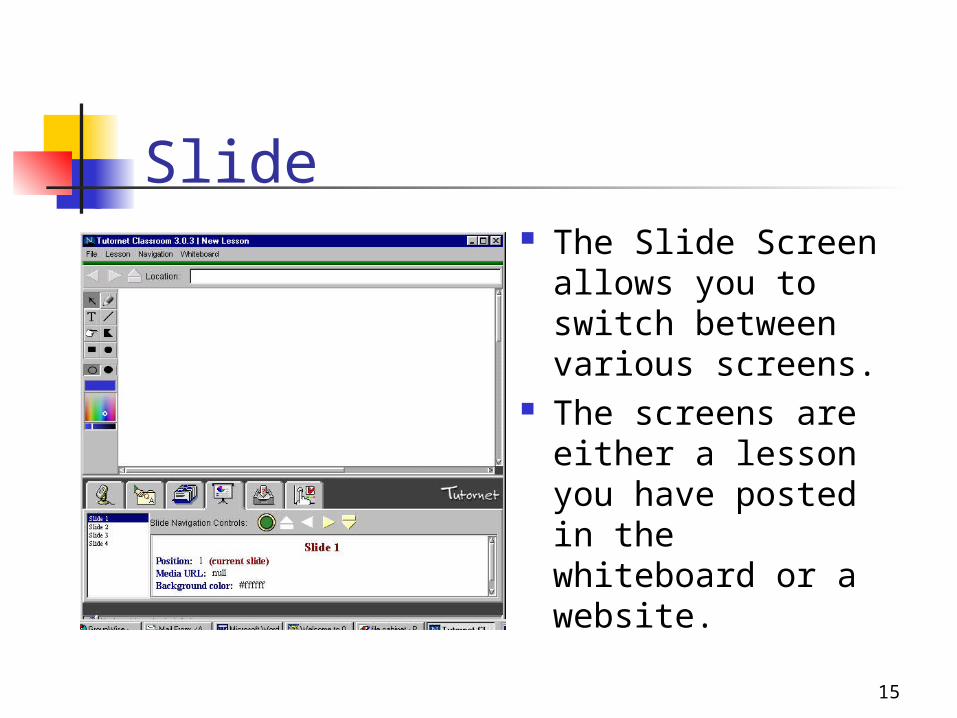
Slide The Slide Screen
allows you to switch between various screens.
The screens are either a lesson you have posted in the whiteboard or a website.
16
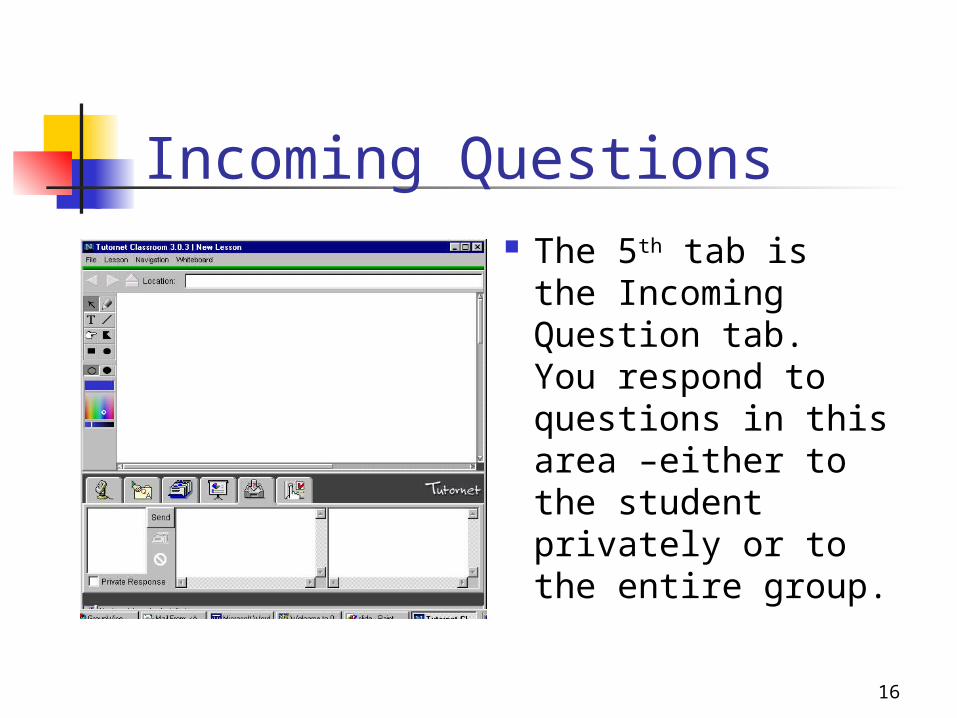
Incoming Questions
The 5th tab is the Incoming Question tab. You respond to questions in this area –either to the student privately or to the entire group.
17
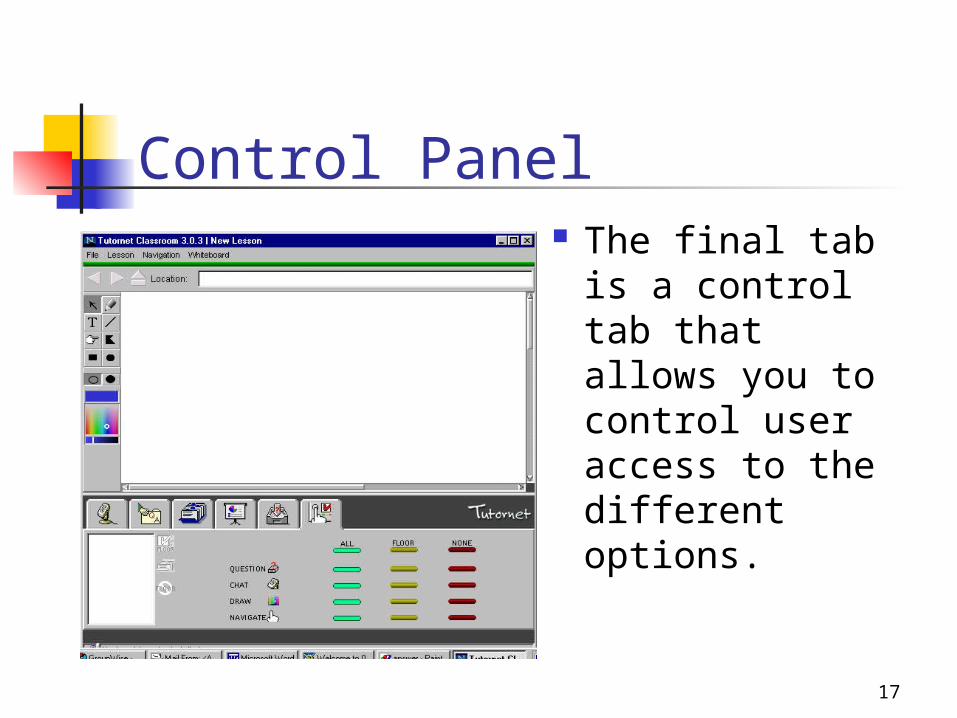
The final tab is a control tab that allows you to control user access to the different options.
Control Panel
18
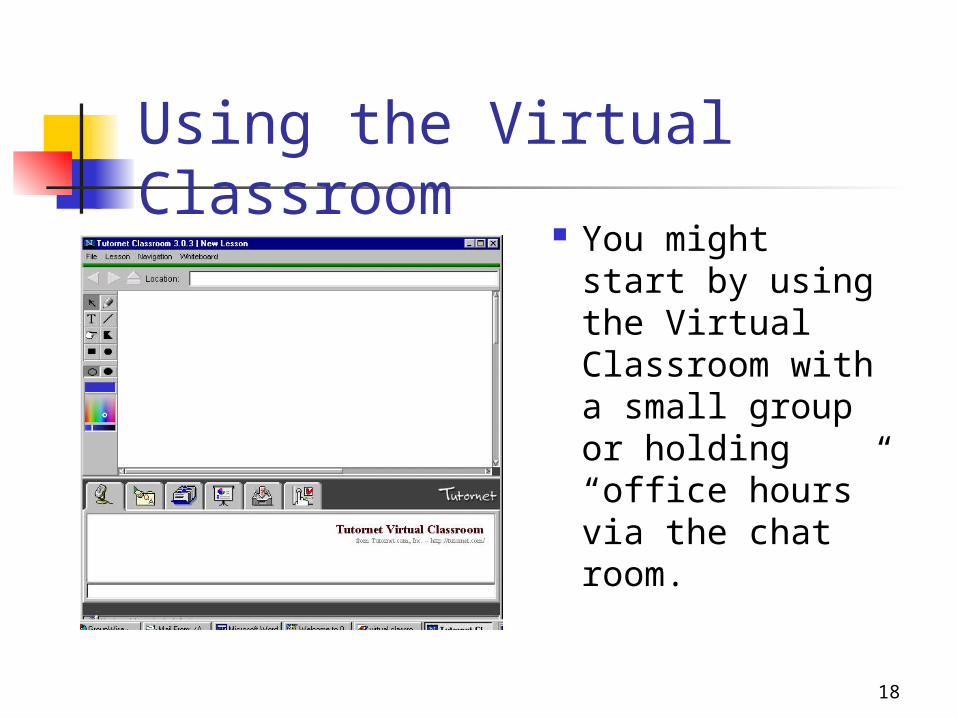
You might start by using the Virtual Classroom with a small group or holding “office hours” via the chat room.
Using the Virtual Classroom