waves torque user guide artifacts and destroy the character of the sound—removing the properties...
TRANSCRIPT

Waves Torque UserGuide
Torque/UserGuide2
Introduction A mistuned drum, snare, or other percussion instrument can spoil a mix. You can’t really hide an instrument that’s
leading the rhythm; you just have to fix it. Whether onstage or in the studio, each individual drum must be tuned, or
“torqued,” before a performance to accommodate a specific song or an entire project. A drum track that’s already
recorded poses yet more challenges, since there’s no opportunity to change the tonality of drums acoustically. Usually,
there are two ways to get the tone right: (1) replace the drum tracks or (2) pitch shift them. Replacing tracks with properly
tuned drum notes, whether natural or sampled, is time consuming. Pitch shifting can correct the drum’s pitch, but it may
introduce artifacts and destroy the character of the sound—removing the properties that make a drum sound like a drum.
What we need is the flexibility of pitch shifting with the solid sound of alternate takes. That’s precisely what Waves
Torque does.
Torque is a tool that lets you change the tone of a drum track accurately, without the artifacts of traditional pitch shifting
plugins. It uses a new Waves technology—Organic ReSynthesis—that breaks sound into basic elements (e.g. pitch,
formant, amplitude, carrier, etc.) before processing takes place. When one of these elements is manipulated, the others
are unchanged and are used to re-synthesize the modified element. The result is smooth, glitch-free formant shifting that
stands in contrast with pitch shifting processors. Through Organic Reprocessing, transients maintain their snap and tonal
integrity. This lets you change the tonality of acoustic or electronic drum hits, samples, loops or breaks flawlessly, while
maintaining the timbre, duration, and natural resonance of the original sound.
In certain cases, a drum may need to be re-tuned to suit a specific song. This is impracticable to accomplish in the real
world. But Torque lets you create the drum tones you need, save the settings as presets, and recall them during a
concert or studio session.
Torque/UserGuide3
Quick Start Using Torque is largely intuitive and musical. There are many ways to obtain good results. But before you set off on your own, we suggest you follow this example:
1. The Focus control section occupies the top part of the interface. Use this to locate the most significant resonatepart of the drum sound, usually the fundamental or a harmonic. These are the frequencies where you want tocenter the tone shift. Slide the highlighted focus area and place its center on the peak with the greatestresonance. Click the Monitor button (the speaker icon in the Focus area) to isolate the frequency that you’relistening to. This makes it considerably easier to find the drum’s resonant sound. Listen for the frequency areawhere you have the clearest tone possible
2. The Focus Display is a formant analyzer that helps you to find the resonate peaks in the signal. There will likelybe more than one peak to choose from. Experiment and you will discover how this choice influences tone shifting.
3. Use the Threshold fader to adjust the part of the signal that will be processed. When the gain is appropriate, thefader LED glows yellow. Signals that are too low or too high can cause unwanted results: too low, and some of thesignal will be left out of the process (remain in original tone); too high, and you may encounter artifacts.
4. Adjust the Torque control to apply the desired tone shift. Listen to the tone shift in context of the song until you getthe results you want. Please note: sometimes the best tone shift will happen on the second harmonic of thefundamental note of your drum. For example, if you find the loudest tone on the snare drum to be 196 Hz (a G3),try focusing on 392 Hz as this may work better.
5. If you hear too much of the tone shift process, try decreasing the Torque Speed time. This governs the attack andrelease times.
6. If you are not hearing enough of the shift process, try lowering the Threshold. Only sounds above the thresholdare processed. We recommend that you start with a threshold between -40 and -70.
7. In some cases, especially when shifting down, excessive resonant energy can build up. Lower the Torque Trimcontrol to contain it.
8. Use the Output Gain control to compensate for level changes that may occur during processing.
Torque/UserGuide4
Components and Interface There are four Torque components:
• Torque Mono• Toque StereoThese components have latency as determined by the sample rate:
44.1kHz / 48kHz: 32 samples 88.2kHz / 96kHz: 64 samples 176.2kHz / 192kHz: 128 samples
They are phase coherent.
• Torque Live Mono• Torque Live StereoThe Live components have zero samples of latency and are not phase coherent.
All components have identical controls and functionality.

Torque/UserGuide5
Mono Component (Torque and Torque Live)
Torque/UserGuide6
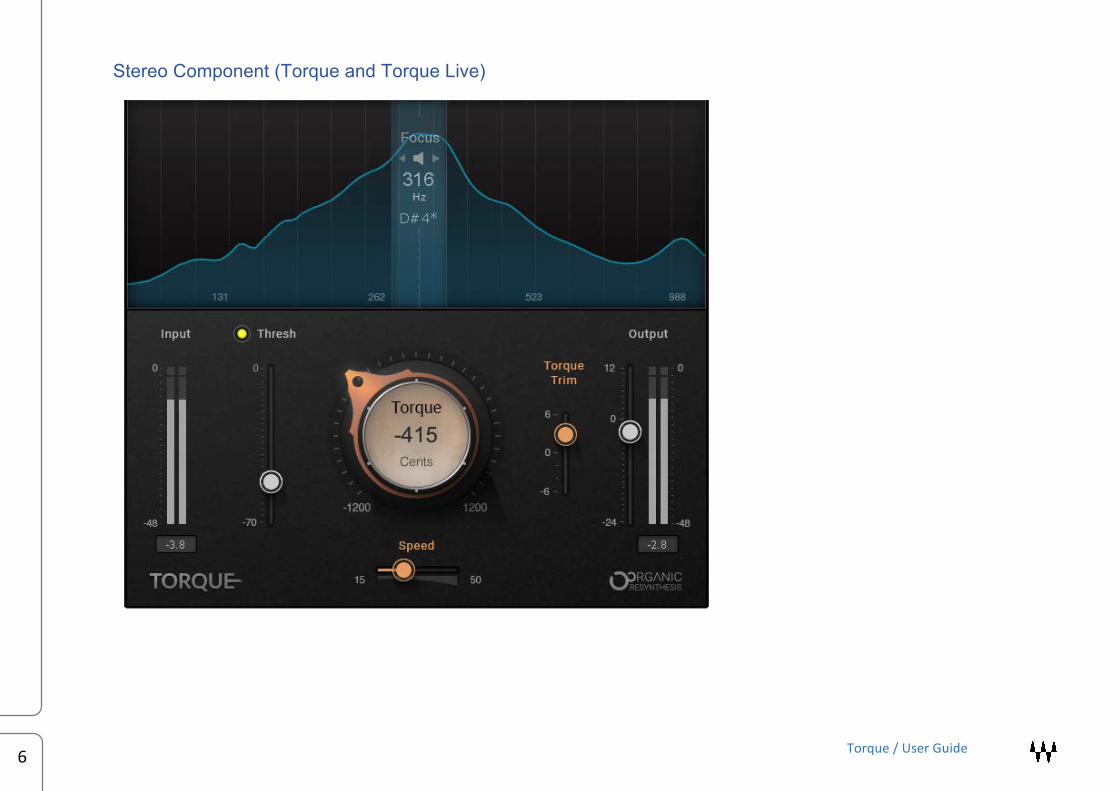
Stereo Component (Torque and Torque Live)
Torque/UserGuide7
Controls and Indicators
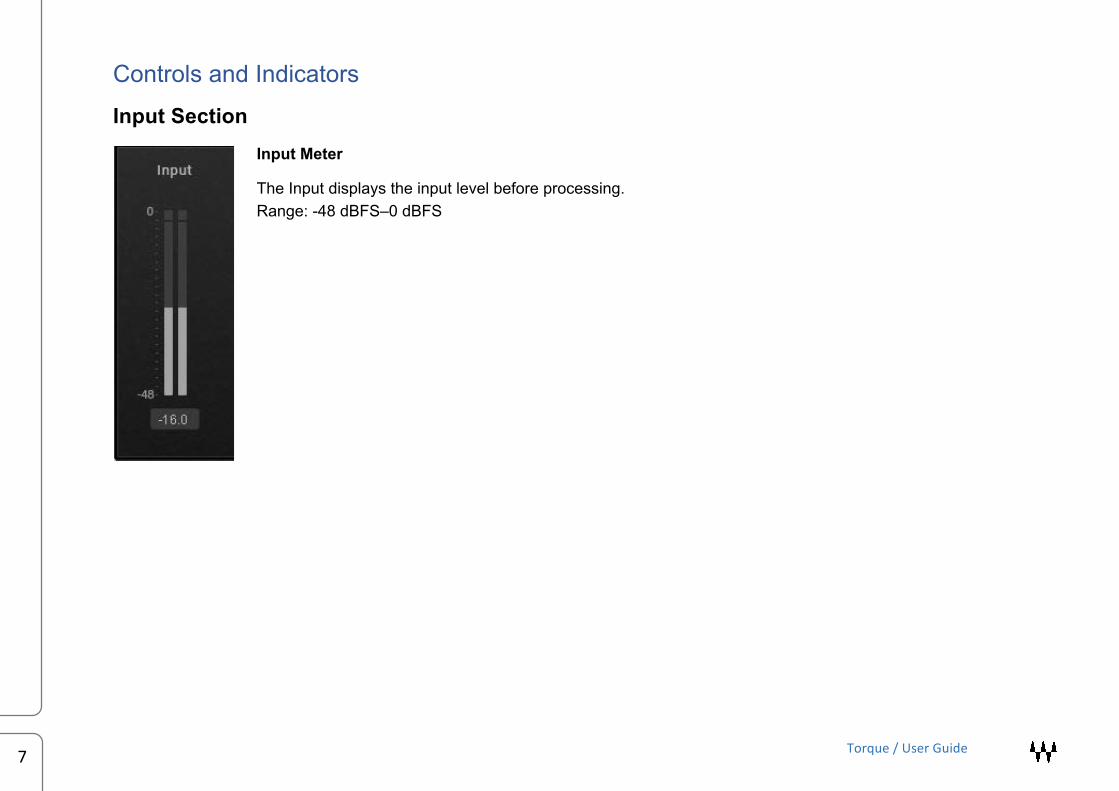
Input Section Input Meter
The Input displays the input level before processing. Range: -48 dBFS–0 dBFS
Torque/UserGuide8
Threshold Section
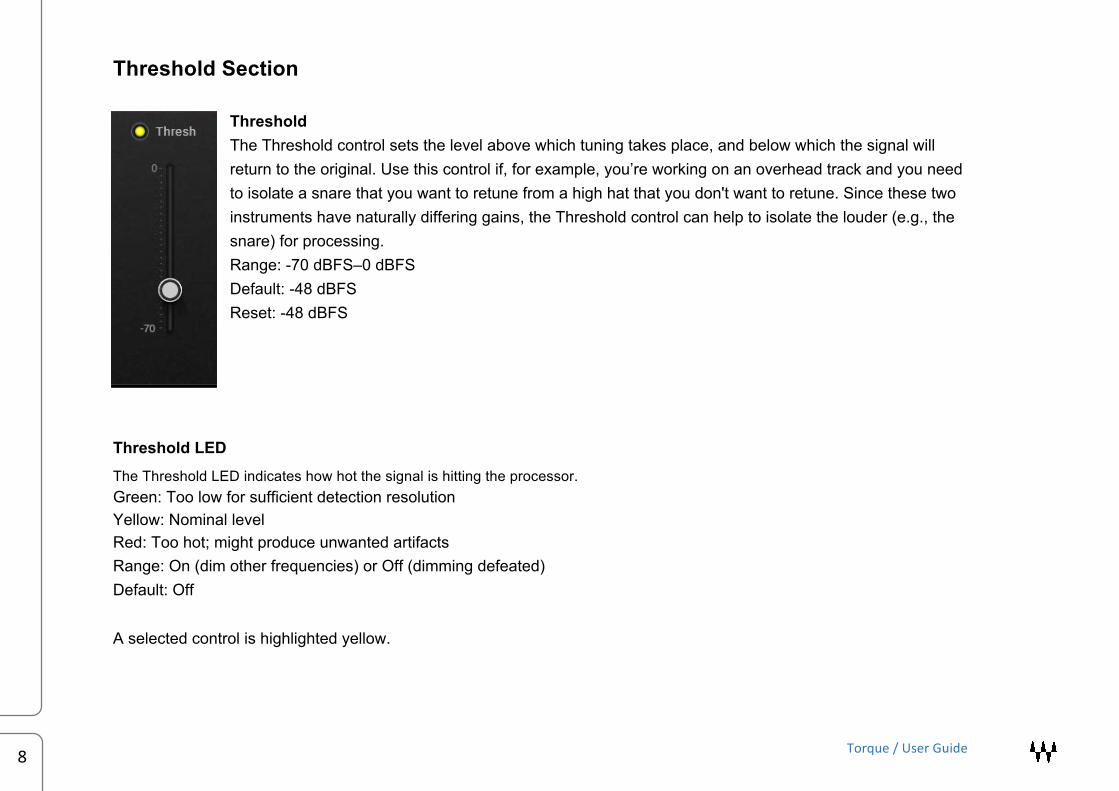
Threshold The Threshold control sets the level above which tuning takes place, and below which the signal will return to the original. Use this control if, for example, you’re working on an overhead track and you need to isolate a snare that you want to retune from a high hat that you don't want to retune. Since these two instruments have naturally differing gains, the Threshold control can help to isolate the louder (e.g., the snare) for processing. Range: -70 dBFS–0 dBFS Default: -48 dBFS Reset: -48 dBFS
Threshold LED
The Threshold LED indicates how hot the signal is hitting the processor. Green: Too low for sufficient detection resolution Yellow: Nominal level Red: Too hot; might produce unwanted artifacts Range: On (dim other frequencies) or Off (dimming defeated) Default: Off
A selected control is highlighted yellow.
Torque/UserGuide9
Focus Section
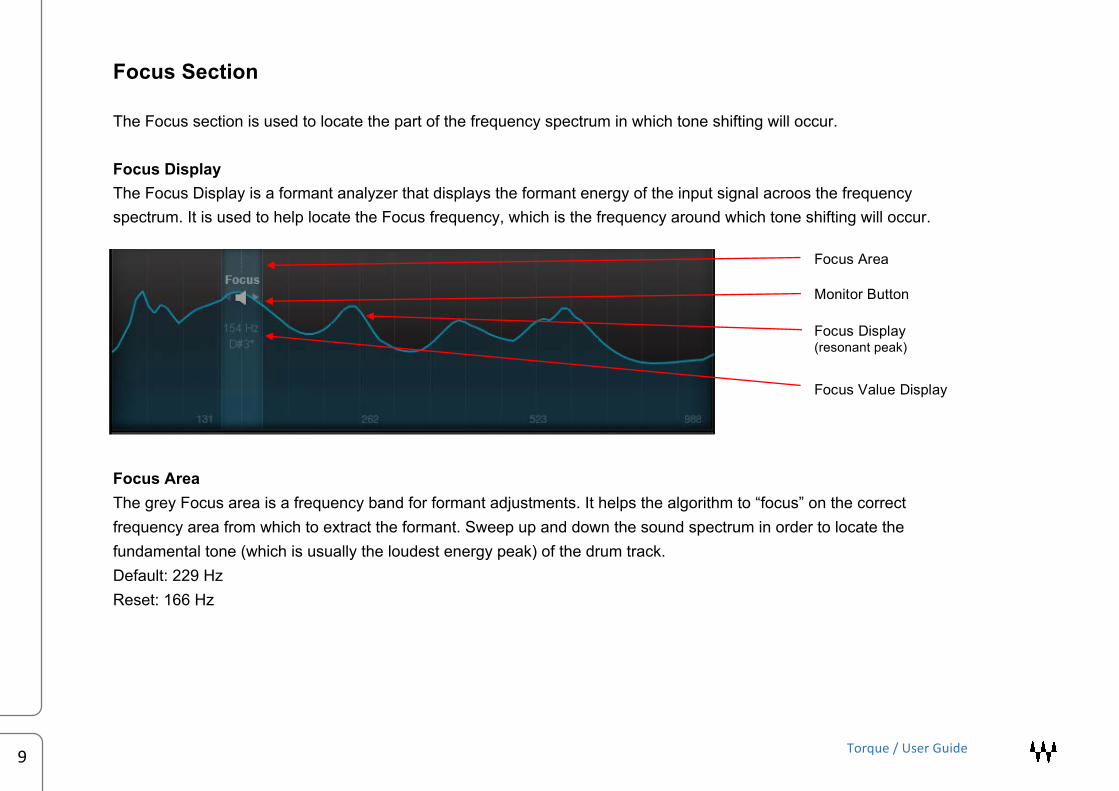
The Focus section is used to locate the part of the frequency spectrum in which tone shifting will occur.
Focus Display The Focus Display is a formant analyzer that displays the formant energy of the input signal acroos the frequency spectrum. It is used to help locate the Focus frequency, which is the frequency around which tone shifting will occur.
Focus Area The grey Focus area is a frequency band for formant adjustments. It helps the algorithm to “focus” on the correct frequency area from which to extract the formant. Sweep up and down the sound spectrum in order to locate the fundamental tone (which is usually the loudest energy peak) of the drum track. Default: 229 HzReset: 166 Hz
Focus Area
Monitor Button
Focus Display (resonant peak)
Focus Value Display

Torque/UserGuide10
Please note Sometimes it’s not obvious where to set the Focus frequency. The best Focus frequency for a kick drum might, for example, be in the area of 900 Hz, which is probably not what you’re expecting. It’s best to experiment when setting the Focus.
Monitor Button The Monitor button is the loudspeaker icon within the Focus Area. Touching this button sends the monitor chain through a bandpass filter that isolates the selected frequency range. This makes it considerably easier to find the desired formant frequency. Range: On (blue: dim other frequencies) or Off (yellow: no dimming) Default: Off Focus Value Display The Focus Frequency Display is beneath the Monitor Button. Values are shown in both frequency and note signature. Range: 98 Hz–988 Hz; G2–B5
Torque/UserGuide11
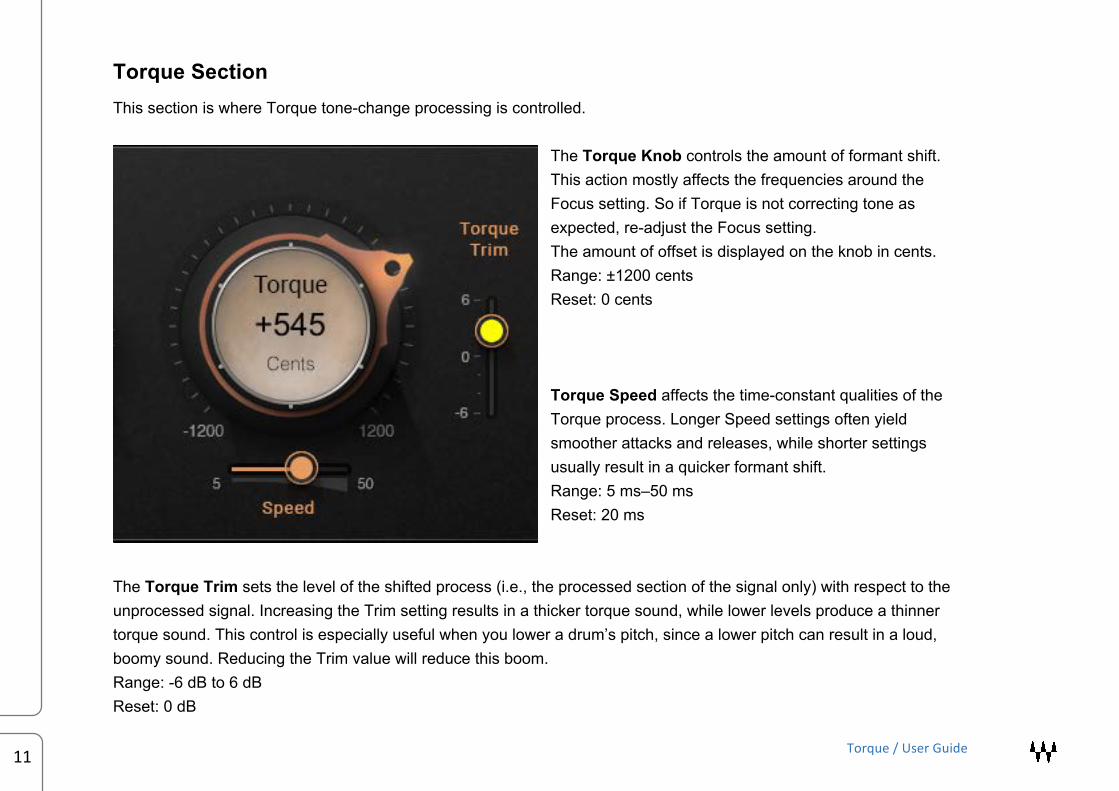
Torque Section This section is where Torque tone-change processing is controlled.
The Torque Knob controls the amount of formant shift. This action mostly affects the frequencies around the Focus setting. So if Torque is not correcting tone as expected, re-adjust the Focus setting. The amount of offset is displayed on the knob in cents. Range: ±1200 cents Reset: 0 cents Torque Speed affects the time-constant qualities of the Torque process. Longer Speed settings often yield smoother attacks and releases, while shorter settings usually result in a quicker formant shift. Range: 5 ms–50 ms Reset: 20 ms
The Torque Trim sets the level of the shifted process (i.e., the processed section of the signal only) with respect to the unprocessed signal. Increasing the Trim setting results in a thicker torque sound, while lower levels produce a thinner torque sound. This control is especially useful when you lower a drum’s pitch, since a lower pitch can result in a loud, boomy sound. Reducing the Trim value will reduce this boom. Range: -6 dB to 6 dB Reset: 0 dB

Torque/UserGuide12
Output Section This section is used to control plugin output level and to compensate for gain changes during processing.
Output Fader Range -24 dB–12 dB Reset: 0 dB Output Meter Range: -48 dBFS – 0 dB dBFS The Peak/Clip indicator is displayed beneath the meter. Click on the meter to clear it.