the composer’s workstation a practical guide to the use of...
TRANSCRIPT

The Composer’s Workstation, Page -1-
The Composer’s WorkstationA Practical Guide to the Use of Film Music Technology
(Maximizing the potential of the composer’s project studio)

The Composer’s Workstation, Page -2-
The Composer’s WorkstationA Practical Guide to the Use of Film Music Technology
Course Description
During this twelve class series, candidates will learn how to set up and customize theirpersonal project studio to assist them in the creation of finished masters for film and television.The course will focus on practical use of Mark of the Unicorn’s “Digital Performer 3.02”software as the core of the composer’s studio. Topics of class discussion will include:
• Using digital video and QuickTime for synchronization, spotting anddetermining tempo maps
• The creation of a midi “orchestral template” using the tools available
• Acquiring functional knowledge of the following equipment:
The MOTU 2408 Mark IIThe Power Mac G4The Midi time Piece AVThe Mackie 24/8Sample Cell/Soft Sample CellThe Roland JV SeriesSample TankAbsynthAltiverbHollywood Dazzle Firewire… and much more
• Maximizing the project studio, i.e. “Getting the biggest bang for the buck
• Achieving “Maximum Effect” from the MOTU Audio System, 3rd party “plugins” and outboard gear
• Streamlining the “sequencing” process using “Macros,” quick commands andother tricks
• Facing the blank page - digital tools for priming the composing pump
• Using controller information and selective quantizing to maximize the“human” element
• DP 3.02’s “region commands” and how to use them efficiently and effectively
• The Quickscribe, graphic editing, tracks, mixing board and sequence windowsand their functions
• Midi orchestration and how it differs from orchestrating for live instruments
• Introducing and manipulating loops, digital audio, soloists & sample librariesto add life to midi
The Composer’s Workstation, Page -3-
• Tapping personal creative resources to create a unique voice - even thoughequipment is the same
• The art of mixing by combining “virtual midi,” DP 3.01’s automation and themixing desk
• Final Mastering - the last bit of polish before the dub stage
Class participants will be required to compose one cue to picture using the class tools andcomplete one 2 hour Q and A exam at the end of the module.
Optional simple assignments will also be requested but not required.
Successful candidates for the class should be college or professional level musicians who wantto learn how to produce master quality recordings of their compositions for film andtelevision.
The Composer’s Workstation, Page -4-
TRAINING PLAN
The Composer’s Workstation
Class Number: No. 1
Class Title Creating the “Midi Orchestral Template”
Unit Objectives& Contents
• To walk the students through the process of creating an orchestral template so that they can do it on their own.
I. The keyboard controller set-up
A. Local Mode OffB. Midi patch through - auto channelizeC. Testing connections and trouble shooting
1. Signal path2. Signal path3. And just in case it wasn’t clear - signal path!
II. Use the best tool for the right instrument - building the better mousetrap
A. Samplers – a basic DiscussionB. Synths – a basic Discussion.
Basic RuleUnless the composer has unlimited resources, mixer inputs and sampler outputs, thecomposer must always search for the balance between “best sound” and the ability to playeverything “virtually.” After the sequence has been solidified, instruments that require extrahelp can always be committed to disk.
III. Setting up a free midi/OMS configuration.A. Importing patch listsB. Setting synthesizer parameters in free midi - i.e. pitfalls to avoidC. Setting up “device groups”
IV. The midi orchestra - a basic set-up overviewA. Start with the piccolo, end with the bass - building the template
1. Basic function - adding and configuring midi tracks.
B. What about drums and percussion?1. Isolating kick, snare, and hat.2. Where to put everything - from what output?3. Individual tracks vs. multi instrument track - a discussion
C. Isolating and grouping synth outputs - the ultimate compromise1. Stereo vs. mono outputs.
a. When to use the synths effects and reverbs.

The Composer’s Workstation, Page -5-
b. When to use synth EQ
2. Thinking ahead to the final “mix stems” to help determine groupings.3. Midi channels - never enough!
Basic Rule - Midi and Signal PathIn an ideal, limitless midi world, every midi channel and instrument would have its ownaudio output with its own effects signal path and ultimate control over every parameter. Sincethis is impossible, find the best compromise with what you have.
V. Quick Keys, Macros and the Commands WindowA. An introduction to creating shortcuts wherever possible
Training AidsSee addendum 2
CSG DP control template distributed

The Composer’s Workstation, Page -6-
Class Number: No. 2
Unit Title Creating the “Midi Orchestral Template” part II
I. Bringing Life to Your String Presets.
A. Setting up the orchestra using individual and discrete midi channels for all thedifferent string sections.
B. Being a “controller” freak1. An introduction to controller #7, #10 #1 and #64
C. A violin has no sustain pedal! Neither should your string sequences.1. The value of individual performance.2. Why great pianists create bad sequences3. Thinking about synth strings as if they are real instrumentalists
D. Strings, its more than just arco pads!1. Specialty string effects2. Sampled arpeggios and runs?3. Using solo instruments to enhance “reality”
II. Bringing Life to Your Brass Presets.A. Setting up the brass section using individual and discrete midi channels for all
the different brass instruments.1. Layering and pitch shifting.
B. Thinking ahead - brass is a tough one to make “speak.”
C. Blood Sweat and Tears vs. LSO. Know what you need before setting up the template
1. Using a “mock up” for sequencing2. Pull out the big guns for recording
D. Guess what, brass players don’t have a sustain pedal either - a discussion of programming controllers
1. Modulation wheel to control filters2. More discussion of controller #7, #10 and #64
E Brass, its more than just stabs and blatts!1. Specialty brass effects2. Sampled hits3. Using “solo” and “muted instruments” to enhance “reality”
F. Block voicing and the “Big Band” sound.1. Doomed to fail!
III. The Rhythm Section:
A. A basic discussion of groove and the treatment of percussion through midi.
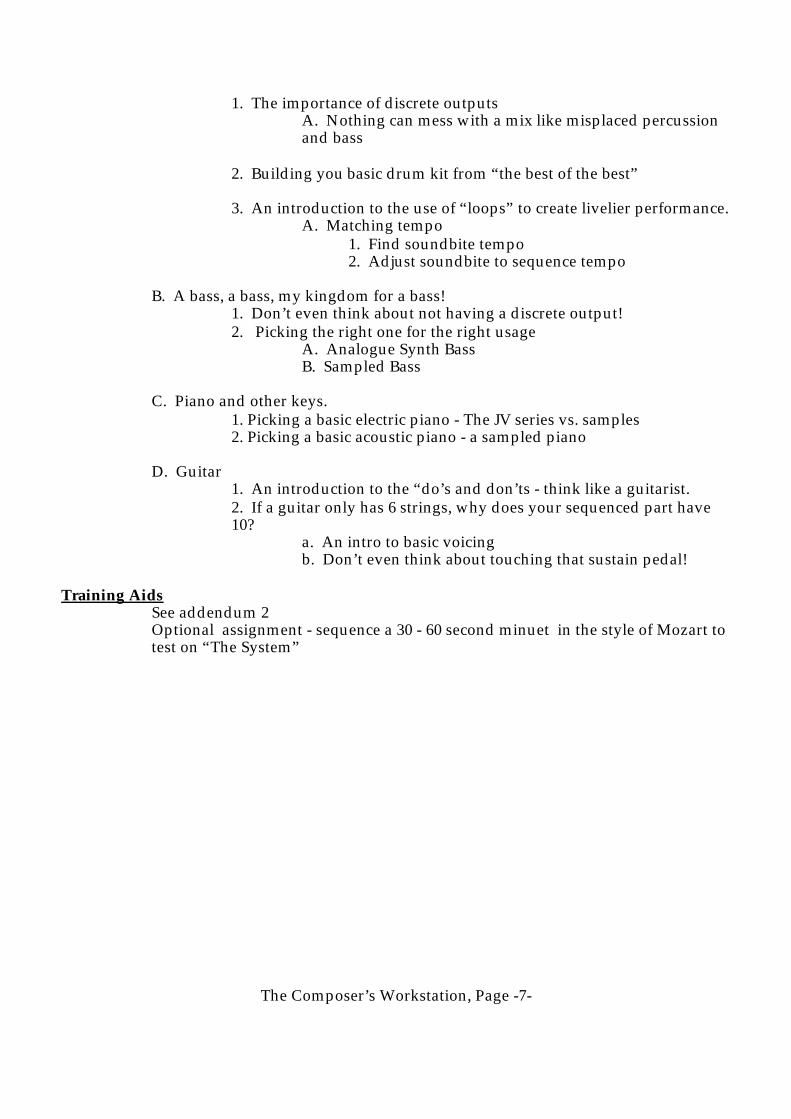
The Composer’s Workstation, Page -7-
1. The importance of discrete outputsA. Nothing can mess with a mix like misplaced percussion and bass
2. Building you basic drum kit from “the best of the best”
3. An introduction to the use of “loops” to create livelier performance.A. Matching tempo
1. Find soundbite tempo2. Adjust soundbite to sequence tempo
B. A bass, a bass, my kingdom for a bass!1. Don’t even think about not having a discrete output!2. Picking the right one for the right usage
A. Analogue Synth BassB. Sampled Bass
C. Piano and other keys.1. Picking a basic electric piano - The JV series vs. samples2. Picking a basic acoustic piano - a sampled piano
D. Guitar1. An introduction to the “do’s and don’ts - think like a guitarist.2. If a guitar only has 6 strings, why does your sequenced part have 10?
a. An intro to basic voicingb. Don’t even think about touching that sustain pedal!
Training AidsSee addendum 2Optional assignment - sequence a 30 - 60 second minuet in the style of Mozart to test on “The System”

The Composer’s Workstation, Page -8-
Class Number: No. 3
Unit Title Creating the “Midi Orchestral Template” Part III
Unit Objectives& Contents
• To walk the students through the process of creating an orchestral template so that they can do it on their own.
• Class will culminate by doing a quick import of student’s Mozartassignments
I. The Wood Winds
A. A basic discussion of woodwind treatment.1. Samples vs. synths - finding the best and most expressive2. Groupings and panning3. The proteous oboe and English horn - the most abused sample in the world - used to sequence - not for mix4. Flutes - ensemble vs. solo
a. Quick proteous fixb. Sample cell vs. JV ww - find the best
B. Controllers and woodwinds1. An introduction to the EWWI2. Emulating the EWWI on the keys - think like a ww player
a. Customizing ADSR and LFO to make it “speak”b. Samples with vibrato
II. Synth Pads and Special Effects
A. Isolating stereo outputs1. Most synth “Main Outputs” carries the effect parameters.2. Combi VS multi-tamboural effects3. Grab a sample or twist a knob?
III. Putting it all together
A. Importing students’ sequences using “load” commandB. Reassigning outputs vs. copying and pasting into templateC. An introduction to “virtual midi mixing” using basic region commandsD. Importing Lecturer’s sequence and mixing it
Training Aids• See addendum 2
The Composer’s Workstation, Page -9-
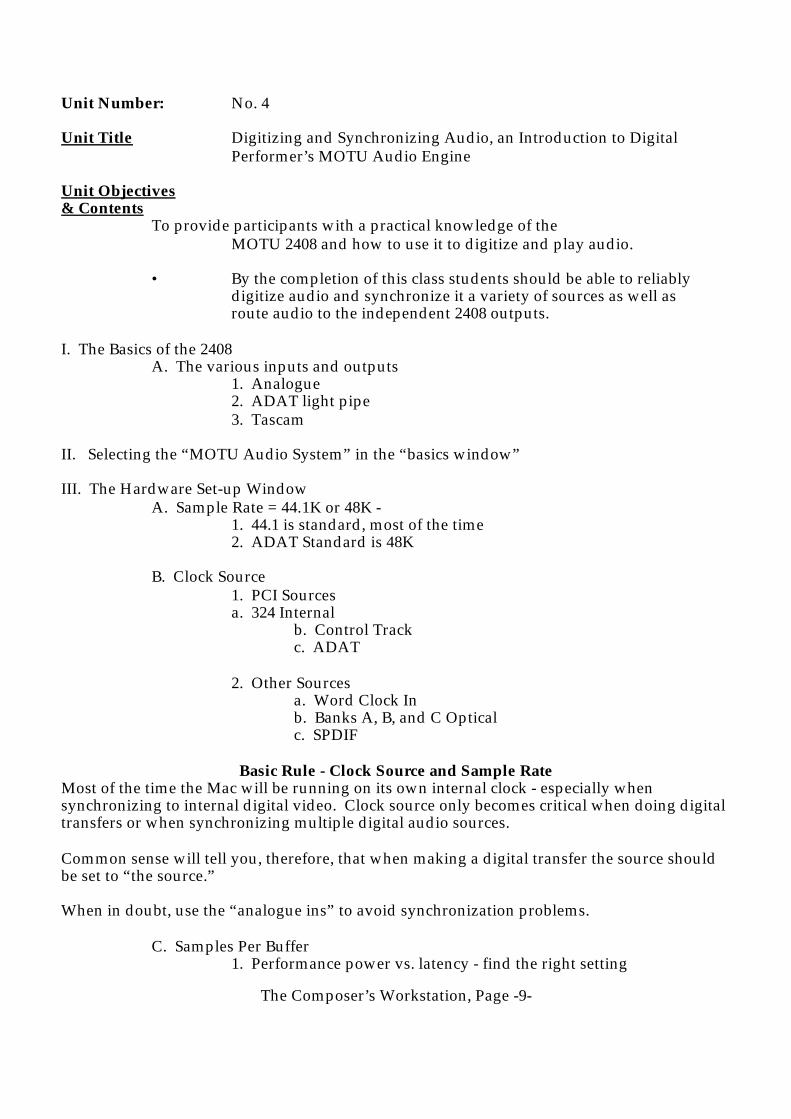
Unit Number: No. 4
Unit Title Digitizing and Synchronizing Audio, an Introduction to Digital Performer’s MOTU Audio Engine
Unit Objectives& Contents
To provide participants with a practical knowledge of theMOTU 2408 and how to use it to digitize and play audio.
• By the completion of this class students should be able to reliably digitize audio and synchronize it a variety of sources as well asroute audio to the independent 2408 outputs.
I. The Basics of the 2408A. The various inputs and outputs
1. Analogue2. ADAT light pipe3. Tascam
II. Selecting the “MOTU Audio System” in the “basics window”
III. The Hardware Set-up WindowA. Sample Rate = 44.1K or 48K -
1. 44.1 is standard, most of the time2. ADAT Standard is 48K
B. Clock Source1. PCI Sourcesa. 324 Internal
b. Control Trackc. ADAT
2. Other Sourcesa. Word Clock Inb. Banks A, B, and C Opticalc. SPDIF
Basic Rule - Clock Source and Sample RateMost of the time the Mac will be running on its own internal clock - especially whensynchronizing to internal digital video. Clock source only becomes critical when doing digitaltransfers or when synchronizing multiple digital audio sources.
Common sense will tell you, therefore, that when making a digital transfer the source shouldbe set to “the source.”
When in doubt, use the “analogue ins” to avoid synchronization problems.
C. Samples Per Buffer1. Performance power vs. latency - find the right setting

The Composer’s Workstation, Page -10-
a. 4096 has worked for me - most of the timeb. If you absolutely have to monitor through MOTU FX.
1). Reduce CPU usage by pre-bouncing2). Set Samples Per Buffer to the highest you can stand!
c. An introduction to “Cue Mix”
Basic Rule - LatencyLatency is the Achilles heal of all digital music workstations - the CPU can only do so much!Therefore, the best use of “audio patch through” is to confirm that signal to disk is clean andcorrect. After that, it’s best to monitor “at source.”
D. Setting up the banks A, B, and C.
E. Enable routing - mono vs. stereo routing
F. Output source1. 90% of the time it’s “From Computer”2. Other output sources for special or stand alone uses
G. Enabling inputs1. Leaving an input enabled eats CPU power
H. Saving and loading configurations
I. “Auto Cue Mix Update”1. What is cue mix and how does it work.2. “Clicks and Pops” using “Cue Mix” due to digital clipping
a. Set monitor outputs to alternate output if availableb. Create a master faddier and turn down the entire signal
IV. Selecting alternate hardwareA. An introduction to DAEB. An introduction to the “Sound Manager”
V. The Studio Size WindowA. Studio size buttonB. Custom configuration
1. Voices2. Busses
a. An introduction to internal routing3. Disk read/write size4. Buffer size per voice5. Pre-fill buffers
VI. Recording Audio (finally)A. Trouble shooting
1. Signal path - selecting the input
The Composer’s Workstation, Page -11-
2. Signal path - selecting the output3. Signal path - when all else fails!
B. Setting levels using the “Audio Monitor” window1. Hit it “hard but don’t clip”
a. The “headset” button.b. Selecting meter range.
C. Dealing with +4, -10 and other bumps in the road.
Basic Rule - RecordingThey say that a yacht race is won by the team that makes the fewest mistakes. Likewise,recording audio well is a function of limiting the number of “mistakes” that occur in theprocess.
Training Aids• See addendum 2

The Composer’s Workstation, Page -12-
Class Number: No. 5
Unit Title Editing Digital Audio and Basic Digital Audio Automation
Unit Objectives& Contents
• Provide students with the a basic understanding of editing digital audio and how to incorporate digital audio into their scores
• Provide students with a basic understanding of how to automatedigital audio mixing.
I. An introduction to the concept of “sound bite regions” and non-destructive editing
II. The Graphic Editing Window.A. Learning to read the “fish bones”B. Changing window size.C. Changing audio resolutionD. The scroll bar and its functionsE. Choosing what to edit.
1. Sound bites2. Volume
II. Different Editing Modes - AKA Watch the Curser!A. Across the timelineB. Getting “inside” the audioC. Different ways to “Copy, Paste, Delete and Duplicate”D. Using command Y to create new regions
1. Duplicating sound bite regions to avoid ‘mistakes”2. Trimming the ends
III. The “Crossfades Window”1. “Equal Power” vs. “Equal Gain”2. Fixed length vs. selected region3. Learning to visualize the crossfade.
IV. Enabling Automation.A. One track at a time
B. En masseC. Setting the “Global” automation parameters.D. A discussion about midi volume automation.
1. Velocity vs controller 72. Optimising signal to noise ratio3. Some stereo patches and #64 - why it messes everything up
E. Trouble shooting - AKA why isn't the sound changing
V. The snapshot buttonA. A discussion of all the parameters and what to use when.B. “Grab” an entire mix or build it one track at a time.

The Composer’s Workstation, Page -13-
VII. Playing with the Rubber Bands - AKA Spot Automating Using the MouseA. What about mixing control surfaces?B. What about grabbing a fader with the mouse?
1 Overwrite.2. Touch3. Latch4. Trim touch5. Trim latch
VIII. Time compression, expansion and pitch shifting using Pure DSPA. Analysing sound bitesB. The “Background Processing Window”
IX. A Discussion of Basic Mix Parameters and proper levels
X. Use “JC Swing” to deconstruct a mix.
Training Aids• See addendum 2• JC Swing loaded on workstation hard disk

The Composer’s Workstation, Page -14-
Class Number: No. 6
Unit Title Digitising and Synchronizing Video, AKA “Now that I have the gig, what do I do?”
Unit Objectives& Contents
To provide participants with a practical knowledge of the use of digital video and Smpte for film music synchronization.
• By the completion of this class students should be able to reliably digitize video and synchronize it to a tempo map.
I. Determining Video Specifications and Requirements, AKA Now I Know Why I PaidAttention in Math Class
A. Frame Rates - General Specs.1. US Film = 24 Frames/Second2. US Television = 29.97 Drop Frames/Second3. US Music = 30 Non Drop4. Europe = 25 Frames/Second
B. Sample Rates - General Specs1. Audio CD = 44.1K 16 Bit2. Standard DV and ADAT 48.0K 16 or 20 Bit3. Other formats include 24 Bit, 32 Bit (reduced DV) and more!
Basic Rule - Frame RatesIt doesn’t matter which format or frame rate is chosen as long as everybody is using the sameone!
And don’t forget, real time is “real time” (except at the local pub).
II. Capturing the video
A. The digitising card settings and analogue video1. Standard settings for capture rate = 400 - 800K/second depending on required quality and available disk space.
a. An introduction to the different “Codecs”b. An introduction to screen sizes
B. Importing DV through firewire1. Standard DV format = 3.6 MB/Second2. Importing using “Final Cut Pro” or “I Movie”3. Exporting as a QuickTime movie to reduce size (See table rate)

The Composer’s Workstation, Page -15-
Standard Table of Video Rates
Video datarates
30 sec. 1 min. 5 min. 10 min. 30 min. 60 min.
1 MB/sec.,Off-line
quality M-JPEG
30 MB 60 MB 300 MB 600 MB 1.8 GB 3.6 GB
3.6 MB/sec.,DV-format
video
108 MB 216 MB 1.08 GB 2.16 GB 6.5 GB 13 GB
6 MB/sec.,MediumqualityM-JPEG
180 MB 360 MB 1.8 GB 3.6 GB 10.8 GB 21.6 GB
12 MB/sec.,High
quality 2:1 M-JPEG
360 MB 720 MB 3.6 GB 7.2 GB 21.6 GB 43.2 GB
24 MB/sec.,No
Compression
720 MB 1.4 GB 7.2 GB 14.4 GB 43.2 GB 86.4 GB
Basic Rule - Digital VideoReality is, the quality of video playback is really for the client to see their film in its best light.So unless you have an amazingly fast computer and plenty of hard disk space, capturing thevideo at 400 - 800K/second is plenty for spotting and composing - and a ten minute film reelconveniently fits on a CD Rom. That said, always keep a video back up for when the clientcomes by.
III. Synchronizing the video to picture.A. Digital Performer’s Movie Window
1. Set movie start time2. Set sequence start time3. Scrubbing4. Extracting the movie audio vs. digitising using MOTU 24085. The lock/unlock switch6. Scrolling using left and right arrow keys
IV. Slave to external sync, i.e. VHS or other Smpte source (AKA Command #7 is our friend)A. Setting up the MTP AV for “quick lock”
1. Preferred video configuration for synchronization to tape
B. Setting frame rate, frame rate window in DP

The Composer’s Workstation, Page -16-
C. Playing the audio from the film1. From the videotape2. From hard disk3. From the QuickTime movie (disabled when slaved to external sync)
V. Using the “markers window” to create timing notes.A. Locking the markers to SMPTEB. Creating markers on the flyC. The find tempo windowD. Living dangerously - reading the video and feeling the tempo.
VI. Creative solutions to common problemsA. Using audio to find an offset.B. Using the “wait” command in DP for “manual synchronization”C. Dealing with other problems such as mixed bit depth, sample rates, and basic dubbing stupidity.
Training Aids
• Video Synchronization Handout• DV Rate Table Handout• Creative solutions to common problems handout• Copies of video with three choices for scoring

The Composer’s Workstation, Page -17-
Class Number: No. 7
Unit Title Scoring a Cue to Picture - Part 1
Unit Objectives& Contents
To provide participants with an opportunity to test-drive their orchestral template and knowledge of synchronization by scoring a short cue.
• With the Lecturer as “Director,” creating a mock spotting session to discuss the cues and how to approach them musically.
• To provide the class with a collection of cues to mix using the class workstation.
I. Spotting the Picture - The Care and Feeding of Your DirectorA. A discussion of the “director’s language”B. Reading between the lines - what do they really mean?C. The “adjective” gameD. Composer as “Master Communicator”E. Composer as “Salesman”F. Composer as “Plumber”
Basic Rule - Spotting With the DirectorThe composer is often the first person outside the “inner circle” to see the project. Youropinion may be the first objective one the Director may get, and often they are more interestedin your view of the film then their view of the music you might create. Therefore, you need tolearn to “excavate” the information you need so that you know you are seeing the film in theintended light.
II. A Discussion of Tone Appropriateness and Creativity.A. Score the emotion, not the motionB. Find the phrases in the image and the dialogueC. Know when to hold ‘em, know when to fold ‘em!
III. A Discussion of “Temp Tracks”
IV. A Discussion of Mental Preparation
V. Facing the Blank Page - Digital Tools for Priming the Composing PumpA. Stumped? You have a hard disk, use it.B. Find things that don’t work and begin the process of elimination.C. Find something you like? Determine why and use it as a jumping off point.
Basic Rule - Listen to the dialogue while composing and orchestratingThe best way to insure your score’s success is to listen to the dialogue while you are creating it.You will know instantly if you are covering it! And nothing will get a cue thrown out fasterthan covering dialogue.
The Composer’s Workstation, Page -18-
Required Assignment• Choose and score one of the three cues provided

The Composer’s Workstation, Page -19-
Class Number: No. 8, 9, & 10
Unit Title Scoring a Cue to Picture, Part 2 - Mixing the Result
Unit Objectives& Contents
Using the cues created by the students, the class will walk through the process of mixing and mastering each cue.
• By the end of these three classes, students should have a practical knowledge of how to edit and mix in the DP Audio environmentusing a combination of virtual midi and audio automation.
I. Loading the sequence into the “Orchestral Template” (if not already done so) and buildingthe mix.
A. Building from the bottom up - start with the lowest fundamental instruments.1. Bass treatment, panning, verb and EQ
A. Bass is almost always centeredB. Anything “boomy” centered.
2. Percussion treatment (if called for) verb and EQ3. Other rhythm instruments, verb and EQ
A. A discussion of panning
II. Pre-EQ, EQ - How much and where in the chain.A. A discussion of what is recorded to tape vs. done using DP plug insB. A discussion of “backtracking”
III. An introduction to MOTU plug ins.A. Setting up a “Master Reverb”
1. A discussion about aux tracks and their functions2. Tricks of the trade for reverbs.
B. Real time vs. “premier” plug ins - when to “write the effect to disk”
IV. Bussing Stems to Disk - Taking Best Advantage of DP’s Automation and Plug Ins.
A. After a comfortable “rough mix” is created, stems should be recorded forultimate processing and control.
1. String stems in stereo - panning of individual string instruments created in premix to enhance using “S1” Plug In.
2. Brass stems in stereo - panning of individual brass instruments created in premix to enhance using “S1” Plug In.
3. Bass stem in mono - up center, with varying degree of compression, reverb or other effects
The Composer’s Workstation, Page -20-
4. Kick stem in mono - up center, with varying degree of compression, reverb or other effects
5. The percussion stem in stereo.a. A discussion of percussion treatment based on musical material.
6. Piano, keys, guitar and other rhythm instruments.a. A discussion of their FX and panning.b. When to combine - when to isolate.
V. Rebuilding the mix from disk.A. A matter of time and money - know when to cut your losses and “go virtual.”
B. When your life depends on it!1. When the mix is critical, it must come from disk.
2. When the mix is critical, spend the time to record sample cell directly into Protools and import it into DP.
3. Since horsepower is limited, learn to know when to “bounce”
C. A discussion of “bass control” “compression” and “punchiness”1. The L12. The MOTU Pre-Amp Plug In3. The Antares Mic Modeler4. Other Bass effects
Basic Rule - MixingNo mix is ever finished, only abandoned.

The Composer’s Workstation, Page -21-
Class Number: No. 11
Unit Title Advanced concepts in tempo mapping building bridges between existing source cues, enhancing existing cues through additional orchestration
Unit Objectives& Contents
Provide student with the ability to dissect an existing cue or series of cues, reverse engineer their tempo maps and orchestrate around them.
• Teach students how to use their new midi capabilities to enhance theiracoustic music.
• Provide students a method for dealing with “Temp Tracks” andother abominations of nature.
I. A Discussion About Finding TemposA. Using the “adjust beats” windowB. Using the “set soundbite tempo window”
II. Dealing with “Rubato” tracks that need help.A. Three steps to a tight sequence.
1. Create the tempo map2. Transcribe the music3. Switch to the tempo slider.4. Create and sequence the orchestration5. Turn the tempo map back on
III. Building bridges.A. Creating reverb talesB. A basic discussion about music editing
1. Using your musicianship to create seamless editing
IV. Temp Tracks and How to Survive ThemA. Ask the right questions about what is attractive about the temp trackB. Use tempo and beat matching to pave the way - it’s often about tempoC. Educate the client about “temp track fever” - present your caseD. Know when to call it quits and put your foot down
Training AidsSee addendum 2Students will be asked to bring in some of their own work to use as an example.

The Composer’s Workstation, Page -22-
Class Number: No. 12
Unit Title Review lessons, clear up any confusions, and open class for questionsof all sorts.
Unit Objectives& Contents
• Provide students with the opportunity to ask questions about topics not discussed in class or to help clear up any inevitable
confusion.
• Allow Lecturer to give additional instruction on topics that may not have gotten all the attention they needed
Training AidsSee addendum 2