soil toil - core-docs.s3.amazonaws.com · data page 8 results page 9 conclusion pages 10...
TRANSCRIPT
Soil Toil
Student McStudent
Mrs. Teacher
November 26, 2017
Grade 6

Table of Contents
Abstract Page 1
Question Page 2
Variables Page 2
Hypothesis Page 2
Background Research Pages 4-5
Materials Page 5
Experimental Procedure Page 6-7
Data Page 8
Results Page 9
Conclusion Pages 10
Acknowledgements Page 11
References Page 12
Appendix: Pictures Pages 13-18
Abstract
The purpose of my project was to find out how levees and dams can be improved. My
hypothesis was that if everything stayed the same between trials, except the sediment being used,
then the one that is mostly clay would block the most water and the one that is mostly sand
would block the least. I made this hypothesis based on research that I did about the space
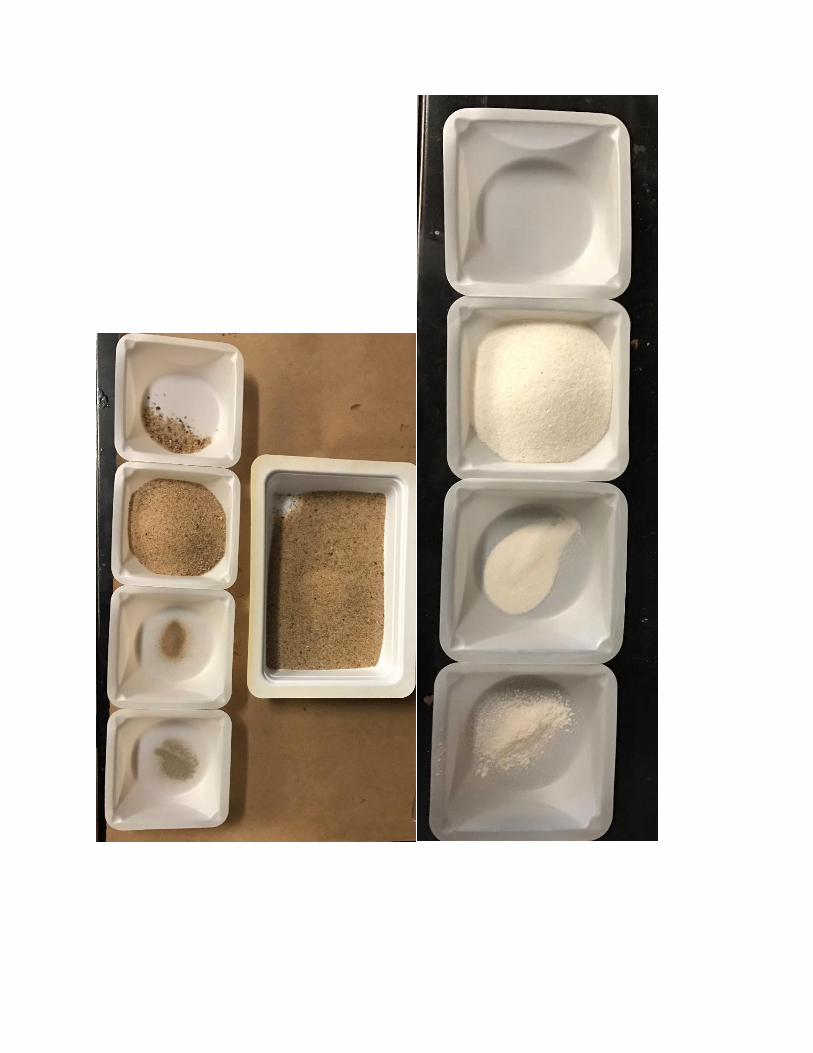
between sediment grains and different kinds of soil. The kinds of soil I am testing with are a
mostly sand sediment (sediment 1), a mostly silt sediment(sediment 2), a mostly clay
sediment(sediment 3), and a sediment that is an almost even mix(sediment 4). How I conducted
my experiment was, I had the sediment in a bottle that was resting on a container. Then, I poured
water in and waited to see how much water would get through, into the container. What I found
from my experiment was that an average of 447.14 grams of water got through the mostly sand
sediment, an average of 212.4 grams of water got through the mostly silt sediment, no water got
through the mostly clay sediment, and an average of 148.54 grams of water got through the even
mix sediment. This shows that when you are building a levee or a dam, sediment with a high
amount of clay in it works well to block water. The data from the sediment 4 trials cannot be
accurately compared to the other data, because of problems with those tests.

Question
What kind of sediment can block the most water?
Variables
Independent Variable: The percentage of sand, silt, and clay in the sediment.
Dependent Variable: How much water gets through the sediment.
Hypothesis
My hypothesis was that if I use the same amount of water, run the tests for the same amount
of time, and use the same amount of sediment in every test, then the mainly sand sediment will
block the least amount of water, followed by the mainly silt sediment, and the mainly clay
sediment will block the most. I thought the loam sediment would be between the mainly sand
and the mainly silt mixtures, because it has an approximately even amount of sand, silt, and clay.
I thought this, because sand has very coarse grains, clay has very fine grains, and silt is in
between. The coarser the grains, the higher the porosity, and more water can get through.
Background Research
Some of the first research I did was about soil. I learned that all soil is made up of three parts:
sand, silt, and clay. What kind of soil it is is determined by the percentage of sand, silt, and clay
that is in it. Technically, to be soil, it also has to have an organic component, but I just used the
sediment in it, because that is really what differentiates the different kinds of soil. I learned this
from Mr. G. Science. Amazing World of Science with Mr. Green: Introduction to Soil Systems.
Soil Texture Pyramid image:http://www.mrgscience.com/ess-topic-51-introduction-to-soil-
systems.html
I also researched porosity. Porosity is how much of an object is just air. Porosity is measured
in percent. For example, a cheetah puff is very airy, so it has a high porosity, maybe 90%. A rock
is more solid, so it has a lower porosity, maybe 20%. I learned that if you have two groups of
objects in two different containers that are the same, the porosity inside them will be equal, even
the objects are different sizes, like a box of bowling balls and a box of ping pong balls. I learned
this from reading Practical Sedimentology by Lewis, D.W. Stroudsburg, Pennsylvania:
Hutchinson Ross Publishing, 1984.
Another thing I learned was how to separate the parts of soil, if you do not have the different
parts already. One way is to put some soil into a container and pour water in the top. Then, just
wait one to two days, and the soil will be separated into the three layers. Another way is to put
the soil into sieves and put them in a shaker machine for ten minutes. The parts will be separated
into the different sieves. I learned this from my dad and from reading Applied Hydrogeology
Second Edition by Fetter, C.W. Merril Publishing, 1988.

I also had an interview with someone over the phone, for research. His name is Bill Francis.
He is a science teacher and a gardener. From talking to him, I learned that there are multiple
definitions of silt. The one I knew was that it was silt if it had a certain grain size, but apparently,
there is a different definition for gardeners that has to do with where it came from. In gardening,
‘silt-rich soil’ is soil that is dropped off by a river. I decided to use the grain size definition,
because it is more quantifiable.

Materials
2900 Grams of Coarse Sand
2900 Grams of Fine Sand
2200 Grams of Clay
1 Hammer
1 Timer
25 Liters of Water
1 Measuring cup
3 to 4 Plastic Containers
1 Scale
1 Pair of Scissors
I 2 Liter Bottle
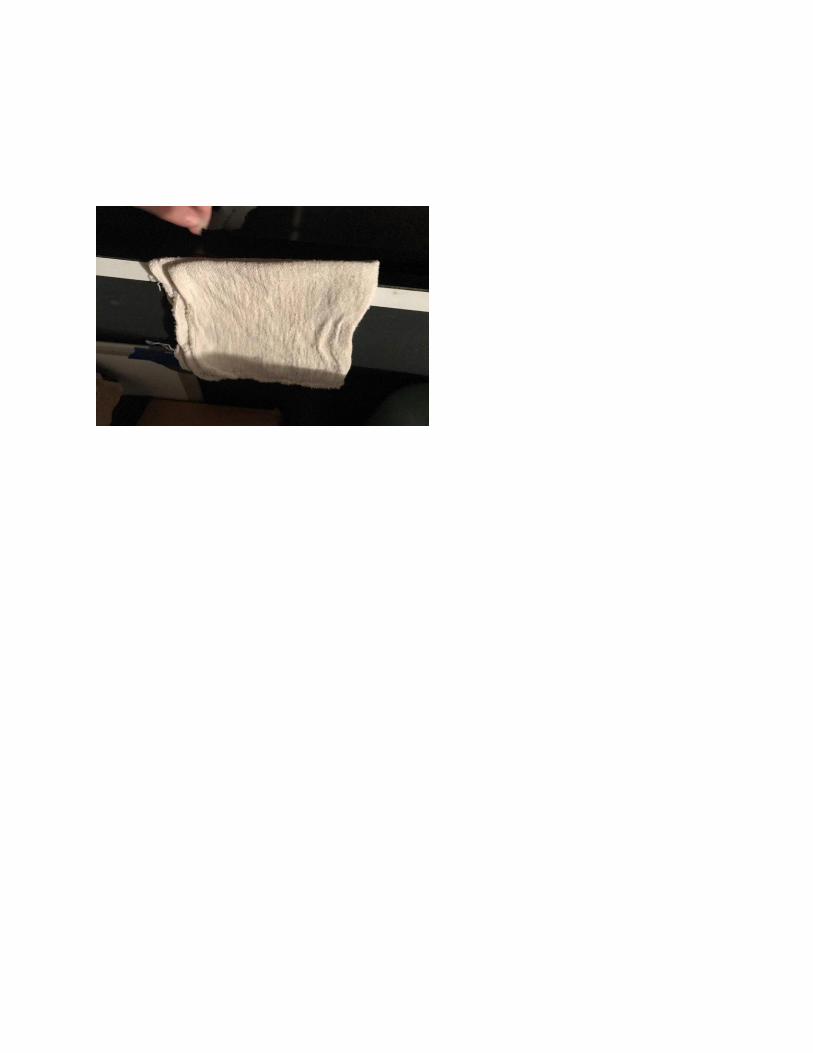
100 About 1 Inch by 1 Inch Pieces of Cloth
1 Pen
1 Piece of Paper
Experimental Procedure
1. First, break up the clay with the hammer until it is finer than the fine sand.
2. Then, measure out 1400 grams of coarse sand, 300 grams of fine sand, and 300 grams of
clay, and put it all in a gallon jug. Shake well.
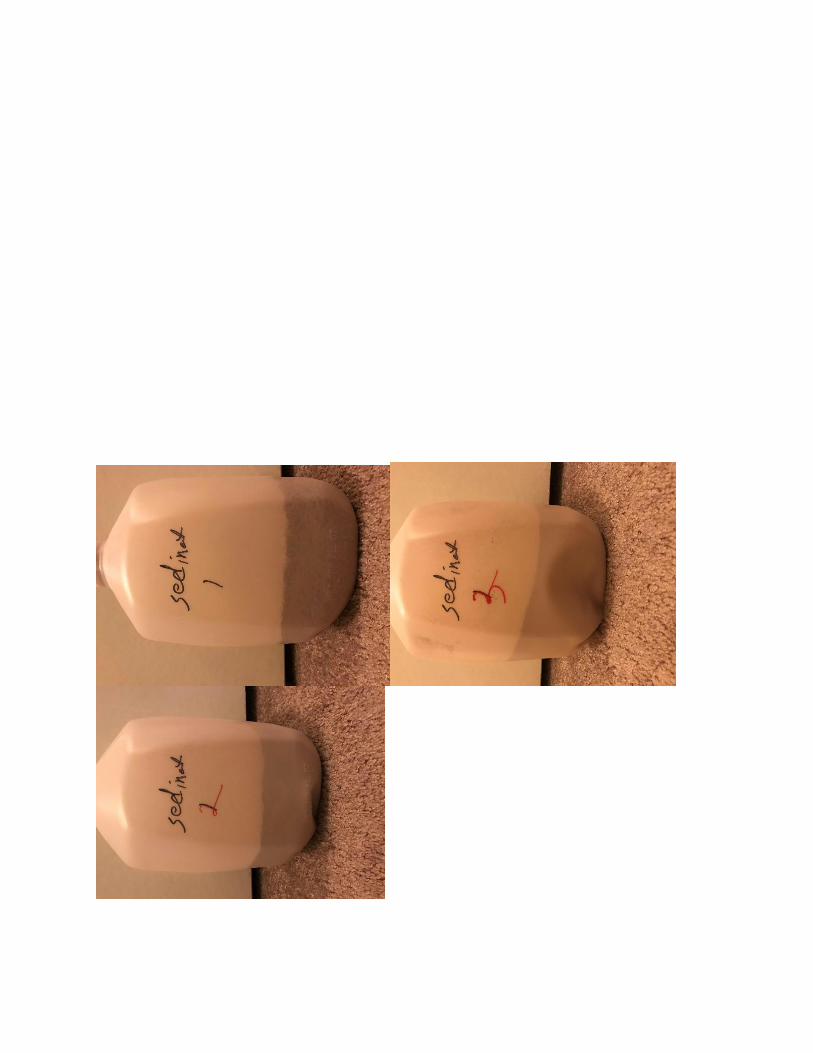
3. Cut off the top of a 2 liter bottle and make 5 tiny holes in the bottom.
4. Measure out 550 grams of this mixture into a container.
5. Cut off the top of a 2 liter bottle and make 5 tiny holes in the bottom.

6. Put the bottle on top of one of the empty containers.
7. Put a cloth piece over every hole in the bottle.
8. Measure out 1000 grams of water into one or two containers if needed.
9. Set a timer for 5 minutes.
10. Pour the sediment into the bottle.
11. Pour the water into the bottle and start the timer as soon as the last of the water goes in.
12. When it is done, quickly place the bottle into a different container, measure the container
of water, subtract the weight of the container, and write it down.
13. Clean the bottle and take out the dirty cloth pieces.
14. Repeat steps 4 through 12 four more times. The gallon jug should be empty.
15. Measure out 300 grams of coarse sand, 1400 grams of fine sand, and 300 grams of clay,
and put it all in the gallon jug. Shake well.
16. Repeat steps 4 through 12 five times. The gallon jug should be empty.
17. Measure out 500 grams of coarse sand, 500 grams of fine sand, and 1000 grams of clay,
and put it all in the gallon jug. Shake well.
18. Repeat steps 4 through 12 five times. The gallon jug should be empty and there should be
no more cloth pieces left.
Data
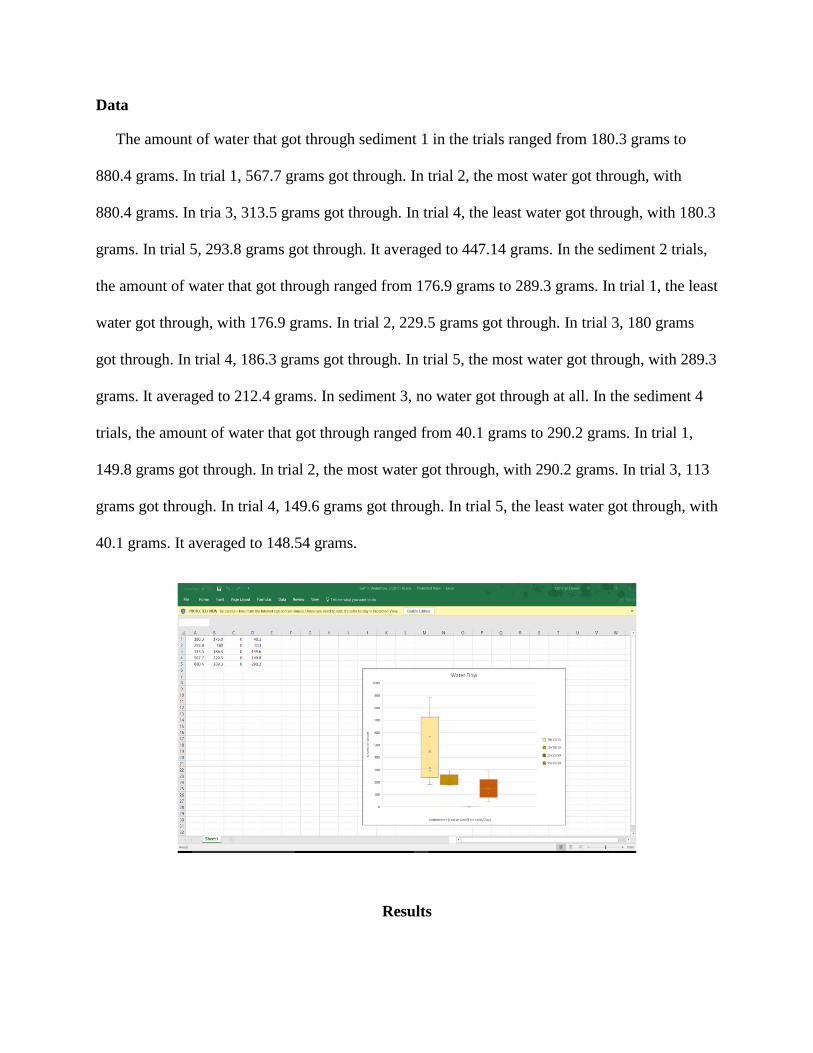
The amount of water that got through sediment 1 in the trials ranged from 180.3 grams to
880.4 grams. In trial 1, 567.7 grams got through. In trial 2, the most water got through, with
880.4 grams. In tria 3, 313.5 grams got through. In trial 4, the least water got through, with 180.3
grams. In trial 5, 293.8 grams got through. It averaged to 447.14 grams. In the sediment 2 trials,
the amount of water that got through ranged from 176.9 grams to 289.3 grams. In trial 1, the least
water got through, with 176.9 grams. In trial 2, 229.5 grams got through. In trial 3, 180 grams
got through. In trial 4, 186.3 grams got through. In trial 5, the most water got through, with 289.3
grams. It averaged to 212.4 grams. In sediment 3, no water got through at all. In the sediment 4
trials, the amount of water that got through ranged from 40.1 grams to 290.2 grams. In trial 1,
149.8 grams got through. In trial 2, the most water got through, with 290.2 grams. In trial 3, 113
grams got through. In trial 4, 149.6 grams got through. In trial 5, the least water got through, with
40.1 grams. It averaged to 148.54 grams.
Results

In the sediment 4 trials, lots of things went wrong. Somehow in trial 2, one of the cloth pieces
got displaced and floated up to the surface, letting more water through. During trial 4, I made a
mistake. I accidentally let the timer go for 1 minute and 30 seconds longer than it should. I made
that mistake because I was thinking, and I realized that I had made another mistake, earlier. I had
been using 500 grams of sediment for each trial, instead of the 550 grams I used of the other
sediments. I decided to continue using 500 grams for the last trial. Because of all the things that
went wrong with these trials, the precise results cannot be accurately compared to the other
results with sediments 1,2, and 3, but the relative order of the sediments would stay the same if I
did it correctly.
I am surprised with how large the range of data from the sediment 1 trials is. I do not
understand why they are so different, because I was careful to do everything the same, between
them. I am also confused with the data from trials 4 and 5 in the sediment 4 test. I do not
understand why so little water got through in trial 5 or why less water went through in trial 4
than trial 1, even though it went so much longer than trial 1.
Conclusion
The results from my experiment supported my hypothesis. My experiment turned out pretty
much how I expected. The order I put the soil in based on how much water I thought would get
through was correct. There were some parts that I did not expect however, like the range of data
in the sediment 1 trials. I do not know why that happened, even with my research.
If I were to do this project again, I would do it mostly the same, but I would make some
changes. First of all, I would start looking for materials earlier. I started looking for materials
right before the experiment. Silt is very hard to find in stores, and I could not find any for my
experiment. I had to use fine sand instead. I would also try to procrastinate less. I procrastinated
a lot during this project and I ended up getting really stressed near the end.
Overall, I had a lot of fun doing this project. There were some parts that were not so
enjoyable, though. The experiment was fun, but it did get a little boring, because it is very
repetitive and time consuming. This project requires lots of detailed note-taking. These are some
things to consider before doing this project yourself.
My results show that if you are building a levee or a dam, you should take into consideration
the porosity of the sediment. I learned that permeability(amount of water flow) does not directly
relate to the porosity, so it is complicated. You should try to get soil that contains a lot of clay.
You should also try to avoid soil with a lot of sand in it. Hopefully, this will help a little when
dams and levees are being built.
Acknowledgements
Thanks to the UALR Earth Sciences Department for use of their equipment. Thank you to
Bill Frances at Good Earth Garden Center for answering silt/soil questions from a different
expert angle than a geologist (growing things/irrigation). Thanks to my dad for getting me access
to equipment, helping with the timer, and helping clean equipment between trials.
References
Daniel, J.C. Personal communications. September- November 2017. (Geology)
Fetter, C.W. Applied Hydrogeology. Second Edition. Merril Publishing, 1988.
Francis, Bill. Phone interview. October 28, 2017. (silt soil, irrigation)
Lewis, D.W. Practical Sedimentology. Stroudsburg, Pennsylvania: Hutchinson Ross Publishing, 1984.
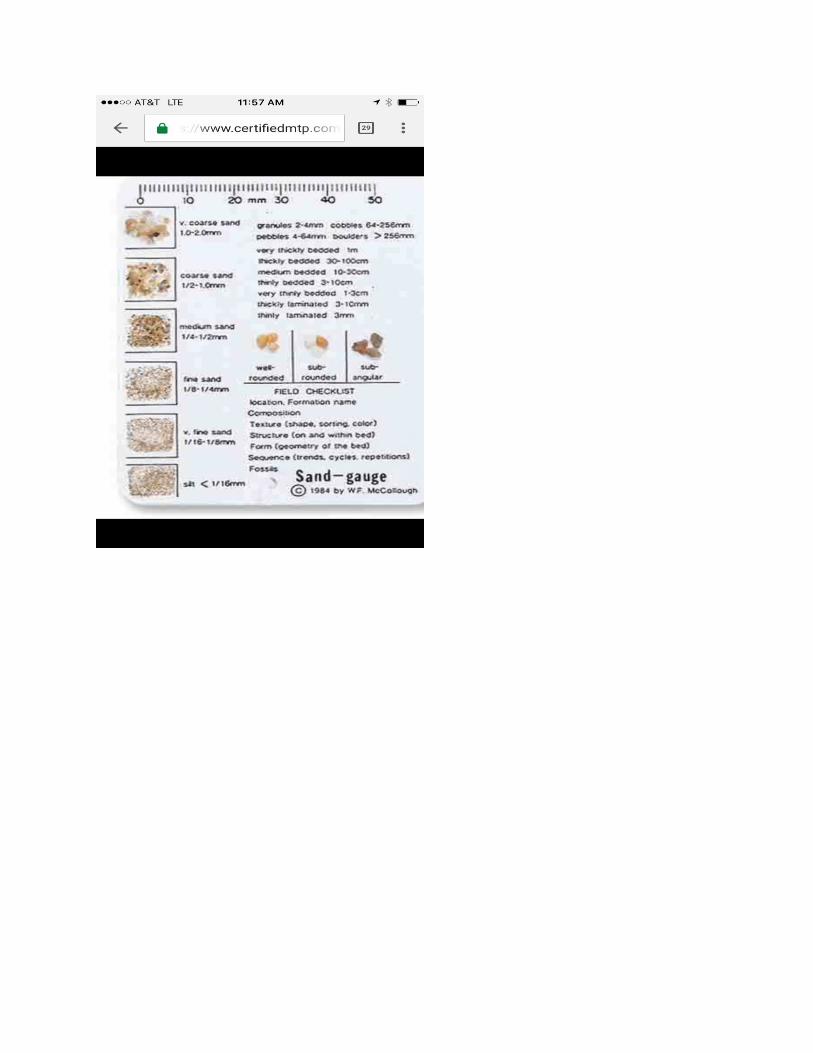
McCullough, W.F. Sand gauge. 1984.
Mr. G. Science. Amazing World of Science with Mr. Green: Introduction to Soil Systems. Soil Texture
Pyramid image. http://www.mrgscience.com/ess-topic-51-introduction-to-soil-systems.html

Appendix A: Pictures