screen printing: posterization of an image using adobe photoshop graphic comm. ii mr. jarrett
TRANSCRIPT
Screen Printing: Posterization of an Image
using Adobe Photoshop
Graphic Comm. II
Mr. Jarrett
Lesson Objectives
Changing to Grayscale Resizing & Cropping Adjusting Contrast Levels Posterization Filter Separating Layers Applying Color

Original Image

Changing to Grayscale
Step 1:
Image >
Mode > Grayscale
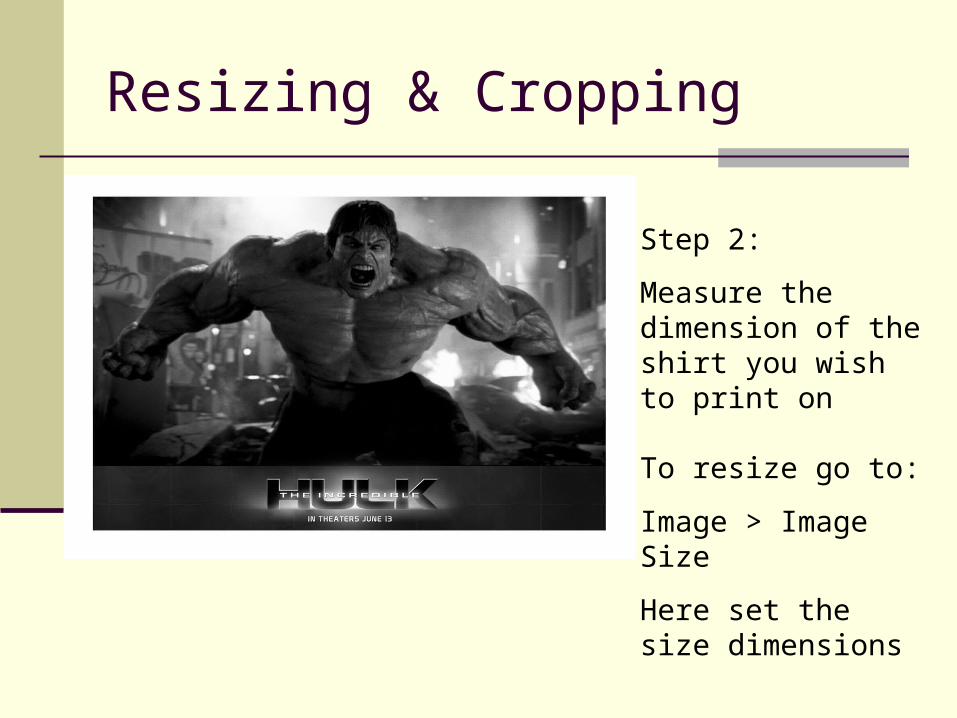
Resizing & Cropping
Step 2:
Measure the dimension of the shirt you wish to print on
To resize go to:
Image > Image Size
Here set the size dimensions

Adjusting Contrast Levels
Step 3:
You need adjust the contrast levels to bring out the details in the image
Go to:
Image > Adjustments > Levels
Here adjust the contrast levels using the levels histogram

Posterization Filter
Step 4:
Next posterize the image so that the colors can be separated into different layers
Go to:
Filters > Artistic > Poster Edges
Here adjust settings to give you the desired effect

Separating Layers
Step 5:
Separating the color layers can be the hardest part
Go to:
Select > Color Range
Here use the eyedropper tool to select the Blacks
Once selected: Copy & Paste it onto a new layer

Separating Layers
Step 6:
Repeat Step 5
Go to:
Select > Color Range
Here use the eyedropper tool to select the Grays
Once selected: Copy & Paste it onto a new layer

Applying Color
Step 7:
Change your document back into an RGB file
Image>Mode>RGB
Then change the gray layer into a color
The resulting image should look something like this