project management and accounting time and material
TRANSCRIPT

Project
management
and accounting
Time and
material
projects without
WIP accounting
This document walks you through the project
management lifecycle and shows how this life
cycle is supported and managed in Microsoft
Dynamics 365 for Finance and Operations,
Enterprise edition.
Demo script
November 2017
Send feedback.
Learn more about Finance and Operations.
Dynamics 365 for Finance and Operations, Enterprise edition

Project management and accounting Time and material projects without WIP
accounting
2
Project management and accounting Time and material
projects without WIP accounting
This document walks you through the project management lifecycle and shows how this life cycle is supported and
managed in Microsoft Dynamics 365 for Finance and Operations, Enterprise edition. Specifically, you will go through
the steps to create a project quotation for a business intelligence (BI) implementation project, create the project
together with the work breakdown structure (WBS), record time and expenses, and recognize revenue.
Important:
This demo script assumes that you are running data created from the demo data packages that were released with
Microsoft Dynamics 365 for Finance and Operations, Enterprise edition 7.3. It is not intended for use with the demo
data companies, such as USMF and DEMF, that also ship with the product. For more information about the demo
data packages, see Generate demo data by using packages.
Notes, open items, and questions
● These data packages are required: SystemAndShared, Financials – HQUS, Financials – HQEU, and Project
Management and Accounting - HQUS
● You will sign in as these users: MICHAEL, PRAKASH, TRICIA, and ARNIE
● Use this legal entity: HQUS
Additional setup that is required
Note: Complete this setup as an Admin user.
1 Select Project management and accounting > Periodic > Capacity synchronization > Synchronize resource
capacity roll-ups, and run the periodic batch job to update resource capacity.
2 Select Payroll > Workers > Employee, and select Tricia Fejfar. Then, on the Projects tab, select Setup > Project
setup, and add the Standard calendar to employee Tricia Fejfar’s record as the resourcing calendar.
3 Make sure that the Project management and accounting workflows are configured for your demo scenario. By
default, these workflows are assigned to administrator roles.
4 Select Project management and accounting > Setup > Project > Work breakdown structure templates. By
default, the effort for each task in these templates is set to 0.00. Follow these steps to add effort (hours) to the BI
Implementation template:
a Select the BI Implementation template.
b Select Work breakdown structure.
c Select Expand to, and select the option to show all levels.
d Add the following effort (hour) information.
WBS ID Category Effort (hours)
1.1 PM 40.00

Project management and accounting Time and material projects without WIP
accounting
3
WBS ID Category Effort (hours)
1.2 PM 40.00
1.3 PM 40.00
2.1 AppDev 200.00
2.2 AppDev 140.00
2.3 AppDev 240.00
3.1 PM 40.00
3.2 Install 40.00
3.3 Training 40.00

Project management and accounting Time and material projects without WIP
accounting
4
Section Demo steps Talking points Screenshot
Project
quotation
Sign in to the HQUS legal entity
as MICHAEL.
Select Project management
and accounting > Quotations
> Project quotations, and
select New.
In the Customer ID field, enter
Forest Wholesale.
Select OK to close the dialog
box. When you’re asked
whether you want to create an
opportunity record, select No.
In the Estimated project end
date field, enter a date that is
six months in the future.
On the Project quotation tab,
select Maintain > Work
breakdown structure.
Michael receives a lead for a
customer that Contoso has
done business with before. He
enters the customer’s name, and
the system quickly finds the
record for the existing customer
number. This functionality saves
Michael time, because many
fields on the quotation, such as
previously agreed-on payment
terms, will be automatically
filled with default values.
Alternatively, if you haven’t
previously done business with a
client, you can enter the project
quotation for a prospect instead
of a customer.
For scheduling purposes, you
can enter the project’s
estimated start and end dates.
There are two ways to add tasks
to a quotation. You can
manually enter lines on this
page, or you can create a WBS.
Because Contoso has done
similar projects for BI
implementations, you will assign
a WBS for this demo.

Project management and accounting Time and material projects without WIP
accounting
5
Section Demo steps Talking points Screenshot
Assign a
WBS
Select Import, and then, in the
Name field, select BI
implementation. Confirm that
you want to apply the rates
from the customer.
Expand the lines to view all the
tasks.
For this demo, you will import
an existing WBS that is named
BI implementation.
The import process brings in the
lines from the template, so that
you can use them as a starting
point.
Sequence
the work by
setting
predecessors
Each task depends on the
preceding entry. Therefore, set
the predecessor for each task,
starting with task 1.2.
The tasks are currently set up to
occur concurrently. However, for
your project, each task depends
on the previous task and can’t
start until that task is
completed. Therefore, set a
predecessor on each task,
starting with the second task.
Notice that the dates are
changed as a result.
View the
estimated
cost and
revenue
information
Select the Estimated cost and
revenue tab.
Close the Work breakdown
structure page.
The WBS also provides
information about the estimated
cost and revenue for each task.
This information will help you
predict and plan the project.
Create the
quotation
lines, based
on the WBS
Select Generate > Copy >
Create quotation lines from
WBS.
Select Save.
Select Workflow > Submit >
Submit.
Next, you will use the lines from
the WBS to create the quotation
lines. You can also manually add
lines to the quotation.
Michael is satisfied with this
quotation. Therefore, he submits
it to the organization’s workflow
process.

Project management and accounting Time and material projects without WIP
accounting
6
Section Demo steps Talking points Screenshot
Approve the
quotation,
and send it
to the
customer
If the workflow is configured to
automatically approve
quotations, you can now send
the quotation to the customer. If
automatic approval isn’t
configured, you must approve
the quotation.
Select Project management
and accounting > Quotations
> Project quotations, and
select the quotation that you
submitted.
On the Quote tab, select
Process > Send quotation.
Then, in the dialog box, select
OK.
On the Follow up tab, select
Confirm. Then, in the dialog
box, select OK.
Sign out as MICHAEL.
After a quotation is approved, it
can be sent to the customer for
review. During this process, you
can print the quotation.
If the customer requests
changes, you can make those
changes by using the revision
functionality.
After the customer has agreed
to the terms, you can confirm
the quotation.

Project management and accounting Time and material projects without WIP
accounting
7
Section Demo steps Talking points Screenshot
Transfer the
quotation to
a project
Sign in to the HQUS legal entity
as PRAKASH.
Select Project management
and accounting > Quotations
> Project quotations, and
select the quotation that
Michael created.
On the Follow up tab, select
Modify > Transfer to project.
Select Next.
In the Link quotation to
project field group, select New
project.
Set the Transfer quotation
work breakdown structure
option to Yes.
Select Next.
Set the following values:
● Project type: Time and
material
● Project group: TM_NoWIP
● Contract ID: 00000104
● Customer account: US-003
Select Next.
Set the Transfer to project
forecast option to Yes.
Select Next.
Select Finish.
Now that the quotation has
been reviewed and approved by
the customer, it can be
transferred to a project forecast.
A wizard is started to help you
quickly and accurately transfer
information to the project.
You can either create a new
project or use an existing
project. You can also copy your
WBS to the project.
On the next page, you select the
project type. In this case, the
project is a Time and material
project that doesn't track work
in process (WIP).
You can transfer quotations to
project forecasts.
After you’ve finished entering
information, you can review
your responses and then
complete the wizard.

Project management and accounting Time and material projects without WIP
accounting
8
Section Demo steps Talking points Screenshot
Project
management
workspace
Select Project management
and accounting > Workspaces
> Project management.
Select the In planning tile.
The Project management
workspace gives an overview of
projects in the legal entity. You
can see all projects or planned
projects, and also any project
templates that you’ve created.
You can quickly access projects
that are in process. You can also
access frequently used actions.
For example, you can create an
invoice proposal or view the
WBS.
You can search for a specific
project.
The Links section lets you
access the pages and reports
that are most often used for
your project processes.
Next, review the project that
you created by selecting the tile
that is labeled In planning.
Project management and accounting Time and material projects without WIP
accounting
9
Section Demo steps Talking points Screenshot
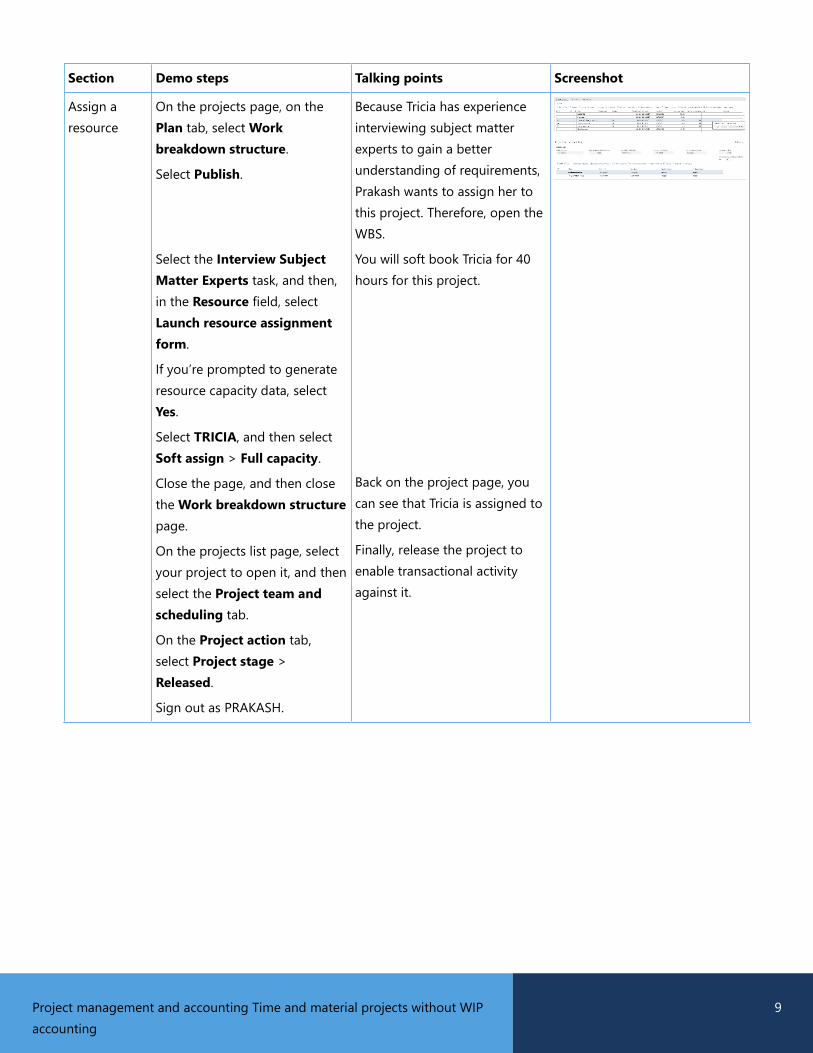
Assign a
resource
On the projects page, on the
Plan tab, select Work
breakdown structure.
Select Publish.
Select the Interview Subject
Matter Experts task, and then,
in the Resource field, select
Launch resource assignment
form.
If you’re prompted to generate
resource capacity data, select
Yes.
Select TRICIA, and then select
Soft assign > Full capacity.
Close the page, and then close
the Work breakdown structure
page.
On the projects list page, select
your project to open it, and then
select the Project team and
scheduling tab.
On the Project action tab,
select Project stage >
Released.
Sign out as PRAKASH.
Because Tricia has experience
interviewing subject matter
experts to gain a better
understanding of requirements,
Prakash wants to assign her to
this project. Therefore, open the
WBS.
You will soft book Tricia for 40
hours for this project.
Back on the project page, you
can see that Tricia is assigned to
the project.
Finally, release the project to
enable transactional activity
against it.

Project management and accounting Time and material projects without WIP
accounting
10
Section Demo steps Talking points Screenshot
Enter time
against the
project
Sign in as TRICIA.
Select Project management
and accounting > Timesheets
> My timesheets, and select
New.
On Tricia’s timesheet, for each
workday, add eight hours for
the Forest Wholesales project.
Set the activity to Interview
Subject Matter Experts.
Select Workflow > Submit >
Submit.
Sign out as TRICIA.
Tricia has interviewed subject
matter experts for a total of 40
hours this week. Tricia can view
her existing timesheets or enter
new time entries. She enters
eight hours for each day last
week, for the time that she
spent interviewing subject
matter experts.
Tricia then submits her
timesheet. The system is set up
to automatically approve and
post the timesheet. This process
will update the project values.
Bill the
customer
Sign in as PRAKASH.
Select Project management
and accounting > Workspaces
> Project management.
In the center pane, select the
link for the Forest Wholesale
project ID. The projects page is
opened.
On the Manage tab, select New
> Invoice proposal.
Select OK to generate the
invoice proposal.
On the invoice proposal page,
select Post.
At the end of the week, Prakash
wants to bill the customer for
this project. The billing will
include the time that Tricia
entered.
From the list in the middle of
the Project management
workspace, Prakash can open
the Forest Wholesale project.
Based on the criteria that are
specified, the invoice proposal
selects transactions that will be
billed to the customer. In this
case, the invoice proposal will
include the time that Tricia
reported.
The invoice proposal is posted.
This process will update the
general ledger, the project, and
the customer’s balance.

Project management and accounting Time and material projects without WIP
accounting
11
Section Demo steps Talking points Screenshot
Review the
project
information
Select Project management
and accounting > Workspaces
> Project management.
Select the Forest Wholesale
project.
On the Control tab, select
Project statements.
Select Calculate.
Select the Invoice tab.
Sign out as PRAKASH.
At the end of the week, Prakash
reviews the state of the project
on the project statement and
sees the invoice values.
The
customer
pays
Sign in as ARNIE.
Select Accounts receivable >
Payment > Payment journal >
Create a new payment journal.
Select Lines.
Create a new line for customer
account US-003, and then press
Tab to move out of the
customer field.
Select Settle transactions, and
mark the project invoice. Then
select OK to close the page.
Select Post.
Forest Wholesales has remitted
payment for the project invoice.
In Accounts receivable, the
payment information can be
entered and applied to the
customer’s outstanding balance.
After the payment is posted, the
customer’s balance will be
reduced.
This step completes the
quotation-to–customer
payment process.

Send feedback.
Microsoft Dynamics is a line of integrated, adaptable business
management solutions that enables you and your people to make
business decisions with greater confidence. Microsoft Dynamics works
like and with familiar Microsoft software, automating and streamlining
financial, customer relationship, and supply chain processes in a way
that helps you drive business success.
United States and Canada toll-free: (888) 477-7989
Worldwide: (1) (701) 281-6500
www.microsoft.com/dynamics
© 2017 Microsoft Corporation. All rights
reserved.
This document is provided “as-is.”
Information and views expressed in this
document, including URL and other
Internet Web site references, may
change without notice. You bear the risk
of using it.
Some examples are for illustration only
and are fictitious. No real association is
intended or inferred.
This document does not provide you
with any legal rights to any intellectual
property in any Microsoft product. You
may copy and use this document for
your internal, reference purposes.