office tips and tricks lisa short technology specialist summer 2013
TRANSCRIPT
Office Tips and Tricks
Lisa Short Technology Specialist
Summer 2013
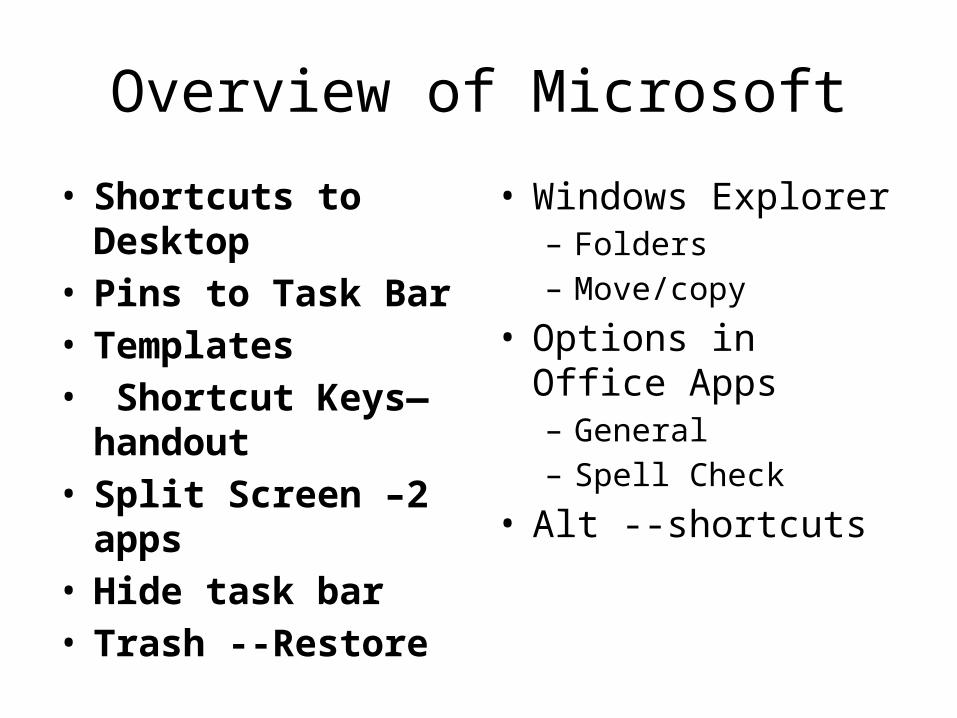
Overview of Microsoft
• Shortcuts to Desktop • Pins to Task Bar• Templates• Shortcut Keys—
handout• Split Screen –2 apps• Hide task bar• Trash --Restore
• Windows Explorer– Folders– Move/copy
• Options in Office Apps– General– Spell Check
• Alt --shortcuts
Word 2010 tips and tricks
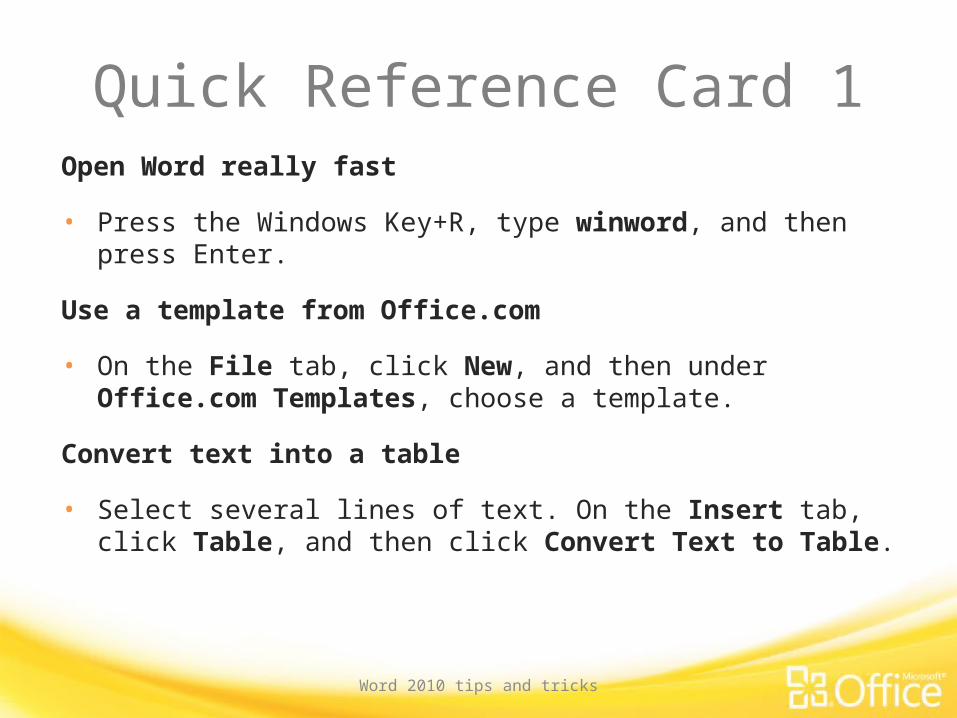
Quick Reference Card 1Open Word really fast
• Press the Windows Key+R, type winword, and then press Enter.
Use a template from Office.com
• On the File tab, click New, and then under Office.com Templates, choose a template.
Convert text into a table
• Select several lines of text. On the Insert tab, click Table, and then click Convert Text to Table.
Word 2010 tips and tricks
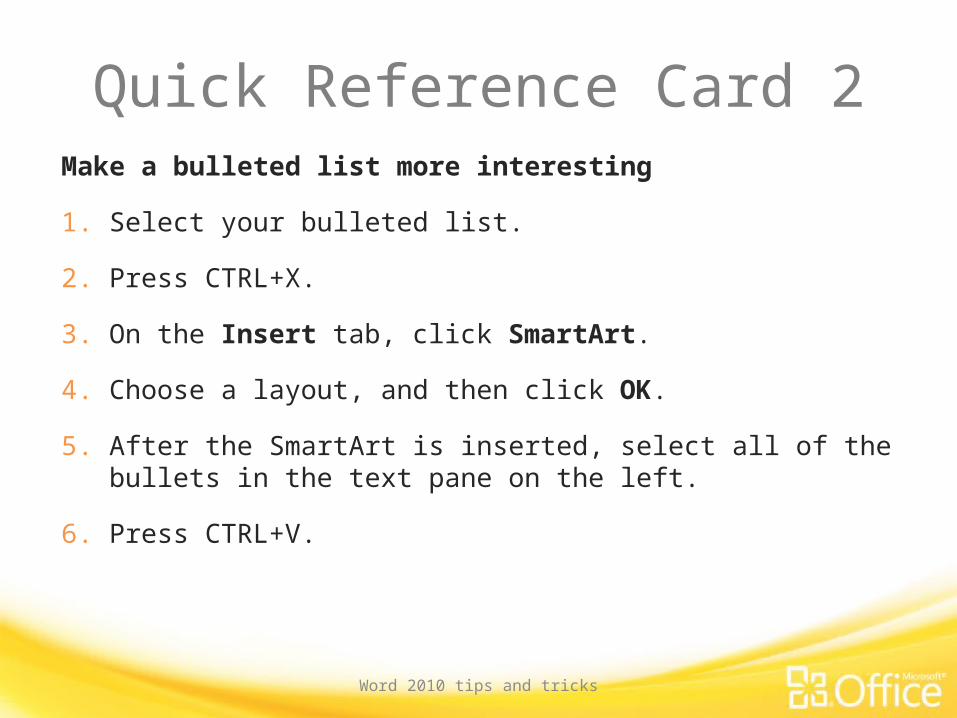
Quick Reference Card 2Make a bulleted list more interesting
1. Select your bulleted list.
2. Press CTRL+X.
3. On the Insert tab, click SmartArt.
4. Choose a layout, and then click OK.
5. After the SmartArt is inserted, select all of the bullets in the text pane on the left.
6. Press CTRL+V.
Word 2010 tips and tricks
Quick Reference Card 3Crop a picture to a shape
1. Select the picture or pictures that you want to crop to a specific shape.
2. Under Picture Tools, on the Format tab, in the Size group, click the arrow under Crop.
3. Click Crop to Shape and then click the shape you want to crop to.
Put documents on SkyDrive
4. Go to http://office.live.com and obtain a Windows Live ID, if you don’t have one already.
5. After you have a Windows Live ID, go to http://office.live.com.
6. Click Add files and then upload documents from your computer.
Word 2010 tips and tricks
Quick Reference Card 4Find and replace text
1. On the Home tab, Replace.
2. Type what you want to find in the Find what box
3. Type what you want to replace it with in the Replace with box
4. Click Replace All.
Tips for selecting things
• To select a word, double click.
• To select a paragraph, triple click.
• Place your cursor in the left margin. Click once for a line, double click to select all lines in a paragraph. Triple Click for entire page
Word 2010 tips and tricks
Quick Reference Card 5Show or hide the ribbon
• CTRL+F1
Use the Quick Access Toolbar
• Right-click a button, and then click Add to Quick Access Toolbar.
PowerPoint tips and tricks
Quick Reference Card 6Open PowerPoint
Make a slide from a bullet
1. On the left, above the slide thumbnails, click the Outline tab.
2. Select the text you want on its own slide.
3. Press SHIFT+TAB.
PowerPoint tips and tricks
Quick Reference Card 7Reuse slides from another presentation
1. Open the presentation that you want to add a slide to.
2. In the pane that contains the Outline and Slides tabs, click Slides, and then click where you want to add a slide.
3. On the Home tab, in the Slides group, click the arrow below New Slide, and then select Reuse Slides.
4. In the Reuse Slides pane, click Open a PowerPoint File.
5. In the Browse dialog box, locate and click the presentation file that contains the slide that you want, and then click Open.
Tip In the Reuse Slides pane, PowerPoint displays thumbnails of the slides from the presentation that you selected. Rest the pointer on a thumbnail to see a larger version of the slide's contents.
6. In the Reuse Slides pane, do one of the following:• To add a single slide, click the slide.• To add all of the slides, right click any slide, and then select Insert All Slides.
Note If you want the slide that you are adding to the destination presentation to maintain the formatting of the original presentation, select the Keep source formatting check box before you add the slide to the destination presentation.
• To add a single slide, click the slide.• To add all of the slides, right-click any slide, and then click Insert All Slides on the shortcut menu.

PowerPoint tips and tricks
Quick Reference Card 8Slide Sorter view
• In the lower-right corner of the screen, press the Slide Sorter button.
Insert a screenshot or screen clipping
1. Click the slide that you want to add the screenshot to.
2. On the Insert tab, in the Images group, click Screenshot.
3. Do one of the following:• To add the whole window, click the thumbnail in the Available Windows gallery.• To add part of the window, click Screen Clipping, and when the pointer becomes a cross, press and hold the left mouse button to select the area of your screen that you want to capture.
Word 2010 tips and tricks
Mailing Labels Full Page Create a new document
• Mailings, Labels, Options, Avery US Letter, 5160, OK
Address
• Type your information in, add picture, Full page of the same label, New Document.
In Word
• Select all –Crtl + A, Change font, size, center
Word 2010 tips and tricks
Mailing Labels MergeOpen Word
• Start Mail Merge, Labels, Choose Product #, Ok
Select Recipents
• From existing list, type new list
Address Block, Insert Merge Field
• Add fields –be sure to add space between fields
Update Labels, Preview Results, Finish & Merge

Quickly Navigate Through Applications
• Hold down the Alt key and repeatedly press the Tab key
• When the desired application is selected, release the Alt key
The quick brown fox jumps over the lazy dog. The quick brown fox jumps over the lazy dog. The quick brown fox jumps over the lazy dog. The quick brown fox jumps over the lazy dog. The quick brown fox jumps over the lazy dog.The quick brown fox jumps over the lazy dog. The quick brown fox jumps over the lazy dog. The quick brown fox jumps over the lazy dog. The quick brown fox jumps over the lazy dog. The quick brown fox jumps over the lazy dog.The quick brown fox jumps over the lazy dog. The quick brown fox jumps over the lazy dog. The quick brown fox jumps over the lazy dog. The quick brown fox jumps over the lazy dog. The quick brown fox jumps over the lazy dog.
Create ‘Fake’ TextKey =rand(n,m)The first number
indicates the number of paragraphs
The second number indicates the number of sentences in each paragraph

Zoom In and Out
Ctrl + mouse wheel
Change the font size
Ctrl + ] or
Ctrl + [
Also
Ctrl + Shift + >or
Ctrl + Shift +<

Repeat the Last Edit
• Press the F4 key
Using the Format Painter (Paintbrush)
Place curser within the text which has the desired format
Click the paintbrush on the tool barSelect additional text to be formattedIf you double-click on the paintbrush
you can select additional text multiple times (press the esc key to turn off the paintbrush)
Remove All Formatting
• Select the text then Ctrl + spacebar
Position Graphics• Ctrl + arrow keys (XP
– just use arrow keys)or
• Alt + left mouse button
Extend Selected Text
• Press F8 to start then Esc to end
or• Hold the Shift
key down

Select Noncontiguous Text
• Select the first desired text
• Hold the Ctl key down
• Select the next desired text

Change the Case of Textlower case
Initial Case
ALL CAPS• Shift + F3

Spacing Between Sentences
• Tools – • Options –• Spelling and
Grammar –• Settings
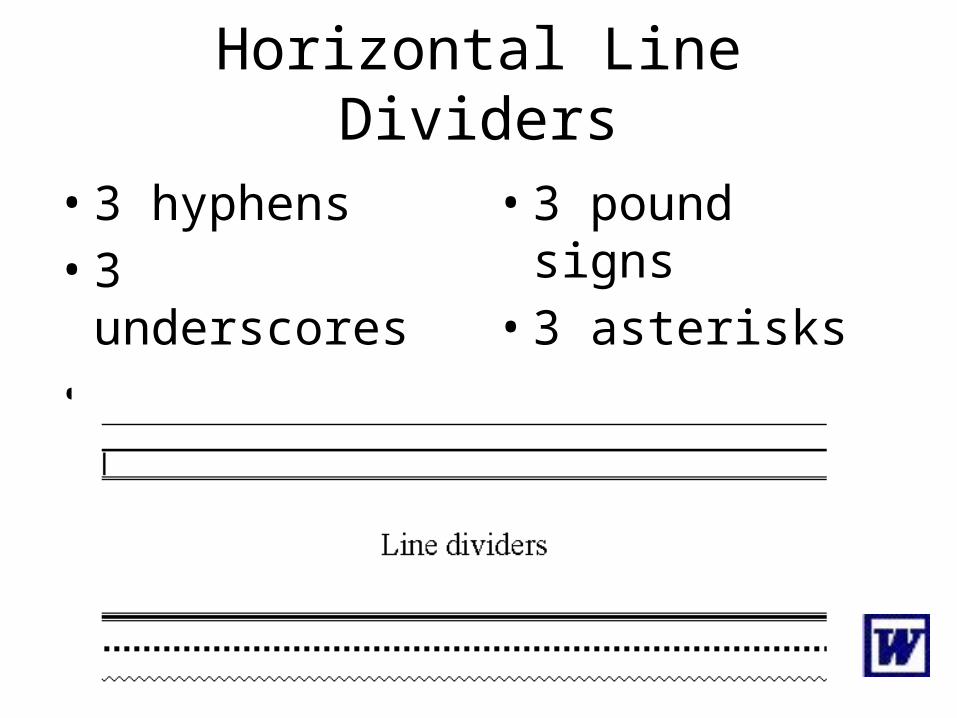
Horizontal Line Dividers
• 3 hyphens• 3 underscores• 3 equal signs
• 3 pound signs• 3 asterisks• 3 tildes
Using Auto Correct for Text• Tools• AutoCorrect
Options• Key in letter code
to replace• Key in the
desired new text• Click – Add - OK
• Key in desired text• Select the text• Tools• AutoCorrect
Options• Key in letter code
to replace• Click – Add - OK
OR
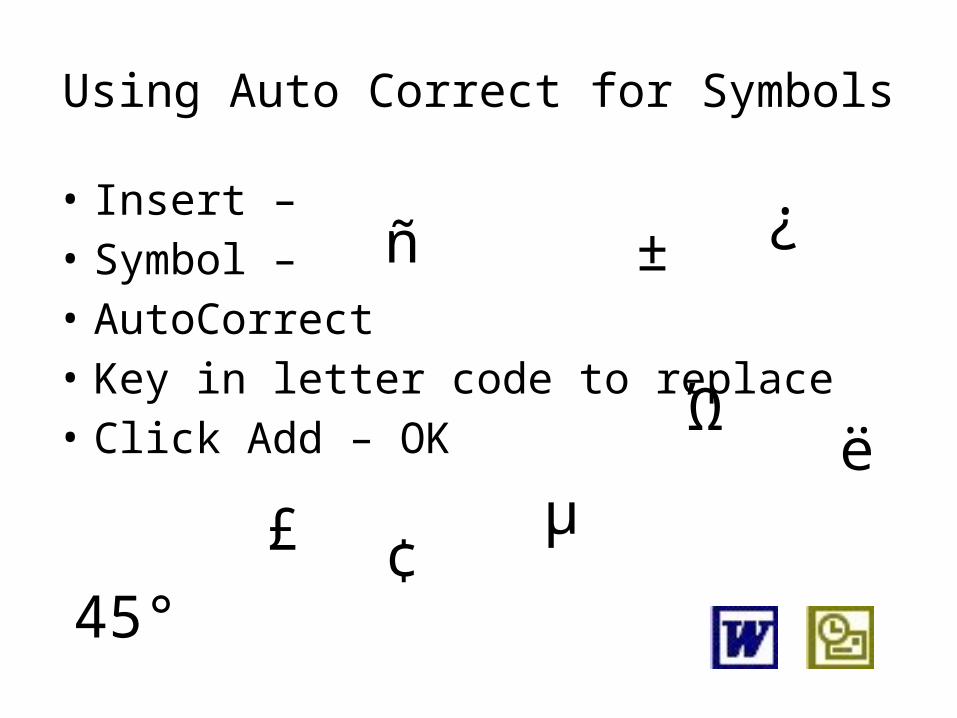
Using Auto Correct for Symbols
• Insert – • Symbol – • AutoCorrect• Key in letter code to replace• Click Add – OK
45°¢
±
Ώ
µ
¿ñ
ë£
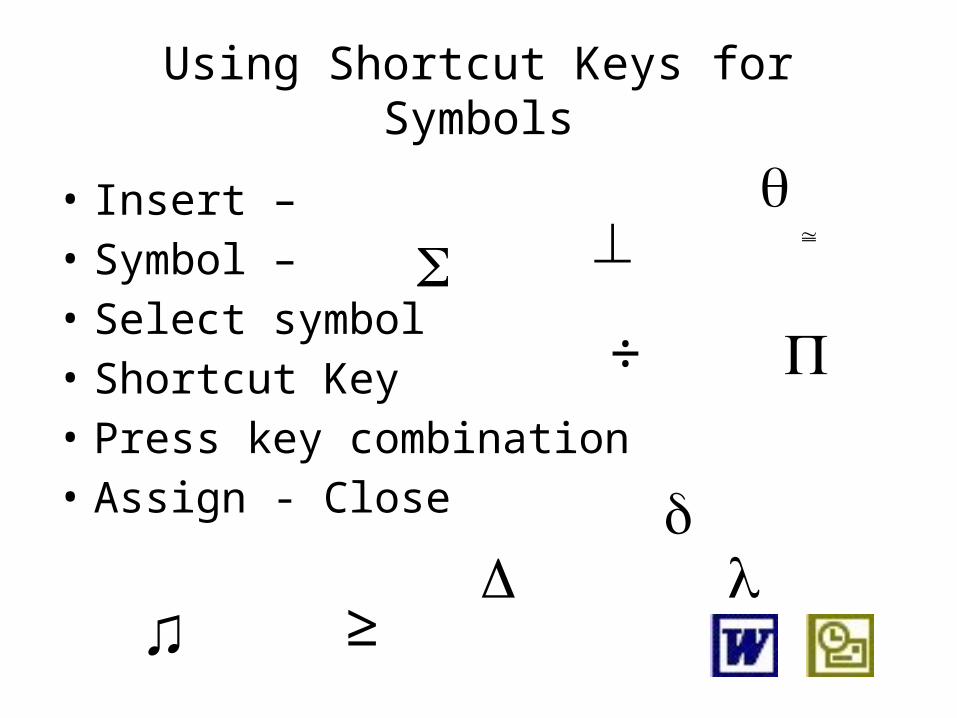
Using Shortcut Keys for Symbols
• Insert – • Symbol – • Select symbol• Shortcut Key• Press key combination• Assign - Close
÷
♫ ≥
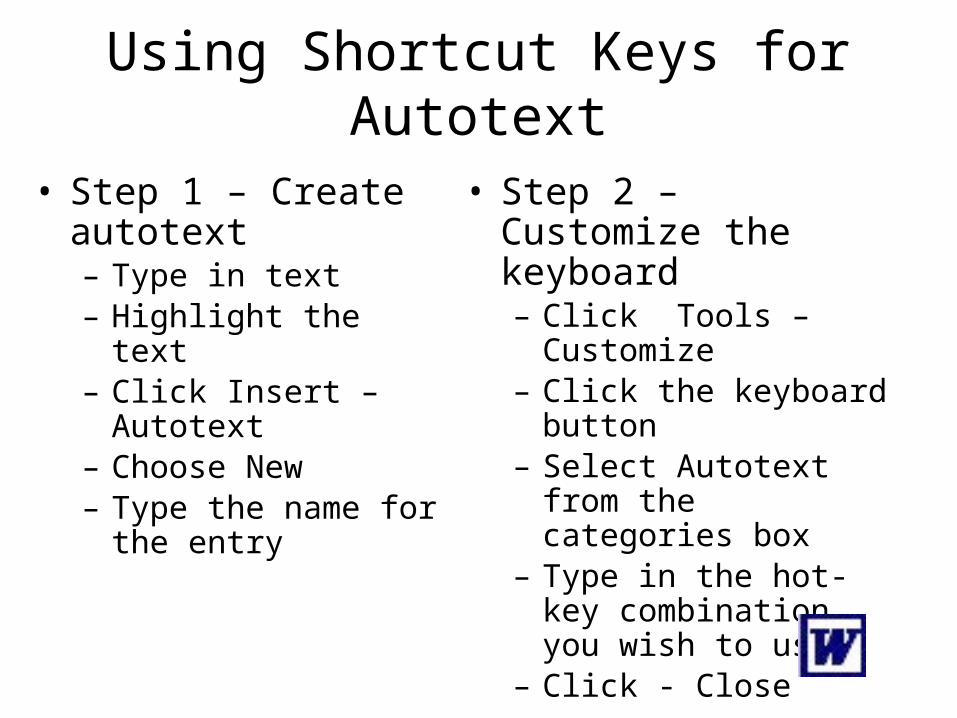
Using Shortcut Keys for Autotext
• Step 1 – Create autotext– Type in text– Highlight the text– Click Insert –
Autotext– Choose New– Type the name for
the entry
• Step 2 – Customize the keyboard– Click Tools –
Customize– Click the keyboard
button– Select Autotext from
the categories box– Type in the hot-key
combination you wish to use
– Click - Close
Save or Close All Documents
Hold the Shift down then select File then Close All

Create a Chart
Select the data for the chart
Press the F11 key
(To modify the chart, point to the object to change then click your right mouse button and format…)
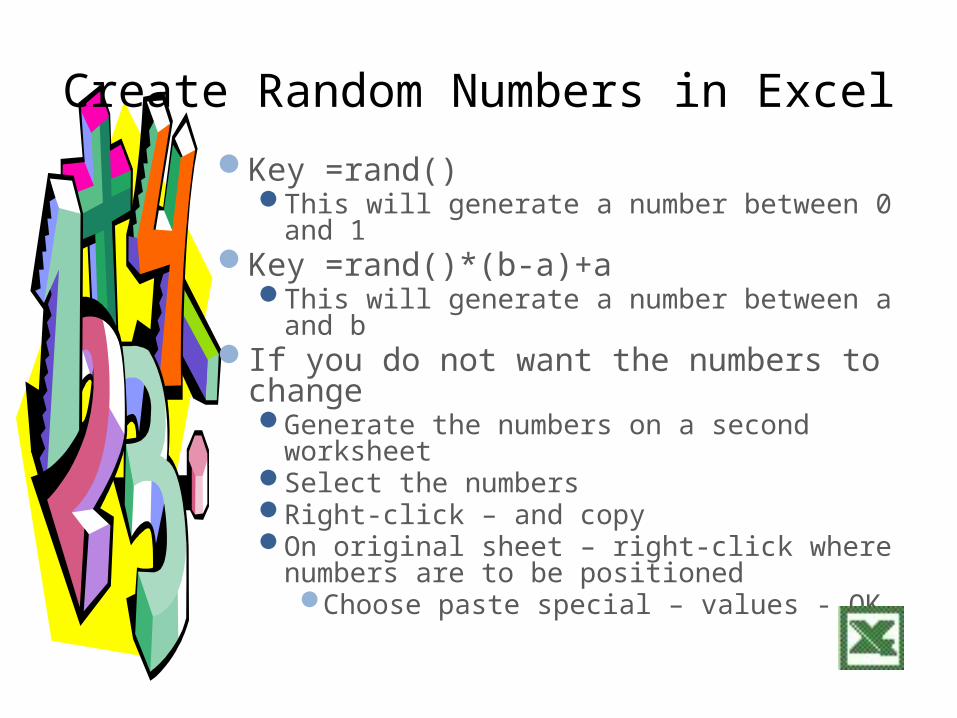
Create Random Numbers in ExcelKey =rand()
This will generate a number between 0 and 1Key =rand()*(b-a)+a
This will generate a number between a and bIf you do not want the numbers to change
Generate the numbers on a second worksheetSelect the numbers Right-click – and copyOn original sheet – right-click where numbers are
to be positionedChoose paste special – values - OK
Take a Break
• Get a blank screen at anytime in the presentation
• Press the w or the comma
Quickly go to Any Slide
• Type the slide number and press enter
Hide or Show the Pointer and Pen
• To hide the pointer press Ctrl + H
• To show the pointer press Ctrl + A
• To show the pen press Ctrl + P
Select Dates
• Select the first date in the date navigator then hold the Ctrl key down and continue to click the additional dates.
Change Timeline
• While in the Calendar view
• Right-click on the times• Choose the desired
interval
Delete Messages Without Sending Them to the Deleted Folder
• Select items to be deleted• Hold the Shift key down• Delete • Yes
Schedule an E-mail Response
• Drag the message from your Inbox to the Calendar icon or folder
• A new appointment dialog box will appear
• Fill in the needed information

Quickly Send an E-mail to a Contact
• Click on Contacts• Select the contact for the message• Drag the contact onto the Inbox icon
or folder• A new mail message will appear
Quickly Set and Delete Tab Settings
Set tabs:• Cycle through the
tab indicators at the left of the ruler until the desired tab appears
• Click on the ruler in the desired location
Delete tabs:• Drag tab off the
ruler
Quickly Change Tab Settings
• Select text that contains the tab settings
• Drag the tabs along the ruler to the desired location
• Select text that contains the tab settings
• Double-click on one of the tab settings
• Make the desired changes in the dialog box (be sure to click on set between each change)
OR

Add a Screen Shot
Tap the Print Scrn key then paste into a document
(To modify the size, click on the ‘crop’ button on the pictures toolbar and remove the unwanted portion of the picture and then re-size the picture.)