making a perfect five-point wooden star for outside decoration · pdf filemaking a perfect...
TRANSCRIPT

Making a perfect five-point wooden star for outside decoration I wanted a Christmas ornament for my house in the shape of a star. I wanted for it to be lit and seen from the highway. The space I had for the star was under a front porch, essentially protected from the rain.
The design I decided on eventually turned out to be 31 ½” H X 33” W finished. Materials and tools I used: 2 – ½” white wood molding, 8’ 1 – 1/8” lauan plywood, 2’ X 4’ Electric staple gun with ¼” staples and 5/8” brads Jigsaw with fine blade My “workbench” is a 3’ X 4’, ¾ piece of plywood with a short 4X4 scabbed on one side. The 4X4 fits into the space between the jaws of a Workmate. Worked well as a surface to create the template for building the star.

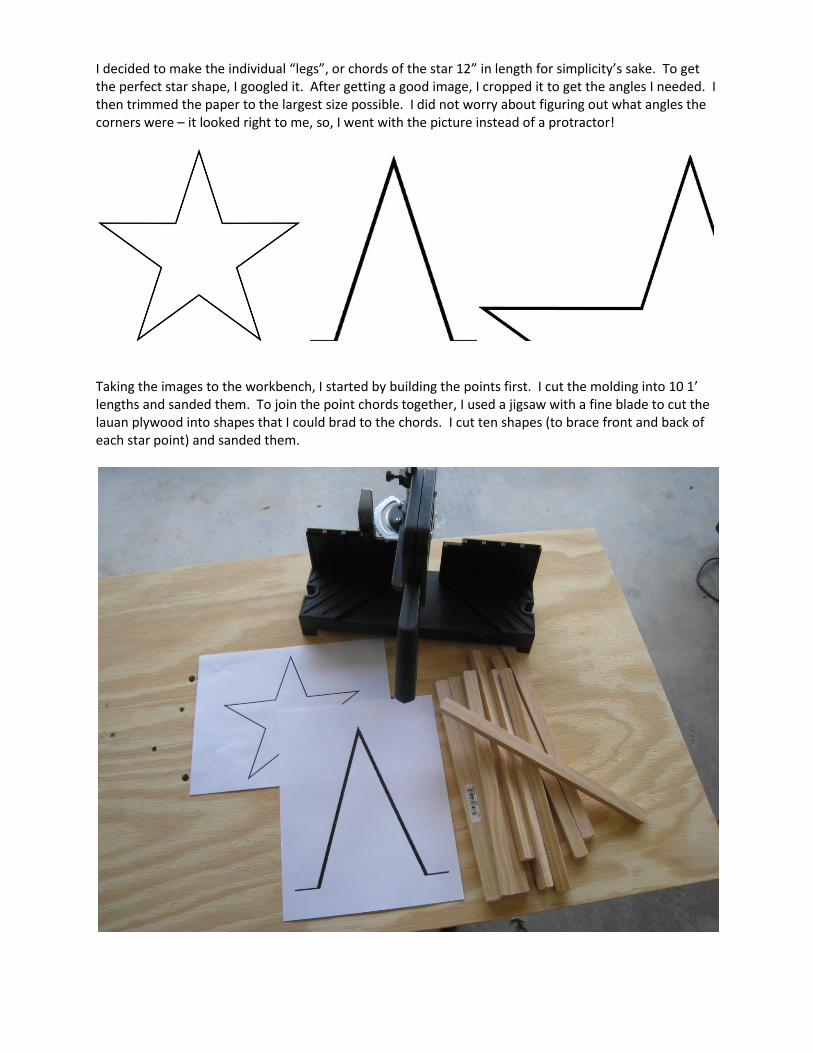
I decided to make the individual “legs”, or chords of the star 12” in length for simplicity’s sake. To get the perfect star shape, I googled it. After getting a good image, I cropped it to get the angles I needed. I then trimmed the paper to the largest size possible. I did not worry about figuring out what angles the corners were – it looked right to me, so, I went with the picture instead of a protractor!
Taking the images to the workbench, I started by building the points first. I cut the molding into 10 1’ lengths and sanded them. To join the point chords together, I used a jigsaw with a fine blade to cut the lauan plywood into shapes that I could brad to the chords. I cut ten shapes (to brace front and back of each star point) and sanded them.

I laid the diagram of the cropped point on my worksurface and tapped small finishing nails into the borders. This gave me a template to lay the legs for joining.

The bracing piece placement doesn’t have to be exact. Just lay it down and brad it.
I bradded the bracing piece onto both sides. Sturdy!

After all 5 points were made, I cut bracing pieces from the lauan to join the points into the final design. I then laid the inside angle on the worksurface, drove nails to make the template, then joined the points with the same method used above.

The final product was sturdy enough for display. It won’t survive a bashing, but will stand up to season after season of careful storage.
After assembly, I took a strand of 100 lights and stapled them to the star frame. Staple the string at the first light to the top of a chord. Then staple the fifth light to the bottom of that chord. The sixth light is stapled to the bottom of the next chord, and the tenth light is stapled to the top of that chord. To get all 100 lights on the star, you have to go around twice. To get the star outline to be more compact, after stapling, I took the bulbs and intertwined them through the wires on adjoining strands.

The finished product in a darkened bathroom. Fun, cheap and easy to build – I prolly have $20.00 or less tied up in the thing. Merry Christmas!