joints and tools powerpoint
TRANSCRIPT
Joints and Tools

Butt Joint• A butt joint is the easiest joint to
make. The wood is butted end to edge or face to edge. Wood glue can be used on the joining faces for added strength but it is typically held by screws or nails.
• When creating the frame for the concave we chose to use the butt joint as it is the easiest to make. The joints also couldn’t be seen and so didn’t need to be aesthetically pleasing.

Mitre Joint• A mitre joint is normally used
for picture frames as it is very neat due to no end wood being visible. It is typically a very weak, but can be strengthened with braces or blocks. Glue should always ne used for a mitre joint.
• We chose to not use the mitre joint as it is too weak for the frame for the concave whereas the butt joint was strong enough to create the frame
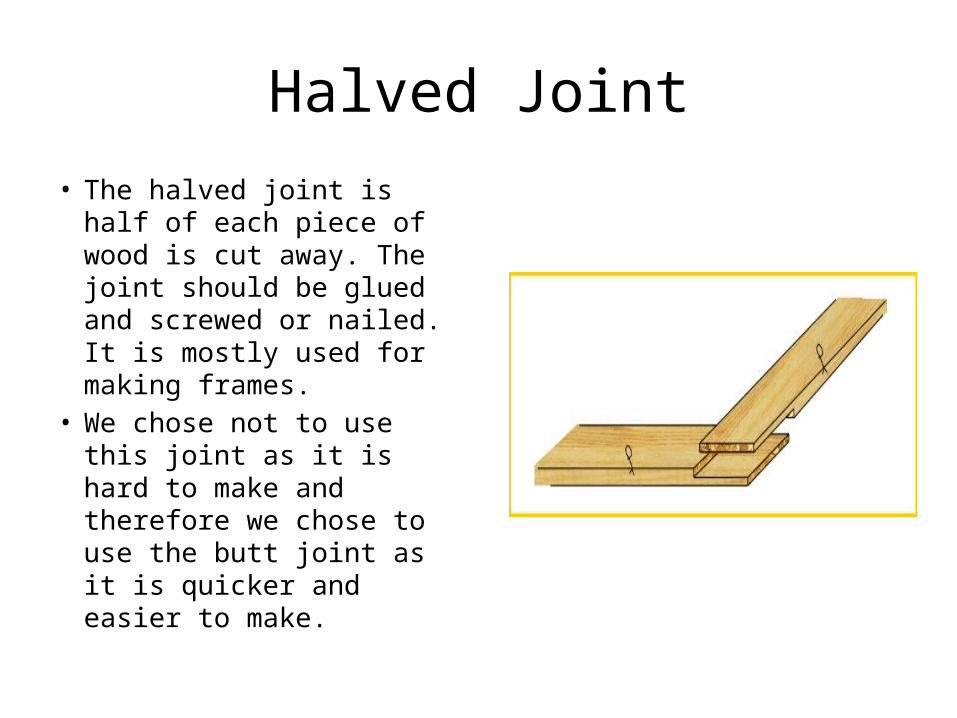
Halved Joint• The halved joint is half of
each piece of wood is cut away. The joint should be glued and screwed or nailed. It is mostly used for making frames.
• We chose not to use this joint as it is hard to make and therefore we chose to use the butt joint as it is quicker and easier to make.

Tenon and Mortise Joint• This joint is mostly used in
furniture making or heavy doors and gates. Its is very strong but difficult to make. The tenon should be at least a third of the thickness of the wood and glue should be used to secure the joint.
• This joint would be ideal as it is strong and neat, however it is difficult to make and so the butt joint would be the better option as it is easier to make and less time consuming.
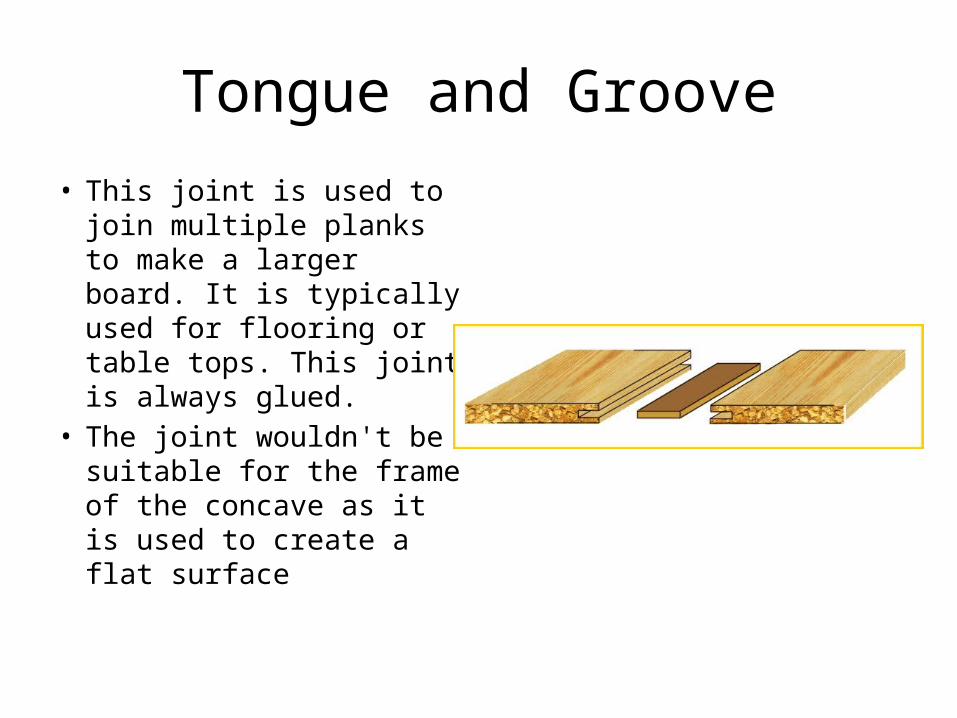
Tongue and Groove
• This joint is used to join multiple planks to make a larger board. It is typically used for flooring or table tops. This joint is always glued.
• The joint wouldn't be suitable for the frame of the concave as it is used to create a flat surface

Dovetail Joint• The dovetail joint is very
strong and neat, however it takes a lot of practice to make a good dovetail joint. This joint is mainly used to make draws and boxes.
• This joint would be ideal, however it would be time consuming to make a neat one, there for the butt joint would be just as neat but take less time.
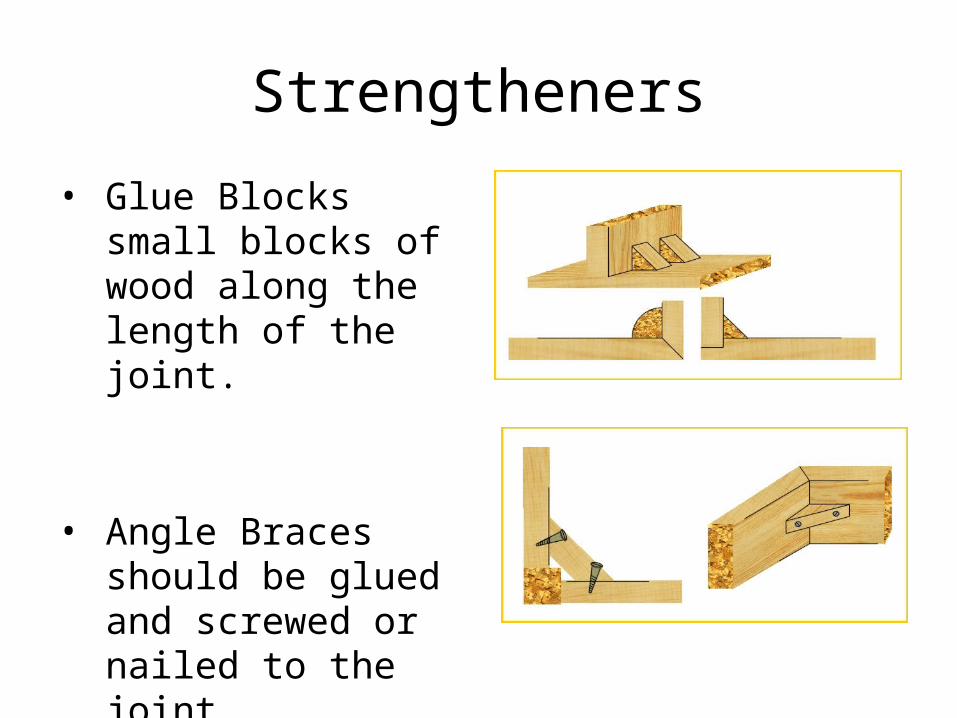
Strengtheners
• Glue Blocks small blocks of wood along the length of the joint.
• Angle Braces should be glued and screwed or nailed to the joint.

Dowel• Dowel should have a V shaped
groove along it to allow excess glue and air to escape. The piece being used should be a third of the width of the wood to be joined. Dowel is mostly used to strengthen butt and mitre joints.
• We did not need to use dowel for our butt joints as they were strong enough for the frame to add the concave onto.

Hammers• A claw hammer is the most common type of hammer. The claw is used to
remove nails
• A ball hammer is always used for shaping metal
• A cross pin hammer is a lightweight hammer that is primarily used for pins and tacks
• A joiners mallet is used to drive chisels or tap wood joints together. The head is made of wood so wont cause damage.
• I used a claw hammer when attaching the hardboard to the frame to create the concave.

Saws
• A tenon saw is used for cutting tenon joints. It is strengthened along the back. There is a fine tooth version used for dove tail joints.
• A coping saw is used for cutting tight curves. The tension in the blade can be slackened or increased. It can be revolved through any angle.

Mitre Saw• A mitre saw can cut up to 60
degrees in either direction. The saw can be set to bevel up to 45 degrees and gives the ability to cut two angles at once
• We used a mitre saw to cut the wood for the frame of the concave as we needed to cut some of the wood at an angle and this saw the job most efficiently.