how to… image editor - newzapp communications€¦ · choose from twelve signature filters and...
TRANSCRIPT


1
How to… Image Editor
Included in your NewZapp account is a powerful Image Editor capable of extraordinary
things! To access the editor simple navigate to the Images panel, choose or upload an
image to edit and click the first button on the left that appears when you hover over
each image to load the Image Editor.
Choose from the following editing tools (you can apply as many as you like to an
image):
Enhance Choose from five one-click enhancement options: High-Def intelligently sharpens and
defines. The other options are specifically made for the enhancement of images of Scenery,
Food, a Portrait or a Night shot.
Effects Quickly achieve professional results with a full line of stunning photo filters, designed to
easily stylize everyday photography. Choose from twelve Signature filters and twelve
Classic. Intensity is 100% by default, but click the filter name again to access a slider to tailor
this.
Frames Use this tool to add frames to your images. A great way to bring an added theme to your
photos. Choose from twelve Original frame styles and twelve Bohemia.
Overlays A variety of shape options for you to overlay shapes on top of your image. The Traditional set
has six shapes both available in White or Black, perfect for making an image circular for
example – whilst the Boom set has nine shapes in a variety of colours to add a more abstract
effect.
Stickers Use this tool to add a variety of fun hats, eyewear, speech bubbles, shapes and more to
photos. Again you have lots of options, the Original and Signature sets each having twenty
four stickers.
2
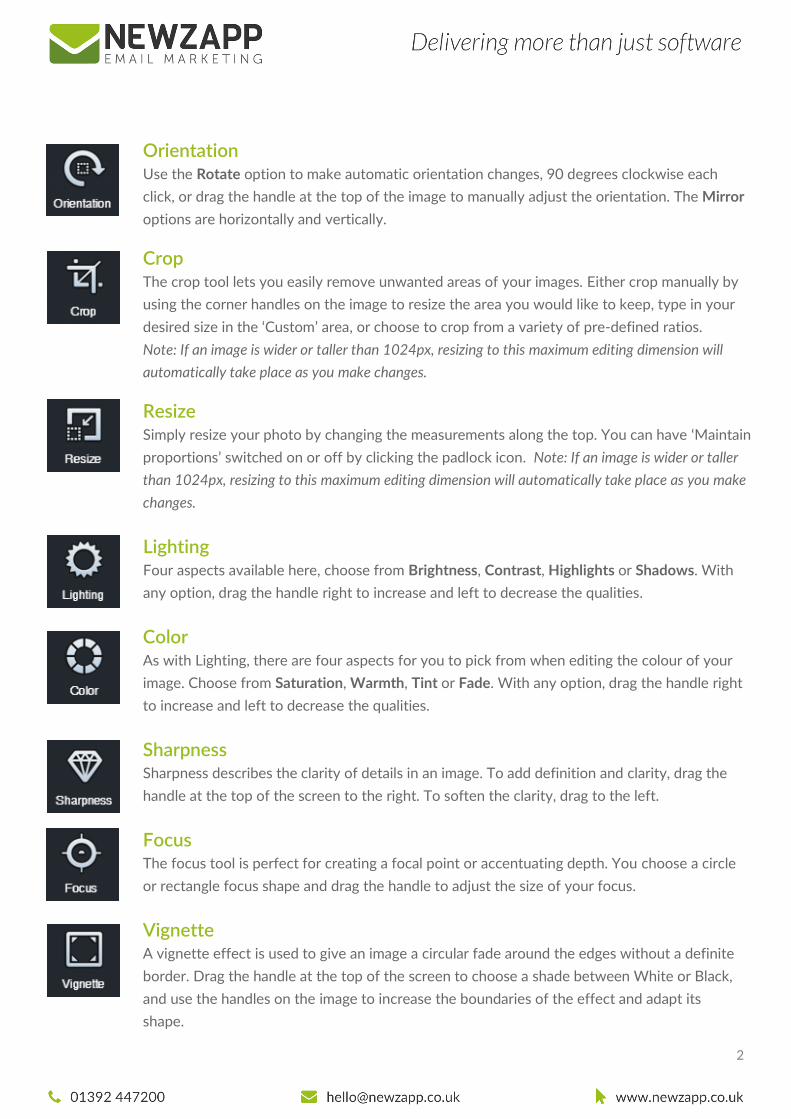
Orientation Use the Rotate option to make automatic orientation changes, 90 degrees clockwise each
click, or drag the handle at the top of the image to manually adjust the orientation. The Mirror
options are horizontally and vertically.
Crop The crop tool lets you easily remove unwanted areas of your images. Either crop manually by
using the corner handles on the image to resize the area you would like to keep, type in your
desired size in the ‘Custom’ area, or choose to crop from a variety of pre-defined ratios.
Note: If an image is wider or taller than 1024px, resizing to this maximum editing dimension will
automatically take place as you make changes.
Resize Simply resize your photo by changing the measurements along the top. You can have ‘Maintain
proportions’ switched on or off by clicking the padlock icon. Note: If an image is wider or taller
than 1024px, resizing to this maximum editing dimension will automatically take place as you make
changes.
Lighting Four aspects available here, choose from Brightness, Contrast, Highlights or Shadows. With
any option, drag the handle right to increase and left to decrease the qualities.
Color As with Lighting, there are four aspects for you to pick from when editing the colour of your
image. Choose from Saturation, Warmth, Tint or Fade. With any option, drag the handle right
to increase and left to decrease the qualities.
Sharpness Sharpness describes the clarity of details in an image. To add definition and clarity, drag the
handle at the top of the screen to the right. To soften the clarity, drag to the left.
Focus The focus tool is perfect for creating a focal point or accentuating depth. You choose a circle
or rectangle focus shape and drag the handle to adjust the size of your focus.
Vignette A vignette effect is used to give an image a circular fade around the edges without a definite
border. Drag the handle at the top of the screen to choose a shade between White or Black,
and use the handles on the image to increase the boundaries of the effect and adapt its
shape.

3
Blemish Simply remove/soften blemishes by tapping the areas in your image that you would like to
correct. You can control the size of your brush from the toolbar along the top of the screen.
Whiten Use this tool to add brightness to specific areas on your image. You can control the size of
your brush from the toolbar along the top of your screen.
Redeye The redeye tool lets you easily remove unwanted red eye from people and animals that
sometimes happen when you take photos using a flash. Tap the red areas you would like to
remove using a brush size of choice. Keep in mind, this tool removes only red hues.
Draw Tools to go free style with! Using the colour picker, and brush size options pick your pencil
style of choice to draw on your image. Made an error? Click the Eraser button to erase any of
your doodling, leaving the image underneath unaffected.
Splash Use this tool to create a black and white image that contains a single element of colour. After
selecting the splash tool, the image will automatically convert to black and white. Then use
the following options along with a chosen brush size to re-instate colour in areas of your
choice:
Free colour: Bring back the colour from your original image as you apply the brush.
Smart colour: Bring back a single tone of colour, picked by the editor.
Made an error? Use the Eraser button to erase any of your changes leaving the image
underneath unaffected.
Text Use this tool to add text to your images. You can control the colour and font style using the
toolbar along the top of the screen and control the size and rotation by dragging the handle in
the lower right corner. NB: Once applied, text becomes part of the image and is not re-
editable.

4
Meme Start your own viral! A meme is basically an amusingly captioned photo, often created to
share on social media. Whilst you could create a meme using the Text tool, this option
automatically uses the text style usually associated with memes. Enter the text you want in
the top and/or bottom text input boxes. NB: Once applied, text becomes part of the image
and is not re-editable.
Within any editing window you can also make use of these tools:
Zoom Use the zoom tool to magnify your work. This won’t affect the size of your image, just gives you a closer
view for fiddly edits. Simply slide the handle to the right to get closer to your image.
Undo and Redo Bottom left of every editing window, the undo arrow button becomes active when you click ‘Apply’ having
made an edit. The redo arrow becomes active whenever you have used the undo button.
Apply, Cancel & Save options
Whenever editing an image:
Click the Apply button to apply the changes you’re working on. This takes you back to the main
Image Editor window where you can choose another editing tool, save changes, or cancel any editing
done since you last opened the Image Editor.
Click the Cancel button to close the editing tool that you have open, without saving changes.
When you are ready to save changes to your image:
Click the Save button and you image is re-saved as a brand new file with a new name in the same
folder that your original was saved in. The Image Editor window will automatically close at this point.
If you wish to cancel any editing done to your image since you last opened the Image Editor:
Exit using the Close (x) button in the top right hand corner to return to the Images panel.

5
Get the app
In addition to the Image Editor available within your NewZapp account you can download it to your smart
phone so you can make your edits to your photos on the go. The Aviary Image Editor is available for both
iOS and Android and is free to download.
For more information on getting the most from your NewZapp account, visit our Help Centre or contact us