hipath 500 hipath 2000 hipath 3000 hipath 5000 optipoint
TRANSCRIPT
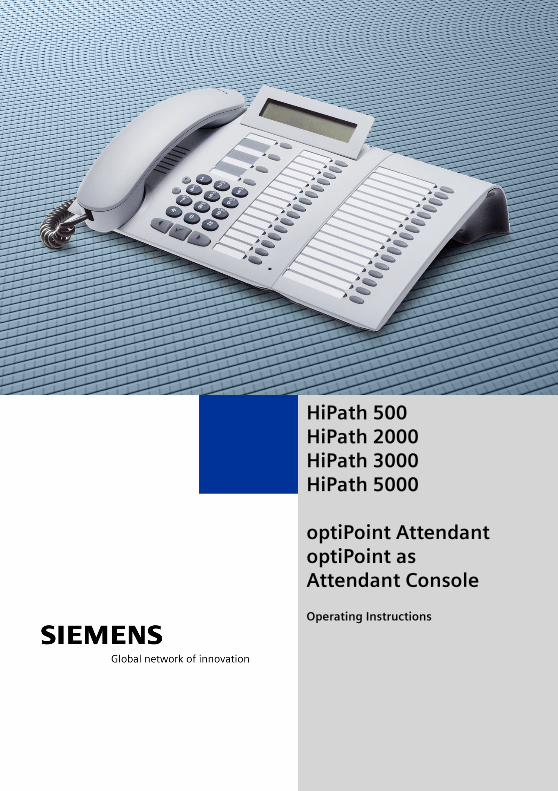
HiPath 500HiPath 2000HiPath 3000 HiPath 5000
optiPoint AttendantoptiPoint asAttendant Console
Operating Instructions
2
Before You BeginThese operating instructions describe the telephone configured as a "optiPoint Attendant" attendant console on your HiPath 500, HiPath 2000 and HiPath 3000 / 5000.
System telephones optiPoint 500 economy/basic/standard/advance (not in HiPath 2000), optiPoint 410 economy/economy plus/standard/advance, optiPoint 420 economy/economy plus/standard/advance (not in HiPath 500) and optiPoint 600 office can be set up as optiPoint Attendant. These instructions describe how to operate with an optiPoint 500 telephone. Operation with optiPoint 600 office may differ slightly; for more information, please refer to the oper-ating instructions for optiPoint 600 office.
These operating instructions describe only specially configured functions. For information on standard telephone functions, please refer to the operating instructions for your tele-phone.You may find that some functions you wish to use are not available on your telephone. This may be due to one of the following reasons:• The function has not been configured for your telephone - address any questions to
Customer Support.• Your communications platform does not support this function - contact your Siemens
sales representative to upgrade your system.
CE (customer equipment) does not continue to support emergency dialing after loss of mains power, if battery back up and power fail switchover to emergency analogue phones is not available.
The information provided in this document contains merely general descriptions or char-acteristics of performance which in case of actual use do not always apply as described or which may change as a result of further development of the products. An obligation to provide the respective characteristics shall only exist if expressly agreed in the terms of contract.The trademarks used are owned by Siemens AG or their respective owners.
Basic Functions
Contents
Contents
Before You Begin. . . . . . . . . . . . . . . . . . . . . . . . . . . . . . 2
Basic Functions
Basic operating instructions . . . . . . . . . . . . . . . . . . . . 5optiPoint Attendant control panel . . . . . . . . . . . . . . . . . . . . . . . . . . . . . . 5How to Use these Operating Instructions . . . . . . . . . . . . . . . . . . . . . . . . 6
Answering Calls. . . . . . . . . . . . . . . . . . . . . . . . . . . . . . . 7Internal calls. . . . . . . . . . . . . . . . . . . . . . . . . . . . . . . . . . . . . . . . . . . . . . . 7External calls . . . . . . . . . . . . . . . . . . . . . . . . . . . . . . . . . . . . . . . . . . . . . . 8Recall . . . . . . . . . . . . . . . . . . . . . . . . . . . . . . . . . . . . . . . . . . . . . . . . . . . . 9Intercept . . . . . . . . . . . . . . . . . . . . . . . . . . . . . . . . . . . . . . . . . . . . . . . . . 9Using Call Waiting . . . . . . . . . . . . . . . . . . . . . . . . . . . . . . . . . . . . . . . . . 10
Accepting a second external call . . . . . . . . . . . . . . . . . . . . . . . . . . . 10Accepting a second internal call . . . . . . . . . . . . . . . . . . . . . . . . . . . . . . 11
Ending second call and resuming first call . . . . . . . . . . . . . . . . . . . . 11Switching to the party on hold (toggle) . . . . . . . . . . . . . . . . . . . . . . 12Deactivating and reactivating call waiting . . . . . . . . . . . . . . . . . . . . 12
Ending the Current Call. . . . . . . . . . . . . . . . . . . . . . . . 13
Making Calls. . . . . . . . . . . . . . . . . . . . . . . . . . . . . . . . . 14Making internal calls . . . . . . . . . . . . . . . . . . . . . . . . . . . . . . . . . . . . . . . 14Making external calls . . . . . . . . . . . . . . . . . . . . . . . . . . . . . . . . . . . . . . . 14Dialing from the Internal Phone Book . . . . . . . . . . . . . . . . . . . . . . . . . . 15
Transferring a Call . . . . . . . . . . . . . . . . . . . . . . . . . . . . 16...after a speaker call (announcement) to a group . . . . . . . . . . . . . . . . . 17
Basic Key Functions . . . . . . . . . . . . . . . . . . . . . . . . . . 18Using night answer . . . . . . . . . . . . . . . . . . . . . . . . . . . . . . . . . . . . . . . . 18Displaying Number of Waiting Calls/Overload. . . . . . . . . . . . . . . . . . . . 19Busy Override - Interrupting a Call. . . . . . . . . . . . . . . . . . . . . . . . . . . . . 19Placing External Calls on Hold . . . . . . . . . . . . . . . . . . . . . . . . . . . . . . . . 20
3
Contents
Using Other Functions. . . . . . . . . . . . . . . . . . . . . . . . .21
Special Functions
Releasing a Busy Trunk . . . . . . . . . . . . . . . . . . . . . . .22
Transferring or Switching anUndialed External Trunk . . . . . . . . . . . . . . . . . . . . . . .23
Toll Fraud Monitoring . . . . . . . . . . . . . . . . . . . . . . . . .24
Call Detail Recording CDR . . . . . . . . . . . . . . . . . . . . .25CDR per Station (Not for U.S.). . . . . . . . . . . . . . . . . . . . . . . . . . . . . . . . 26CDR per Trunk (Not for U.S.) . . . . . . . . . . . . . . . . . . . . . . . . . . . . . . . . . 27CDR Central (Not for U.S.). . . . . . . . . . . . . . . . . . . . . . . . . . . . . . . . . . . 28Call Charge Factor (Not for U.S.) . . . . . . . . . . . . . . . . . . . . . . . . . . . . . . 29ISDN Unit (Not for U.S.). . . . . . . . . . . . . . . . . . . . . . . . . . . . . . . . . . . . . 30Call Log . . . . . . . . . . . . . . . . . . . . . . . . . . . . . . . . . . . . . . . . . . . . . . . . . 31CDRA Pay Phone (Not for U.S.). . . . . . . . . . . . . . . . . . . . . . . . . . . . . . . 32
All About Your Telephone
Documentation . . . . . . . . . . . . . . . . . . . . . . . . . . . . . . .33
Index. . . . . . . . . . . . . . . . . . . . . . . . . . . . . . . . . . . . . . . .34
4
Basic operating instructions
Basic operating instructions
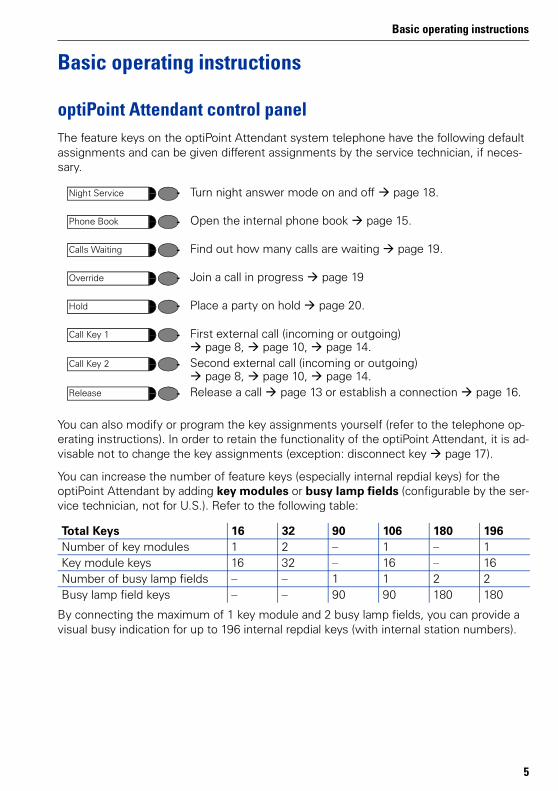
optiPoint Attendant control panelThe feature keys on the optiPoint Attendant system telephone have the following default assignments and can be given different assignments by the service technician, if neces-sary.
You can also modify or program the key assignments yourself (refer to the telephone op-erating instructions). In order to retain the functionality of the optiPoint Attendant, it is ad-visable not to change the key assignments (exception: disconnect key page 17).
You can increase the number of feature keys (especially internal repdial keys) for the optiPoint Attendant by adding key modules or busy lamp fields (configurable by the ser-vice technician, not for U.S.). Refer to the following table:
By connecting the maximum of 1 key module and 2 busy lamp fields, you can provide a visual busy indication for up to 196 internal repdial keys (with internal station numbers).
Turn night answer mode on and off page 18.
Open the internal phone book page 15.
Find out how many calls are waiting page 19.
Join a call in progress page 19
Place a party on hold page 20.
First external call (incoming or outgoing) page 8, page 10, page 14.
Second external call (incoming or outgoing) page 8, page 10, page 14.
Release a call page 13 or establish a connection page 16.
Night Service
Phone Book
Calls Waiting
Override
Hold
Call Key 1
Call Key 2
Release
Total Keys 16 32 90 106 180 196Number of key modules 1 2 – 1 – 1Key module keys 16 32 – 16 – 16Number of busy lamp fields – – 1 1 2 2Busy lamp field keys – – 90 90 180 180
5
Step by Step
Basic operating instructions
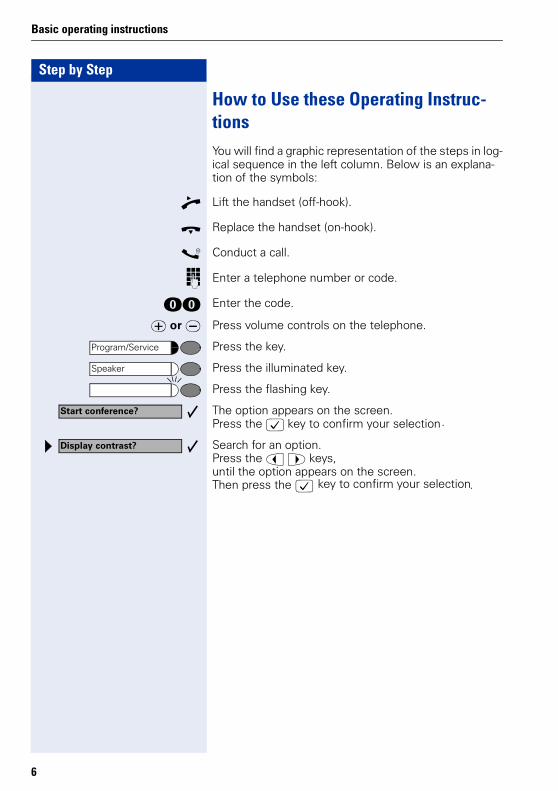
How to Use these Operating Instruc-tionsYou will find a graphic representation of the steps in log-ical sequence in the left column. Below is an explana-tion of the symbols:
n Lift the handset (off-hook).
t Replace the handset (on-hook).
s Conduct a call.
o Enter a telephone number or code.
dd Enter the code.
u or v Press volume controls on the telephone.
Press the key.
Press the illuminated key.
Press the flashing key.
The option appears on the screen.Press the : key to confirm your selection.
Search for an option. Press the < > keys, until the option appears on the screen.Then press the : key to confirm your selection.
Program/Service
Speaker
Start conference?
Display contrast?
6
Answering Calls
Step by Step
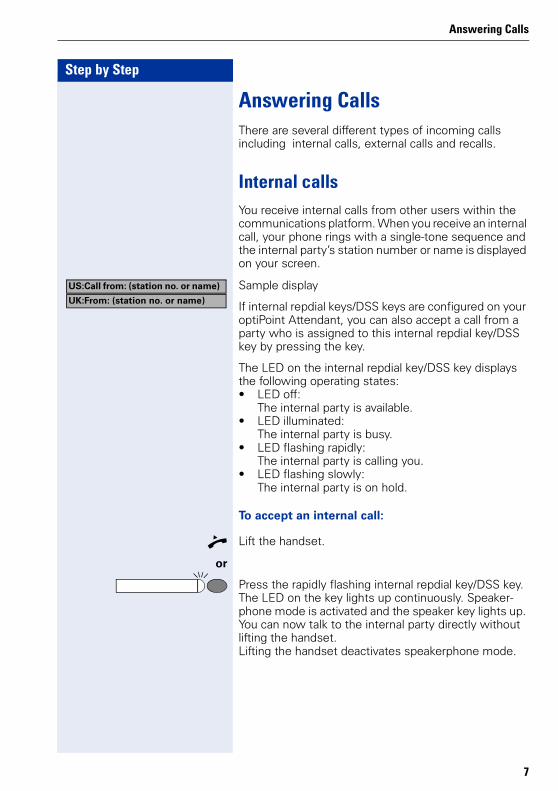
Answering CallsThere are several different types of incoming calls including internal calls, external calls and recalls.
Internal callsYou receive internal calls from other users within the communications platform. When you receive an internal call, your phone rings with a single-tone sequence and the internal party’s station number or name is displayed on your screen.
Sample display
If internal repdial keys/DSS keys are configured on your optiPoint Attendant, you can also accept a call from a party who is assigned to this internal repdial key/DSS key by pressing the key.
The LED on the internal repdial key/DSS key displays the following operating states:• LED off:
The internal party is available.• LED illuminated:
The internal party is busy.• LED flashing rapidly:
The internal party is calling you.• LED flashing slowly:
The internal party is on hold.
To accept an internal call:
n Lift the handset.
or
Press the rapidly flashing internal repdial key/DSS key. The LED on the key lights up continuously. Speaker-phone mode is activated and the speaker key lights up. You can now talk to the internal party directly without lifting the handset.Lifting the handset deactivates speakerphone mode.
US:Call from: (station no. or name)
UK:From: (station no. or name)
7

Step by Step
Answering Calls
External callsYou receive external calls from all parties who are not calling from within your communications platform. When you receive an external call, your telephone rings with a dual-tone sequence and the LED on Call Key 1 or Call Key 2 starts flashing rapidly. The external party’s phone number or name is displayed on the screen.
Sample display
The two keys labeled "Call Key 1" and "Call Key 2" are configured on your optiPoint Attendant. They give you information about the status of external calls, and you can use them to answer external calls.
The LEDs on the call keys display the following operat-ing states:• LED off:
No external call is pending.• LED illuminated:
You are speaking to the external party.• LED flashing rapidly:
An external party is calling you.• LED flashing slowly:
The external party is on hold.
To accept an external call:
n Lift the handset.
or
or
Press the rapidly flashing "Call Key 1" or "Call Key 2". The LED on the key lights up continuously. Speaker-phone mode is activated and the speaker key lights up. You can now talk to the external party directly without lifting the handset.To deactivate speakerphone mode, lift the handset.
US:Call from: (station no. or name)
UK:From: (station no. or name)
Call Key 1
Call Key 2
8
Answering Calls
Step by Step
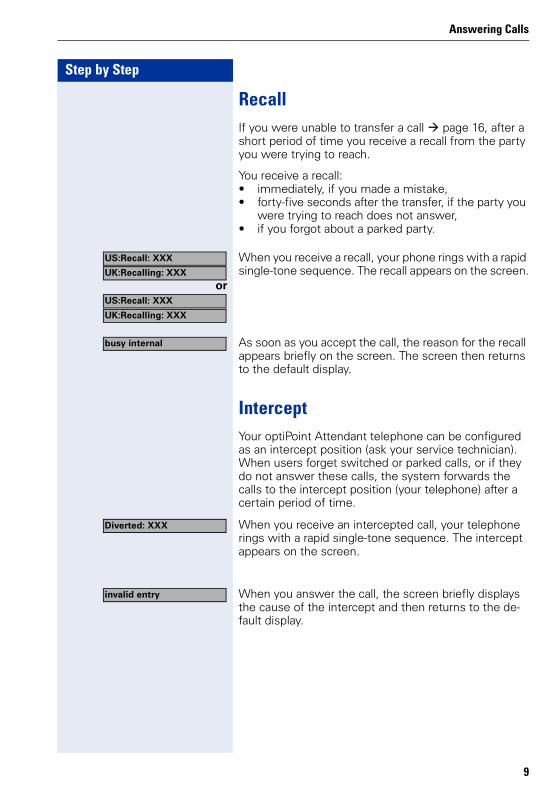
RecallIf you were unable to transfer a call page 16, after a short period of time you receive a recall from the party you were trying to reach.
You receive a recall:• immediately, if you made a mistake,• forty-five seconds after the transfer, if the party you
were trying to reach does not answer,• if you forgot about a parked party.
When you receive a recall, your phone rings with a rapid single-tone sequence. The recall appears on the screen.
or
As soon as you accept the call, the reason for the recall appears briefly on the screen. The screen then returns to the default display.
InterceptYour optiPoint Attendant telephone can be configured as an intercept position (ask your service technician). When users forget switched or parked calls, or if they do not answer these calls, the system forwards the calls to the intercept position (your telephone) after a certain period of time.
When you receive an intercepted call, your telephone rings with a rapid single-tone sequence. The intercept appears on the screen.
When you answer the call, the screen briefly displays the cause of the intercept and then returns to the de-fault display.
US:Recall: XXX
UK:Recalling: XXX
US:Recall: XXX
UK:Recalling: XXX
busy internal
Diverted: XXX
invalid entry
9
Step by Step
Answering Calls
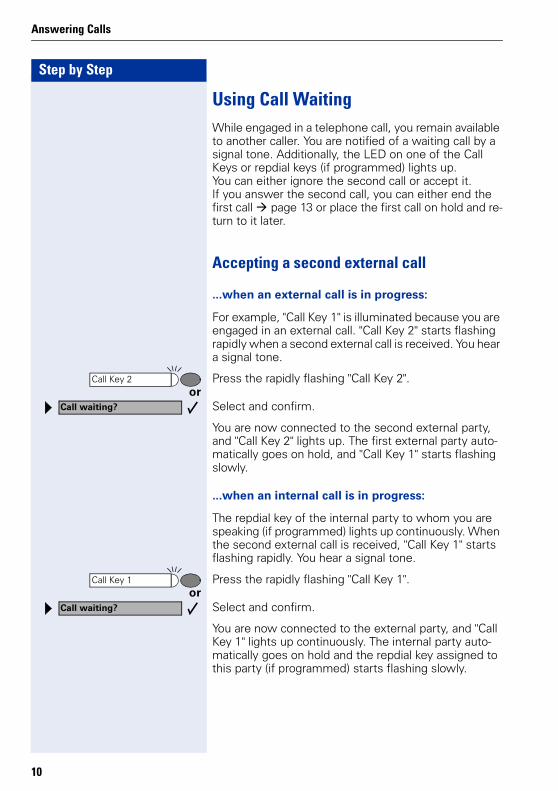
Using Call WaitingWhile engaged in a telephone call, you remain available to another caller. You are notified of a waiting call by a signal tone. Additionally, the LED on one of the Call Keys or repdial keys (if programmed) lights up. You can either ignore the second call or accept it.If you answer the second call, you can either end the first call page 13 or place the first call on hold and re-turn to it later.
Accepting a second external call
...when an external call is in progress:
For example, "Call Key 1" is illuminated because you are engaged in an external call. "Call Key 2" starts flashing rapidly when a second external call is received. You hear a signal tone.
Press the rapidly flashing "Call Key 2". or
Select and confirm.
You are now connected to the second external party, and "Call Key 2" lights up. The first external party auto-matically goes on hold, and "Call Key 1" starts flashing slowly.
...when an internal call is in progress:
The repdial key of the internal party to whom you are speaking (if programmed) lights up continuously. When the second external call is received, "Call Key 1" starts flashing rapidly. You hear a signal tone.
Press the rapidly flashing "Call Key 1". or
Select and confirm.
You are now connected to the external party, and "Call Key 1" lights up continuously. The internal party auto-matically goes on hold and the repdial key assigned to this party (if programmed) starts flashing slowly.
Call Key 2
Call waiting?
Call Key 1
Call waiting?
10

Answering Calls
Step by Step
Accepting a second internal call...when an external call is in progress:
For example, "Call Key 1" is illuminated because you are engaged in an external call. When the second internal call is received the repdial key assigned to the internal party (if programmed) starts flashing. You hear a signal tone.
Press the rapidly flashing internal repdial key/DSS key (if programmed).
orSelect and confirm.
You are now connected to the internal party and the in-ternal repdial key/DSS key lights up. The external party automatically goes on hold and "Call Key 1" starts flash-ing slowly.
...when an internal call is in progress:
The repdial key of the internal party to whom you are speaking (if programmed) lights up continuously. When the second internal call is received the repdial key as-signed to the calling internal party (if programmed) starts flashing. You hear a signal tone.
Press the rapidly flashing internal repdial key/DSS key (if programmed).
orSelect and confirm.
You are now connected to the internal party and the rep-dial key/DSS key lights up. The first internal party auto-matically goes on hold, and the repdial key assigned to this party starts flashing slowly.
Ending second call and resuming first callPress the key.
orConfirm.
or
Call waiting?
Call waiting?
Release
Quit and return?
Return to held call?
11
Step by Step
Answering Calls
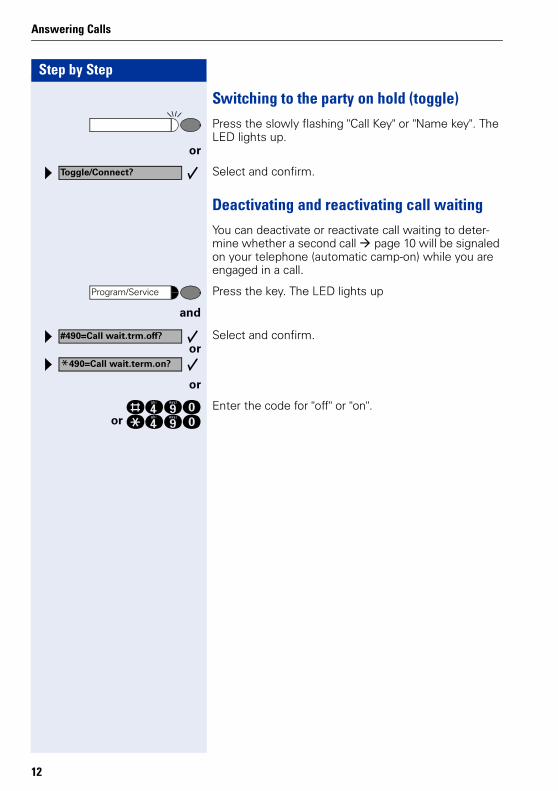
Switching to the party on hold (toggle)Press the slowly flashing "Call Key" or "Name key". The LED lights up.
or
Select and confirm.
Deactivating and reactivating call waitingYou can deactivate or reactivate call waiting to deter-mine whether a second call page 10 will be signaled on your telephone (automatic camp-on) while you are engaged in a call.
Press the key. The LED lights up
and
Select and confirm.or
or
rhmdor qhmd
Enter the code for "off" or "on".
Toggle/Connect?
Program/Service
#490=Call wait.trm.off?
*490=Call wait.term.on?
12
Ending the Current Call
Step by Step
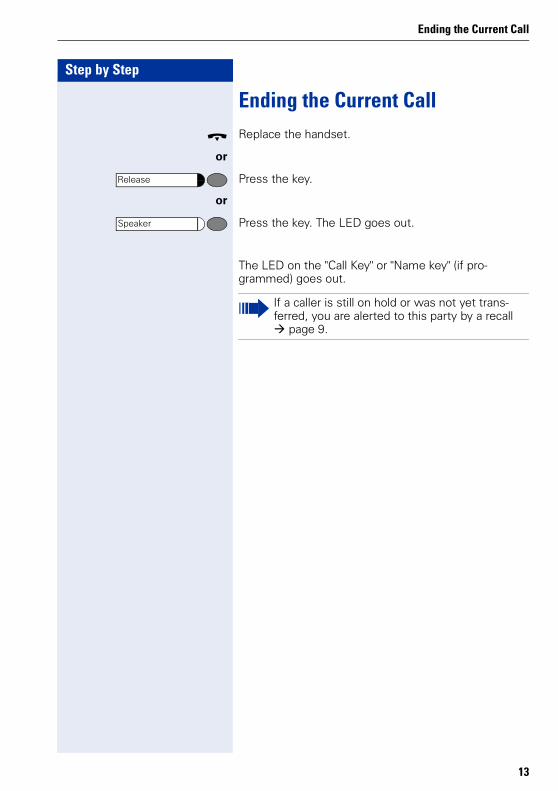
Ending the Current Callt Replace the handset.
or
Press the key.
or
Press the key. The LED goes out.
The LED on the "Call Key" or "Name key" (if pro-grammed) goes out.
Release
Speaker
If a caller is still on hold or was not yet trans-ferred, you are alerted to this party by a recall
page 9.
13
Step by Step
Making Calls
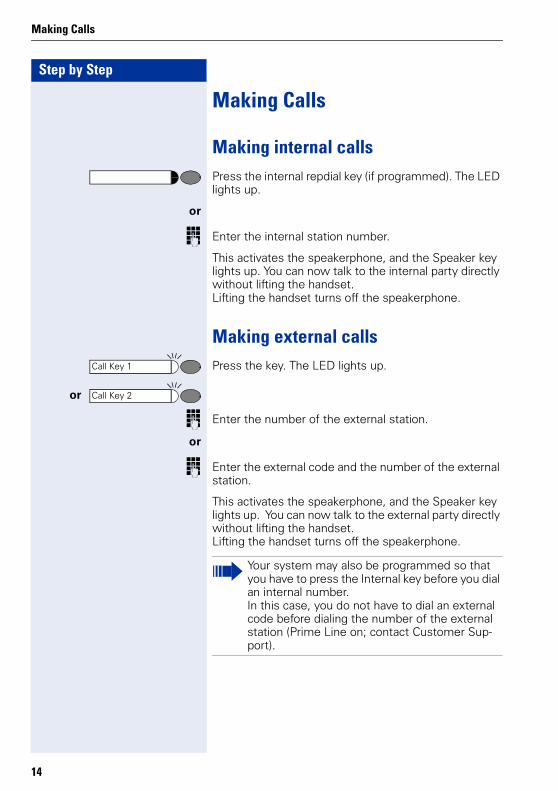
Making Calls
Making internal callsPress the internal repdial key (if programmed). The LED lights up.
or
o Enter the internal station number.
This activates the speakerphone, and the Speaker key lights up. You can now talk to the internal party directly without lifting the handset.Lifting the handset turns off the speakerphone.
Making external calls
or
Press the key. The LED lights up.
o Enter the number of the external station.
or
o Enter the external code and the number of the external station.
This activates the speakerphone, and the Speaker key lights up. You can now talk to the external party directly without lifting the handset.Lifting the handset turns off the speakerphone.
Call Key 1
Call Key 2
Your system may also be programmed so that you have to press the Internal key before you dial an internal number.In this case, you do not have to dial an external code before dialing the number of the external station (Prime Line on; contact Customer Sup-port).
14
Making Calls
Step by Step
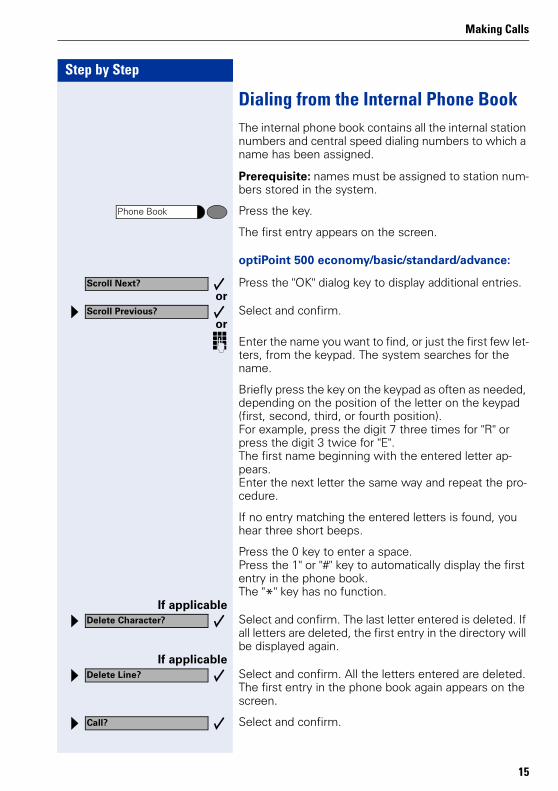
Dialing from the Internal Phone BookThe internal phone book contains all the internal station numbers and central speed dialing numbers to which a name has been assigned.
Prerequisite: names must be assigned to station num-bers stored in the system.
Press the key.
The first entry appears on the screen.
optiPoint 500 economy/basic/standard/advance:
Press the "OK" dialog key to display additional entries.or
Select and confirm.or
o Enter the name you want to find, or just the first few let-ters, from the keypad. The system searches for the name.
Briefly press the key on the keypad as often as needed, depending on the position of the letter on the keypad (first, second, third, or fourth position). For example, press the digit 7 three times for "R" or press the digit 3 twice for "E". The first name beginning with the entered letter ap-pears. Enter the next letter the same way and repeat the pro-cedure.
If no entry matching the entered letters is found, you hear three short beeps.
Press the 0 key to enter a space.Press the 1" or "#" key to automatically display the first entry in the phone book. The "*" key has no function.
If applicableSelect and confirm. The last letter entered is deleted. If all letters are deleted, the first entry in the directory will be displayed again.
If applicableSelect and confirm. All the letters entered are deleted. The first entry in the phone book again appears on the screen.
Select and confirm.
Phone Book
Scroll Next?
Scroll Previous?
Delete Character?
Delete Line?
Call?
15
Step by Step
Transferring a Call
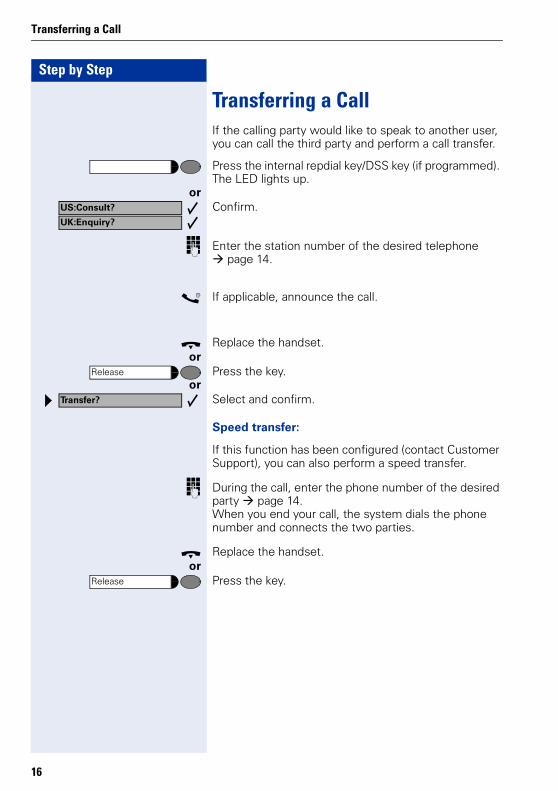
Transferring a CallIf the calling party would like to speak to another user, you can call the third party and perform a call transfer.
Press the internal repdial key/DSS key (if programmed). The LED lights up.
orConfirm.
o Enter the station number of the desired telephone page 14.
s If applicable, announce the call.
t Replace the handset.or
Press the key.or
Select and confirm.
Speed transfer:
If this function has been configured (contact Customer Support), you can also perform a speed transfer.
o During the call, enter the phone number of the desired party page 14.When you end your call, the system dials the phone number and connects the two parties.
t Replace the handset.or
Press the key.
US:Consult?
UK:Enquiry?
Release
Transfer?
Release
16

Transferring a Call
Step by Step
...after a speaker call (announcement) to a groupIf this function has been configured (contact Customer Support), you can use a speaker call (announcement) to announce a call in progress to a group of users.After a member of the group has accepted the call re-quest, you can transfer the waiting party.
Prerequisite: you must be engaged in a call.
Confirm. The other party is placed on hold.
Press the key. The LED lights up.
Select and confirm.or
qld Enter the code.
o Enter the group’s station number.
s Announce the call.When a member of the group accepts the call, you are connected to this party.
t Replace the handset.or
Press the key.or
Select and confirm.
US:Consult?
UK:Enquiry?
Program/Service
*80=Speaker call?
Release
Transfer?
If the party you would like to consult is busy and you have set up the disconnect function on a key (refer to the telephone operating instructions), you can press this key to return immediately to the dialing status and dial another number for a consultation call. The first party continues to be on hold.
If a connection is not set up between the other two parties within forty-five seconds, the call from the original party is returned to you (= re-call).
17
Step by Step
Basic Key Functions
Basic Key Functions
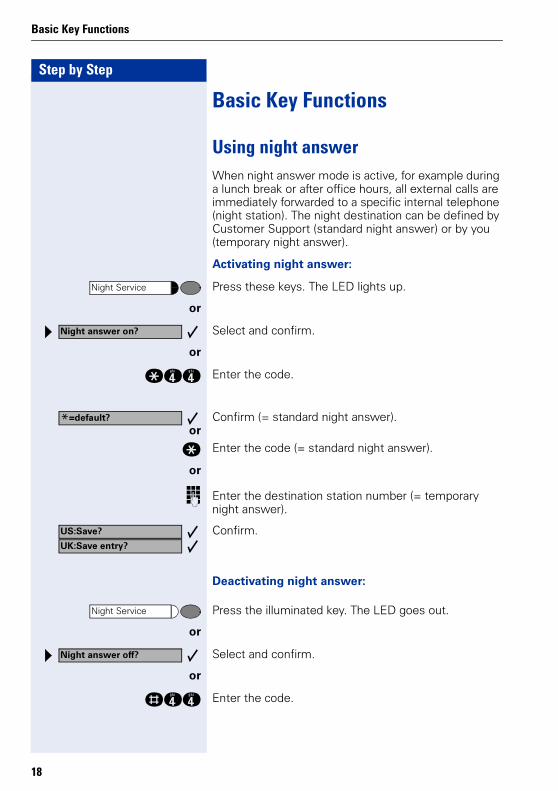
Using night answerWhen night answer mode is active, for example during a lunch break or after office hours, all external calls are immediately forwarded to a specific internal telephone (night station). The night destination can be defined by Customer Support (standard night answer) or by you (temporary night answer).
Activating night answer:
Press these keys. The LED lights up.
or
Select and confirm.
or
qhh Enter the code.
Confirm (= standard night answer).or
q Enter the code (= standard night answer).
or
o Enter the destination station number (= temporary night answer).
Confirm.
Deactivating night answer:
Press the illuminated key. The LED goes out.
or
Select and confirm.
or
rhh Enter the code.
Night Service
Night answer on?
*=default?
US:Save?
UK:Save entry?
Night Service
Night answer off?
18
Basic Key Functions
Step by Step
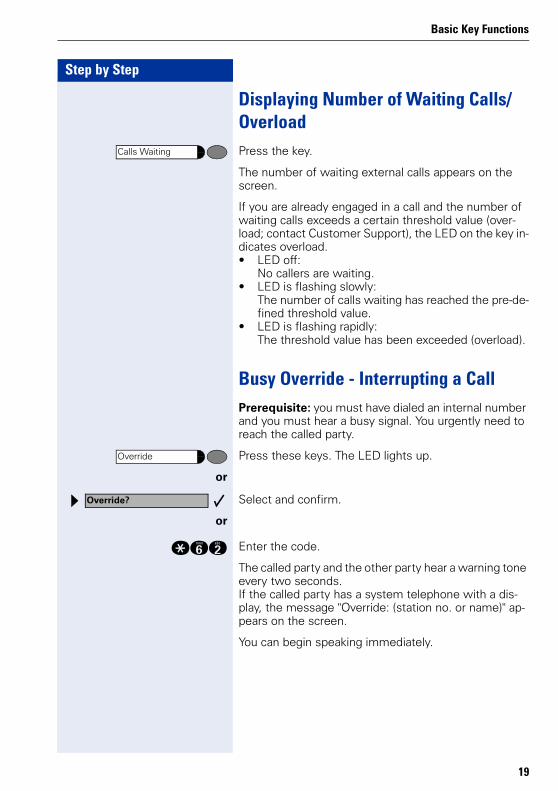
Displaying Number of Waiting Calls/OverloadPress the key.
The number of waiting external calls appears on the screen.
If you are already engaged in a call and the number of waiting calls exceeds a certain threshold value (over-load; contact Customer Support), the LED on the key in-dicates overload.• LED off:
No callers are waiting.• LED is flashing slowly:
The number of calls waiting has reached the pre-de-fined threshold value.
• LED is flashing rapidly:The threshold value has been exceeded (overload).
Busy Override - Interrupting a CallPrerequisite: you must have dialed an internal number and you must hear a busy signal. You urgently need to reach the called party.
Press these keys. The LED lights up.
or
Select and confirm.
or
qjf Enter the code.
The called party and the other party hear a warning tone every two seconds.If the called party has a system telephone with a dis-play, the message "Override: (station no. or name)" ap-pears on the screen.
You can begin speaking immediately.
Calls Waiting
Override
Override?
19
Step by Step
Basic Key Functions
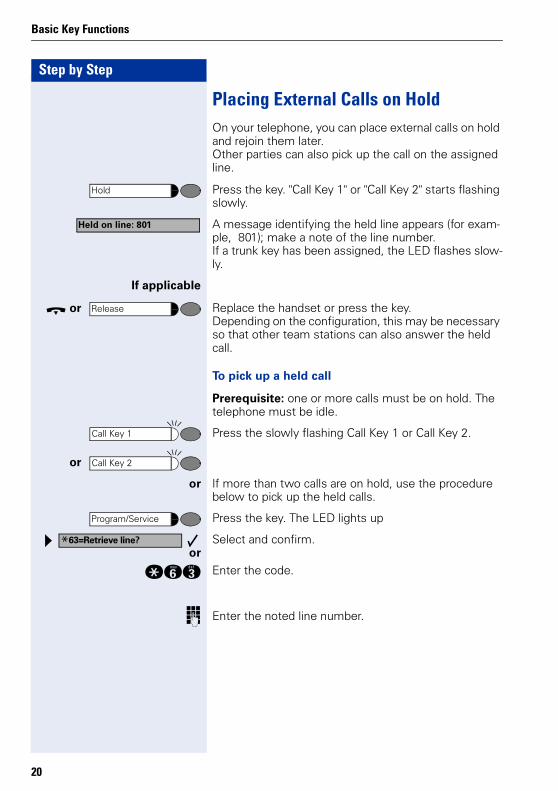
Placing External Calls on HoldOn your telephone, you can place external calls on hold and rejoin them later. Other parties can also pick up the call on the assigned line.
Press the key. "Call Key 1" or "Call Key 2" starts flashing slowly.
A message identifying the held line appears (for exam-ple, 801); make a note of the line number. If a trunk key has been assigned, the LED flashes slow-ly.
If applicable
t or Replace the handset or press the key.Depending on the configuration, this may be necessary so that other team stations can also answer the held call.
To pick up a held call
Prerequisite: one or more calls must be on hold. The telephone must be idle.
or
Press the slowly flashing Call Key 1 or Call Key 2.
or If more than two calls are on hold, use the procedure below to pick up the held calls.
Press the key. The LED lights up
Select and confirm.or
qjg Enter the code.
o Enter the noted line number.
Hold
Held on line: 801
Release
Call Key 1
Call Key 2
Program/Service
*63=Retrieve line?
20
Using Other Functions
Step by Step
Using Other FunctionsThe following are functions that you will frequently need on the Hicom Attendant C telephone.Because you can also use these functions from any oth-er system telephone, these instructions will simply re-fer to the relevant section in the operating instructions for your telephone.
• Place speaker call to a colleague• Place call to second station (consultation hold)• Park a call• Conduct a conference• Activate functions for another telephone• Lock another telephone to prevent unauthorized use• Display call charges for your telephone (not for U.S.)• Display call charges for another telephone (not for
U.S.)
Special Functions
21
Step by Step
Releasing a Busy Trunk
Releasing a Busy TrunkIf this function has been configured (contact Customer Support), you can release busy external trunks. Active calls on that trunk are disconnected. The trunk is free again and can be used for other external calls.
Press the key. The LED lights up.
If applicableSelect and confirm (HiPath 4000 environment).
Select and confirm.or
qhg Enter the code.
Select the desired trunk.
Confirm(optiPoint 500 economy/basic/standard/advance).
Select and confirm..
Program/Service
More features?
*43=Release trunk?
Next?
Release?
22
Transferring or Switching an Undialed External Trunk
Step by Step
Transferring or Switching anUndialed External TrunkYou can provide an undialed trunk for an internal party who does not have the necessary class of service for outgoing external connection setup. This party can then set up an external connection.
Prerequisite: you must be conducting a call with a user who does not have the correct class of service.
Select and confirm.
The waiting party can now set up the external call inde-pendently. Dial the external code and the external num-ber.
Your system may also be programmed so that you do not have to dial an external code before dialing the num-ber of the external station (Prime Line on; contact Cus-tomer Support).
Transfer trunk?
23
Step by Step
Toll Fraud Monitoring
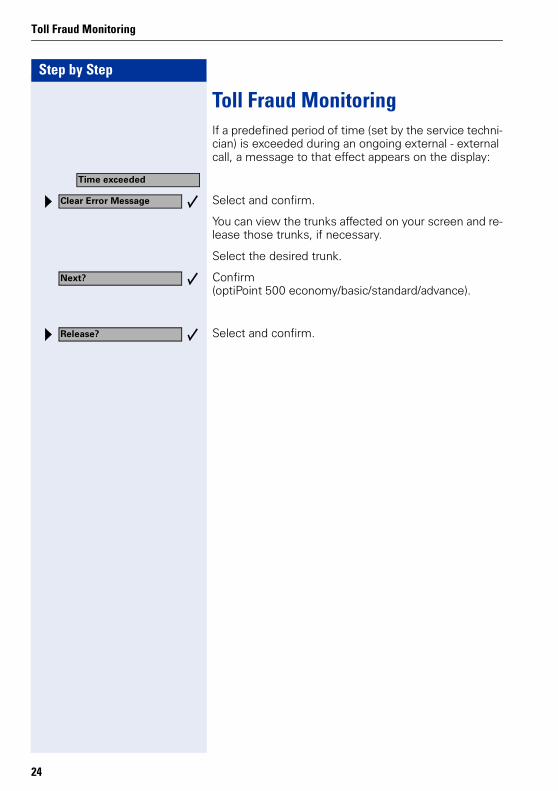
Toll Fraud MonitoringIf a predefined period of time (set by the service techni-cian) is exceeded during an ongoing external - external call, a message to that effect appears on the display:
Select and confirm.
You can view the trunks affected on your screen and re-lease those trunks, if necessary.
Select the desired trunk.
Confirm (optiPoint 500 economy/basic/standard/advance).
Select and confirm.
Time exceeded
Clear Error Message
Next?
Release?
24
Call Detail Recording CDR
Step by Step
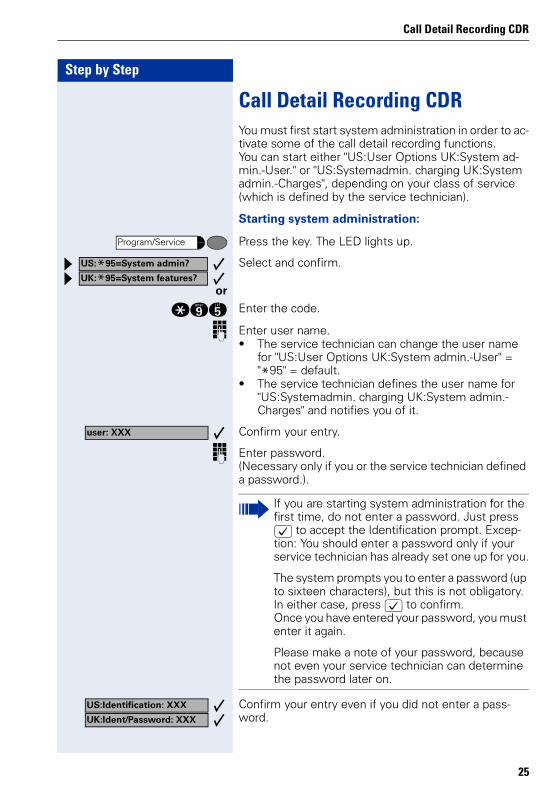
Call Detail Recording CDRYou must first start system administration in order to ac-tivate some of the call detail recording functions.You can start either "US:User Options UK:System ad-min.-User." or "US:Systemadmin. charging UK:System admin.-Charges", depending on your class of service (which is defined by the service technician).
Starting system administration:
Press the key. The LED lights up.
Select and confirm.
or
qmi Enter the code.
o Enter user name. • The service technician can change the user name
for "US:User Options UK:System admin.-User" = "*95" = default.
• The service technician defines the user name for "US:Systemadmin. charging UK:System admin.-Charges" and notifies you of it.
Confirm your entry.
o Enter password.(Necessary only if you or the service technician defined a password.).
Confirm your entry even if you did not enter a pass-word.
Program/Service
US:*95=System admin?
UK:*95=System features?
user: XXX
If you are starting system administration for the first time, do not enter a password. Just press : to accept the Identification prompt. Excep-tion: You should enter a password only if your service technician has already set one up for you.
The system prompts you to enter a password (up to sixteen characters), but this is not obligatory.In either case, press : to confirm.Once you have entered your password, you must enter it again.
Please make a note of your password, because not even your service technician can determine the password later on.
US:Identification: XXX
UK:Ident/Password: XXX
25

Step by Step
Call Detail Recording CDR
System administration is started and the available func-tions appear on the screen.
To end system administration
You can cancel system administration at any time. The system discards any unconfirmed entries or changes.
Press the key. The LED goes out.
CDR per Station (Not for U.S.)You can display the call charges that accrue for each telephone as a monetary amount and also delete them if necessary. If a printer is connected to the V.24 interface, you can also print the call charges.
Prerequisite: you must have started system adminis-tration page 25.
Select and confirm.
Confirm. or
ehe Enter the code (for "US:User Options UK:System ad-min.-User").
or
ee Enter the code (for "US:Systemadmin. charging UK:Sys-tem admin.-Charges").
Displaying and canceling call charges per station:Confirm.
or
e Enter the code.
Follow the user prompts on the screen (select station, if desired clear call charge display).
or Printing call charges for all stations:Select and confirm.
or
f Enter the code.
You can also carry out the system administration functions during a call. Once you have started system administration, no further access to sys-tem administration is possible.
Program/Service
.. CDR
1 CDR per station
1 View CDR/station
2 Print CDR/station
26
Call Detail Recording CDR
Step by Step
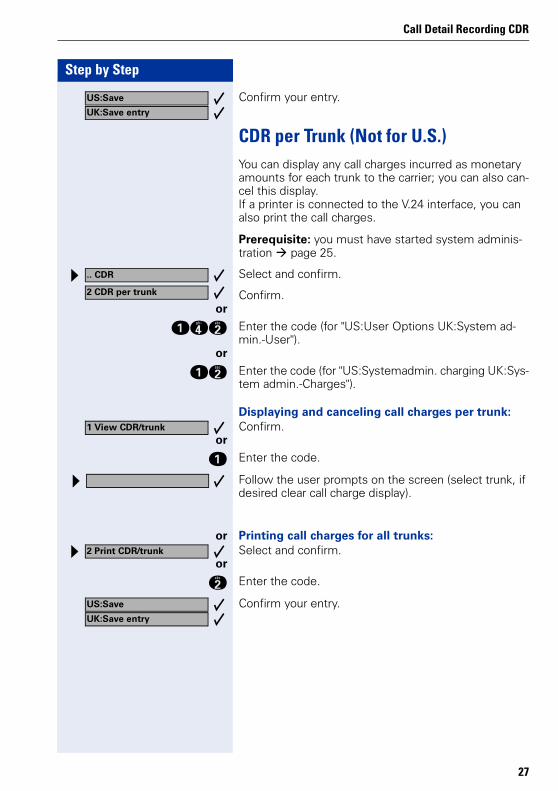
Confirm your entry.
CDR per Trunk (Not for U.S.)You can display any call charges incurred as monetary amounts for each trunk to the carrier; you can also can-cel this display.If a printer is connected to the V.24 interface, you can also print the call charges.
Prerequisite: you must have started system adminis-tration page 25.
Select and confirm.
Confirm. or
ehf Enter the code (for "US:User Options UK:System ad-min.-User").
or
ef Enter the code (for "US:Systemadmin. charging UK:Sys-tem admin.-Charges").
Displaying and canceling call charges per trunk:Confirm.
or
e Enter the code.
Follow the user prompts on the screen (select trunk, if desired clear call charge display).
or Printing call charges for all trunks:Select and confirm.
or
f Enter the code.
Confirm your entry.
US:Save
UK:Save entry
.. CDR
2 CDR per trunk
1 View CDR/trunk
2 Print CDR/trunk
US:Save
UK:Save entry
27
Step by Step
Call Detail Recording CDR
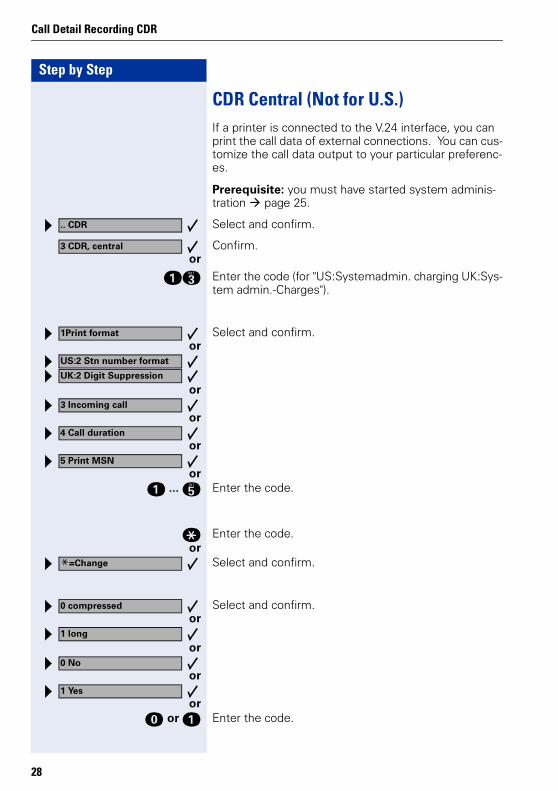
CDR Central (Not for U.S.)If a printer is connected to the V.24 interface, you can print the call data of external connections. You can cus-tomize the call data output to your particular preferenc-es.
Prerequisite: you must have started system adminis-tration page 25.
Select and confirm.
Confirm. or
eg Enter the code (for "US:Systemadmin. charging UK:Sys-tem admin.-Charges").
Select and confirm.or
or
or
or
ore ... i Enter the code.
q Enter the code.or
Select and confirm.
Select and confirm.or
or
or
ord or e Enter the code.
.. CDR
3 CDR, central
1Print format
US:2 Stn number format
UK:2 Digit Suppression
3 Incoming call
4 Call duration
5 Print MSN
*=Change
0 compressed
1 long
0 No
1 Yes
28
Call Detail Recording CDR
Step by Step
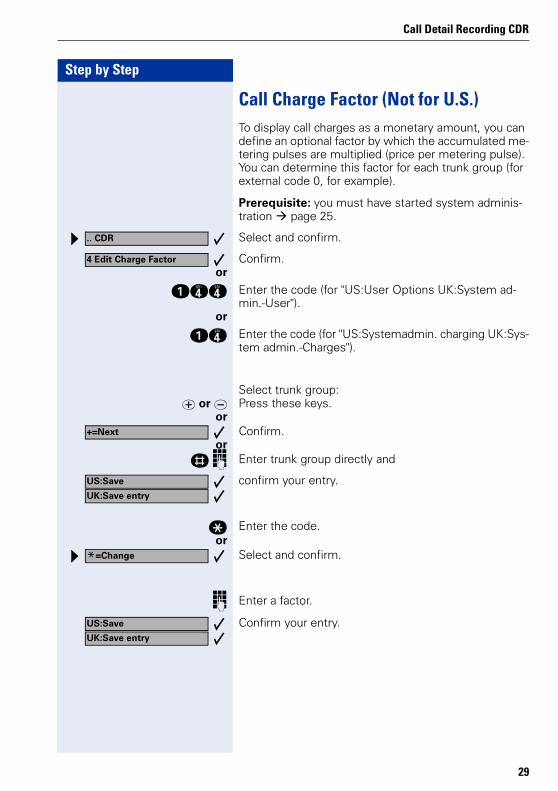
Call Charge Factor (Not for U.S.)To display call charges as a monetary amount, you can define an optional factor by which the accumulated me-tering pulses are multiplied (price per metering pulse).You can determine this factor for each trunk group (for external code 0, for example).
Prerequisite: you must have started system adminis-tration page 25.
Select and confirm.
Confirm. or
ehh Enter the code (for "US:User Options UK:System ad-min.-User").
or
eh Enter the code (for "US:Systemadmin. charging UK:Sys-tem admin.-Charges").
Select trunk group:u or v Press these keys.
orConfirm.
orr o Enter trunk group directly and
confirm your entry.
q Enter the code.or
Select and confirm.
o Enter a factor.
Confirm your entry.
.. CDR
4 Edit Charge Factor
+=Next
US:Save
UK:Save entry
*=Change
US:Save
UK:Save entry
29
Step by Step
Call Detail Recording CDR
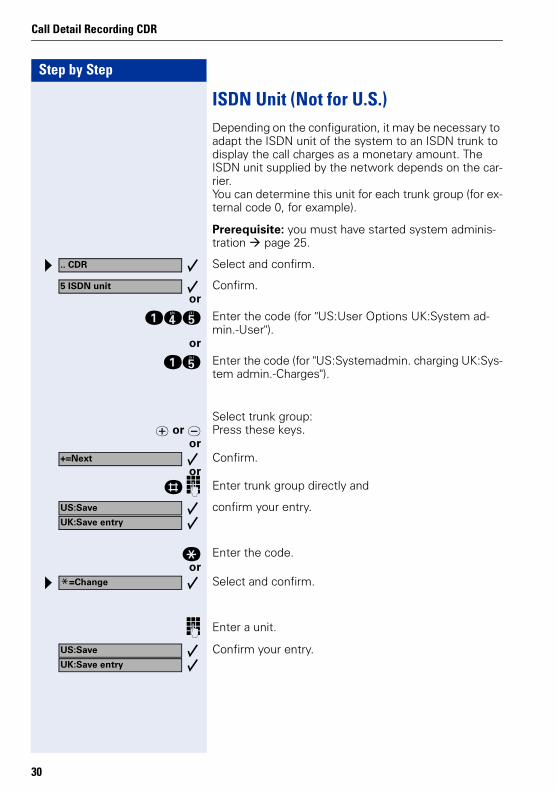
ISDN Unit (Not for U.S.)Depending on the configuration, it may be necessary to adapt the ISDN unit of the system to an ISDN trunk to display the call charges as a monetary amount. The ISDN unit supplied by the network depends on the car-rier. You can determine this unit for each trunk group (for ex-ternal code 0, for example).
Prerequisite: you must have started system adminis-tration page 25.
Select and confirm.
Confirm. or
ehi Enter the code (for "US:User Options UK:System ad-min.-User").
or
ei Enter the code (for "US:Systemadmin. charging UK:Sys-tem admin.-Charges").
Select trunk group:u or v Press these keys.
orConfirm.
orr o Enter trunk group directly and
confirm your entry.
q Enter the code.or
Select and confirm.
o Enter a unit.
Confirm your entry.
.. CDR
5 ISDN unit
+=Next
US:Save
UK:Save entry
*=Change
US:Save
UK:Save entry
30
Call Detail Recording CDR
Step by Step
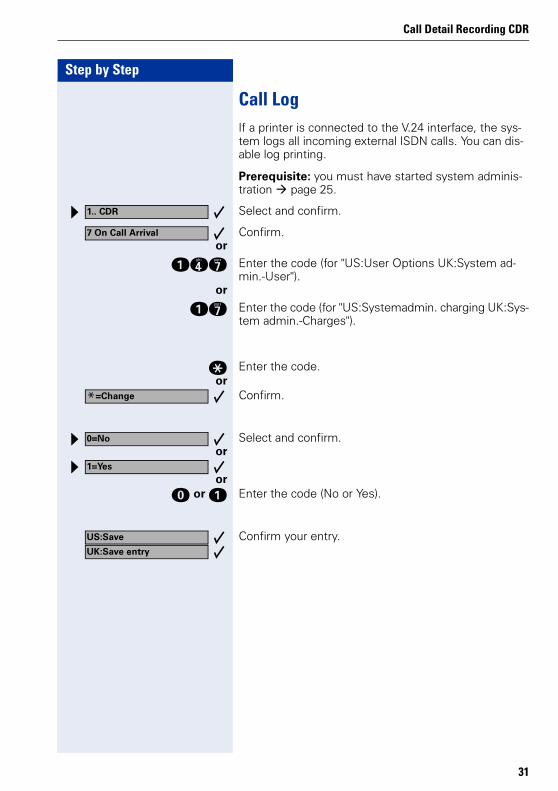
Call LogIf a printer is connected to the V.24 interface, the sys-tem logs all incoming external ISDN calls. You can dis-able log printing.
Prerequisite: you must have started system adminis-tration page 25.
Select and confirm.
Confirm. or
ehk Enter the code (for "US:User Options UK:System ad-min.-User").
or
ek Enter the code (for "US:Systemadmin. charging UK:Sys-tem admin.-Charges").
q Enter the code.or
Confirm.
Select and confirm.or
ord or e Enter the code (No or Yes).
Confirm your entry.
1.. CDR
7 On Call Arrival
*=Change
0=No
1=Yes
US:Save
UK:Save entry
31
Step by Step
Call Detail Recording CDR
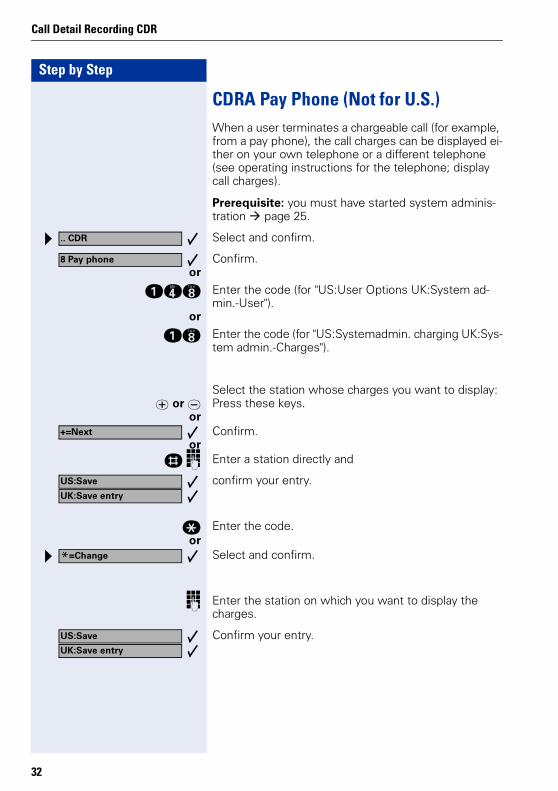
CDRA Pay Phone (Not for U.S.)When a user terminates a chargeable call (for example, from a pay phone), the call charges can be displayed ei-ther on your own telephone or a different telephone (see operating instructions for the telephone; display call charges).
Prerequisite: you must have started system adminis-tration page 25.
Select and confirm.
Confirm. or
ehl Enter the code (for "US:User Options UK:System ad-min.-User").
or
el Enter the code (for "US:Systemadmin. charging UK:Sys-tem admin.-Charges").
Select the station whose charges you want to display:u or v Press these keys.
orConfirm.
orr o Enter a station directly and
confirm your entry.
q Enter the code.or
Select and confirm.
o Enter the station on which you want to display the charges.
Confirm your entry.
All About Your Telephone
.. CDR
8 Pay phone
+=Next
US:Save
UK:Save entry
*=Change
US:Save
UK:Save entry
32

Documentation
33
DocumentationYou can find these operating instructions in the Internet in PDF format under
http://www.siemens.com/hipath
and on CD-ROM (ask System Support) in HTML and PDF format.
In order to look at and print the operating instructions in PDF format, you need a computer on which the free Acrobat Reader software package is installed by Adobe.
To look at the operating instructions in HTML format you need a computer with a www browser, e.g. Microsoft Internet Explorer.
Index
Index
Aassignment of feature keys ....................... 5automatic camp-on
deactivating/reactivating ....................... 12automatic line seizure ............................... 14
Bbusy lamp fields ........................................... 5busy override .............................................. 19
Ccall
call transfer after announcement ........ 17external ...................................................... 7internal ....................................................... 7placing on hold ........................................ 20retrieving held call .................................. 20speed transfer ........................................ 16transferring .............................................. 16
call charge factor ........................................ 29call charges
central ...................................................... 28displaying on a different telephone .... 32for another telephone ............................ 21for your telephone ................................. 21per station ............................................... 26per trunk .................................................. 27
call log .......................................................... 31call waiting
accepting ........................................... 10, 11deactivating ............................................. 12deactivating/reactivating ....................... 12external .................................................... 10internal ..................................................... 11reactivating .............................................. 12
calls in queue .............................................. 19calls, answering ............................................ 7CDR .............................................................. 25chargeable calls .......................................... 21conference .................................................. 21consultation hold ........................................ 21control panel ................................................. 5
34
Ddialing
external calls ........................................... 14from the internal phone book ............... 15internal calls ............................................ 14
dialing/making external calls .................... 14dialing/making internal calls ...................... 14disconnect function ................................... 17disconnect key ........................................... 17
Eending a call ................................................ 13external calls ................................................. 8
Ffeature key assignment .............................. 5
Iintercept ........................................................ 9internal calls .................................................. 7internal phone book ................................... 15ISDN unit ..................................................... 30
Kkey
call key ....................................................... 8internal key .............................................. 14internal repdial key/DSS key ................... 7
key module .................................................... 5keys
feature keys .............................................. 5keys, programming ...................................... 5
LLED
call key ....................................................... 8internal repdial key/DSS key ................... 7
Nnight service ................................................ 18

Index
Ooperating steps ............................................. 6overload ....................................................... 19
Ppark a call ..................................................... 21pay phone .................................................... 32phone book, internal .................................. 15placing a call on hold ................................. 20prime line on ......................................... 14, 23
Rrecall ......................................................... 9, 17release trunk ............................................... 22
Ssecond call
accepting ................................................. 10speaker call ................................................. 21speed transfer ............................................ 16switch trunk ................................................ 23symbols ......................................................... 6system administration
ending ...................................................... 26password ................................................. 25starting ..................................................... 25
system telephone lock .............................. 21system telephone lock, activating/deacti-vating ............................................................ 21
Ttelephone lock, system ............................. 21toggle ........................................................... 12toll fraud monitoring .................................. 24transfer ........................................................ 16transfer (call) ............................................... 16
after announcement .............................. 17transfer trunk .............................................. 23transferring a call ........................................ 16trunk transfer .............................................. 23
Uundialed trunk ............................................. 23user name, system administration ......... 25
Wwaiting calls ................................................. 19
35

© Siemens AG 2006Siemens CommunicationsHofmannstr. 51 • D-81359 Munich
Ref. No.: A31003-H1012-C108-11-7619
Subject to availability. Right of modification reserved. 19.01.06
www.siemens.com/hipath
The information provided in this document contains merely general de-scriptions or characteristics of performance which in case of actual use do not always apply as described or which may change as a result of further development of the products. An obligation to provide the respective characteristics shall only exist if expressly agreed in the terms of contract.The trademarks used are owned by Siemens AG or their respective own-ers.