gtl e-app user guidesoftware.gtlic.com/brochures/e_app_guide.pdf · setting up the e-app once the...
TRANSCRIPT

GTL E-App User Guide
Available on any device!

Step-by-Step User Guide
2
Welcome to Guarantee Trust Life’s new E-App! Over the past year we’ve been hard at work developing new and innovative ways for you, our valued agent, to conduct business with us.
This state-of-the-art tool is designed to give you an easy platform to quote and submit business electronically to GTL from your customer’s kitchen table using any type of device - Apple or Android, tablet or smart phone without having to be connected to the internet. It is also the same application that you can use from your desktop computer by logging into GTL’s website. The E-App calculates rates for you, captures signatures and displays state specific forms. It’s easier and faster to complete than a paper application!
Our initial release of the new E-App has Advantage Plus Hospital Indemnity Plan, Medicare Supplement Insurance and our new Cancer, Heart Attack and Stroke Insurance products. In the next several months, we will be enhancing the technology and adding our full portfolio of products. Please feel free to contact Sales Support at any time at 1-800-323-6907 or [email protected] with any questions on the new E-App.
Downloading the App
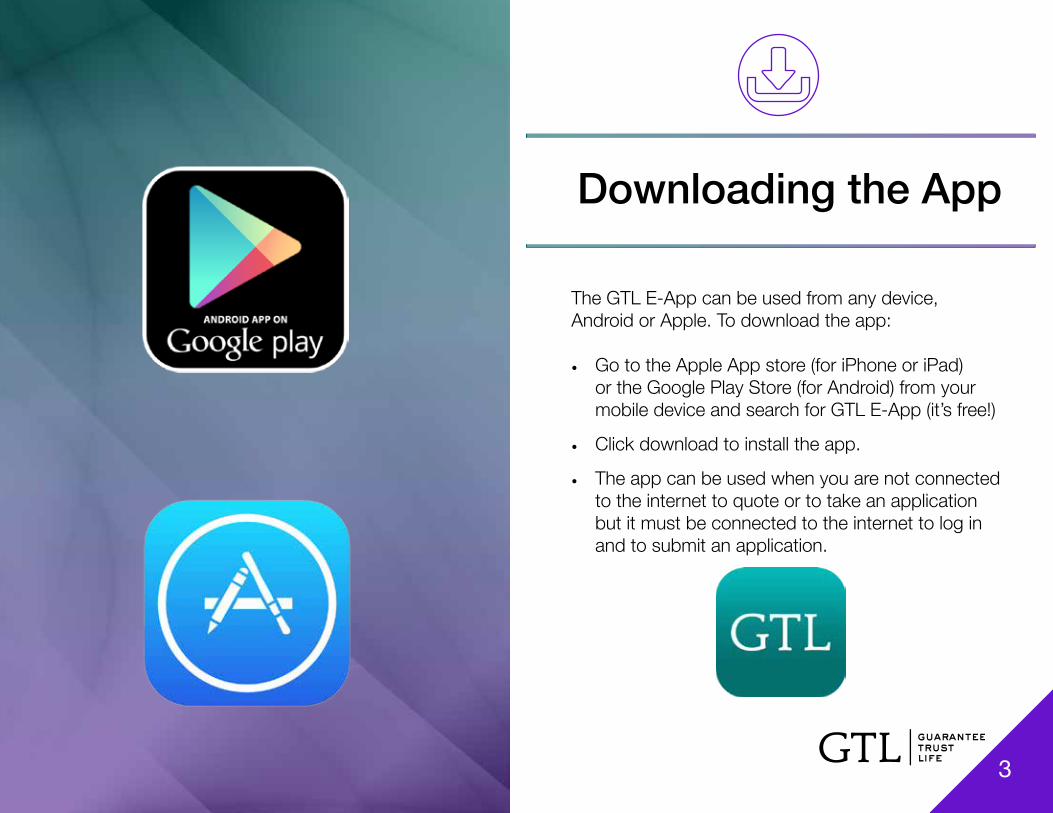
The GTL E-App can be used from any device, Android or Apple. To download the app:
• Go to the Apple App store (for iPhone or iPad) or the Google Play Store (for Android) from your mobile device and search for GTL E-App (it’s free!)
• Click download to install the app.
• The app can be used when you are not connected to the internet to quote or to take an application but it must be connected to the internet to log in and to submit an application.
3

Setting up the E-App
Once the GTL E-App has downloaded, open the app and click the register button to register for the first time, even if you used the previous iPad app. Your old user name and password will not work. You must register and create a new one.
You will need to know your agent number - remember it begins with 011, and create a personal user name and password. (Minimum 8 characters with 1 uppercase letter, 1 lowercase letter, 1 number and 1 special character. The password you create cannot contain User Name or part of your Full Name.)
Fill out the form and once finished, click the Submit Registration button.
On your next visit, you will simply enter your username and password to log in.
4

5
Setting up the E-App
If you forget your password in the future, click on the Forgot My Password button and follow the prompts to register again.
Tip: Write down your username and password for future use.

Selecting States
The first time you log in, it will ask you the states you do business in. Select the states and click the Save Changes button.
Tip: Selecting “all states” may slow down your speed because of the larger amount of data required, so it is best to select the states you do business in.
56

Side Menu
Anytime you want to know where you are in the quote and application process you can click the grouping of lines in the top left corner to open the side menu. Items that are not bold have not been completed yet.
• Contact Us- This will give you a phone number or e-mail address for GTL Sales Support.
• Quote Info-Gathers basic information for clients.• Products- Quote on multiple products.• Personal Info- This is the first page of the
application and will be followed by Underwriting Questions, Authorization and Bank Information.
• Replacement Form-This option was available in the Underwriting Questions section and will give you a form if this is a replacement policy.
• Disclosure Form- State specific forms.• Outline of Coverage- This will be e-mailed to
email address provided.
7

Entering Applicant Info
• Enter name, gender and date of birth (DD/MM/YYYY) of applicant / spouse.
• Select an effective date. It cannot be before the date of the application. It can be up to 93 days after the application date.
• Select state and click next.
8
Main Menu
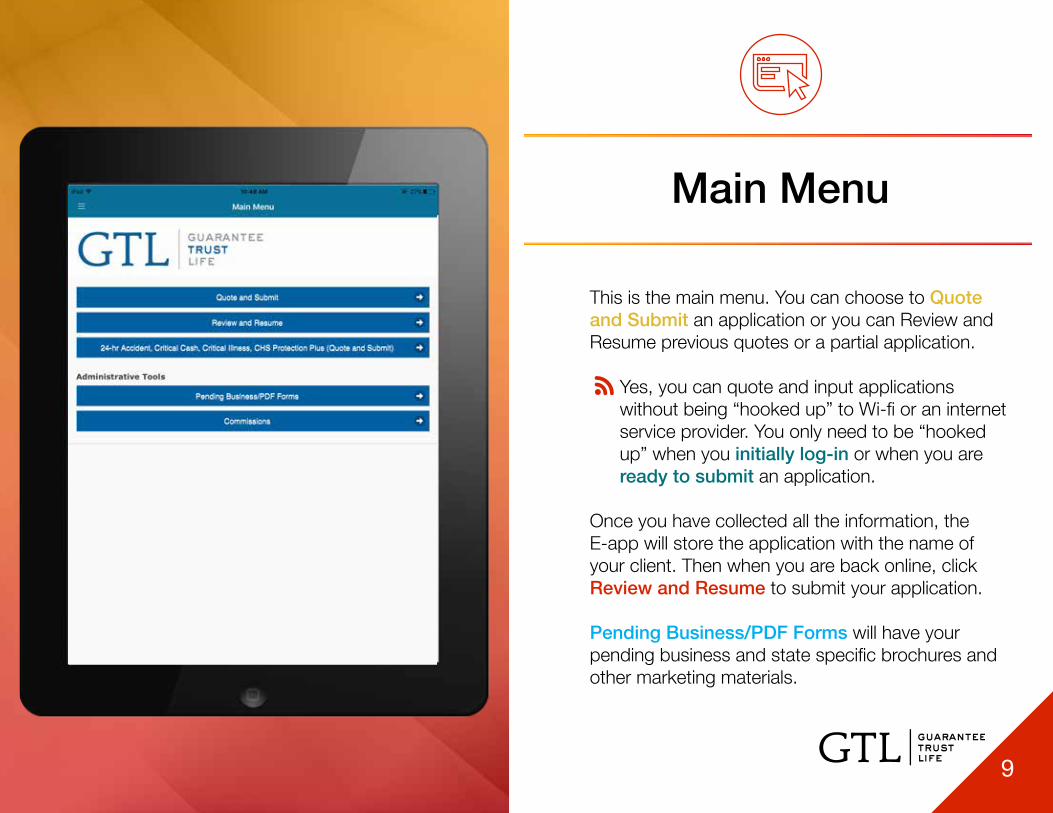
This is the main menu. You can choose to Quote and Submit an application or you can Review and Resume previous quotes or a partial application.
Yes, you can quote and input applications without being “hooked up” to Wi-fi or an internet service provider. You only need to be “hooked up” when you initially log-in or when you are ready to submit an application.
Once you have collected all the information, the E-app will store the application with the name of your client. Then when you are back online, click Review and Resume to submit your application.
Pending Business/PDF Forms will have your pending business and state specific brochures and other marketing materials.
9

Main MenuQuoting & Submitting Multiple Products
• Based on age and state, it will show products available to quote on this E-App.
• Choose a product by by clicking the drop down button, then click again on the particular product in that category that you want and fill out the quote. If your product does not appear, it is not available in your state or for that age.
• Click the button in the top right to add a spouse for the product.
• You can minimize (by clicking the minus symbol) or scroll down to next product.
10

Selecting Benefits
• First, choose applicants preferred payment mode at the top. (Payment must be drafted from bank savings or checking.)
• Then, click on the product name and a page of available benefit choices will come up.
• As you make benefit selections, a premium breakdown will come up in green. This will change if you change the benefit option.
• If any mistakes are made, select the Reset Button at the bottom.
There will be two totals:
• At the top in blue is your specific product premium.
• At the bottom in green is the total of all product premiums and application fees. This total is higher than their recurring
11

What’s Next After Quote?
At bottom of the quote, select one of the following options:
• Save Quote- If your client is not ready to submit, this will save a quote with their name on it for you to access later.
• Print Quote- This will print a quote with your clients name and with all benefits selected and premiums.
• E-mail Quote- Email to whomever you choose.
• Apply Now- Start the application process.
12
Email Quote
Save Quote
Print Quote
Apply Now
The Application

Step 1:Personal Information
• Fill in your applicants information.
• If you select “Deliver Documents” to the Agent, only you will get an email with the policy delivery. If you select Insured, then both the Agent and Insured with get an email with the policy. Your client will always receive a package in the mail with a Welcome Letter, ID card and a Summary of Benefits – within days of policy approval.
• Press continue when finished.
14

Step 2 & 3:Underwriting Questions and Authorization
15
• Fill out and confirm
• Both you and the applicant need to sign where applicable. Click the blue link that says Applicant Signature and Agent’s Signature. When the signature box pops up sign with your finger on a tablet or phone. (Make sure signature is within the box.)
• On a desktop computer you will need to type in the name and do a voice verification call.
• After you have signed the first time it will save your signature so that next time you only need to check the Apply Signature box and click save.
No voice verification telephone call is needed when using the mobile app version on tablets or smart phones.

16
Steps 4-6: 4. Bank Information
Applicant must know their bank account number (second number on check face) and their routing number (first number on check face).Sign and confirm.
5. Outline of CoverageThe Outline of Coverage is displayed with the benefits that the applicant selected. It will be e-mailed to the e-mail provided after the application is completed.
6. Electronic Transaction ConsentThis is the form that says your client agrees to receive the policy documents electronically. It is required to submit the application online.
Account NumberRouting Number

Thank You
That’s it! Now that you have submitted the application you’ll see the policy number on the thank you page. Next you and your client will receive two emails, one with a confirmation and conditional approval and the second with a link to the electronic policy which you can print and deliver to your client or your client can save to his or her computer.
Your client will always receive a package in the mail with a Welcome Letter, ID card and a Summary of Benefits – within days of policy approval.
17

Frequently Asked Questions

Frequently Asked Questions
Q: Does the applicant have to complete a Verification Call?A: No, not on the mobile app. Since GTL is capturing an electronic signature from the applicant, the completing of a verification call is not necessary. If you are using the platform from your desktop computer than a voice verification call is necessary.Q: Can my client pay their premium with a credit card on the E-App?A: No, not at this time.
19

Frequently Asked Questions
Q: I’m a new GTL agent who hasn’t submitted my first piece of business yet, can I use the E-App?A: Yes. You can submit your first application to GTL using the E-App. However, your first application will not be eligible for straight through processing. We’ll receive the application electronically but your state insurance license will need to be verified first. Once verified, the system can then electronically approve the policy.Q: Are all of GTL’s products available for submission?A: At this time, GTL’s Advantage Plus, Medicare Supplement Insurance, and the new Cancer, Heart Attack and Stroke Insurance are available. Additional products will be added in the very near future.Please feel free to contact Sales Support at any time at 1-800-323-6907 or [email protected] with any questions.
20