fine motor skills and occupational … motor skills and occupational therapy: tips and strategies...
TRANSCRIPT

FINE MOTOR SKILLS AND
OCCUPATIONAL THERAPY:
Tips and Strategies You Can Use
Created by the Occupational Therapists at the George Jeffrey Children’s Centre
November 2014

Objectives
What is occupational therapy
Review the following topics: Fine motor skills
Hand dominance
Pencil grasp
Pre-printing and printing skills
Scissor skills
Positioning
Provide practical strategies that you can use at home

What is Occupational Therapy?
Occupational therapy focuses on optimal performance in the following areas of everyday life:
Self-care – dressing, toileting, eating
Productivity – play, school, work
Leisure – recreation, recess, extra-curricular activities

What is Occupational Therapy?
Assessment:
Skills and abilities
The environment
Components of the occupation they are required to complete
Treatment plans:
Established to work towards goals identified by parents/guardians
Treatment plans are collaborative, with input from parents/guardians, school staff, daycare staff, and other therapists involved

Occupational Therapy at the
George Jeffrey Children’s Centre
Services are provided for children from
birth to 19 with programs divided by ages
Referral sources include: family
physicians, daycares, schools, and other
health care professionals

Fine Motor Skills Fine motor skills are those
requiring the use of the small muscles of the hands and fingers to work together to perform precise movements
The early years are typically a time of rapid gains in fine motor skill development
Many factors can contribute to this development including exposure and practice

Fine Motor Skills
The following areas are developed through play:
Hand and finger strength
Pincer skill development
In-hand manipulation
Use of two hands together
Hand dominance
They lay the foundation required for higher level school-readiness skills such as printing, cutting, and creative projects

Hand Dominance
Hand dominance is the
consistent use of one hand over
the other for an activity
Having a dominant hand is a
developmental process that
takes time and practise to
become well established
Hand dominance usually starts
to develop between the ages of
2 to 4 years with frequent hand
switching still observed

Between the ages of 4 to 6 years hand dominance
gradually becomes more established
It is important that the child decides which hand
will be their “Working Hand” or dominant hand,
and which hand will be their “Helping Hand”
Hand Dominance

Present all items such as
glue, markers, scissors,
spoon and fork in mid-line
(center) of the body. This will
encourage the child to
choose which hand he/she
will use and not be
influenced by the side that
you put the items
Strategies:
Hand Dominance
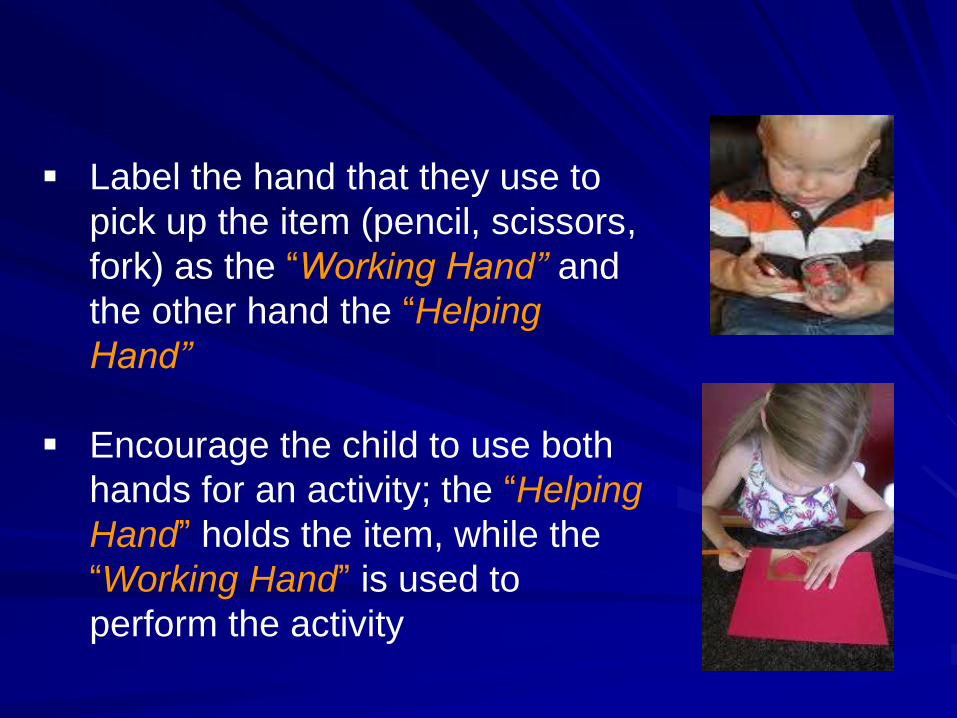
Label the hand that they use to
pick up the item (pencil, scissors,
fork) as the “Working Hand” and
the other hand the “Helping
Hand”
Encourage the child to use both
hands for an activity; the “Helping
Hand” holds the item, while the
“Working Hand” is used to
perform the activity

If the child switches hands during an
activity, encourage them to finish the
activity with the hand they used to
start
Provide the child with scissors that
can be used for both right and left
handedness
Do activities that provide your child
opportunities to develop a Working
Hand and Helper Hand (lacing cards,
stencils, cutting, sticker sheets, pop
up pirate, opening containers)

Pencil Grasp
The way in which a child holds a
pencil is called “pencil grasp”. It
includes the positioning of their
fingers on the pencil and the
position of the pencil in their hands
An efficient pencil grasp does not
happen naturally. It develops
through practice and exposure to
fine motor activities
A child’s hands need to be ready to
grasp a pencil with their fingers

Pencil Grasp
Early on, children use their fist and all fingers to
hold a printing tool. The shoulder, elbow and
wrist are involved in moving the tool
As a child’s skills develop, they begin to place
their fingers on the tool in different ways

Pencil Grasp
Grasp patterns typically follows a
predictable developmental sequence
This progression is towards an efficient
grasp where the tool is moved using
coordinated finger movements

Fisted Grasp or Palmar Supinate Grasp
1-2 year olds

Digital Pronate (Overhand) Grasp
2-3 years old
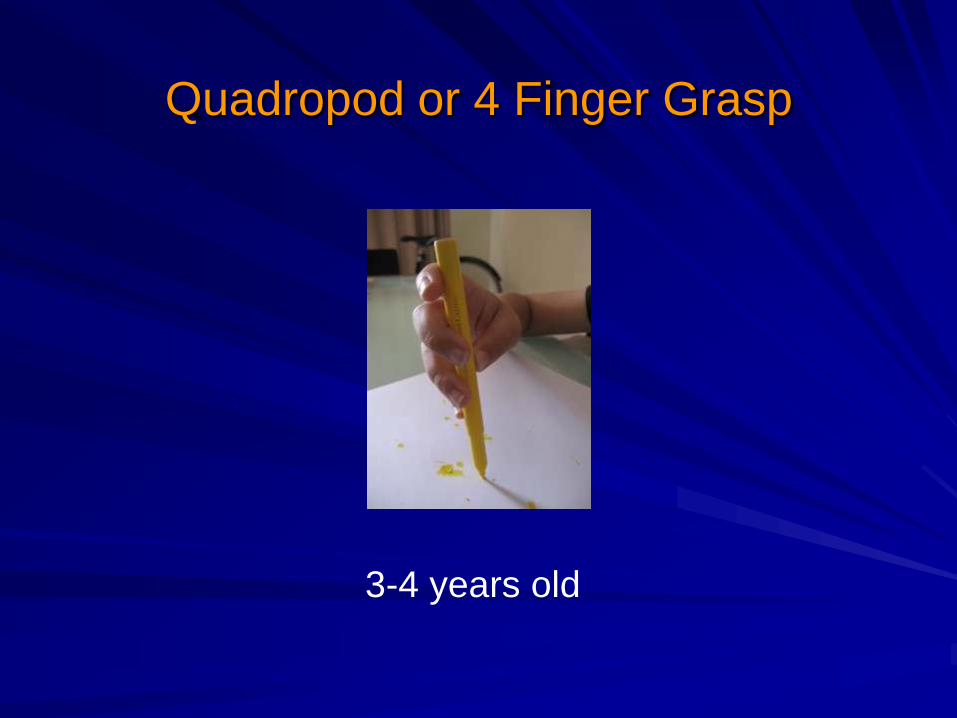
Quadropod or 4 Finger Grasp
3-4 years old

Static Tripod Grasp
4-6 years old

Dynamic Tripod Grasp
6-7 years old
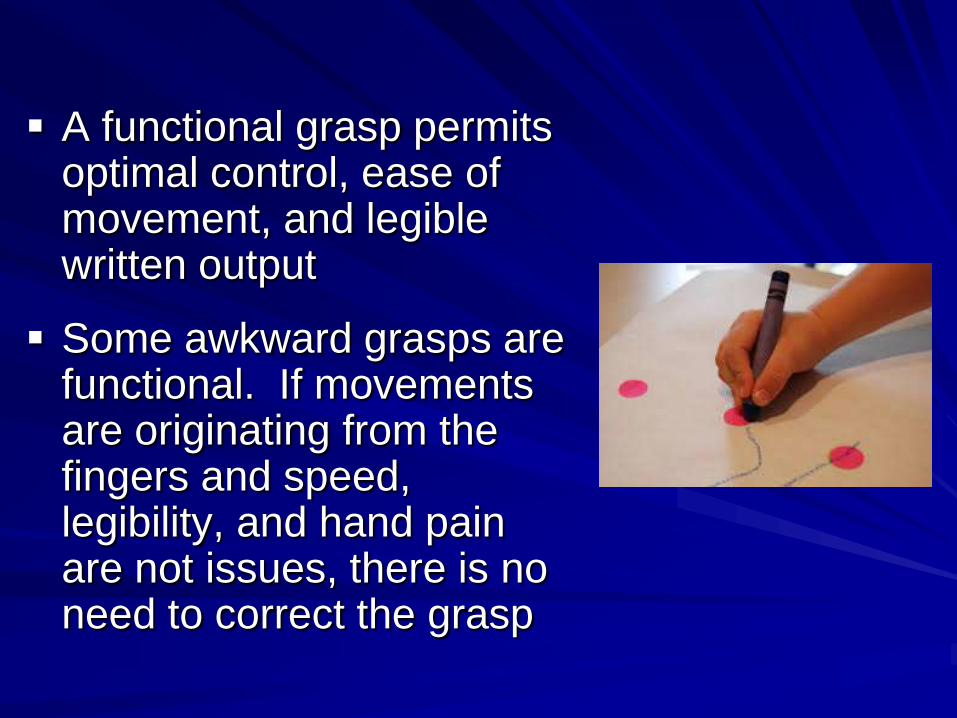
A functional grasp permits optimal control, ease of movement, and legible written output
Some awkward grasps are functional. If movements are originating from the fingers and speed, legibility, and hand pain are not issues, there is no need to correct the grasp

Strategies:
Developing a Pencil Grasp Fine motor activities:
Lite-Brite and other small peg activities
Marbles
Stickers
Stampers

Beading

Lacing cards

Clothespins

Rookie Stix

Play dough, clay, or putty

Strategies:
Developing a Pencil Grasp
Use these tools to promote a more mature grasp:
Primary pencils cut down
Golf pencils
Pieces of chalk
Small markers with the cap off
Triangular crayons
Primary sized crayons
Pudgy paint brushes

Teach children their finger names and finger jobs (thumb, pointer, and tall man)

Teach children Go Fingers and Stop Fingers
Place 3 green filing dots on your child’s thumb, index,
and 3rd finger
Place 2 red filing dots on their 4th and 5th fingers
Have them hold up their Go fingers
Have them put their Go fingers on the pencil
Have them put their Stop fingers in the palm of their
hand

If the child has difficulty keeping their stop
fingers in the palm of their hand, have them hold
onto a cotton ball, sponge, or Kleenex with their
4th and 5th fingers

Encourage grasp of the printing
tool near the tip, for increased
control
Their thumb and pointer finger
should be together with their
fingernails being tip to tip
Wrap masking tape or an elastic
near the end as a visual and tactile cue for finger placement

Strategies:
Developing a Pencil Grasp
Use of a vertical surface
promotes proper wrist
position, finger placement
and use of helper hand
Blackboards
Easels
Paper, taped (or held) to walls

What About Pencil Grips?
Commercially available grips are not often recommended for young children because the emphasis at that age is on hand skill development and teaching of how to hold a pencil
If a child continues to have difficulty with holding a pencil as they get older and it is impacting their written output (legibility or speed), and is causing them pain, grip use can be explored at that time

Pre-Printing Skills
Before a child will be successful with learning to
print letters and numbers, time should be spent
building the foundation for printing skills
Certain strokes and geometric shapes which
contain essential components of letters and
numbers are learned prior to printing

Pre-Printing Development
The typical progression for pre-printing
strokes is as follows:
Pre-Printing and Printing Skills
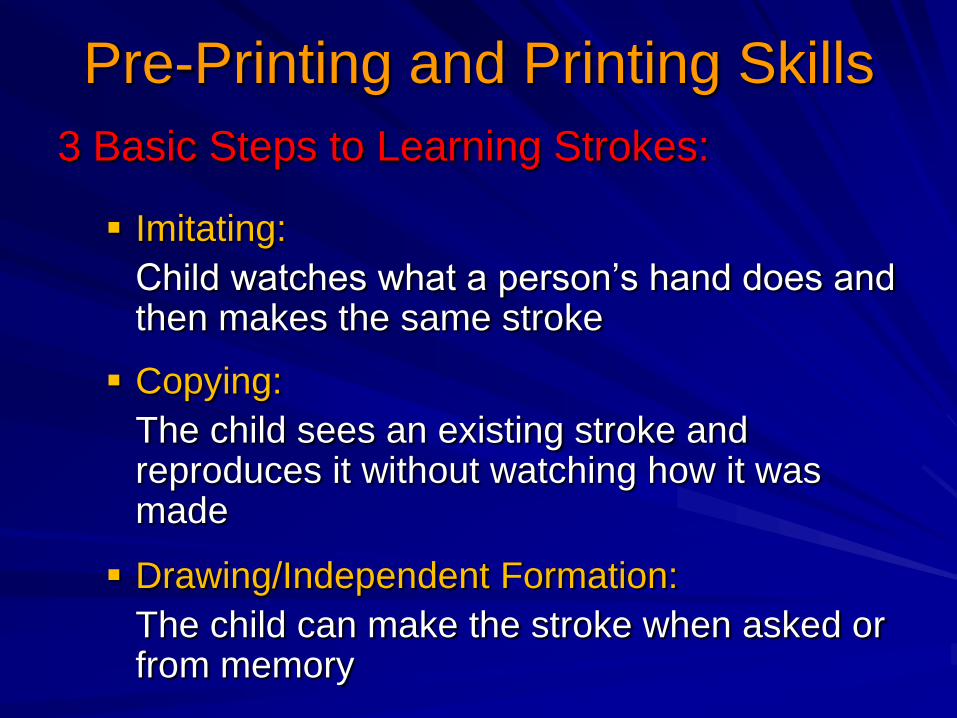
3 Basic Steps to Learning Strokes:
Imitating:
Child watches what a person’s hand does and then makes the same stroke
Copying:
The child sees an existing stroke and reproduces it without watching how it was made
Drawing/Independent Formation:
The child can make the stroke when asked or from memory
Strategies:
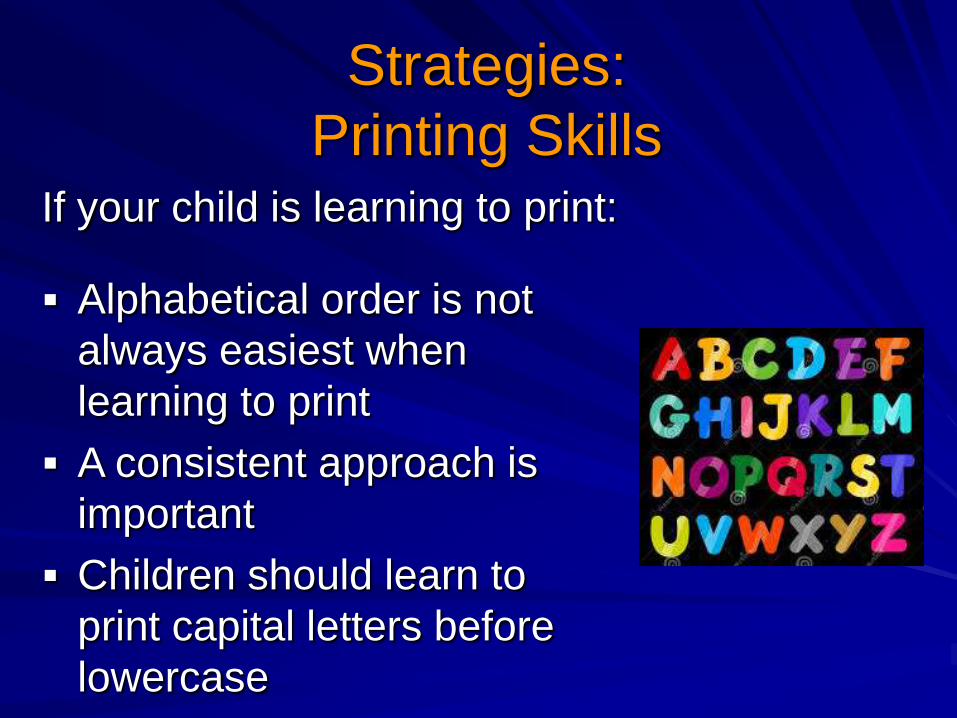
Printing Skills If your child is learning to print:
Alphabetical order is not
always easiest when
learning to print
A consistent approach is
important
Children should learn to
print capital letters before
lowercase

Strategies:
Printing Skills
Developmentally, capital letters are easier as they:
All start at the top
Are the same height
Occupy the same
vertical space
Are easy to recognize
and identify (compare
A B D with a b d)

Lowercase letters are more difficult as they:
Start in four different places (a b e f)
Are different sizes
Occupy three different vertical positions
Are more difficult to recognize due to subtle
differences ( b d g p)
Strategies:
Printing Skills

Strategies:
Pre-Printing and Printing Skills
Use a multi-sensory approach:
Using multiple senses when learning helps us to
remember how different shapes, letters and
numbers are formed
Combining several senses will provide sensory
experiences to help your child learn

Strategies:
Pre-Printing and Printing Skills
Visual activities:
Model the formation of a shape
for your child
Use various tools e.g.
paintbrush, chalk, crayons,
markers, aqua doodles, magna
doodles, grease pencils on
transparencies
Workbooks in which the colour
appears when children paint
with water or finger paint

Strategies:
Pre-Printing and Printing Skills
Use a variety of different kinds of paper
i.e., regular, coloured, raised lined, and construction
Use placemats with images of shapes, letters, or
numbers at dinner time
Try forming shapes, letters, or numbers with eyes
opened and closed
Strategies:
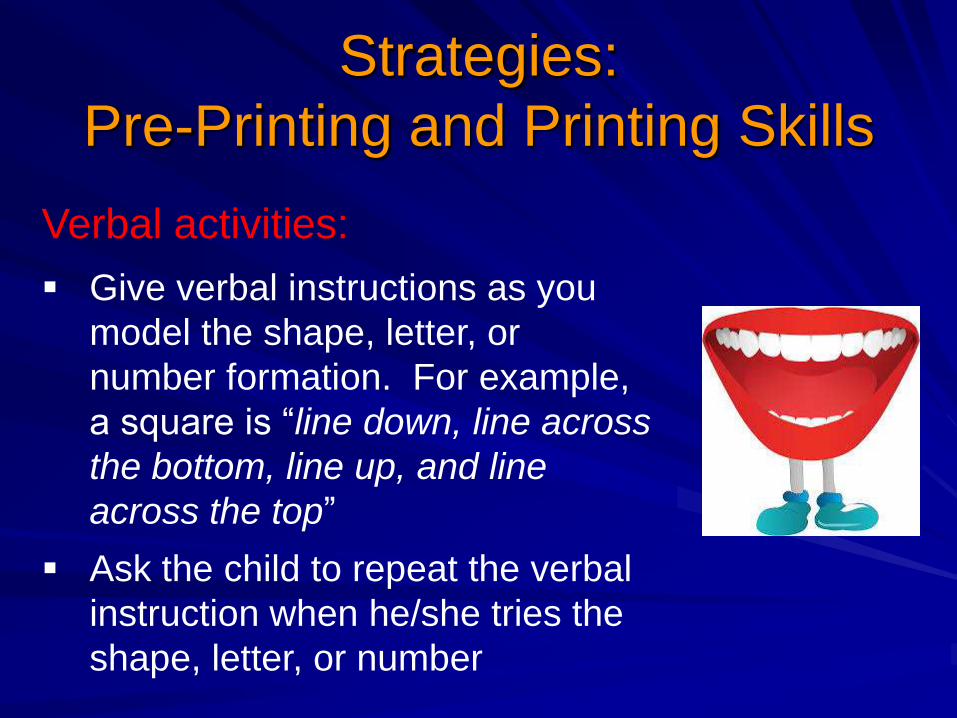
Pre-Printing and Printing Skills
Verbal activities:
Give verbal instructions as you
model the shape, letter, or
number formation. For example,
a square is “line down, line across
the bottom, line up, and line
across the top”
Ask the child to repeat the verbal
instruction when he/she tries the
shape, letter, or number

Strategies:
Pre-Printing and Printing Skills Tactile activities: Place paper on top of different
textures (sandpaper, rubbing
templates)
Put cornmeal, flour, rice, salt,
whipping cream, sugar, shaving
cream, lotion, or pudding on a
baking sheet
Make shapes, letters, or numbers
on your child’s back and have
him/her name them
Use liquorice to form shapes,
letters, or numbers

Strategies:
Pre-Printing and Printing Skills
Practice formations in sand,
paint, or gel in a Ziploc bag
Practice forming shapes, letters
or numbers out of different
materials, such as plasticine,
play-dough, pipe cleaners,
Wikki stix, wooden blocks, and
yarn

Ipads (Letter School, Dexteria Jr, Bugs and
Buttons, Ready to Print)
Use a plastic page protector and wipe-off crayons,
wax pencils, or dry-erase markers
Use different tools (vibrating pen, toothbrush,
paintbrush, finger, or sponge)

Strategies:
Pre-Printing and Printing Skills Motor strategies:
Draw large shapes, letters, or
numbers with sidewalk chalk
and walk the correct formation
Have your child form the shape,
letter, or number on a piece of
paper mounted to a vertical
surface (i.e., taped to the fridge
or on a wall), or flat on the
ground with the child on their
belly

Dip a sponge or paint brush in
water and practice forming the
shape, letter, or number on a
black board
Use a stick in the sand to form
shapes, letters, or numbers
Form the shape, letters, or
numbers in the air using their
whole arm (eyes open, then
closed)
Flashlight writing

Strategies:
Pre-Printing and Printing Skills
Scent strategies:
Scented markers
Add scented flavours (vanilla,
cherry, mint) to yogurt or
pudding and practice
formations
Scented lotions on a baking
sheet
Form scented play-dough into
shapes, letters or numbers
Kool aid painting

Stages of Scissor Development
Age Skill
1-2 Tearing paper with 2 hands
2-3 Interested in scissors
Gross opening and closing of the scissors
Able to hold paper in one hand, cut with the other
Snips at paper and progresses to cutting a small piece of paper
in half
3-4 Cuts forward on a 6 inch line
Cuts out a curved line
Manipulates paper with assisting hand
4-5 More accuracy and control
Cuts out simple shapes (circle, square)
5-6 Mature grasp of scissors
Uses non-dominant hand to manipulate paper around curves,
corners and complex shapes

Strategies:
Pre-Scissor Skills
Pick up objects with tongs, tweezers, or rookie sticks
Use turkey basters, water bottles, spray bottles, squirt toys, or medicine droppers
The following activities target the skills needed for scissor
use such as opening and closing, hand strength, and
using two hands together:

Clothespins
Wind up toys
Single hole punches to make confetti

Strategies:
Scissor Skills
Use children’s blunt-ended scissors that work in the right or left hand (i.e., Fiskars)
Ensure proper placement of thumbs and fingers to grasp the scissors and paper – thumbs up and elbows close to the body

Strategies:
Scissor Skills
Offer heavy/thick materials initially (craft foam, play dough, envelopes, construction paper, straws, bristol board)
Encourage correct cutting direction with circles
- Counter-clockwise for right-handed children
- Clockwise for left-handed children

Strategies:
Scissor Skills
Keep cutting sheets small (less paper to handle and manipulate)
Widen cutting lines using a marker, highlighter, or crayon
Draw a square or other simple shape around the complex shape to be cut
Use a sequence of stickers or paper punched holes as a guide for the child to cut along

Strategies:
Scissor Skills
Cutting at a vertical surface with the top corners
of the paper taped to the surface facilitates
proper wrist position when cutting forward
Tummy lying provides good trunk and elbow
support
Grasp the paper for your child

Other Scissors?
There are many different types of scissors
available. Some are specially designed for
children who have difficulty using traditional
scissors
A therapist or teacher may suggest alternate types
of scissors to increase success while a child is still
continuing to develop their scissor skills

Positioning
Good positioning:
Supports and balances the
body so the arms and hands
can move freely to perform a
task
Promotes learning, as the
child is not distracted by how
to remain seated and is able
to focus on the task
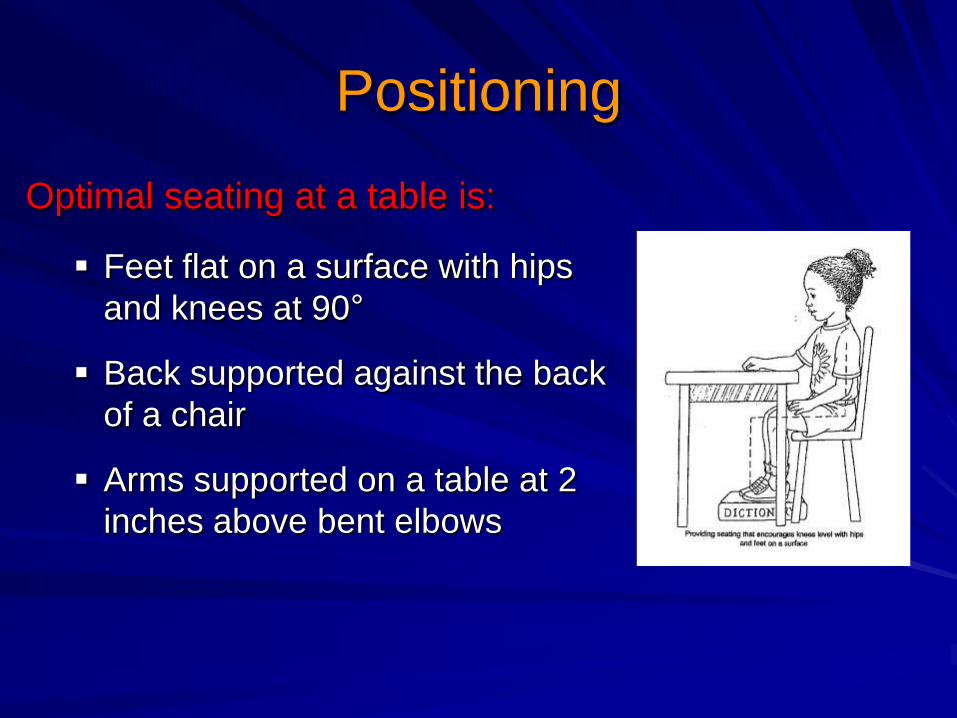
Optimal seating at a table is:
Feet flat on a surface with hips
and knees at 90°
Back supported against the back
of a chair
Arms supported on a table at 2
inches above bent elbows
Positioning

Alternate Positions
Learning occurs in a variety of positions:
Tummy Time
Side Sitting
Kneeling
4-pt kneeling
Standing

Strategies:
Positioning
Set-up space at home for playing in alternate
positions
Provide footrests when feet do not touch the
floor
Stepstool
Phone books bound with duct tape
Stacked books
Yoga blocks
Box turned upside down

Questions?
Let’s Play