04/15/[email protected] 1
LINKEDIN: WORLD’S LARGEST PROFESSIONAL
NETWORK
04/15/[email protected] 2
OVERVIEW
04/15/[email protected] 3
LinkedIn is a social networking site used for professional purposes.
04/15/[email protected] 4
You can use it to connect to your existing
professional
04/15/[email protected] 5
network as well as expand your network to
your secondary
04/15/[email protected] 6
and tertiary connections through those you
already know.
04/15/[email protected] 7
It doesn't have all the bells and whistles that
other
04/15/[email protected] 8
social networking sites have, but it really works
to serve
04/15/[email protected] 9
its core purpose.
04/15/[email protected] 10
Once you create your own LinkedIn account,
04/15/[email protected] 11
you can begin to expand your professional
horizons.
04/15/[email protected] 12
Let’s begin by creating an
Account
04/15/[email protected] 13
STEPS:
04/15/[email protected] 14
Go to https://www.linkedin.com/
04/15/[email protected] 15
Enter your Firstname
04/15/[email protected] 16
Enter your Lastname
04/15/[email protected] 17
Enter your Email Address
04/15/[email protected] 18
Enter your Password
04/15/[email protected] 19
Lastly, Click “Join now”
04/15/[email protected] 20
Congrats! You can browse your LinkedIn Page
04/15/[email protected] 21
How to Edit your Profile?
04/15/[email protected] 22
STEPS:
04/15/[email protected] 23
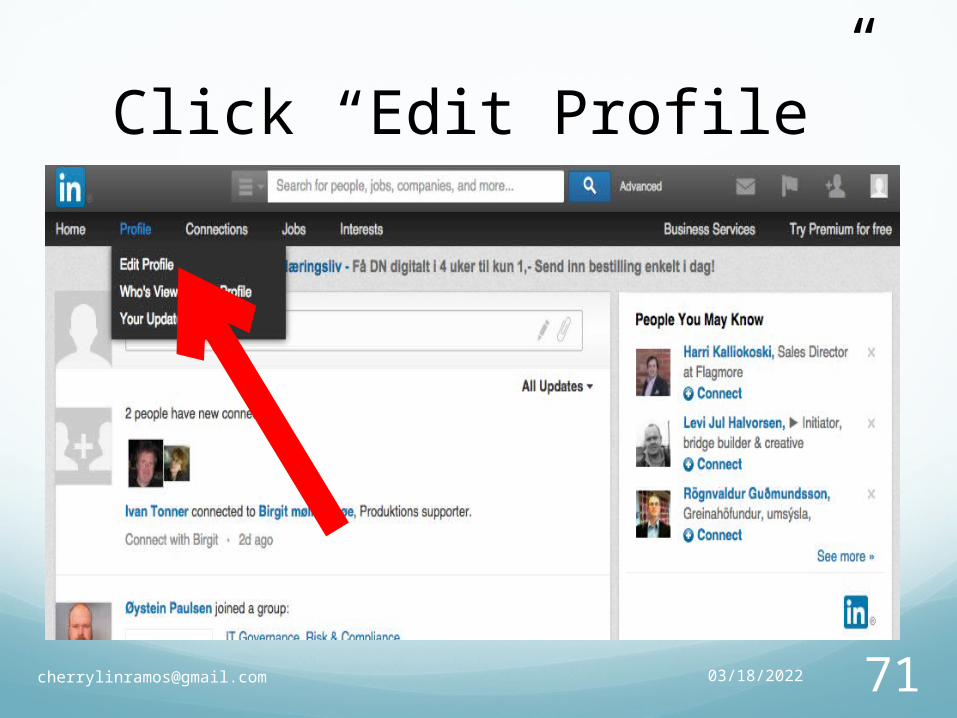
Click “Profile”
04/15/[email protected] 24
Click “Edit Profile”
04/15/[email protected] 25
Scroll to the section you’d like to edit,
04/15/[email protected] 26
And move the cursor over it.
04/15/[email protected] 27
Click into the field and add/remove text
04/15/[email protected] 28
Click “Save” button
04/15/[email protected] 29
Example
04/15/[email protected] 30
Click “Pencil” button
04/15/[email protected] 31
Enter First and Last Name in the box
04/15/[email protected] 32
Click “Save” button
04/15/[email protected] 33
Click “View Profile as ” to see
04/15/[email protected] 34
how your profile looks to your connections and the
public.
04/15/[email protected] 35
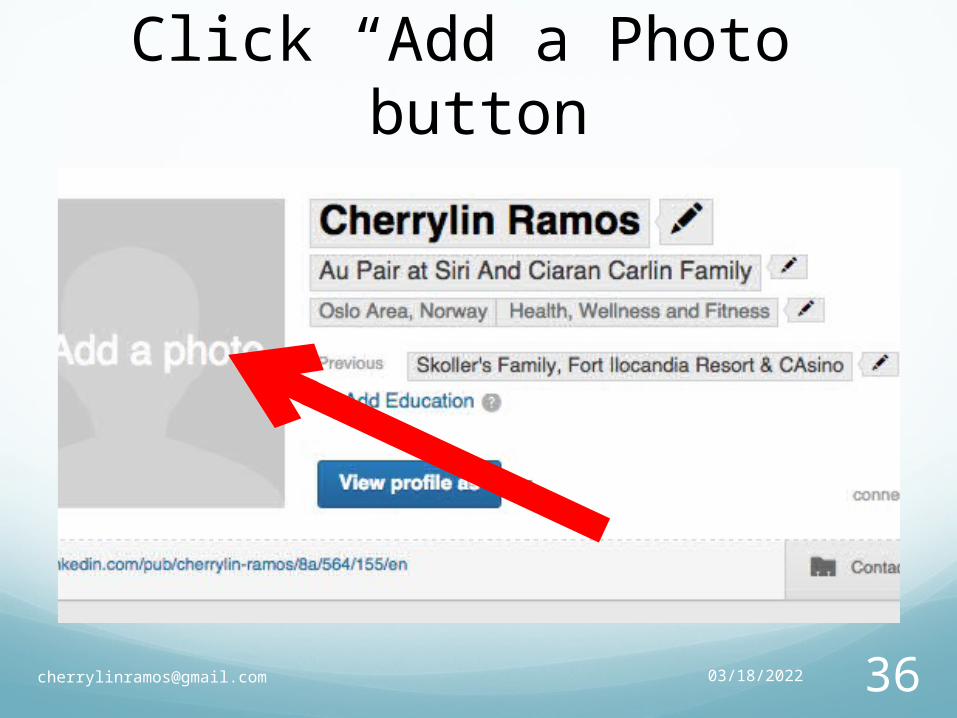
Uploading Profile Picture
04/15/[email protected] 36
Click “Add a Photo” button
04/15/[email protected] 37
Click “Choose file” button
04/15/[email protected] 38
Choose picture from your file
04/15/[email protected] 39
Click “Open” button
04/15/[email protected] 40
Click “Save” button
04/15/[email protected] 41
Adding Contacts or Connections
04/15/[email protected] 42
Option 1: Click“Connections”
04/15/[email protected] 43
Click “Connect” under the name of the person
04/15/[email protected] 44
Option 2: Click “Keep In touch” under connections
04/15/[email protected] 45
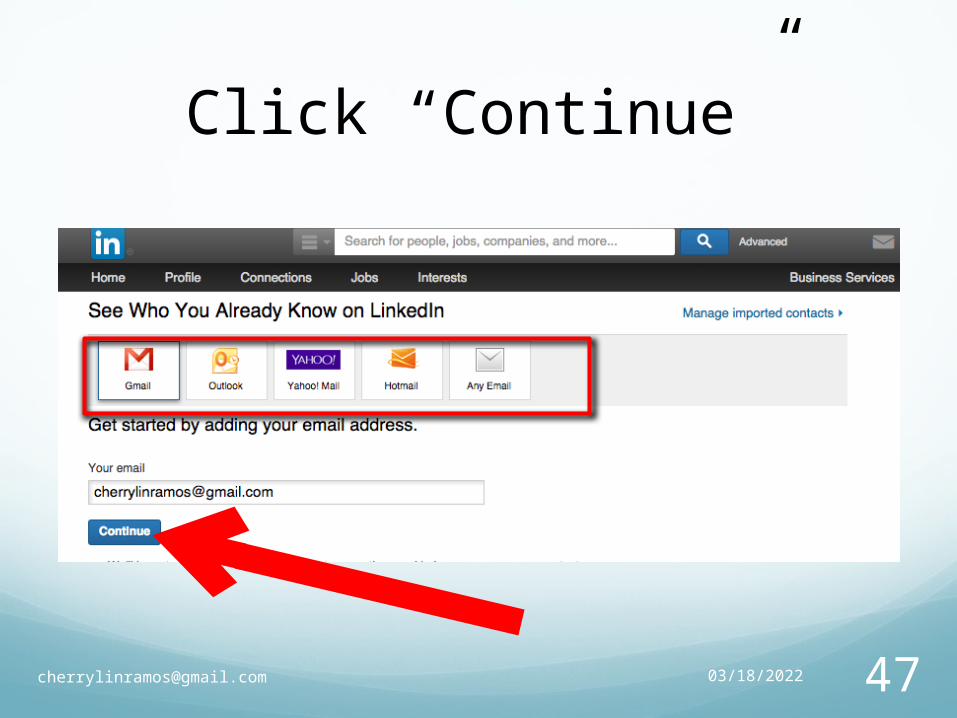
Choose where do you want to get contacts
04/15/[email protected] 46
Enter your email here
04/15/[email protected] 47
Click “Continue”
04/15/[email protected] 48
Click “Agree”
04/15/[email protected] 49
Click the box beside the name of the person
04/15/[email protected] 50
Click ”Add Contacts”
04/15/[email protected] 51
Option 3: Click “Find Alumni” under connections
04/15/[email protected] 52
Enter “School Name”
04/15/[email protected] 53
Enter “Dates Attended”
04/15/[email protected] 54
Enter “Degrees”
04/15/[email protected] 55
Enter “Field of Study”
04/15/[email protected] 56
Lastly, Click “Add to Profile”
04/15/[email protected] 57
How to find jobs?
04/15/[email protected] 58
Click “Jobs”button
04/15/[email protected] 59
Type here the job title or company name
04/15/[email protected] 60
Click “Search” button
04/15/[email protected] 61
Scroll all the jobs related
04/15/[email protected] 62
Click “View” to see details of the job
04/15/[email protected] 63
Click “Apply ” if you want to apply now
04/15/[email protected] 64
How to delete contacts?
04/15/[email protected] 65
Click “Keep In touch” under connections
04/15/[email protected] 66
Click “More” button below of the person name
04/15/[email protected] 67
Click “Remove Connections”
04/15/[email protected] 68
Adding or Uploading
Work Samples in your Profile
04/15/[email protected] 69
STEPS:
04/15/[email protected] 70
Click “Profile” on top of the Homepage
04/15/[email protected] 71
Click “Edit Profile”
04/15/[email protected] 72
Scroll down where you want to add file/s in your
profile
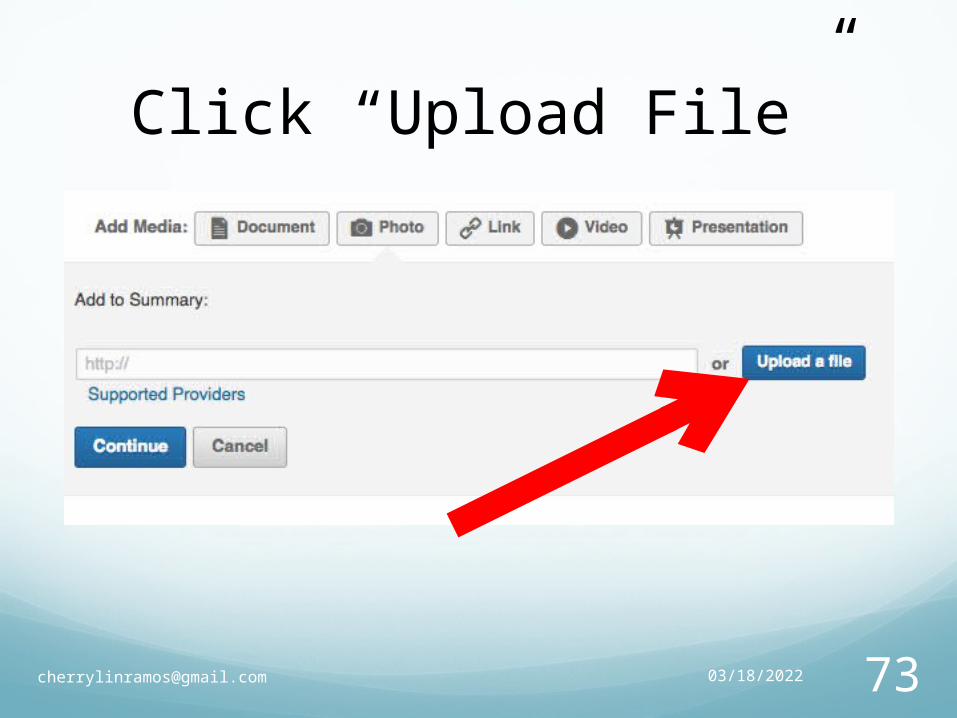
04/15/[email protected] 73
Click “Upload File”
04/15/[email protected] 74
Choose file from your computer
04/15/[email protected] 75
Click “Open” button
04/15/[email protected] 76
Enter the “Title” here
04/15/[email protected] 77
Enter “Description” here about the file
04/15/[email protected] 78
Lastly, Click “Save” button to publish
04/15/[email protected] 79
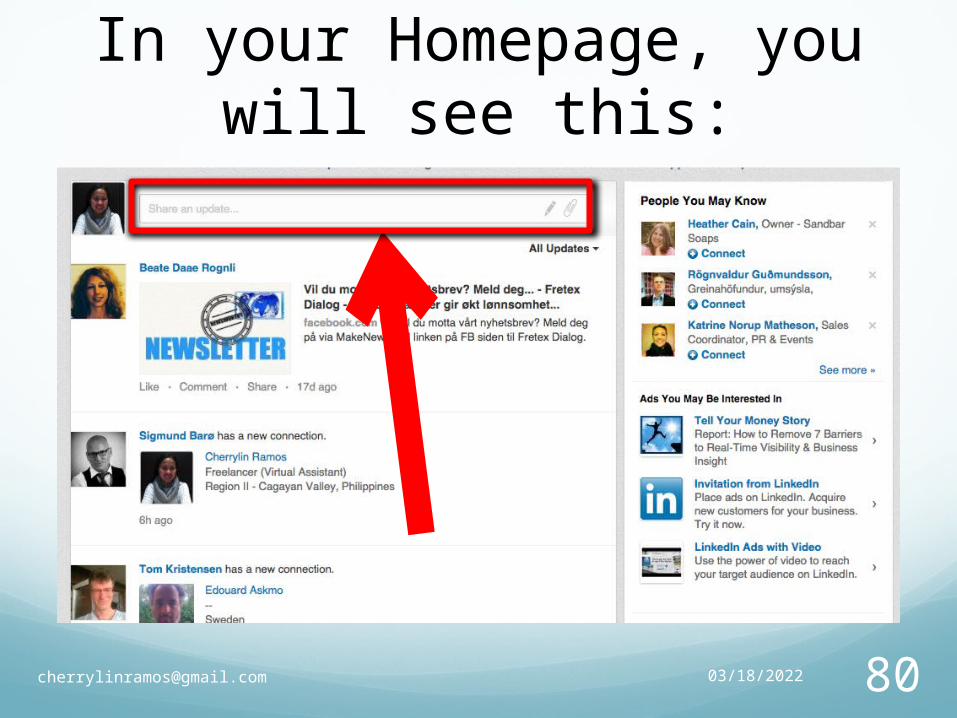
How to Create or Update a
post?
04/15/[email protected] 80
In your Homepage, you will see this:
04/15/[email protected] 81
Click the “Pencil” icon
04/15/[email protected] 82
Click here if you want to upload picture (optional)
04/15/[email protected] 83
Enter your “Headline” or “Title”
04/15/[email protected] 84
Write your post here
04/15/[email protected] 85
If finish, click “Publish”
04/15/[email protected] 86
How to Close or Delete an
Account?
04/15/[email protected] 87
STEPS:
04/15/[email protected] 88
Log-in to your Account
04/15/[email protected] 89
Enter “Email Address”
04/15/[email protected] 90
Enter “Password”
04/15/[email protected] 91
Click “Sign In”
04/15/[email protected] 92
Once you are logged-in, go to the right corner
04/15/[email protected] 93
Click this photo of you
04/15/[email protected] 94
Click “Privacy and Settings’
04/15/[email protected] 95
Click “Account” button on the left
04/15/[email protected] 96
Click “Close your Account”
04/15/[email protected] 97
Choose your reason in closing your account
04/15/[email protected] 98
Click “Continue”
04/15/[email protected] 99
Click “Verify account”
04/15/[email protected] 100
Click “Close account”
04/15/[email protected] 101
= End of my Presentation=
but
04/15/[email protected] 102
Try to discover more things how to use
LinkedIn
04/15/[email protected] 103
in your profession and business connections.
04/15/[email protected] 104