csharp programming
TRANSCRIPT
Raghavendra. [email protected]
Namespace and Assemblies
The first line of the “Hello, C# World!” program was this:
using System;
This line adds a reference to the System namespace to the program. After adding a
reference to a namespace, you can access any member of the namespace. As mentioned,
in .NET library references documentation, each class belongs to a namespace. But what
exactly is a namespace?
To define .NET classes in a category so they’d be easy to recognize, Microsoft used the
C++ class-packaging concept know as namespaces. A namespace is simply a grouping of
related classes. The root of all namespaces is the System namespace. If you see
namespaces in the .NET library, each class is defined in a group of similar category. For
example, The System.Data namespace only possesses data-related classes, and
System.Multithreading contains only multithreading classes.
When you create a new application using visual C#, you see that each application is
defined as a namespace and that all classes belong to that namespace. You can access
these classes from other application by referencing their namespaces.
For example, you can create a new namespace MyOtherNamespace with a method Hello
defined in it. The Hello method writes “Hello, C# World!” to the console. Listing2 shows
the namespace.
Listing 2 Namespace
// Called namespacenamespace MyOtherNamespace{
class MyOtherClass{
public void Hello(){Console.WriteLine ("Hello, C# World!");}
}}
In listing 3, you’ll see how to reference this namespace and call MyOtherClass’s Hello
method from the main program.
In listing 2, the MyOtherClass and its members can be accessed from other namespaces
by either placing the statement using MyOtherNamespace before the class declaration or
by referring to the class my other namespace before the class declaration or by referring
to the class as MyOtherNamespace.Hello, as shown in listing 3 and listing 4.
Raghavendra. [email protected]
Listing 3. Calling my other Namespace Name space members
using System;using MyOtherNamespace;
// Caller namespacenamespace HelloWorldNamespace{
class Hello{
static void Main(){
MyOtherClass cls = new MyOtherClass();
cls.Hello();}
}}
// Called namespacenamespace MyOtherNamespace{
class MyOtherClass{
public void Hello(){
Console.WriteLine("Hello, C# World!");}
}}
As you have seen in listing 3, you include a namespace by adding the using directly. You
can also reference a namespace direct without the using directive. Listing 4 shows you
how to use MyOtherClass of MyOtherNamespace.
Listing 4. Calling the HelloWorld namespace member from the MyOtherNamespace
// Caller namespacenamespace HelloWorldNamespace{
class Hello{
static void Main(){
MyOtherNamespace.MyOtherClass cls =new MyOtherNamespace.MyOtherClass();
cls.Hello();}
}}
Raghavendra. [email protected]
Standard Input and Output Streams
The System.Console class provides the capability to read streams from and write
streams to the System console. It also defines functionality for error streams. The Read
operation reads data from the console to the standard input stream, and the Write
operation writes data to the standard output stream. The standard error stream is
responsible for storing error data. These streams are the automatically associated with
the system console.
The error, in, and out properties of the Console class represents standard error output,
standard input and standard output streams. In the standard output stream, the Read
method reads the next character, and the ReadLine method reads the next line. The
Write and WriteLine methods write the data to the standard output stream. Table 1
describes some of the console class methods.
Table 1. The System.Console Class methods
METHOD DESCRIPTION EXAMPLE
Read Reads a single
character
int i = Console.Read();
ReadLline Reads a line string str = Console.ReadLine();
Write Writes a line Console.Write ("Write: 1");
WriteLine Writes a line followed
by a line terminator
Console.WriteLine("Test Output Data with
Line");
Listing 5 shows you how to use the Console class and its members
Listing 5. Console class example
using System;namespace ConsoleSamp{
class Classs1{
static void Main(string[ ] args ){Console.Write("Standard I/O Sample");Console.WriteLine("");Console.WriteLine ("= = = = = = = = ");Console.WriteLine ("Enter your name . . .");string name = Console.ReadLine();Console.WriteLine("Output: Your name is : "+ name);
}}
}
Raghavendra. [email protected]
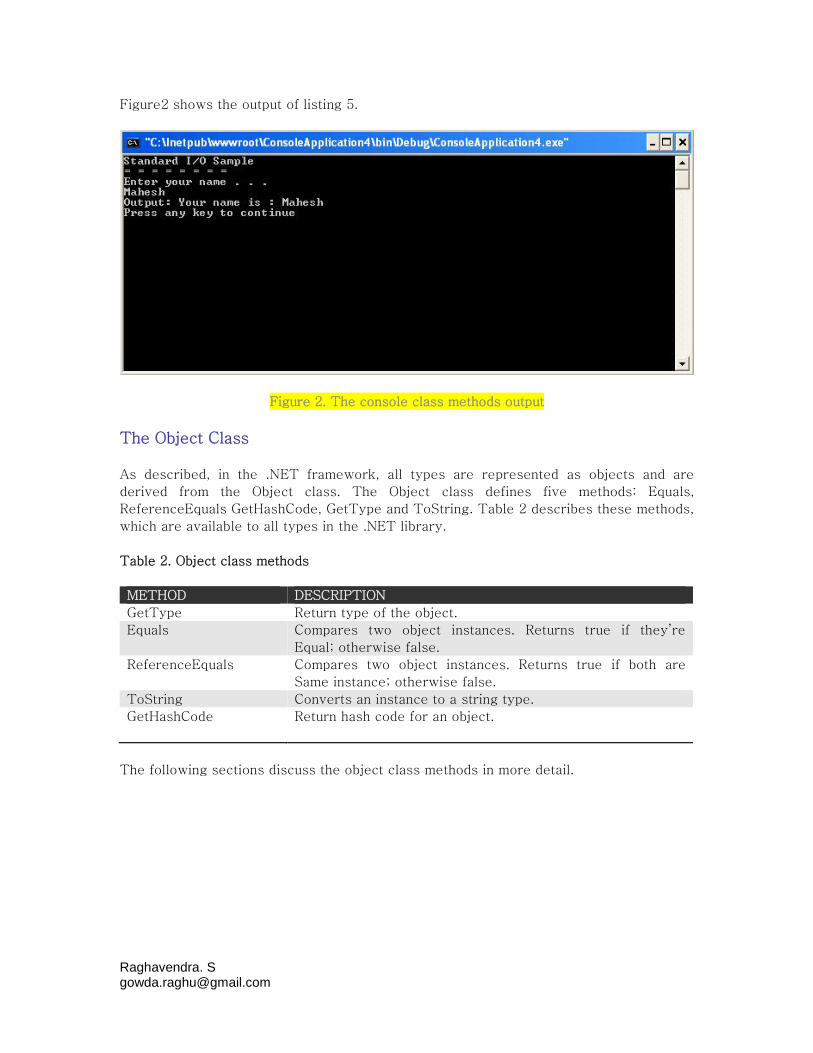
Figure2 shows the output of listing 5.
Figure 2. The console class methods output
The Object Class
As described, in the .NET framework, all types are represented as objects and are
derived from the Object class. The Object class defines five methods: Equals,
ReferenceEquals GetHashCode, GetType and ToString. Table 2 describes these methods,
which are available to all types in the .NET library.
Table 2. Object class methods
METHOD DESCRIPTION
GetType Return type of the object.
Equals Compares two object instances. Returns true if they’re
Equal; otherwise false.
ReferenceEquals Compares two object instances. Returns true if both are
Same instance; otherwise false.
ToString Converts an instance to a string type.
GetHashCode Return hash code for an object.
The following sections discuss the object class methods in more detail.
Raghavendra. [email protected]
The GetType method
You can use the Type class to retrieve type information from the object. The GetType
method of an object return a type object, which you can use to get information on an
object such as its name, namespace, base type, and so on. Listing 6 retrieves the
information of objects. In Listing 6, you get the type of the Object and System.String
classes.
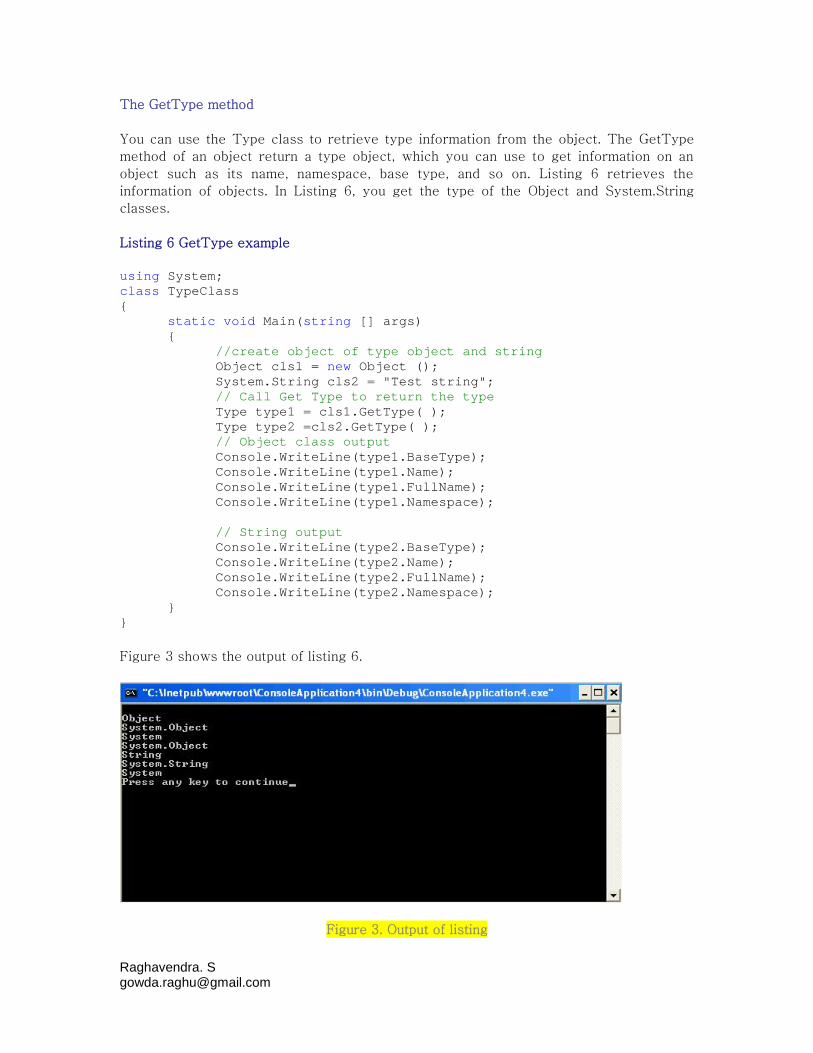
Listing 6 GetType example
using System;class TypeClass{
static void Main(string [] args){
//create object of type object and stringObject cls1 = new Object ();System.String cls2 = "Test string";// Call Get Type to return the typeType type1 = cls1.GetType( );Type type2 =cls2.GetType( );// Object class outputConsole.WriteLine(type1.BaseType);Console.WriteLine(type1.Name);Console.WriteLine(type1.FullName);Console.WriteLine(type1.Namespace);
// String outputConsole.WriteLine(type2.BaseType);Console.WriteLine(type2.Name);Console.WriteLine(type2.FullName);Console.WriteLine(type2.Namespace);
}}
Figure 3 shows the output of listing 6.
Figure 3. Output of listing
Raghavendra. [email protected]
The Equals and ReferenceEqual Methods
The Equals method in the Object class can compare two objects. The ReferenceEqual
method can compare the two objects’ instances. For example:
Console.WriteLine(Object.Equals(cls1, cls2));Console.WriteLine(Object.Equals(str1, str2));
See listing 7 get type, equal, and reference Equals
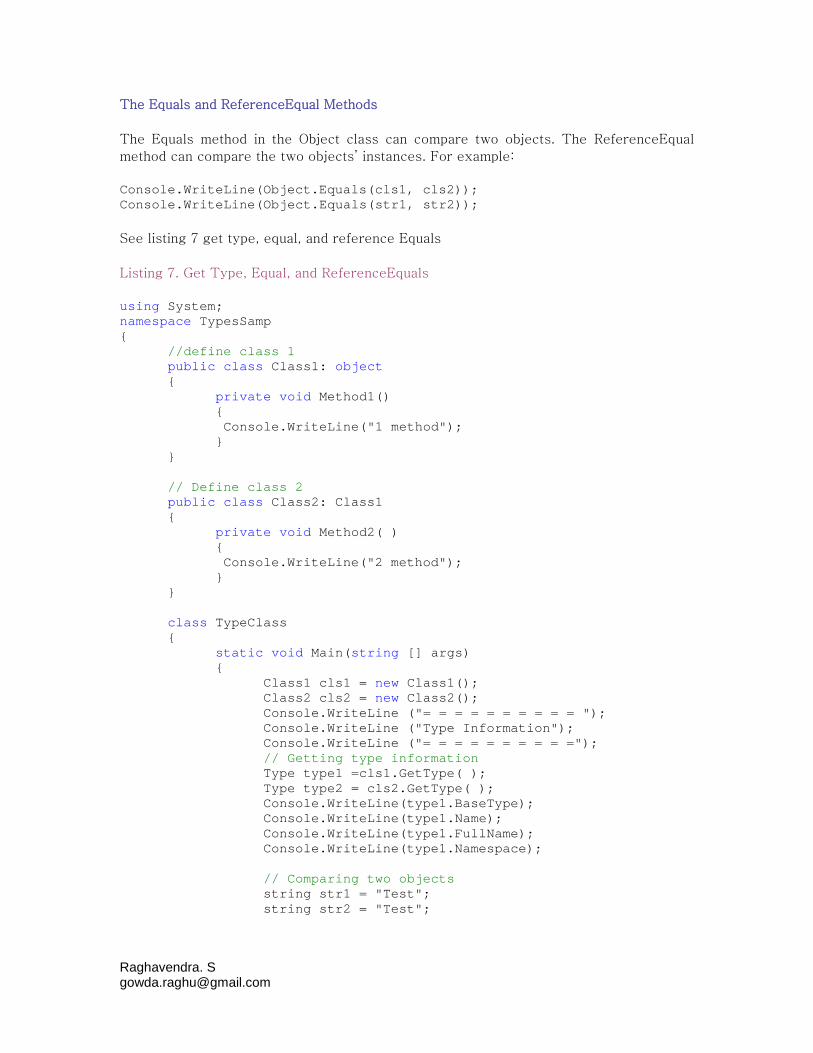
Listing 7. Get Type, Equal, and ReferenceEquals
using System;namespace TypesSamp{
//define class 1public class Class1: object{
private void Method1(){Console.WriteLine("1 method");
}}
// Define class 2public class Class2: Class1{
private void Method2( ){Console.WriteLine("2 method");
}}
class TypeClass{
static void Main(string [] args){
Class1 cls1 = new Class1();Class2 cls2 = new Class2();Console.WriteLine ("= = = = = = = = = = ");Console.WriteLine ("Type Information");Console.WriteLine ("= = = = = = = = = =");// Getting type informationType type1 =cls1.GetType( );Type type2 = cls2.GetType( );Console.WriteLine(type1.BaseType);Console.WriteLine(type1.Name);Console.WriteLine(type1.FullName);Console.WriteLine(type1.Namespace);
// Comparing two objectsstring str1 = "Test";string str2 = "Test";
Raghavendra. [email protected]
Console.WriteLine(" = = = = = = = = = = = ");Console.WriteLine("comparison of two objects");Console.WriteLine(object.Equals(cls1, cls2));Console.WriteLine(object.Equals(str1, str2));
}}
}
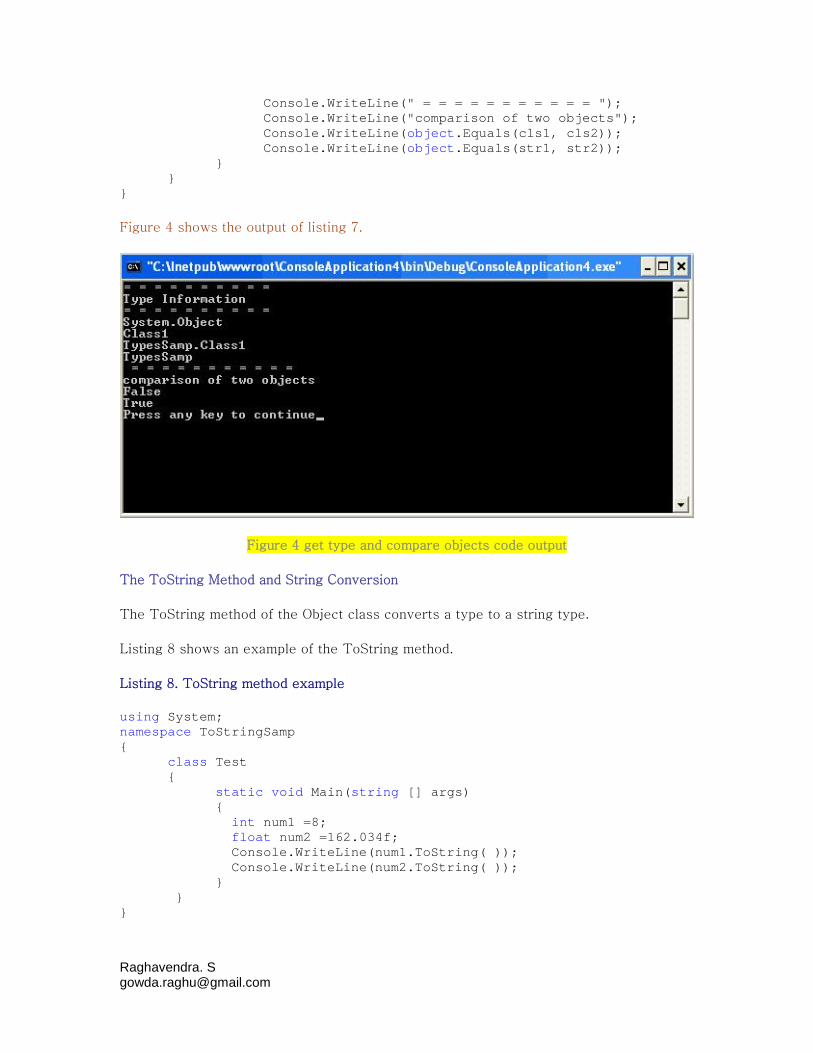
Figure 4 shows the output of listing 7.
Figure 4 get type and compare objects code output
The ToString Method and String Conversion
The ToString method of the Object class converts a type to a string type.
Listing 8 shows an example of the ToString method.
Listing 8. ToString method example
using System;namespace ToStringSamp{
class Test{
static void Main(string [] args){
int num1 =8;float num2 =162.034f;Console.WriteLine(num1.ToString( ));Console.WriteLine(num2.ToString( ));
}}
}
Raghavendra. [email protected]
The GetHashCode method
A hashtable (also commonly known as a map or dictionary) is a data structure that stores
one or more key- value pairs of data. Hashtables are useful when you want fast access
to a list of data through a key (which can be a number, letter, string, or any object). In
.NET the HashTable class represents a hashtable, which is implemented based on a
hashing algorithm. This class also provides methods and constructors to define the size
of the hash table. You can use the Add and Remove methods to add and remove items
from a hashtable. The Count property of the HashTable class returns the number of
items in a hashtable.
The GetHashCode method returns the hash code of an object. To return a hash code for
a type, you must override the GetHashCode method. An integer value is returned, which
represents whether an object is available in a hashtable.
Two other useful methods of the object class are MemberWiseClone and Finalize
methods. The MemberWiseClone method creates a shallow copy of an object, which can
be used as a clone of an object. The Finalize method acts as a destructor and can clean
up the resources before the garbage collector calls the object. You need to override this
method and write your own code to clean up the resources. The garbage collector
automatically calls the Finalize method if an object is no longer in use.
Types
C# supports value types and reference types. Value types include simple data type such
as int, char, and bool. Reference types include object, class, interface, and delegate.
A value type contains the actual value of the object. That means the actual data is stored
in the variable of a value type, whereas a reference type variable contains the reference
to the actual data.
Value Types
Value types reference the actual data and declared by using their default constructors.
The default constructor of these types returns a zero- initialized instance of the variable.
The value types can further be categorized instance of the variable. The value types can
further be categorized into many subcategories, described in the following sections.
Simple Types
Simple types include basic data types such as int, char, and bool. These types have a
reserved keyword corresponding to one class of a CLS type defined in the System class.
For example, the keyword int aliases the System.Int32 type, and the keyword long
aliases the System.Int64 type. Table 3 describes simple types.
Raghavendra. [email protected]
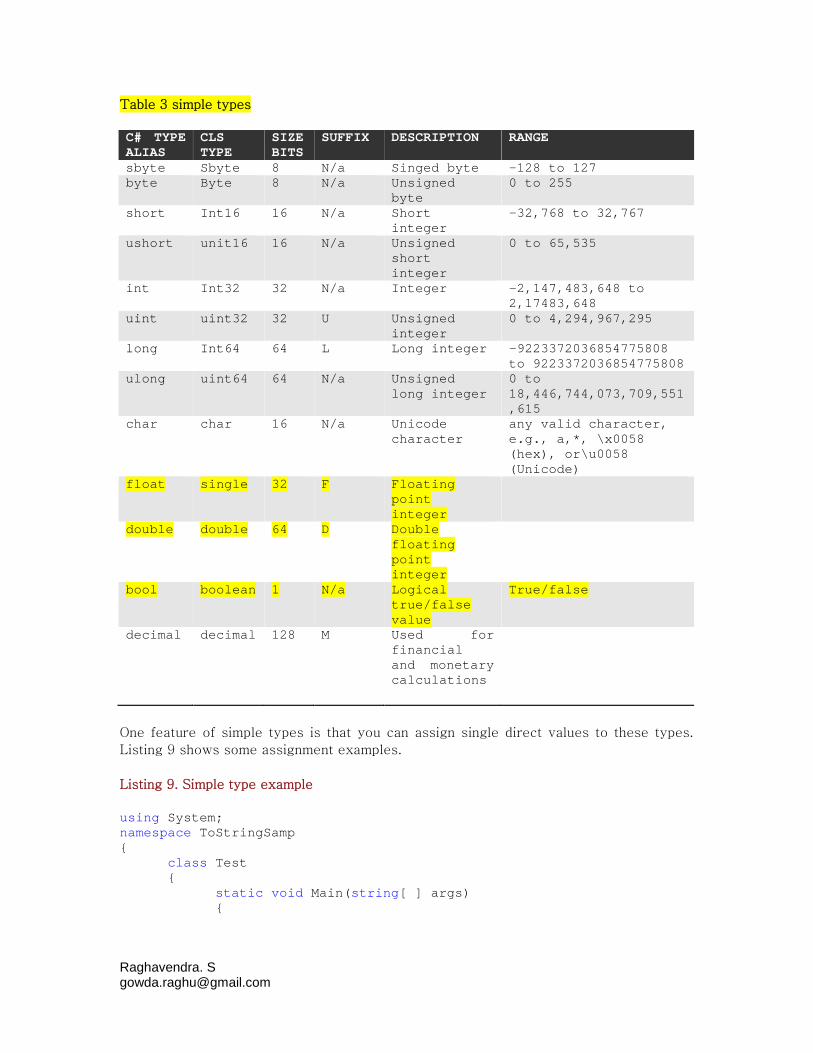
Table 3 simple types
C# TYPEALIAS
CLSTYPE
SIZEBITS
SUFFIX DESCRIPTION RANGE
sbyte Sbyte 8 N/a Singed byte -128 to 127byte Byte 8 N/a Unsigned
byte0 to 255
short Int16 16 N/a Shortinteger
-32,768 to 32,767
ushort unit16 16 N/a Unsignedshortinteger
0 to 65,535
int Int32 32 N/a Integer -2,147,483,648 to2,17483,648
uint uint32 32 U Unsignedinteger
0 to 4,294,967,295
long Int64 64 L Long integer -9223372036854775808to 9223372036854775808
ulong uint64 64 N/a Unsignedlong integer
0 to18,446,744,073,709,551,615
char char 16 N/a Unicodecharacter
any valid character,e.g., a,*, \x0058(hex), or\u0058(Unicode)
float single 32 F Floatingpointinteger
double double 64 D Doublefloatingpointinteger
bool boolean 1 N/a Logicaltrue/falsevalue
True/false
decimal decimal 128 M Used forfinancialand monetarycalculations
One feature of simple types is that you can assign single direct values to these types.
Listing 9 shows some assignment examples.
Listing 9. Simple type example
using System;namespace ToStringSamp{
class Test{
static void Main(string[ ] args){
Raghavendra. [email protected]
int num1 =12;float num2 =3.05f;double num3 = 3.5;bool bl = true;
Console.WriteLine(num1.ToString());Console.WriteLine(num2.ToString());Console.WriteLine(num3.ToString());Console.WriteLine(bl.ToString());
}}
}
Struct Type
A struct type, or structure type, can declare constructors, constants, fields, methods,
properties, indexers, operators, and nested types. Structure types are similar to classes,
but they’re lightweight objects with no inheritance mechanism.
However, all structures inherit from the Object class.
In listing 10, your struct CarRec uses a record for a car with three members: name,
model, and year.
Listing 10. a struct type example
using System;
struct CarRec{
public string Name;public string Model;public int Year;
}
class TestStructureType{
public static void Main (){
CarRec rec;rec.Name ="Honda";rec.Model ="Accord";rec.Year = 1999;Console.WriteLine("Car Name: " +rec.Name);Console.WriteLine("Car Modal: " +rec.Model );Console.WriteLine("Car: "+rec.Year);
}}
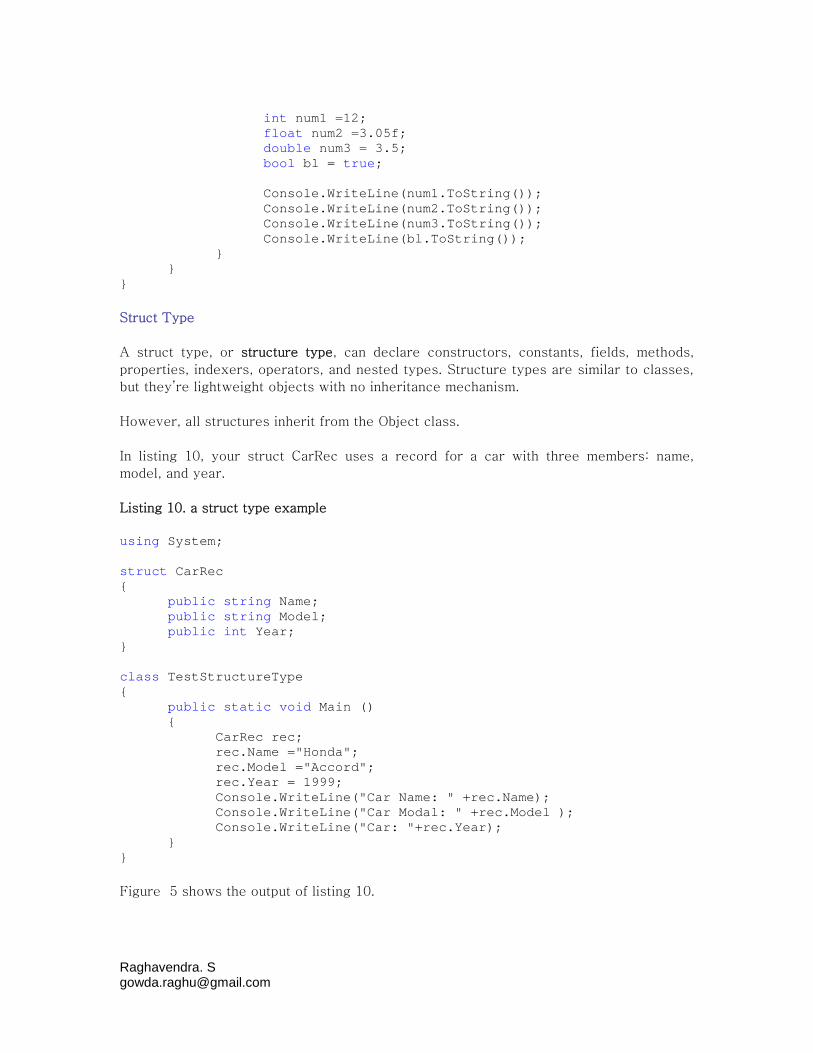
Figure 5 shows the output of listing 10.
Raghavendra. [email protected]
Figure 5. Output of listing 10
Enum data types
The enum data types are useful when you need to represent a set of multiple values. A
good example of an enumeration is a list of colors:
enum ColorEnum {black, red, green};
Enum types are limited to long, int, short and byte.
This code declares an enum ColorEnum with members black, red, and green:
//black is 0, red is 1, green is 2.enum ColorEnum{black, red, green};
You can also set your associated value to an e num type such as:
enum ColorEnum {black =0, red =1, green =2};
By default, enum associated value starts with 0 and increases by 1 for the next defined
member. If you assign your value, the default value of the next e num type member will
be the value of current member plus 1. For example, in this code the value of green is 7;
enum ColorEnum {black =0, red =6, green };
Reference Types
A reference type is a reference to an instance type. The main reference types are class,
array, interface, delegate, and event. A null value is assigned to a reference type by
default. A type assigned to a null value means the absence of an instance of that type.
Raghavendra. [email protected]
Class Type
A class type defines a data structure that can have members in the form of methods,
properties, indexers, events, constructors, operators, and delegates. The class keyword
is used to create a class type. You can add methods, properties, indexers, delegates, and
events to the class. Listing 11 shows an properties, indexers, delegates, and events to
the class. Listing 11 shows an example of a class type.
Listing 11 Class Type example
// Define Class 1public class class1:Object{
private void Method1(){
Console.WriteLine("1 method" );}
}
The new keyword creates access to the class type. After creating an instance, you can
use the dot (.) operator to access its members, as shows here:
Class1 cls1 = new class1();cls1.Method1();
I’ll return to the discussion of classes later in this article.
Interface Type
An interface type is an abstract base class, which is a skeleton of a class and doesn’t
implement the members that it defines. Only the derived class of an interface can
implement the members of the interface. Interfaces can contain methods, properties,
events, and indexers.
In listing 12 MyInterface is an interface that defines the method TestMethod.MyClass is
derived from MyInterface, and you implement the MyMethod method in MyClass.
Listing 12. The interface type example
using System;interface MyInterface{
void TestMethod();}
class MyClass:MyInterface{
public static void Main(){
MyClass cls=new MyClass();cls.TestMethod();
}
Raghavendra. [email protected]
public void TestMethod(){
Console.WriteLine("Test Method");}
}
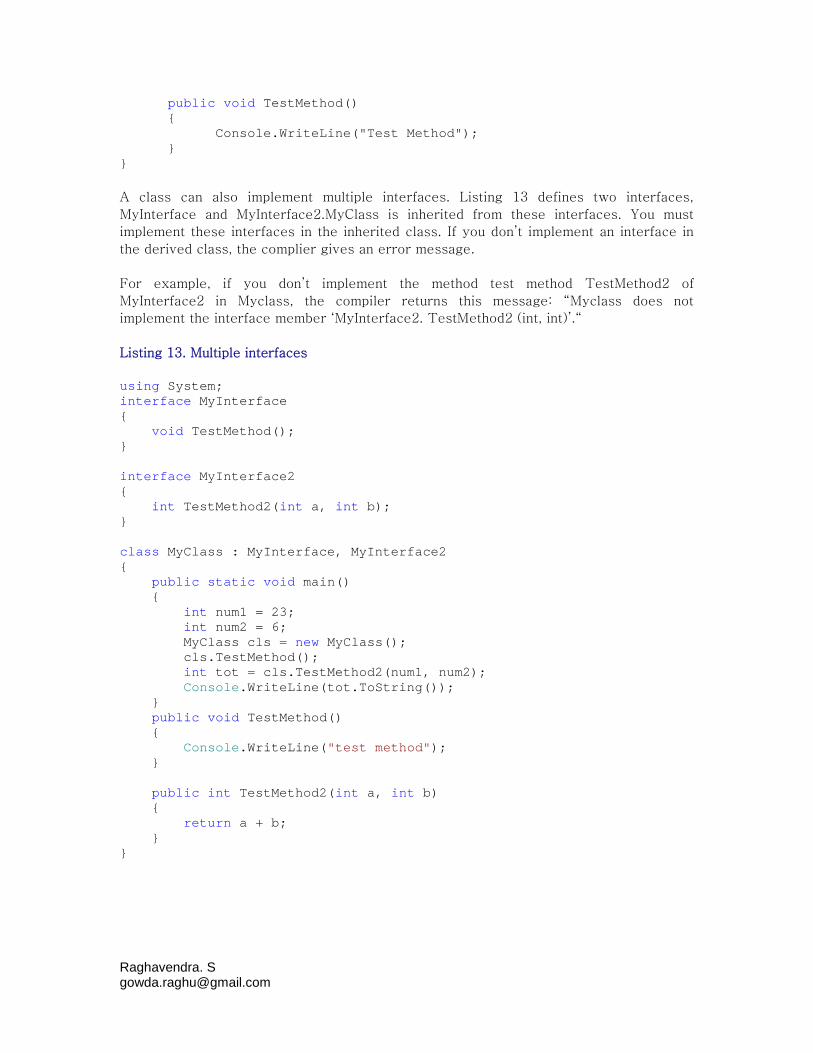
A class can also implement multiple interfaces. Listing 13 defines two interfaces,
MyInterface and MyInterface2.MyClass is inherited from these interfaces. You must
implement these interfaces in the inherited class. If you don’t implement an interface in
the derived class, the complier gives an error message.
For example, if you don’t implement the method test method TestMethod2 of
MyInterface2 in Myclass, the compiler returns this message: “Myclass does not
implement the interface member ‘MyInterface2. TestMethod2 (int, int)’.“
Listing 13. Multiple interfaces
using System;interface MyInterface{
void TestMethod();}
interface MyInterface2{
int TestMethod2(int a, int b);}
class MyClass : MyInterface, MyInterface2{
public static void main(){
int num1 = 23;int num2 = 6;MyClass cls = new MyClass();cls.TestMethod();int tot = cls.TestMethod2(num1, num2);Console.WriteLine(tot.ToString());
}public void TestMethod(){
Console.WriteLine("test method");}
public int TestMethod2(int a, int b){
return a + b;}
}
Raghavendra. [email protected]
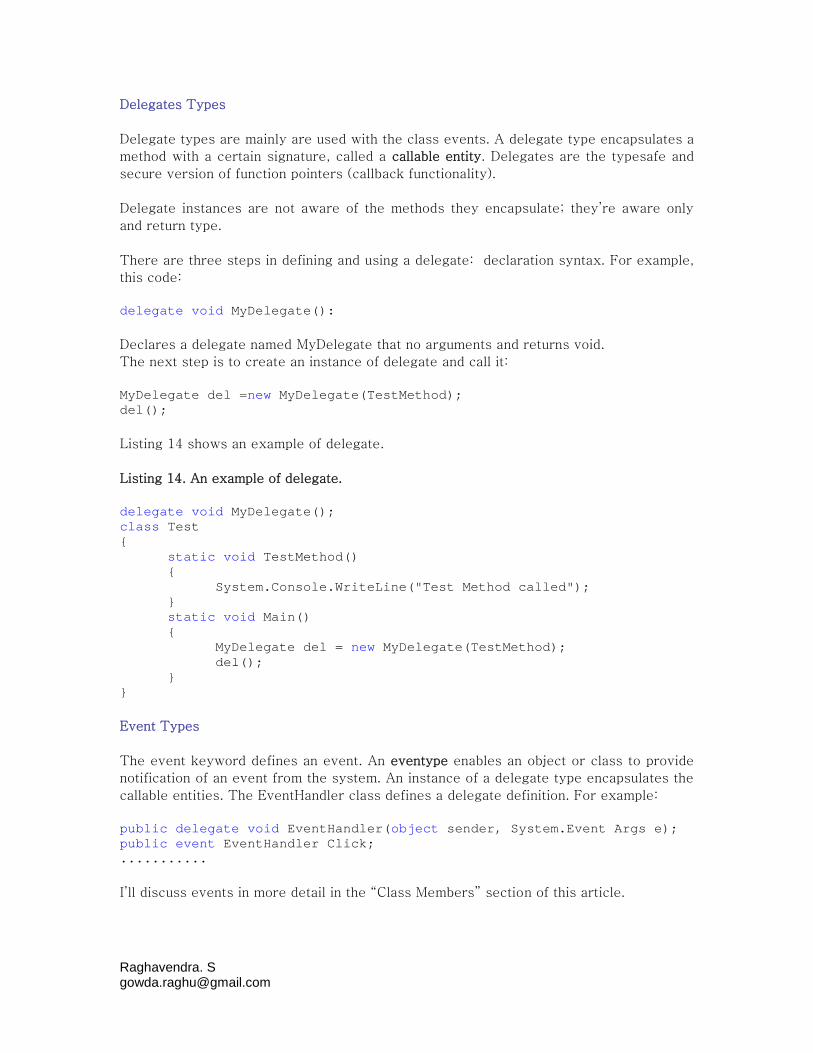
Delegates Types
Delegate types are mainly are used with the class events. A delegate type encapsulates a
method with a certain signature, called a callable entity. Delegates are the typesafe and
secure version of function pointers (callback functionality).
Delegate instances are not aware of the methods they encapsulate; they’re aware only
and return type.
There are three steps in defining and using a delegate: declaration syntax. For example,
this code:
delegate void MyDelegate():
Declares a delegate named MyDelegate that no arguments and returns void.
The next step is to create an instance of delegate and call it:
MyDelegate del =new MyDelegate(TestMethod);del();
Listing 14 shows an example of delegate.
Listing 14. An example of delegate.
delegate void MyDelegate();class Test{
static void TestMethod(){
System.Console.WriteLine("Test Method called");}static void Main(){
MyDelegate del = new MyDelegate(TestMethod);del();
}}
Event Types
The event keyword defines an event. An eventype enables an object or class to provide
notification of an event from the system. An instance of a delegate type encapsulates the
callable entities. The EventHandler class defines a delegate definition. For example:
public delegate void EventHandler(object sender, System.Event Args e);public event EventHandler Click;...........
I’ll discuss events in more detail in the “Class Members” section of this article.
Raghavendra. [email protected]
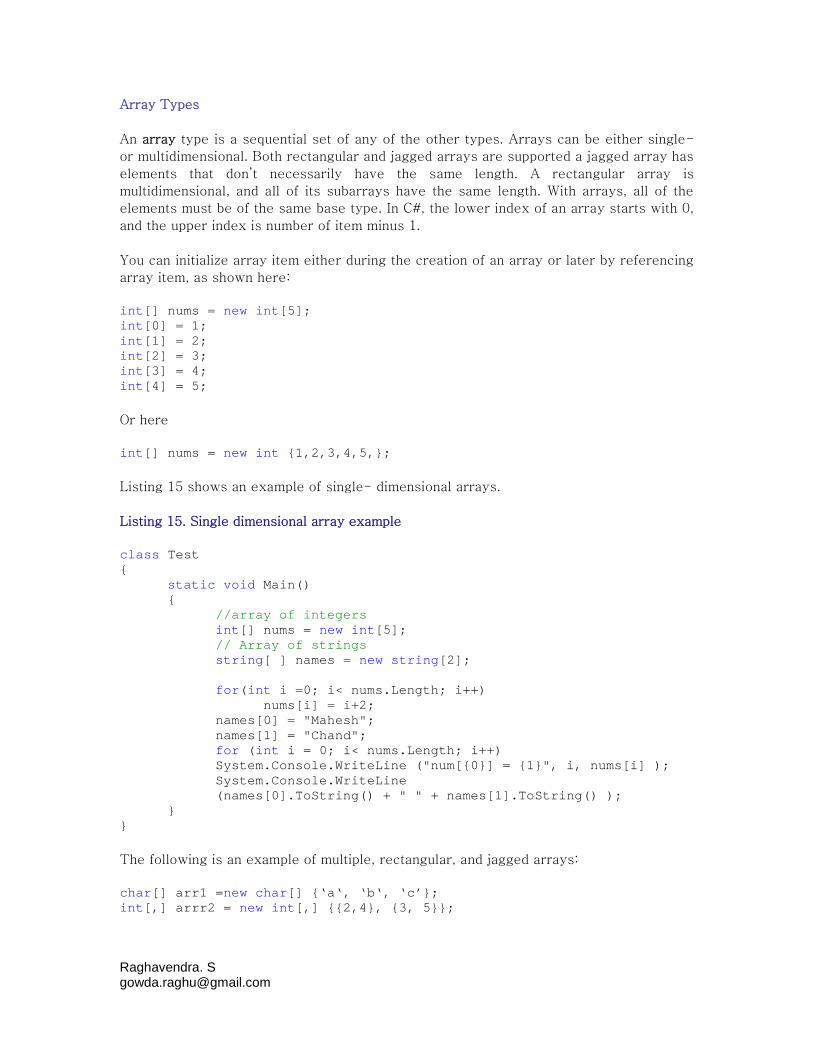
Array Types
An array type is a sequential set of any of the other types. Arrays can be either single-
or multidimensional. Both rectangular and jagged arrays are supported a jagged array has
elements that don’t necessarily have the same length. A rectangular array is
multidimensional, and all of its subarrays have the same length. With arrays, all of the
elements must be of the same base type. In C#, the lower index of an array starts with 0,
and the upper index is number of item minus 1.
You can initialize array item either during the creation of an array or later by referencing
array item, as shown here:
int[] nums = new int[5];int[0] = 1;int[1] = 2;int[2] = 3;int[3] = 4;int[4] = 5;
Or here
int[] nums = new int {1,2,3,4,5,};
Listing 15 shows an example of single- dimensional arrays.
Listing 15. Single dimensional array example
class Test{
static void Main(){
//array of integersint[] nums = new int[5];// Array of stringsstring[ ] names = new string[2];
for(int i =0; i< nums.Length; i++)nums[i] = i+2;
names[0] = "Mahesh";names[1] = "Chand";for (int i = 0; i< nums.Length; i++)System.Console.WriteLine ("num[{0}] = {1}", i, nums[i] );System.Console.WriteLine(names[0].ToString() + " " + names[1].ToString() );
}}
The following is an example of multiple, rectangular, and jagged arrays:
char[] arr1 =new char[] {‘a‘, ‘b‘, ‘c’};int[,] arrr2 = new int[,] {{2,4}, {3, 5}};
Raghavendra. [email protected]
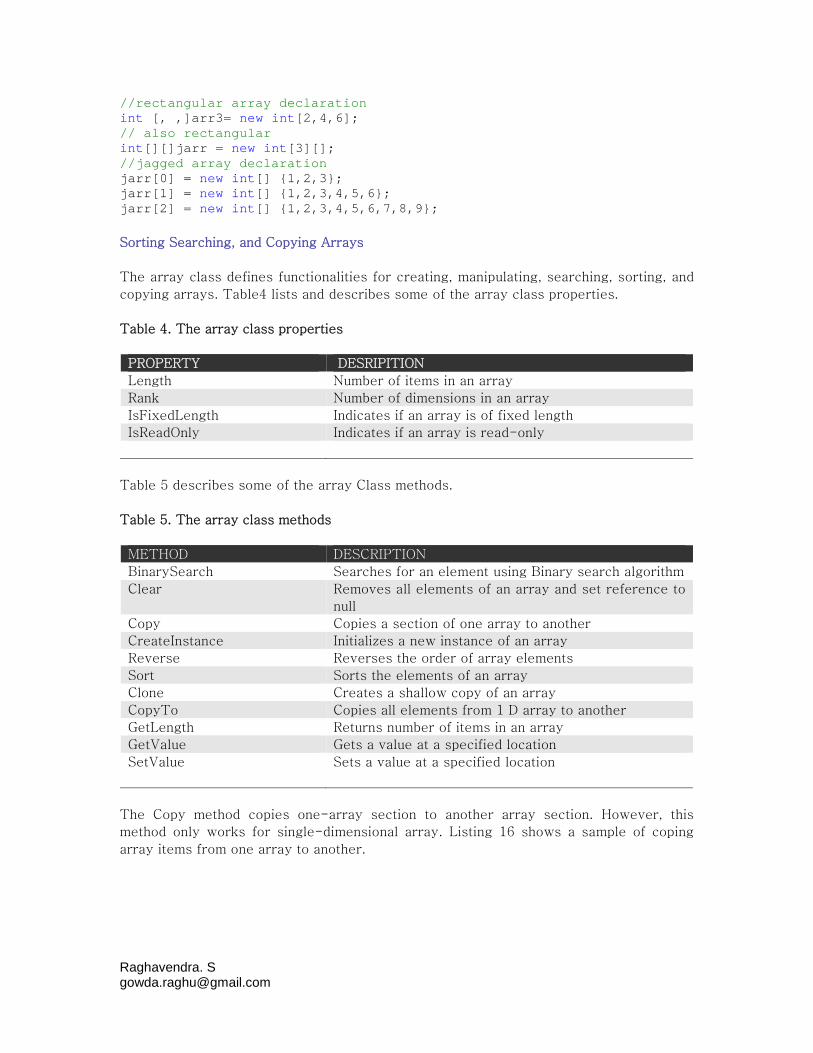
//rectangular array declarationint [, ,]arr3= new int[2,4,6];// also rectangularint[][]jarr = new int[3][];//jagged array declarationjarr[0] = new int[] {1,2,3};jarr[1] = new int[] {1,2,3,4,5,6};jarr[2] = new int[] {1,2,3,4,5,6,7,8,9};
Sorting Searching, and Copying Arrays
The array class defines functionalities for creating, manipulating, searching, sorting, and
copying arrays. Table4 lists and describes some of the array class properties.
Table 4. The array class properties
PROPERTY DESRIPITION
Length Number of items in an array
Rank Number of dimensions in an array
IsFixedLength Indicates if an array is of fixed length
IsReadOnly Indicates if an array is read-only
Table 5 describes some of the array Class methods.
Table 5. The array class methods
METHOD DESCRIPTION
BinarySearch Searches for an element using Binary search algorithm
Clear Removes all elements of an array and set reference to
null
Copy Copies a section of one array to another
CreateInstance Initializes a new instance of an array
Reverse Reverses the order of array elements
Sort Sorts the elements of an array
Clone Creates a shallow copy of an array
CopyTo Copies all elements from 1 D array to another
GetLength Returns number of items in an array
GetValue Gets a value at a specified location
SetValue Sets a value at a specified location
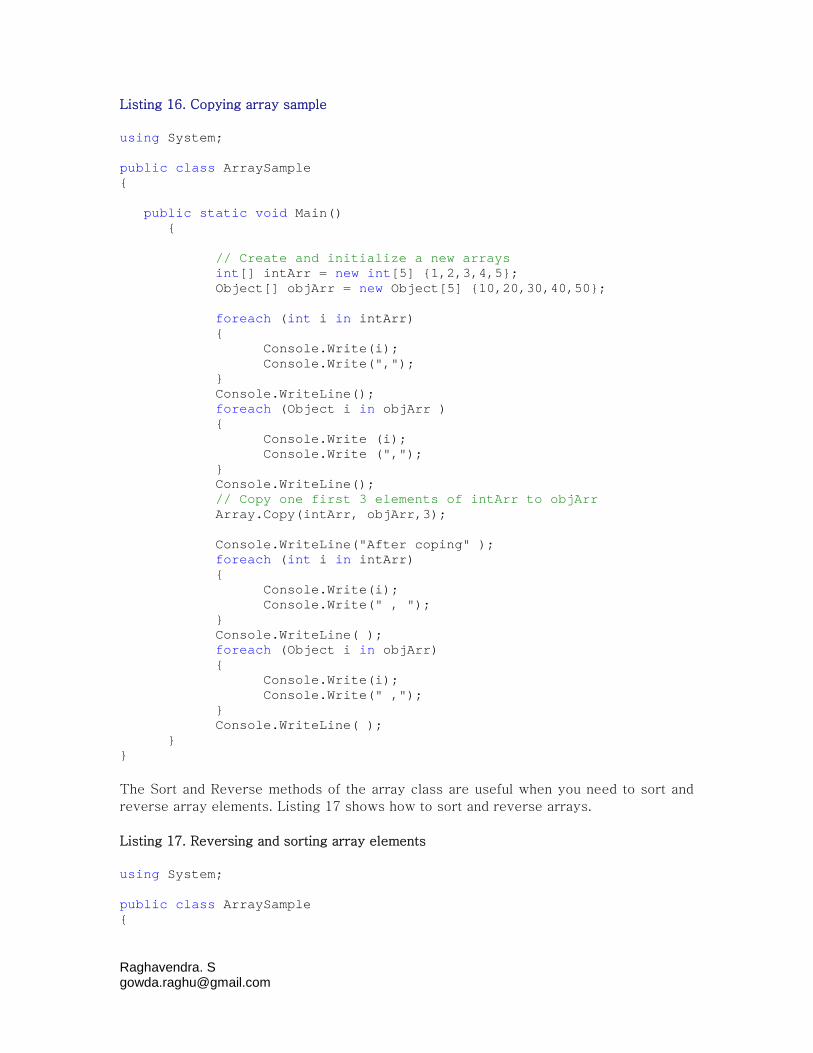
The Copy method copies one-array section to another array section. However, this
method only works for single-dimensional array. Listing 16 shows a sample of coping
array items from one array to another.
Raghavendra. [email protected]
Listing 16. Copying array sample
using System;
public class ArraySample{
public static void Main(){
// Create and initialize a new arraysint[] intArr = new int[5] {1,2,3,4,5};Object[] objArr = new Object[5] {10,20,30,40,50};
foreach (int i in intArr){
Console.Write(i);Console.Write(",");
}Console.WriteLine();foreach (Object i in objArr ){
Console.Write (i);Console.Write (",");
}Console.WriteLine();// Copy one first 3 elements of intArr to objArrArray.Copy(intArr, objArr,3);
Console.WriteLine("After coping" );foreach (int i in intArr){
Console.Write(i);Console.Write(" , ");
}Console.WriteLine( );foreach (Object i in objArr){
Console.Write(i);Console.Write(" ,");
}Console.WriteLine( );
}}
The Sort and Reverse methods of the array class are useful when you need to sort and
reverse array elements. Listing 17 shows how to sort and reverse arrays.
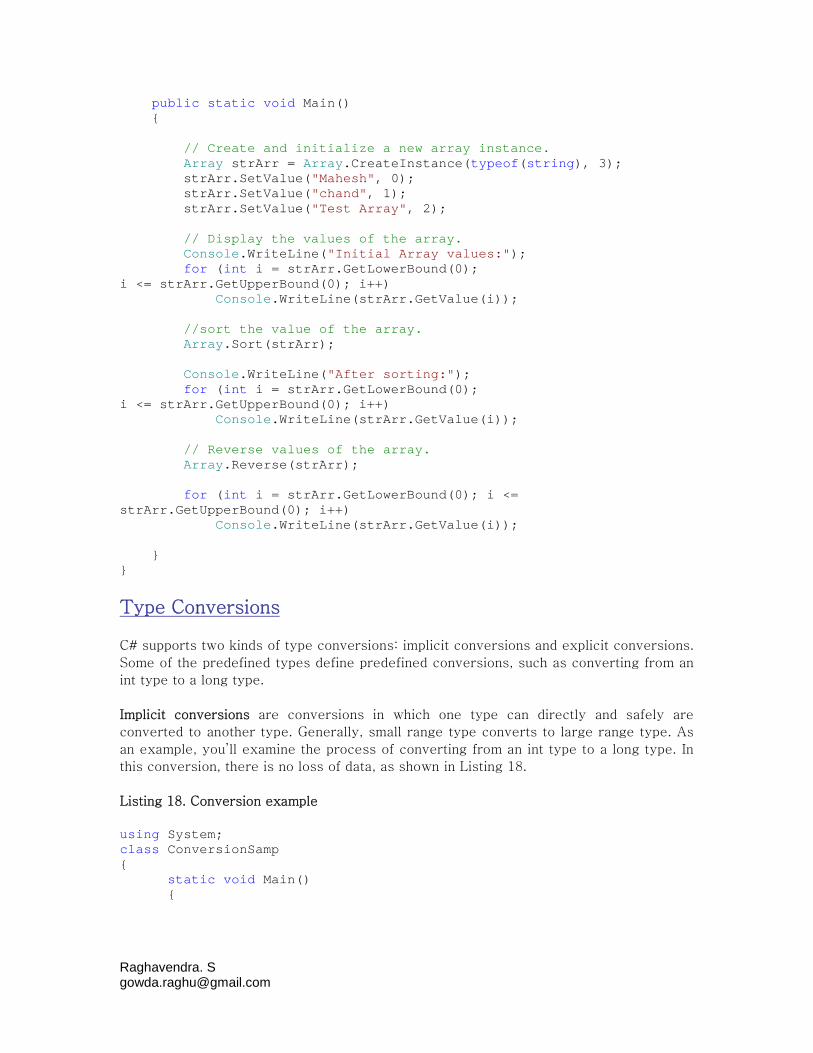
Listing 17. Reversing and sorting array elements
using System;
public class ArraySample{
Raghavendra. [email protected]
public static void Main(){
// Create and initialize a new array instance.Array strArr = Array.CreateInstance(typeof(string), 3);strArr.SetValue("Mahesh", 0);strArr.SetValue("chand", 1);strArr.SetValue("Test Array", 2);
// Display the values of the array.Console.WriteLine("Initial Array values:");for (int i = strArr.GetLowerBound(0);
i <= strArr.GetUpperBound(0); i++)Console.WriteLine(strArr.GetValue(i));
//sort the value of the array.Array.Sort(strArr);
Console.WriteLine("After sorting:");for (int i = strArr.GetLowerBound(0);
i <= strArr.GetUpperBound(0); i++)Console.WriteLine(strArr.GetValue(i));
// Reverse values of the array.Array.Reverse(strArr);
for (int i = strArr.GetLowerBound(0); i <=strArr.GetUpperBound(0); i++)
Console.WriteLine(strArr.GetValue(i));
}}
Type Conversions
C# supports two kinds of type conversions: implicit conversions and explicit conversions.
Some of the predefined types define predefined conversions, such as converting from an
int type to a long type.
Implicit conversions are conversions in which one type can directly and safely are
converted to another type. Generally, small range type converts to large range type. As
an example, you’ll examine the process of converting from an int type to a long type. In
this conversion, there is no loss of data, as shown in Listing 18.
Listing 18. Conversion example
using System;class ConversionSamp{
static void Main(){
Raghavendra. [email protected]
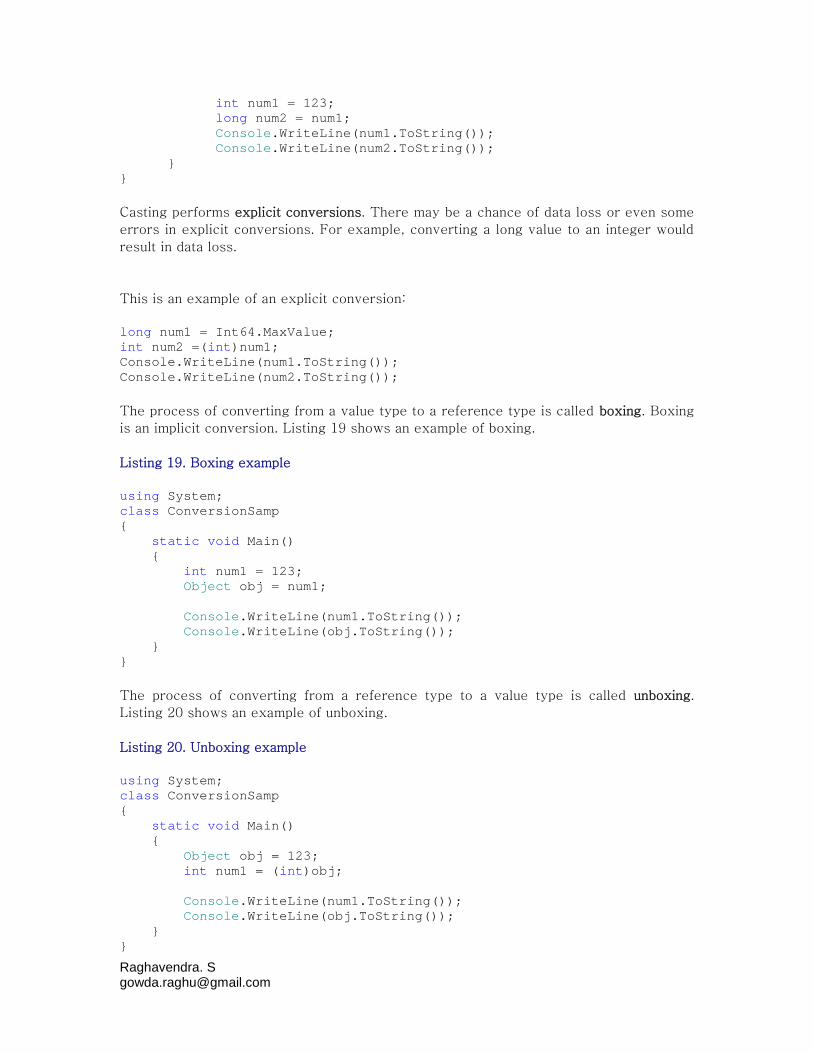
int num1 = 123;long num2 = num1;Console.WriteLine(num1.ToString());Console.WriteLine(num2.ToString());
}}
Casting performs explicit conversions. There may be a chance of data loss or even some
errors in explicit conversions. For example, converting a long value to an integer would
result in data loss.
This is an example of an explicit conversion:
long num1 = Int64.MaxValue;int num2 =(int)num1;Console.WriteLine(num1.ToString());Console.WriteLine(num2.ToString());
The process of converting from a value type to a reference type is called boxing. Boxing
is an implicit conversion. Listing 19 shows an example of boxing.
Listing 19. Boxing example
using System;class ConversionSamp{
static void Main(){
int num1 = 123;Object obj = num1;
Console.WriteLine(num1.ToString());Console.WriteLine(obj.ToString());
}}
The process of converting from a reference type to a value type is called unboxing.
Listing 20 shows an example of unboxing.
Listing 20. Unboxing example
using System;class ConversionSamp{
static void Main(){
Object obj = 123;int num1 = (int)obj;
Console.WriteLine(num1.ToString());Console.WriteLine(obj.ToString());
}}
Raghavendra. [email protected]
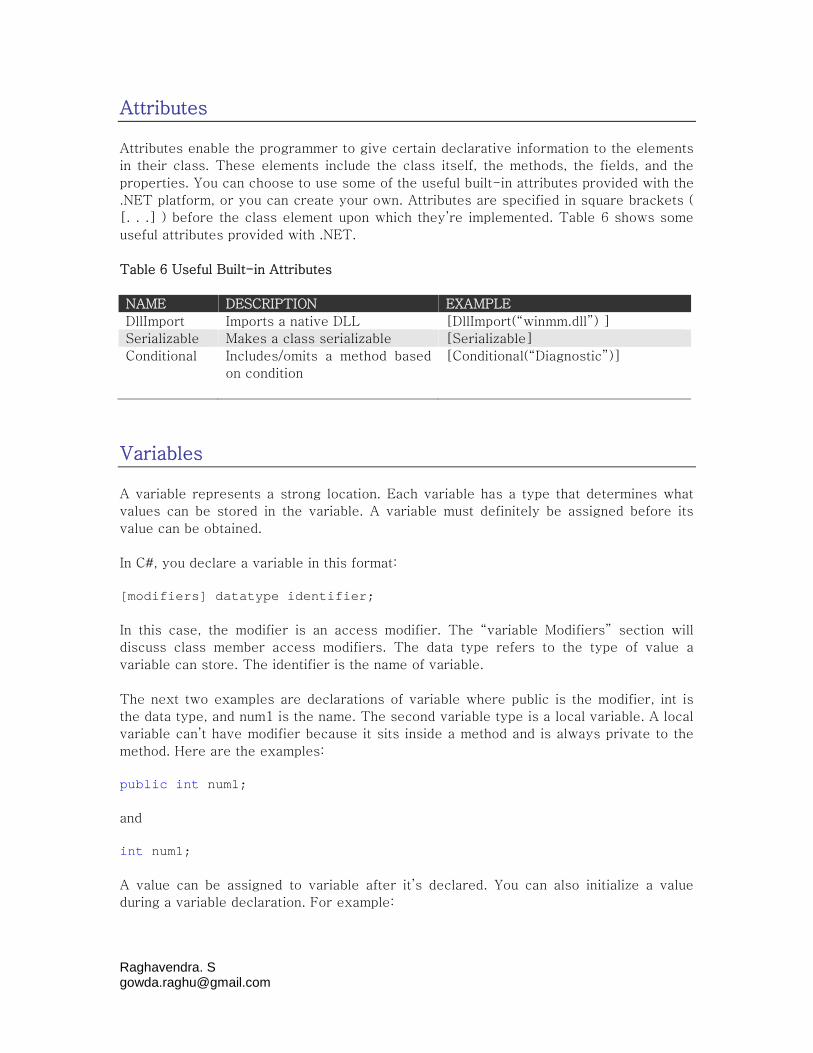
Attributes
Attributes enable the programmer to give certain declarative information to the elements
in their class. These elements include the class itself, the methods, the fields, and the
properties. You can choose to use some of the useful built-in attributes provided with the
.NET platform, or you can create your own. Attributes are specified in square brackets (
[. . .] ) before the class element upon which they’re implemented. Table 6 shows some
useful attributes provided with .NET.
Table 6 Useful Built-in Attributes
NAME DESCRIPTION EXAMPLE
DllImport Imports a native DLL [DllImport(“winmm.dll”) ]
Serializable Makes a class serializable [Serializable]
Conditional Includes/omits a method based
on condition
[Conditional(“Diagnostic”)]
Variables
A variable represents a strong location. Each variable has a type that determines what
values can be stored in the variable. A variable must definitely be assigned before its
value can be obtained.
In C#, you declare a variable in this format:
[modifiers] datatype identifier;
In this case, the modifier is an access modifier. The “variable Modifiers” section will
discuss class member access modifiers. The data type refers to the type of value a
variable can store. The identifier is the name of variable.
The next two examples are declarations of variable where public is the modifier, int is
the data type, and num1 is the name. The second variable type is a local variable. A local
variable can’t have modifier because it sits inside a method and is always private to the
method. Here are the examples:
public int num1;
and
int num1;
A value can be assigned to variable after it’s declared. You can also initialize a value
during a variable declaration. For example:
Raghavendra. [email protected]
int num1 = new Int16();num1 = 34;int num2 = 123;
Variable Modifiers
Modifiers enable you to specify a number of features that you apply to your variable. You
apply a variable modifier when you declare a variable. Keep in mind that mo-differs can
be applied to fields not to local variables.
Note: A local variable only has scope within its defined block in the program.
A variable can have one or combination of more then one of the following types: internal,
new, private, public, protected, read only, and static.
Accessibility modifiers
Some of the modifiers discussed in previous sections can set the accessibility level of
variables. These are called accessibility modifiers (see table 7).
Table 7. Accessibility modifiers
MODIFIER DESCRIPTION
internal The variable can only accessed by the current program.
public The variable can be accessed from any where as a field.
protected The variable can only be accessed with the class in which
it’s defined and it’s derived class.
protected internal The variable can only be accessed from the current
program and the type derived from the current program.
private The variable can only be accessed within the type in which
it’s defined.
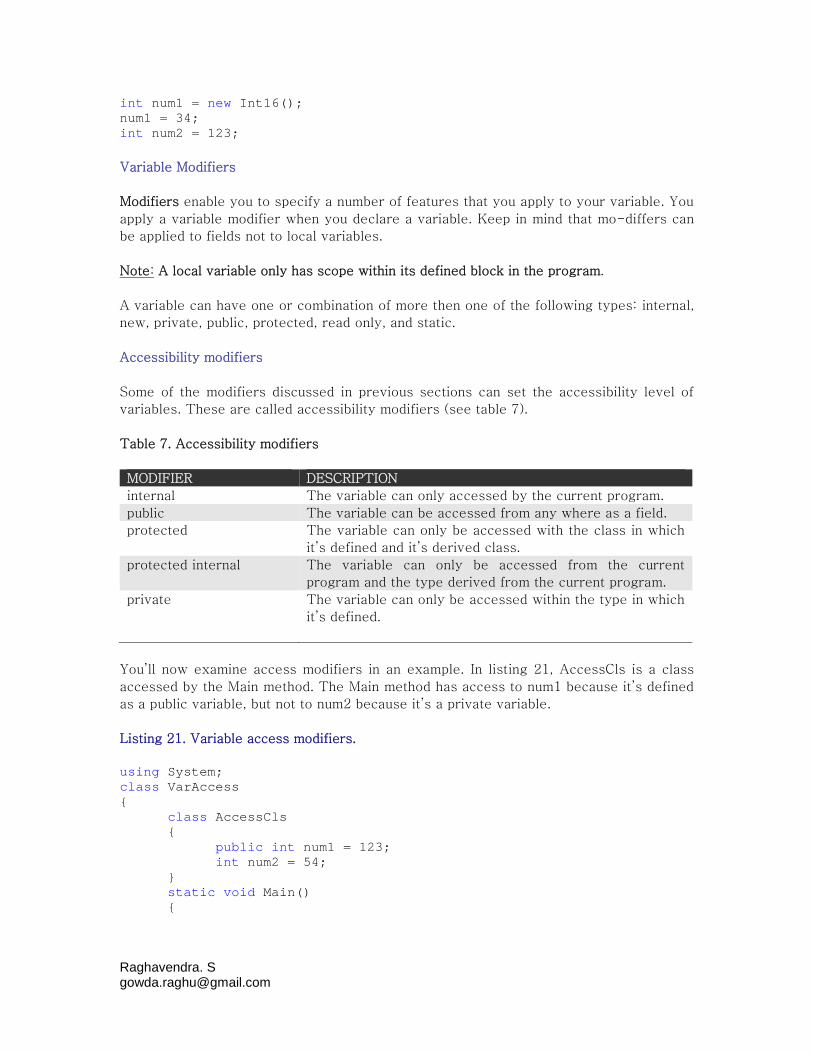
You’ll now examine access modifiers in an example. In listing 21, AccessCls is a class
accessed by the Main method. The Main method has access to num1 because it’s defined
as a public variable, but not to num2 because it’s a private variable.
Listing 21. Variable access modifiers.
using System;class VarAccess{
class AccessCls{
public int num1 = 123;int num2 = 54;
}static void Main(){
Raghavendra. [email protected]
AccessCls cls = new AccessCls();int num1 = 98;num1 = cls.num1;//int i = cls. Num2;Console.WriteLine(num1.ToString());
}}
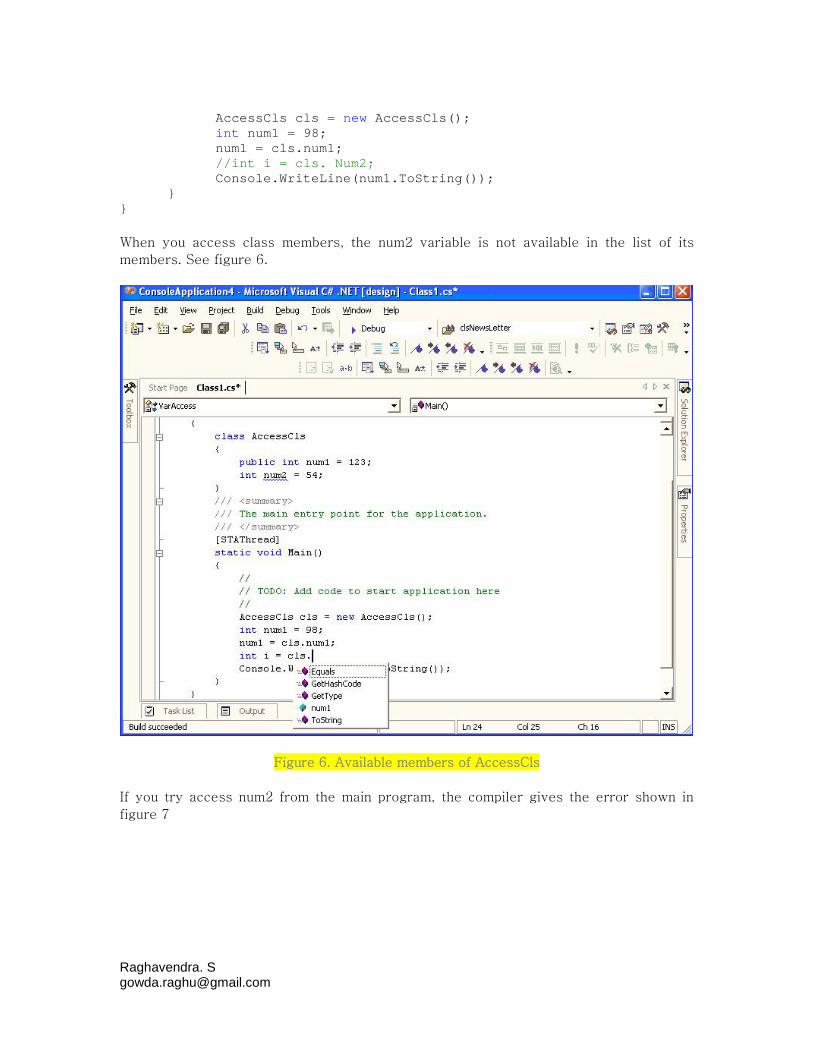
When you access class members, the num2 variable is not available in the list of its
members. See figure 6.
Figure 6. Available members of AccessCls
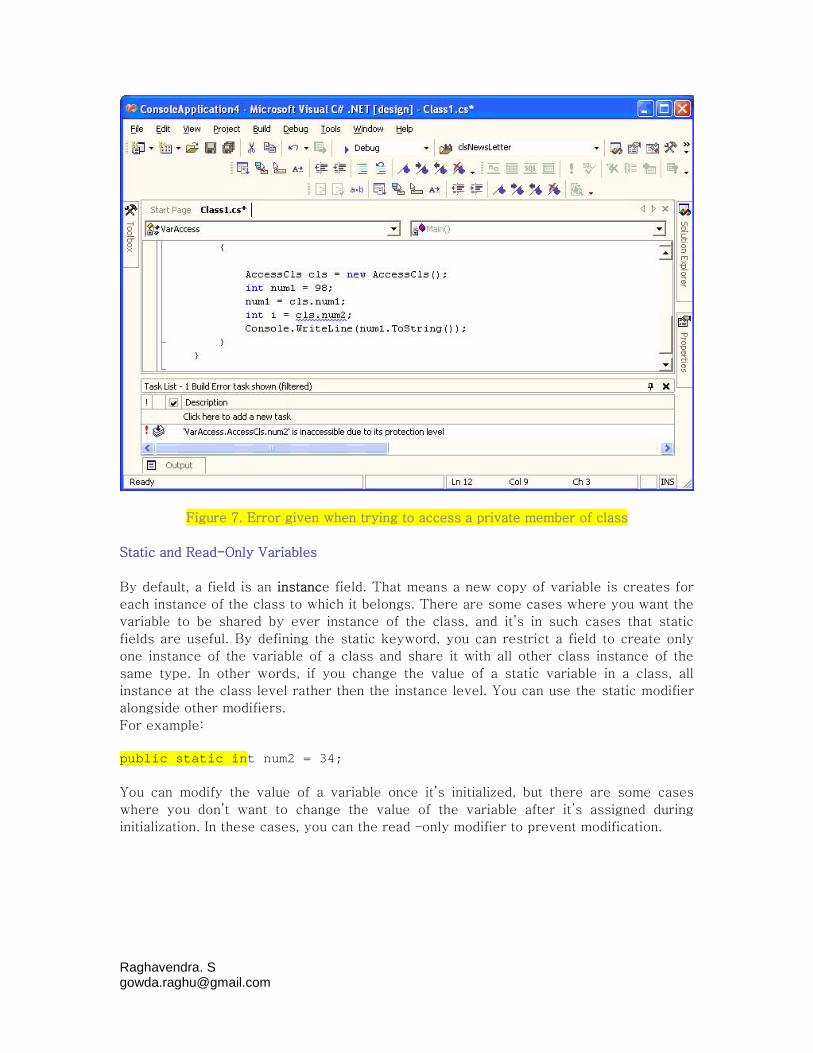
If you try access num2 from the main program, the compiler gives the error shown in
figure 7
Raghavendra. [email protected]
Figure 7. Error given when trying to access a private member of class
Static and Read-Only Variables
By default, a field is an instance field. That means a new copy of variable is creates for
each instance of the class to which it belongs. There are some cases where you want the
variable to be shared by ever instance of the class, and it’s in such cases that static
fields are useful. By defining the static keyword, you can restrict a field to create only
one instance of the variable of a class and share it with all other class instance of the
same type. In other words, if you change the value of a static variable in a class, all
instance at the class level rather then the instance level. You can use the static modifier
alongside other modifiers.
For example:
public static int num2 = 34;
You can modify the value of a variable once it’s initialized, but there are some cases
where you don’t want to change the value of the variable after it’s assigned during
initialization. In these cases, you can the read –only modifier to prevent modification.
Raghavendra. [email protected]
Constants
Constants are similar to read-only fields. You can’t change a constant value once it’s
assigned. The const keyword precedes the field to define it as a constant. Assigning
value to a constant would give a compilation error. For example:
const int num3 = 34;num3 = 54;
// Compilation error: the left-hand side of an assignment must
// be a variable, property or indexer
Although constant are similar to read-only fields, some differences exist. You can also
declare local variables to be constants. Constants are always static, even though you
don’t use the static keyword explicitly, so they’re shared by all instances of the class.
Expressions and Operators
An expression is a sequence of operators and operands that specify some sort of
computation. The operators indicate an operation to be applied to one or two operands.
For example, the operators + and - indicate adding and subtracting operands. For
example, the operator + and- indicate adding and subtracting one object from another,
respectively. Listing 22 is a simple example of operators and operands.
Listing 22. The relationship between operators and operands
using System;class Test{
static void Main(){
int num1 = 123;int num2 = 34;
int res = num1 + num2;Console.WriteLine(res.ToString());res = -(res);Console. WriteLine(res.ToString());
}}
This example applies an operator on two objects, num1 and num2:
int res = num1 + num2;
There are three types of operators:
Raghavendra. [email protected]
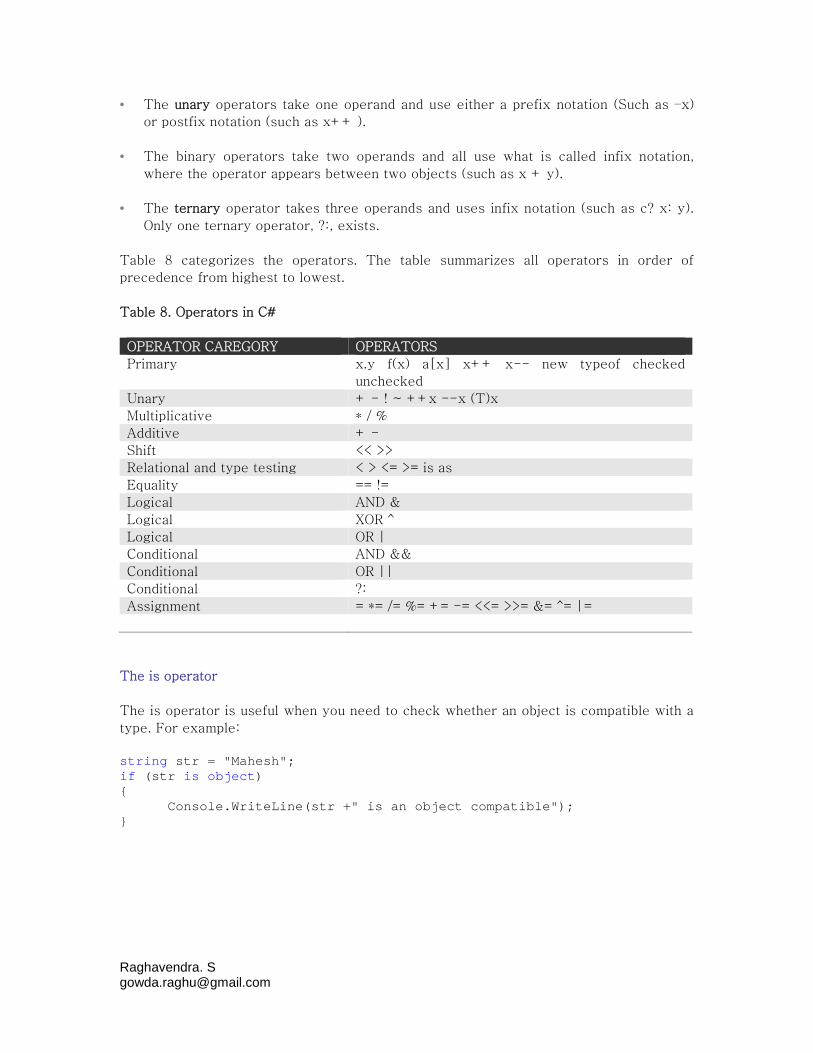
The unary operators take one operand and use either a prefix notation (Such as –x)
or postfix notation (such as x++ ).
The binary operators take two operands and all use what is called infix notation,
where the operator appears between two objects (such as x + y).
The ternary operator takes three operands and uses infix notation (such as c? x: y).
Only one ternary operator, ?:, exists.
Table 8 categorizes the operators. The table summarizes all operators in order of
precedence from highest to lowest.
Table 8. Operators in C#
OPERATOR CAREGORY OPERATORS
Primary x.y f(x) a[x] x++ x-- new typeof checked
unchecked
Unary + - ! ~ ++x --x (T)x
Multiplicative * / %
Additive + -
Shift << >>
Relational and type testing < > <= >= is as
Equality == !=
Logical AND &
Logical XOR ^
Logical OR |
Conditional AND &&
Conditional OR ||
Conditional ?:
Assignment = *= /= %= += -= <<= >>= &= ^= |=
The is operator
The is operator is useful when you need to check whether an object is compatible with a
type. For example:
string str = "Mahesh";if (str is object){
Console.WriteLine(str +" is an object compatible");}
Raghavendra. [email protected]
Control Statements
Control flow and program logic are of the most important parts of a programming
language’s dynamic behavior. In this section, I’ll cover control flow in C#. Most of the
condition and looping statements in C# comes from c and C++. Those who are familiar
with java will recognize most of them, as well.
The if . . .else Statement
The if . . .else statement is inherited from C and C++. The if . . .else statement is also
known as a conditional statement. For example:
if (condition)statementelsestatement
The if. . .section of the statement or statement block is executed when the condition is
true; if it’s false, control goes to the else statement or statement block. You can have a
nested if . . .else statement with one of more else blocks.
You can also apply conditional or ( || ) and conditional and (&&) operators to combine
more then one condition. Listing 23 shows you how to use the if. . .else statement.
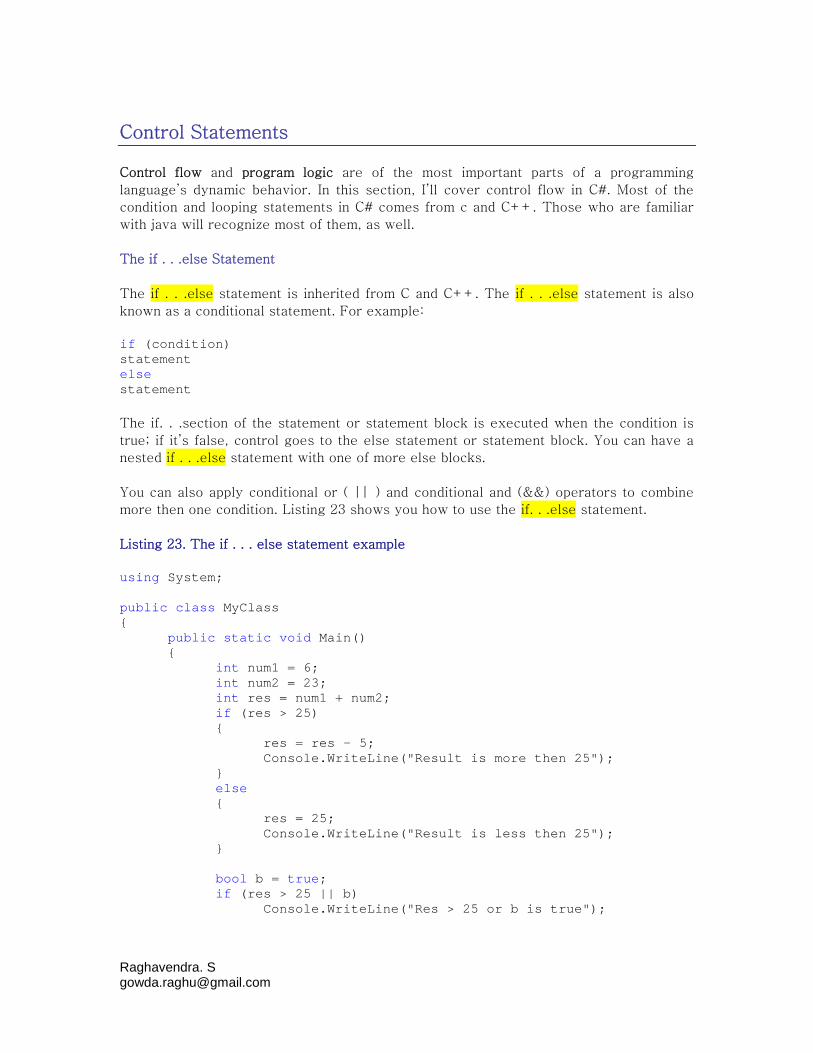
Listing 23. The if . . . else statement example
using System;
public class MyClass{
public static void Main(){
int num1 = 6;int num2 = 23;int res = num1 + num2;if (res > 25){
res = res - 5;Console.WriteLine("Result is more then 25");
}else{
res = 25;Console.WriteLine("Result is less then 25");
}
bool b = true;if (res > 25 || b)
Console.WriteLine("Res > 25 or b is true");
Raghavendra. [email protected]
else if ( (res>25) && !b )Console.WriteLine("Res > 25 and b is false");
elseConsole.WriteLine("else condition");
}}
The switch Statement
Like the if . . . statement, the switch statement is also a conditional statement. It
executes the case part if it matches with the switch value. If the switch value doesn’t
match the case value, the default option executes .The switch statement is similar to an if
. . . statement with multiple. . .else conditions, but it tends to be more readable. Note that
in C#, you can now switch on string, which is something C++ did not previously allow.
See listing 24 for an example of a switch statement.
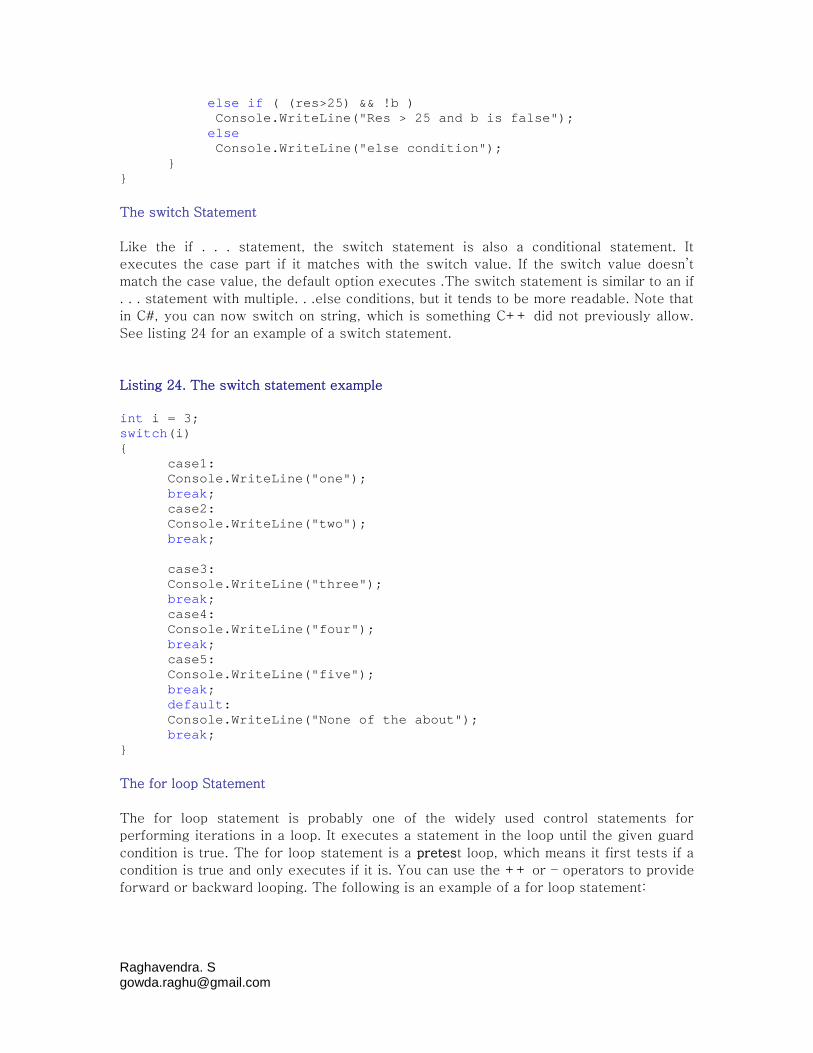
Listing 24. The switch statement example
int i = 3;switch(i){
case1:Console.WriteLine("one");break;case2:Console.WriteLine("two");break;
case3:Console.WriteLine("three");break;case4:Console.WriteLine("four");break;case5:Console.WriteLine("five");break;default:Console.WriteLine("None of the about");break;
}
The for loop Statement
The for loop statement is probably one of the widely used control statements for
performing iterations in a loop. It executes a statement in the loop until the given guard
condition is true. The for loop statement is a pretest loop, which means it first tests if a
condition is true and only executes if it is. You can use the ++ or – operators to provide
forward or backward looping. The following is an example of a for loop statement:
Raghavendra. [email protected]
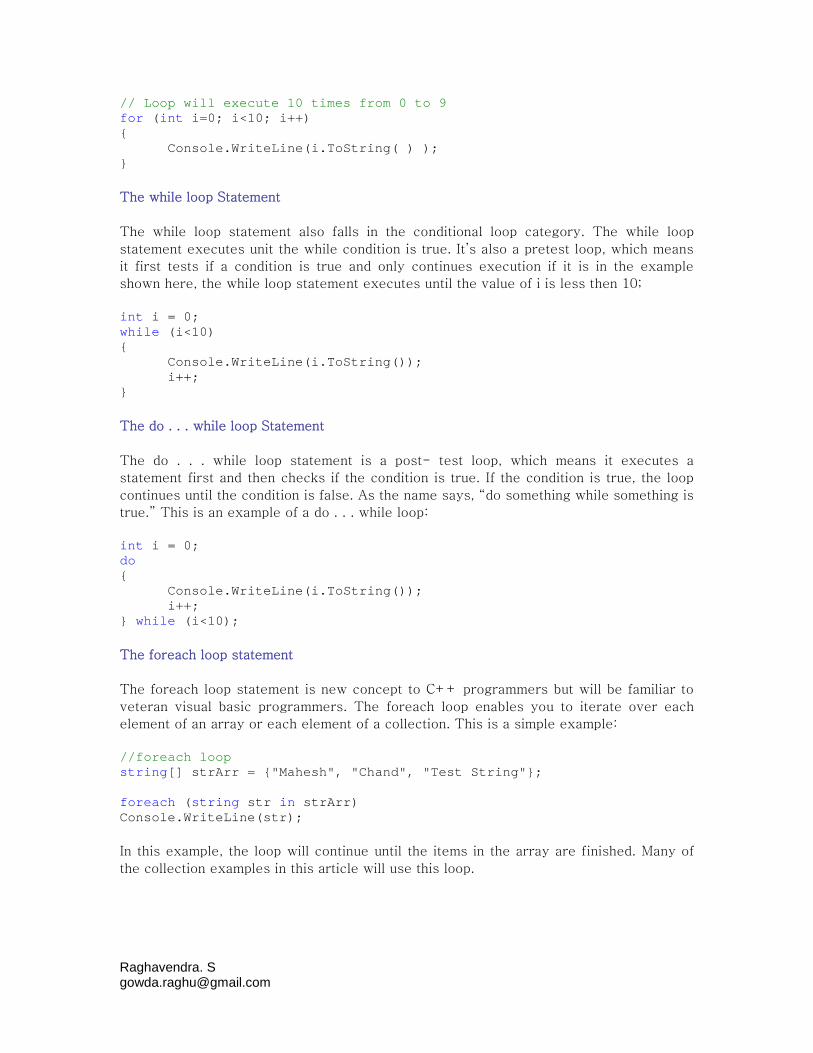
// Loop will execute 10 times from 0 to 9for (int i=0; i<10; i++){
Console.WriteLine(i.ToString( ) );}
The while loop Statement
The while loop statement also falls in the conditional loop category. The while loop
statement executes unit the while condition is true. It’s also a pretest loop, which means
it first tests if a condition is true and only continues execution if it is in the example
shown here, the while loop statement executes until the value of i is less then 10;
int i = 0;while (i<10){
Console.WriteLine(i.ToString());i++;
}
The do . . . while loop Statement
The do . . . while loop statement is a post- test loop, which means it executes a
statement first and then checks if the condition is true. If the condition is true, the loop
continues until the condition is false. As the name says, “do something while something is
true.” This is an example of a do . . . while loop:
int i = 0;do{
Console.WriteLine(i.ToString());i++;
} while (i<10);
The foreach loop statement
The foreach loop statement is new concept to C++ programmers but will be familiar to
veteran visual basic programmers. The foreach loop enables you to iterate over each
element of an array or each element of a collection. This is a simple example:
//foreach loopstring[] strArr = {"Mahesh", "Chand", "Test String"};
foreach (string str in strArr)Console.WriteLine(str);
In this example, the loop will continue until the items in the array are finished. Many of
the collection examples in this article will use this loop.

Raghavendra. [email protected]
The go to statement
The goto statement is used when you need to jump to a particular code segment. It’s
similar to the goto statement in visual basic or C++.
In the following code, if an item of array is found, the control goes to the level found and
skips all code before that.
Most programmers avoid using the goto statement, but you may find a rare need for it.
One such occasion is the use of fall-through on a switch statement. Fall- thought is the
ability for the control flow to fall from one case statement directly into another by
leaving out the break statement. In C#, fall-though in a switch statement is not allowed
as it was in C++. However, if you explicitly tell the switch statement to go to the next
label, it will perform a jump to the next case, essentially carrying out the same function
as a fall-through. Note that when using a go to in a case statement, you don’t have to
provide a break (in all other cases, a break statement is mandatory). in this is bill” and
“sometimes I’m called William” are displayed on the screen:
Console.WriteLine("What is your name? ");string name = Console.ReadLine();switch(name){
case "Bill":Console.WriteLine("My name is Bill.");goto case "William";
case "William":Console.WriteLine("Sometimes I’m called William.");
break;case "Anne":
Console.WriteLine("My name is Anne. ");break;
default:break;
}
The break statement
The break statement exits from a loop or a switch immediately. The break statement is
usually applicable when you need to release control of the loop after a certain condition
is met, or if you want to exit from the loop without executing the rest of the loop
structure. You use it in for, foreach, while, and do. . . while loop statements. The
following code shows the break statement. If condition j == 0 is true control will exit
from the loop:
for (int i=0; i<10; i++){
int j = i*i;Console.WriteLine(i.ToString());if (j == 9)break;Console.WriteLine(j.ToString());
}
Raghavendra. [email protected]
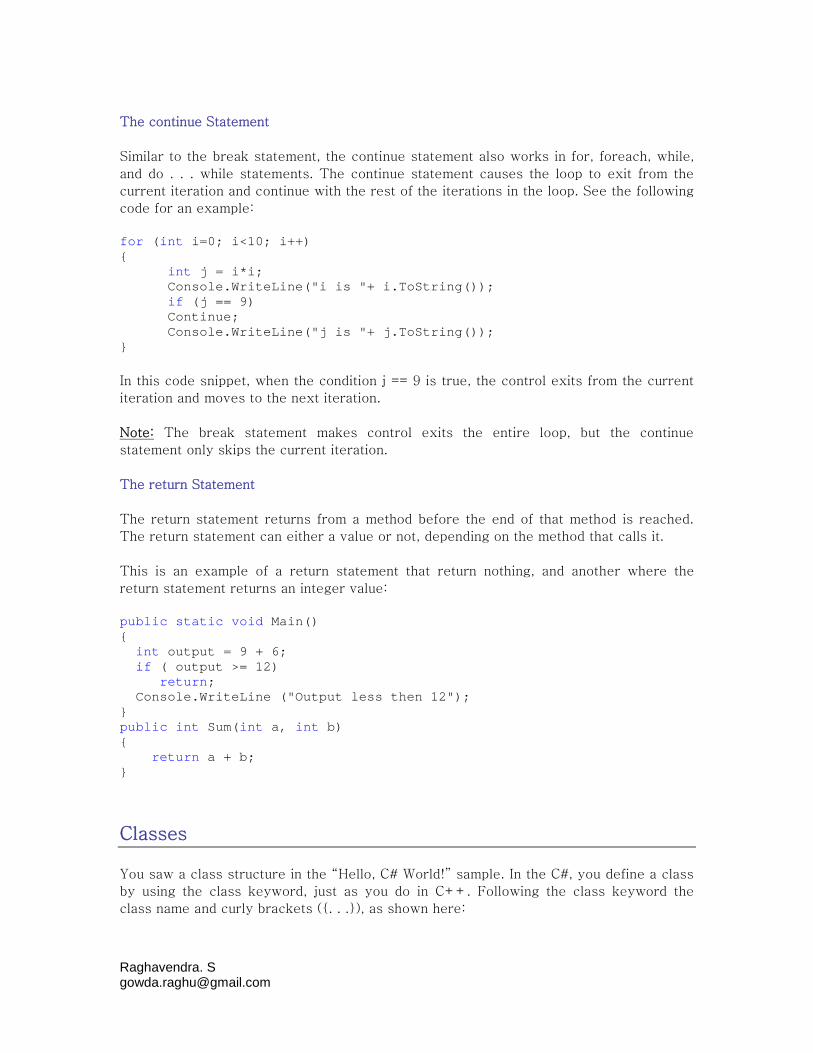
The continue Statement
Similar to the break statement, the continue statement also works in for, foreach, while,
and do . . . while statements. The continue statement causes the loop to exit from the
current iteration and continue with the rest of the iterations in the loop. See the following
code for an example:
for (int i=0; i<10; i++){
int j = i*i;Console.WriteLine("i is "+ i.ToString());if (j == 9)Continue;Console.WriteLine("j is "+ j.ToString());
}
In this code snippet, when the condition j == 9 is true, the control exits from the current
iteration and moves to the next iteration.
Note: The break statement makes control exits the entire loop, but the continue
statement only skips the current iteration.
The return Statement
The return statement returns from a method before the end of that method is reached.
The return statement can either a value or not, depending on the method that calls it.
This is an example of a return statement that return nothing, and another where the
return statement returns an integer value:
public static void Main(){
int output = 9 + 6;if ( output >= 12)
return;Console.WriteLine ("Output less then 12");
}public int Sum(int a, int b){
return a + b;}
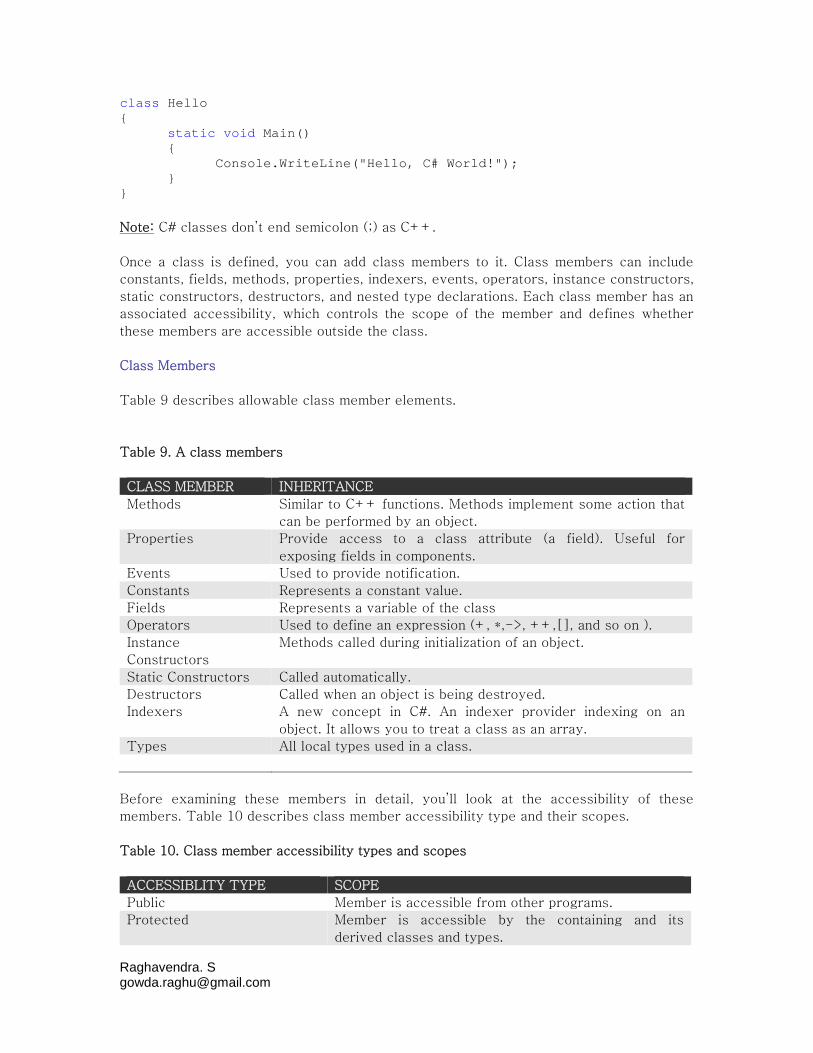
Classes
You saw a class structure in the “Hello, C# World!” sample. In the C#, you define a class
by using the class keyword, just as you do in C++. Following the class keyword the
class name and curly brackets ({. . .}), as shown here:
Raghavendra. [email protected]
class Hello{
static void Main(){
Console.WriteLine("Hello, C# World!");}
}
Note: C# classes don’t end semicolon (;) as C++.
Once a class is defined, you can add class members to it. Class members can include
constants, fields, methods, properties, indexers, events, operators, instance constructors,
static constructors, destructors, and nested type declarations. Each class member has an
associated accessibility, which controls the scope of the member and defines whether
these members are accessible outside the class.
Class Members
Table 9 describes allowable class member elements.
Table 9. A class members
CLASS MEMBER INHERITANCE
Methods Similar to C++ functions. Methods implement some action that
can be performed by an object.
Properties Provide access to a class attribute (a field). Useful for
exposing fields in components.
Events Used to provide notification.
Constants Represents a constant value.
Fields Represents a variable of the class
Operators Used to define an expression (+, *,->, ++,[], and so on ).
Instance
Constructors
Methods called during initialization of an object.
Static Constructors Called automatically.
Destructors Called when an object is being destroyed.
Indexers A new concept in C#. An indexer provider indexing on an
object. It allows you to treat a class as an array.
Types All local types used in a class.
Before examining these members in detail, you’ll look at the accessibility of these
members. Table 10 describes class member accessibility type and their scopes.
Table 10. Class member accessibility types and scopes
ACCESSIBLITY TYPE SCOPE
Public Member is accessible from other programs.
Protected Member is accessible by the containing and its
derived classes and types.
Raghavendra. [email protected]
Internal Member is accessible only the current program.
Protected internal Member is accessible by the current program and the
class derived from the containing class.
Now you’ll look at class members in more detail.
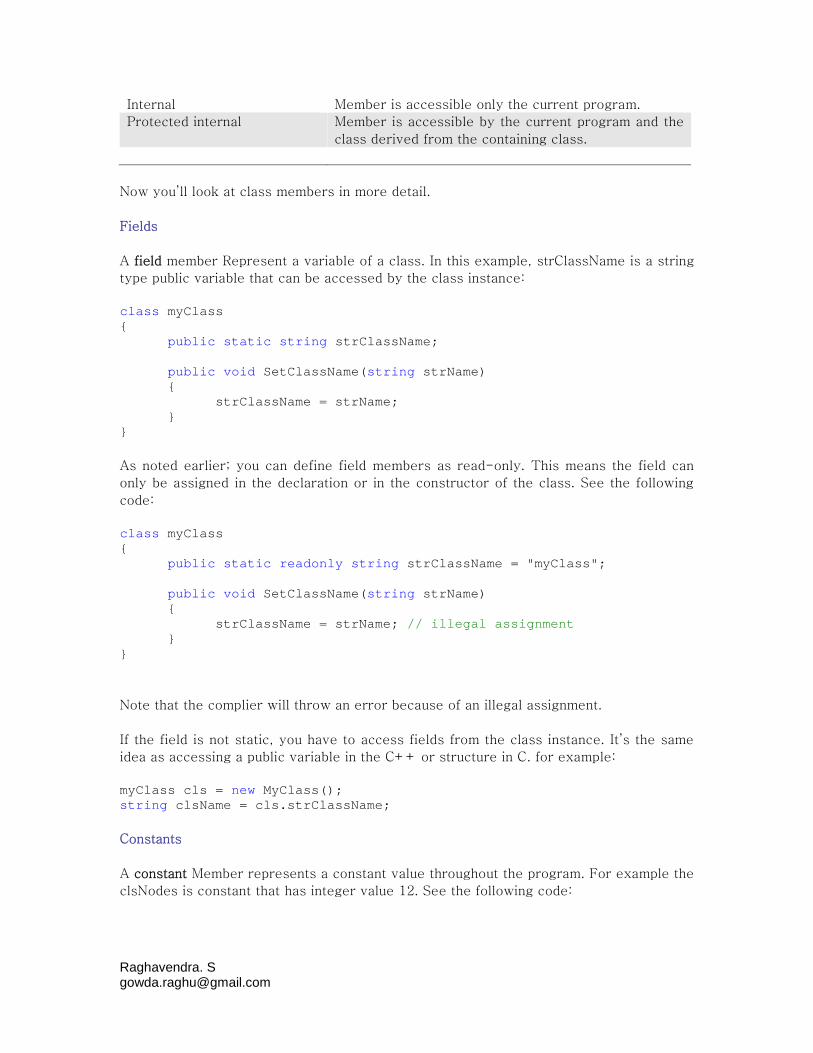
Fields
A field member Represent a variable of a class. In this example, strClassName is a string
type public variable that can be accessed by the class instance:
class myClass{
public static string strClassName;
public void SetClassName(string strName){
strClassName = strName;}
}
As noted earlier; you can define field members as read-only. This means the field can
only be assigned in the declaration or in the constructor of the class. See the following
code:
class myClass{
public static readonly string strClassName = "myClass";
public void SetClassName(string strName){
strClassName = strName; // illegal assignment}
}
Note that the complier will throw an error because of an illegal assignment.
If the field is not static, you have to access fields from the class instance. It’s the same
idea as accessing a public variable in the C++ or structure in C. for example:
myClass cls = new MyClass();string clsName = cls.strClassName;
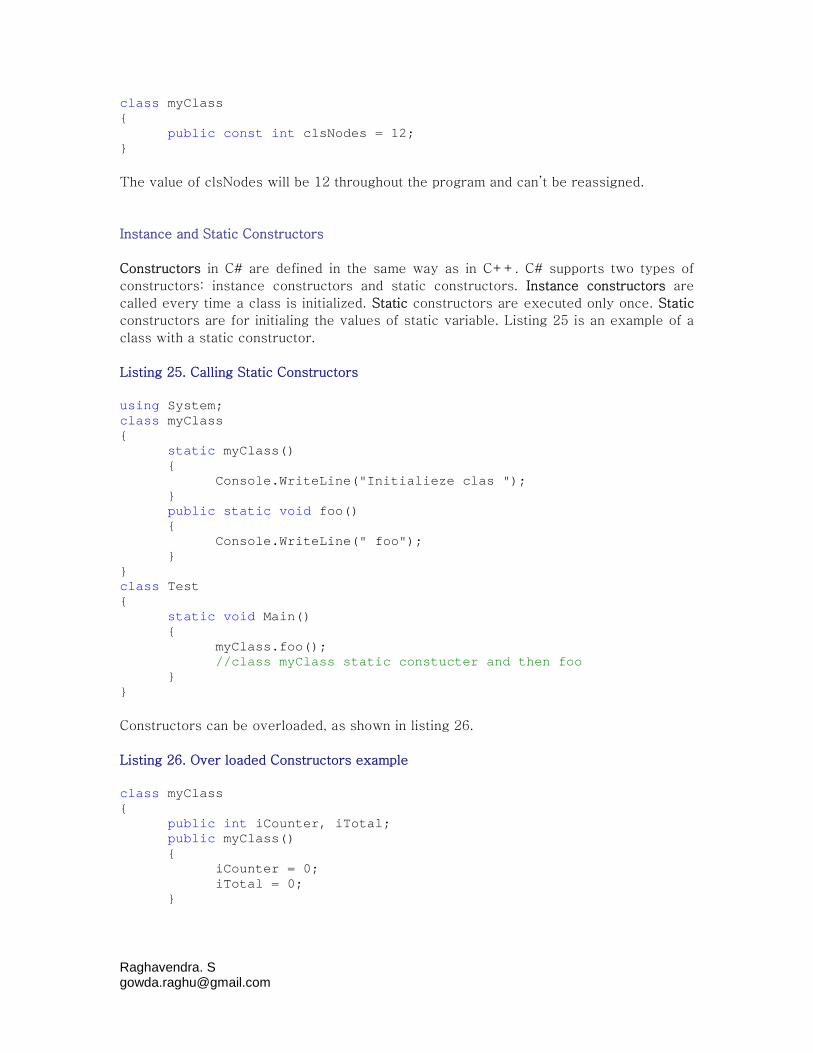
Constants
A constant Member represents a constant value throughout the program. For example the
clsNodes is constant that has integer value 12. See the following code:
Raghavendra. [email protected]
class myClass{
public const int clsNodes = 12;}
The value of clsNodes will be 12 throughout the program and can’t be reassigned.
Instance and Static Constructors
Constructors in C# are defined in the same way as in C++. C# supports two types of
constructors: instance constructors and static constructors. Instance constructors are
called every time a class is initialized. Static constructors are executed only once. Static
constructors are for initialing the values of static variable. Listing 25 is an example of a
class with a static constructor.
Listing 25. Calling Static Constructors
using System;class myClass{
static myClass(){
Console.WriteLine("Initialieze clas ");}public static void foo(){
Console.WriteLine(" foo");}
}class Test{
static void Main(){
myClass.foo();//class myClass static constucter and then foo
}}
Constructors can be overloaded, as shown in listing 26.
Listing 26. Over loaded Constructors example
class myClass{
public int iCounter, iTotal;public myClass(){
iCounter = 0;iTotal = 0;
}
Raghavendra. [email protected]
public myClass (int iCount, int iTot){
iCounter = iCount;iTotal = iTot;
}}
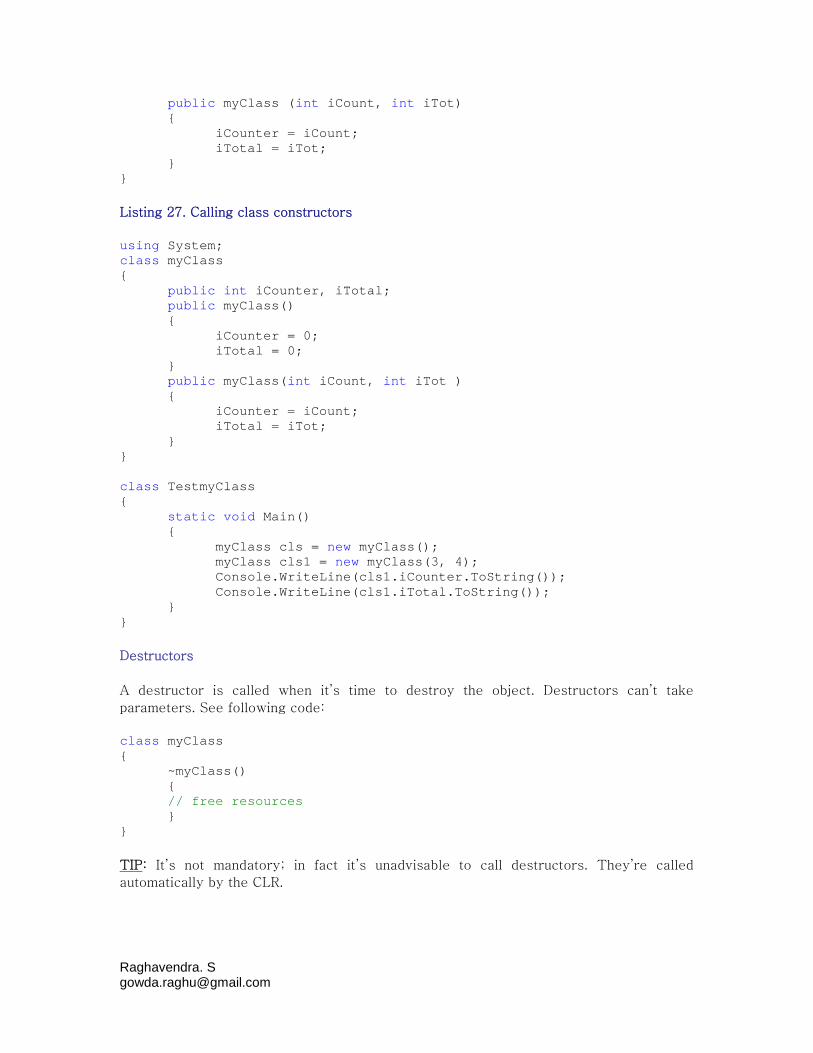
Listing 27. Calling class constructors
using System;class myClass{
public int iCounter, iTotal;public myClass(){
iCounter = 0;iTotal = 0;
}public myClass(int iCount, int iTot ){
iCounter = iCount;iTotal = iTot;
}}
class TestmyClass{
static void Main(){
myClass cls = new myClass();myClass cls1 = new myClass(3, 4);Console.WriteLine(cls1.iCounter.ToString());Console.WriteLine(cls1.iTotal.ToString());
}}
Destructors
A destructor is called when it’s time to destroy the object. Destructors can’t take
parameters. See following code:
class myClass{
~myClass(){// free resources}
}
TIP: It’s not mandatory; in fact it’s unadvisable to call destructors. They’re called
automatically by the CLR.
Raghavendra. [email protected]
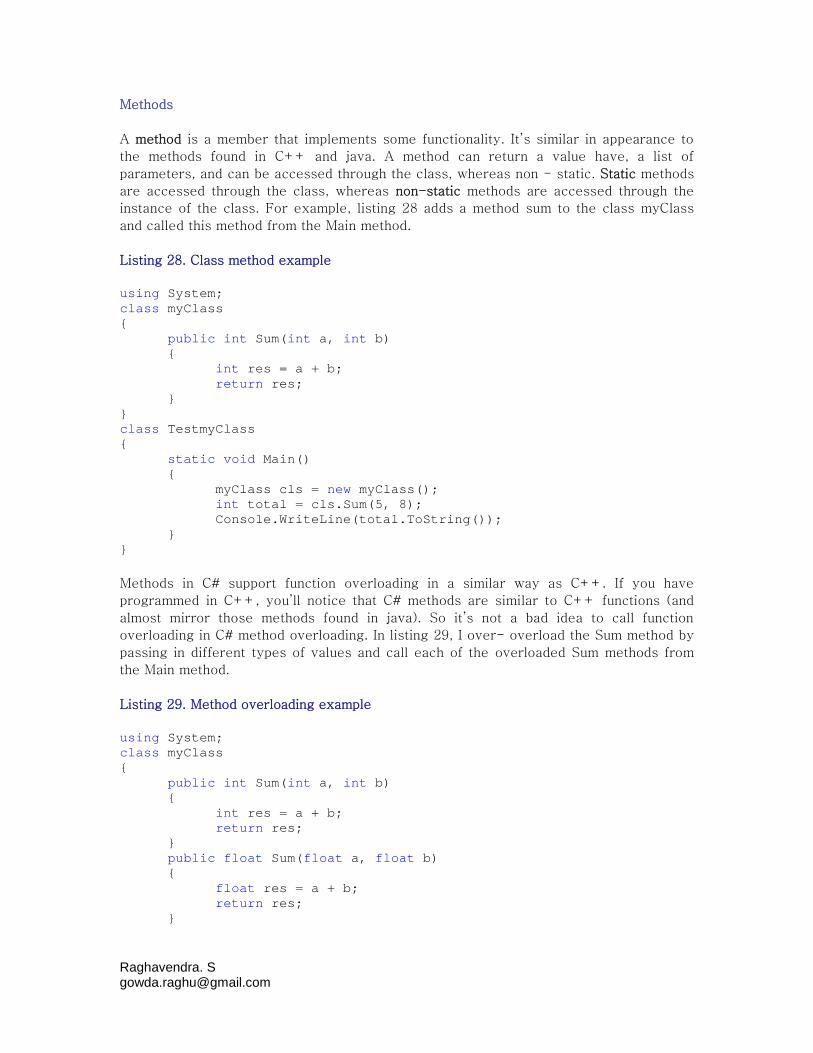
Methods
A method is a member that implements some functionality. It’s similar in appearance to
the methods found in C++ and java. A method can return a value have, a list of
parameters, and can be accessed through the class, whereas non - static. Static methods
are accessed through the class, whereas non-static methods are accessed through the
instance of the class. For example, listing 28 adds a method sum to the class myClass
and called this method from the Main method.
Listing 28. Class method example
using System;class myClass{
public int Sum(int a, int b){
int res = a + b;return res;
}}class TestmyClass{
static void Main(){
myClass cls = new myClass();int total = cls.Sum(5, 8);Console.WriteLine(total.ToString());
}}
Methods in C# support function overloading in a similar way as C++. If you have
programmed in C++, you’ll notice that C# methods are similar to C++ functions (and
almost mirror those methods found in java). So it’s not a bad idea to call function
overloading in C# method overloading. In listing 29, I over- overload the Sum method by
passing in different types of values and call each of the overloaded Sum methods from
the Main method.
Listing 29. Method overloading example
using System;class myClass{
public int Sum(int a, int b){
int res = a + b;return res;
}public float Sum(float a, float b){
float res = a + b;return res;
}
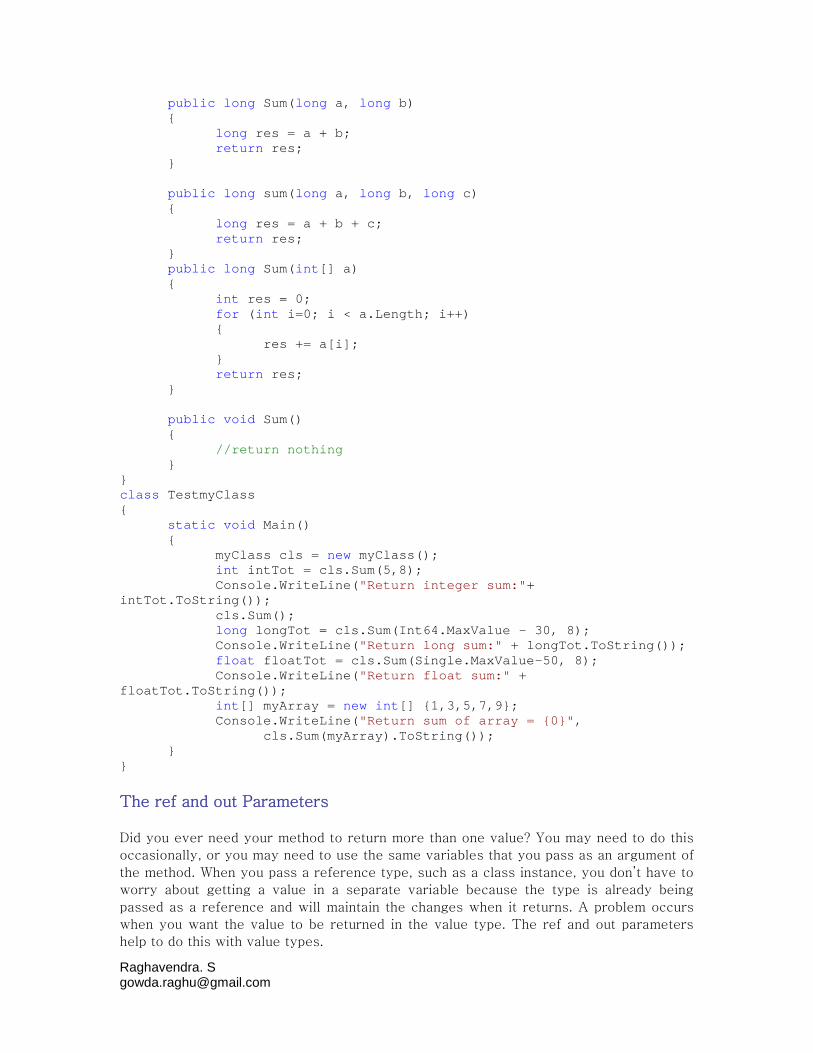
Raghavendra. [email protected]
public long Sum(long a, long b){
long res = a + b;return res;
}
public long sum(long a, long b, long c){
long res = a + b + c;return res;
}public long Sum(int[] a){
int res = 0;for (int i=0; i < a.Length; i++){
res += a[i];}return res;
}
public void Sum(){
//return nothing}
}class TestmyClass{
static void Main(){
myClass cls = new myClass();int intTot = cls.Sum(5,8);Console.WriteLine("Return integer sum:"+
intTot.ToString());cls.Sum();long longTot = cls.Sum(Int64.MaxValue - 30, 8);Console.WriteLine("Return long sum:" + longTot.ToString());float floatTot = cls.Sum(Single.MaxValue-50, 8);Console.WriteLine("Return float sum:" +
floatTot.ToString());int[] myArray = new int[] {1,3,5,7,9};Console.WriteLine("Return sum of array = {0}",
cls.Sum(myArray).ToString());}
}
The ref and out Parameters
Did you ever need your method to return more than one value? You may need to do this
occasionally, or you may need to use the same variables that you pass as an argument of
the method. When you pass a reference type, such as a class instance, you don’t have to
worry about getting a value in a separate variable because the type is already being
passed as a reference and will maintain the changes when it returns. A problem occurs
when you want the value to be returned in the value type. The ref and out parameters
help to do this with value types.
Raghavendra. [email protected]
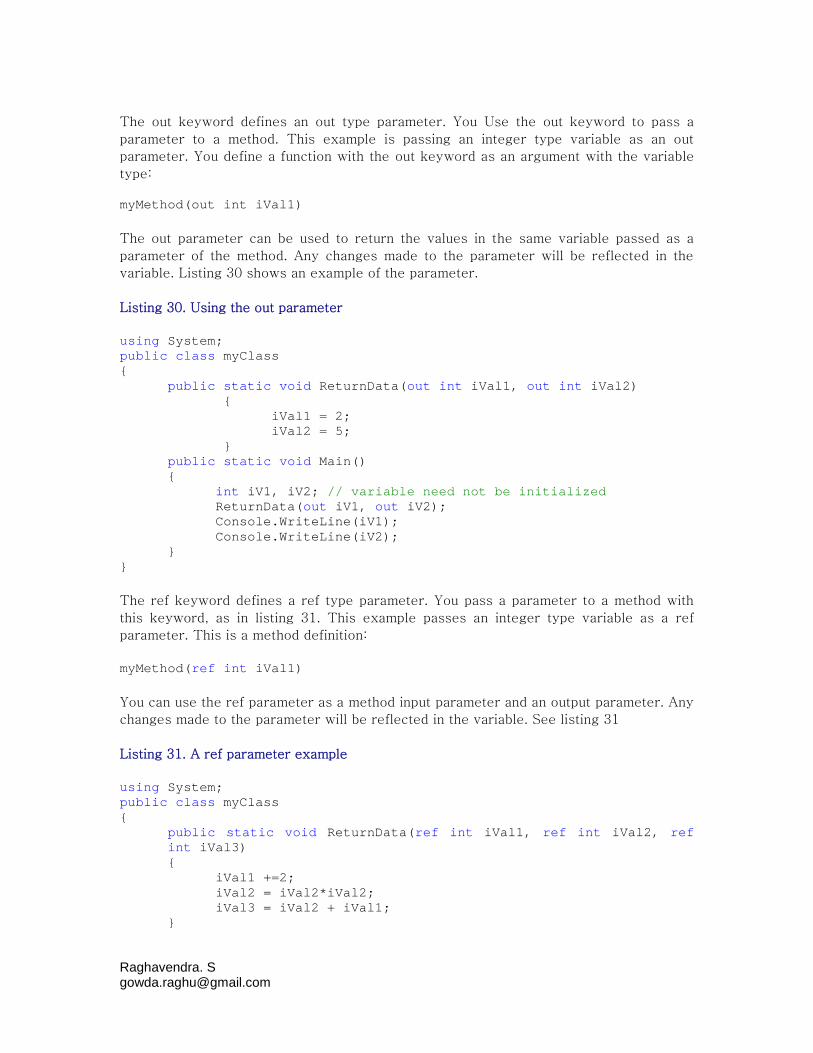
The out keyword defines an out type parameter. You Use the out keyword to pass a
parameter to a method. This example is passing an integer type variable as an out
parameter. You define a function with the out keyword as an argument with the variable
type:
myMethod(out int iVal1)
The out parameter can be used to return the values in the same variable passed as a
parameter of the method. Any changes made to the parameter will be reflected in the
variable. Listing 30 shows an example of the parameter.
Listing 30. Using the out parameter
using System;public class myClass{
public static void ReturnData(out int iVal1, out int iVal2){
iVal1 = 2;iVal2 = 5;
}public static void Main(){
int iV1, iV2; // variable need not be initializedReturnData(out iV1, out iV2);Console.WriteLine(iV1);Console.WriteLine(iV2);
}}
The ref keyword defines a ref type parameter. You pass a parameter to a method with
this keyword, as in listing 31. This example passes an integer type variable as a ref
parameter. This is a method definition:
myMethod(ref int iVal1)
You can use the ref parameter as a method input parameter and an output parameter. Any
changes made to the parameter will be reflected in the variable. See listing 31
Listing 31. A ref parameter example
using System;public class myClass{
public static void ReturnData(ref int iVal1, ref int iVal2, refint iVal3){
iVal1 +=2;iVal2 = iVal2*iVal2;iVal3 = iVal2 + iVal1;
}
Raghavendra. [email protected]
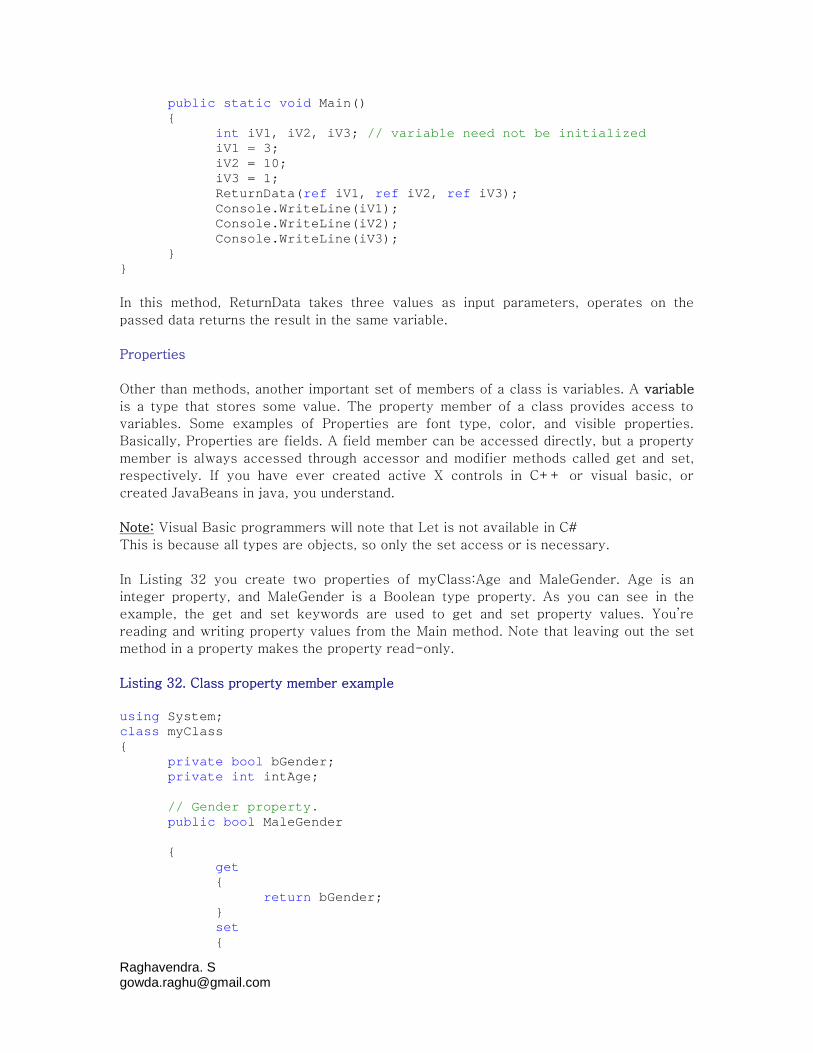
public static void Main(){
int iV1, iV2, iV3; // variable need not be initializediV1 = 3;iV2 = 10;iV3 = 1;ReturnData(ref iV1, ref iV2, ref iV3);Console.WriteLine(iV1);Console.WriteLine(iV2);Console.WriteLine(iV3);
}}
In this method, ReturnData takes three values as input parameters, operates on the
passed data returns the result in the same variable.
Properties
Other than methods, another important set of members of a class is variables. A variable
is a type that stores some value. The property member of a class provides access to
variables. Some examples of Properties are font type, color, and visible properties.
Basically, Properties are fields. A field member can be accessed directly, but a property
member is always accessed through accessor and modifier methods called get and set,
respectively. If you have ever created active X controls in C++ or visual basic, or
created JavaBeans in java, you understand.
Note: Visual Basic programmers will note that Let is not available in C#
This is because all types are objects, so only the set access or is necessary.
In Listing 32 you create two properties of myClass:Age and MaleGender. Age is an
integer property, and MaleGender is a Boolean type property. As you can see in the
example, the get and set keywords are used to get and set property values. You’re
reading and writing property values from the Main method. Note that leaving out the set
method in a property makes the property read-only.
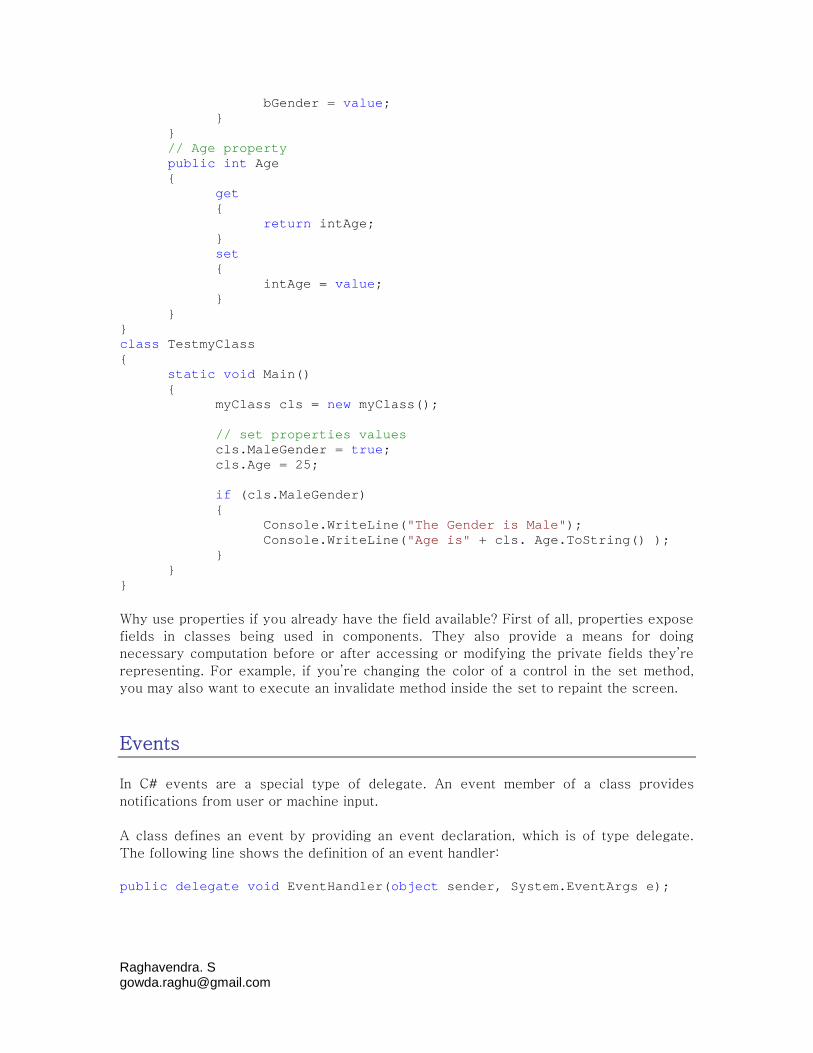
Listing 32. Class property member example
using System;class myClass{
private bool bGender;private int intAge;
// Gender property.public bool MaleGender
{get{
return bGender;}set{
Raghavendra. [email protected]
bGender = value;}
}// Age propertypublic int Age{
get{
return intAge;}set{
intAge = value;}
}}class TestmyClass{
static void Main(){
myClass cls = new myClass();
// set properties valuescls.MaleGender = true;cls.Age = 25;
if (cls.MaleGender){
Console.WriteLine("The Gender is Male");Console.WriteLine("Age is" + cls. Age.ToString() );
}}
}
Why use properties if you already have the field available? First of all, properties expose
fields in classes being used in components. They also provide a means for doing
necessary computation before or after accessing or modifying the private fields they’re
representing. For example, if you’re changing the color of a control in the set method,
you may also want to execute an invalidate method inside the set to repaint the screen.
Events
In C# events are a special type of delegate. An event member of a class provides
notifications from user or machine input.
A class defines an event by providing an event declaration, which is of type delegate.
The following line shows the definition of an event handler:
public delegate void EventHandler(object sender, System.EventArgs e);
Raghavendra. [email protected]
The EventHandler takes two arguments: one of type object and the other of type
System.EvenArgs. A class implements the event handler using the event keyword. In the
following example, MyControl class implements the EventHandler:
public class MyControl{public event EvenHandler Click;
public void Reset(){Click = null;
}}
You probably know that Windows is an event- driven operating system. In Windows
programming, the system sends messages to the massage queue for every action taken
by a user or the system, such as mouse–click, keyboard, touch screen, and timers. Even
if the operating system is doing nothing, it still sends an idle message to the message
queue after a certain interval of time.
Although you usually use events in GUI applications, you can also implement events in
console-based application. You can use them when you need to notify a state of an
action. You’ll have a look at an example of both types.
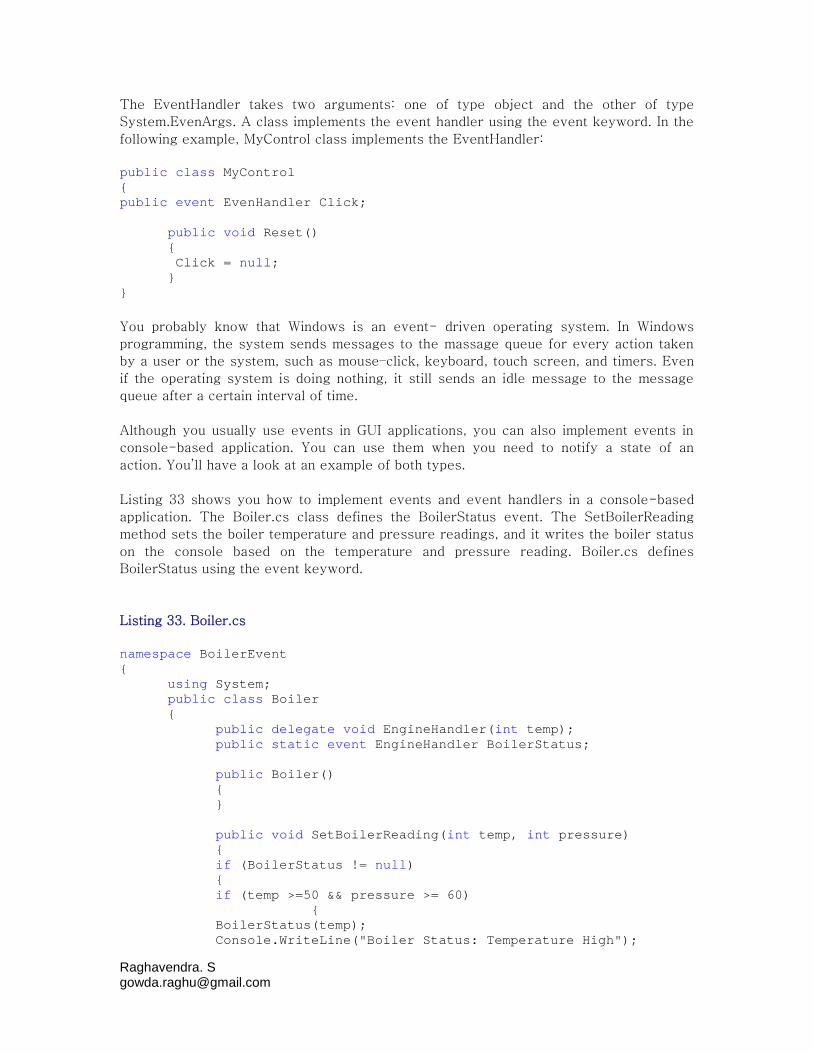
Listing 33 shows you how to implement events and event handlers in a console-based
application. The Boiler.cs class defines the BoilerStatus event. The SetBoilerReading
method sets the boiler temperature and pressure readings, and it writes the boiler status
on the console based on the temperature and pressure reading. Boiler.cs defines
BoilerStatus using the event keyword.
Listing 33. Boiler.cs
namespace BoilerEvent{
using System;public class Boiler{
public delegate void EngineHandler(int temp);public static event EngineHandler BoilerStatus;
public Boiler(){}
public void SetBoilerReading(int temp, int pressure){if (BoilerStatus != null){if (temp >=50 && pressure >= 60)
{BoilerStatus(temp);Console.WriteLine("Boiler Status: Temperature High");
Raghavendra. [email protected]
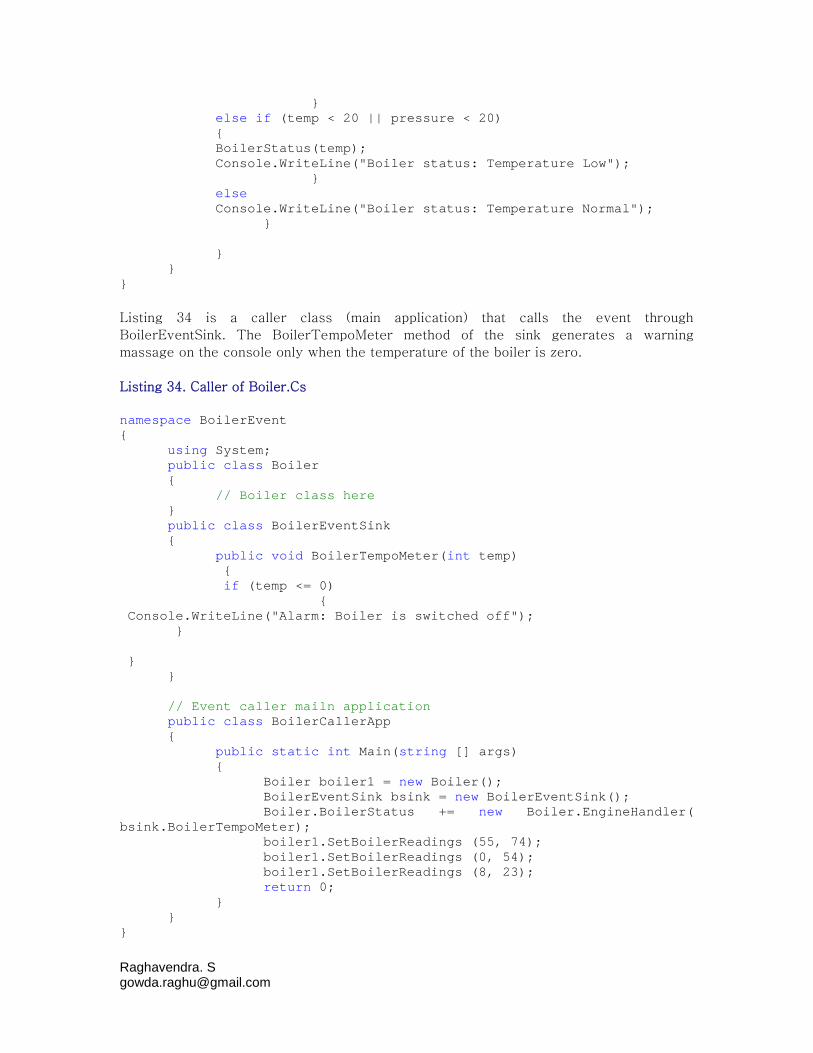
}else if (temp < 20 || pressure < 20){BoilerStatus(temp);Console.WriteLine("Boiler status: Temperature Low");
}elseConsole.WriteLine("Boiler status: Temperature Normal");
}
}}
}
Listing 34 is a caller class (main application) that calls the event through
BoilerEventSink. The BoilerTempoMeter method of the sink generates a warning
massage on the console only when the temperature of the boiler is zero.
Listing 34. Caller of Boiler.Cs
namespace BoilerEvent{
using System;public class Boiler{
// Boiler class here}public class BoilerEventSink{
public void BoilerTempoMeter(int temp){if (temp <= 0)
{Console.WriteLine("Alarm: Boiler is switched off");
}
}}
// Event caller mailn applicationpublic class BoilerCallerApp{
public static int Main(string [] args){
Boiler boiler1 = new Boiler();BoilerEventSink bsink = new BoilerEventSink();Boiler.BoilerStatus += new Boiler.EngineHandler(
bsink.BoilerTempoMeter);boiler1.SetBoilerReadings (55, 74);boiler1.SetBoilerReadings (0, 54);boiler1.SetBoilerReadings (8, 23);return 0;
}}
}
Raghavendra. [email protected]
As you can see in Listing 34, I created a Boiler object that calls the BoilerStatus handler,
which passes BoilerEventSink’s methods as an argument when calling Boiler.
EngineHandler is a delegate defined in the Boiler class. Then the program calls the
SetBoilerReading method with different temperature and pressure reading. When the
temperature is zero, the program displays a warning message on the console; otherwise,
the program displays message generated by the SetBoilerReading method.
Actually, it’s easier to understand events using windows application than it is using a
console-based application. To show you can an event sample in windows Forms, you’ll
create a Windows application. In this application, you’ll create a form and a button. The
button-click event executes and displays a message box.
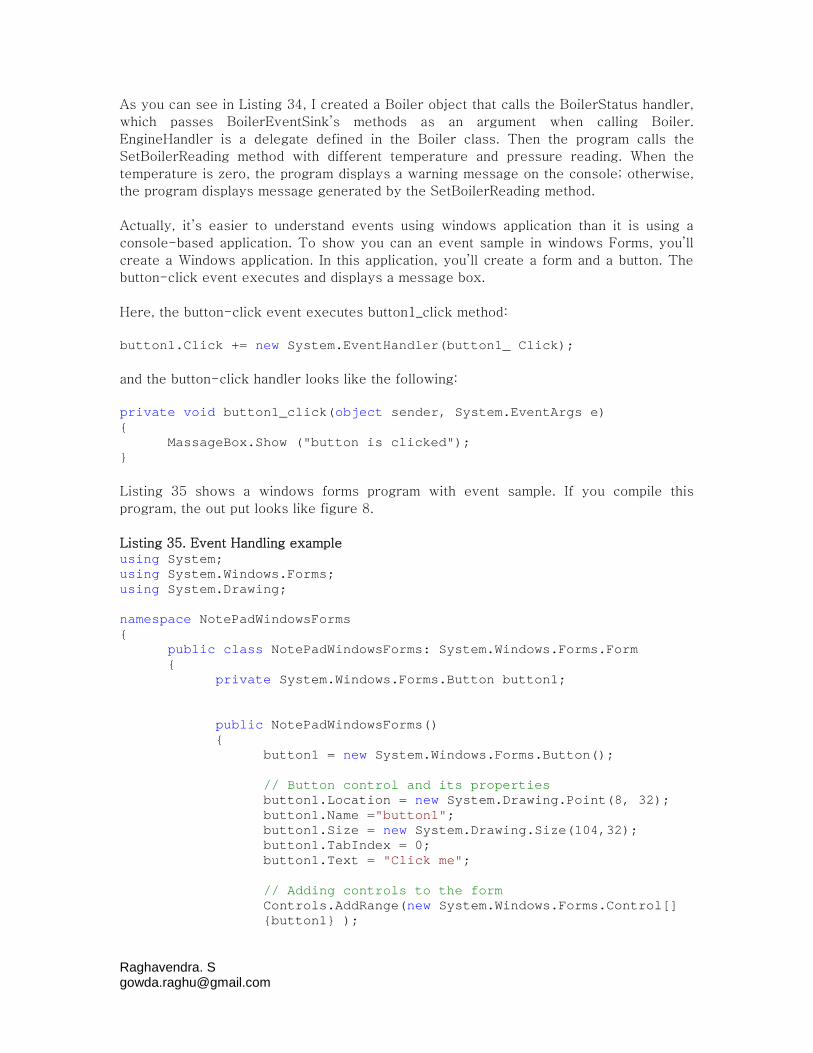
Here, the button-click event executes button1_click method:
button1.Click += new System.EventHandler(button1_ Click);
and the button-click handler looks like the following:
private void button1_click(object sender, System.EventArgs e){
MassageBox.Show ("button is clicked");}
Listing 35 shows a windows forms program with event sample. If you compile this
program, the out put looks like figure 8.
Listing 35. Event Handling exampleusing System;using System.Windows.Forms;using System.Drawing;
namespace NotePadWindowsForms{
public class NotePadWindowsForms: System.Windows.Forms.Form{
private System.Windows.Forms.Button button1;
public NotePadWindowsForms(){
button1 = new System.Windows.Forms.Button();
// Button control and its propertiesbutton1.Location = new System.Drawing.Point(8, 32);button1.Name ="button1";button1.Size = new System.Drawing.Size(104,32);button1.TabIndex = 0;button1.Text = "Click me";
// Adding controls to the formControls.AddRange(new System.Windows.Forms.Control[]{button1} );
Raghavendra. [email protected]
button1.Click += newSystem.EventHandler(button1_Click);
}
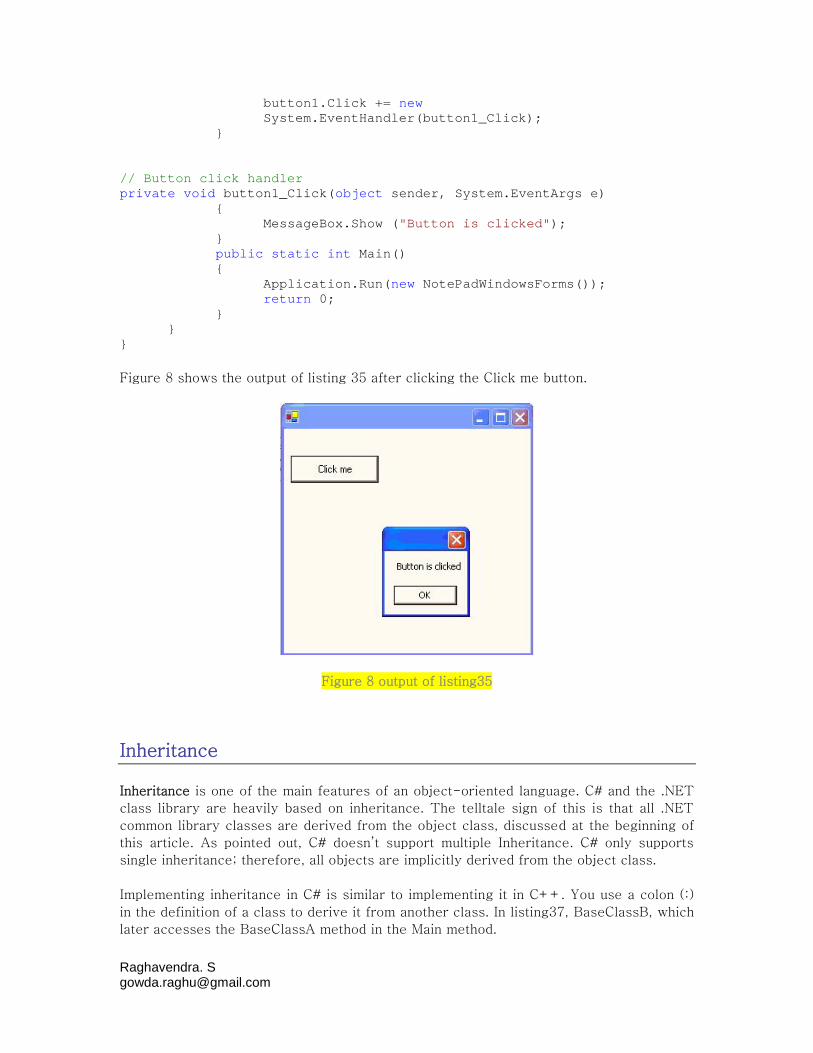
// Button click handlerprivate void button1_Click(object sender, System.EventArgs e)
{MessageBox.Show ("Button is clicked");
}public static int Main(){
Application.Run(new NotePadWindowsForms());return 0;
}}
}
Figure 8 shows the output of listing 35 after clicking the Click me button.
Figure 8 output of listing35
Inheritance
Inheritance is one of the main features of an object-oriented language. C# and the .NET
class library are heavily based on inheritance. The telltale sign of this is that all .NET
common library classes are derived from the object class, discussed at the beginning of
this article. As pointed out, C# doesn’t support multiple Inheritance. C# only supports
single inheritance; therefore, all objects are implicitly derived from the object class.
Implementing inheritance in C# is similar to implementing it in C++. You use a colon (:)
in the definition of a class to derive it from another class. In listing37, BaseClassB, which
later accesses the BaseClassA method in the Main method.
Raghavendra. [email protected]
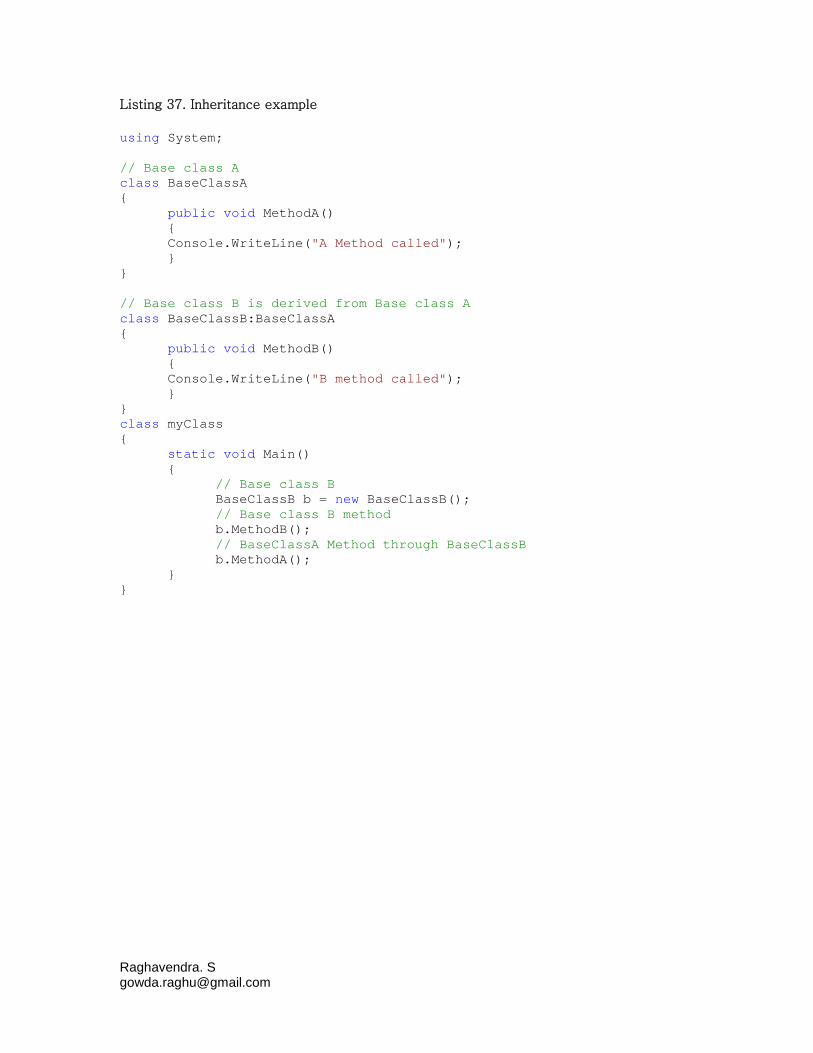
Listing 37. Inheritance example
using System;
// Base class Aclass BaseClassA{
public void MethodA(){Console.WriteLine("A Method called");}
}
// Base class B is derived from Base class Aclass BaseClassB:BaseClassA{
public void MethodB(){Console.WriteLine("B method called");}
}class myClass{
static void Main(){
// Base class BBaseClassB b = new BaseClassB();// Base class B methodb.MethodB();// BaseClassA Method through BaseClassBb.MethodA();
}}