children's workbench
TRANSCRIPT
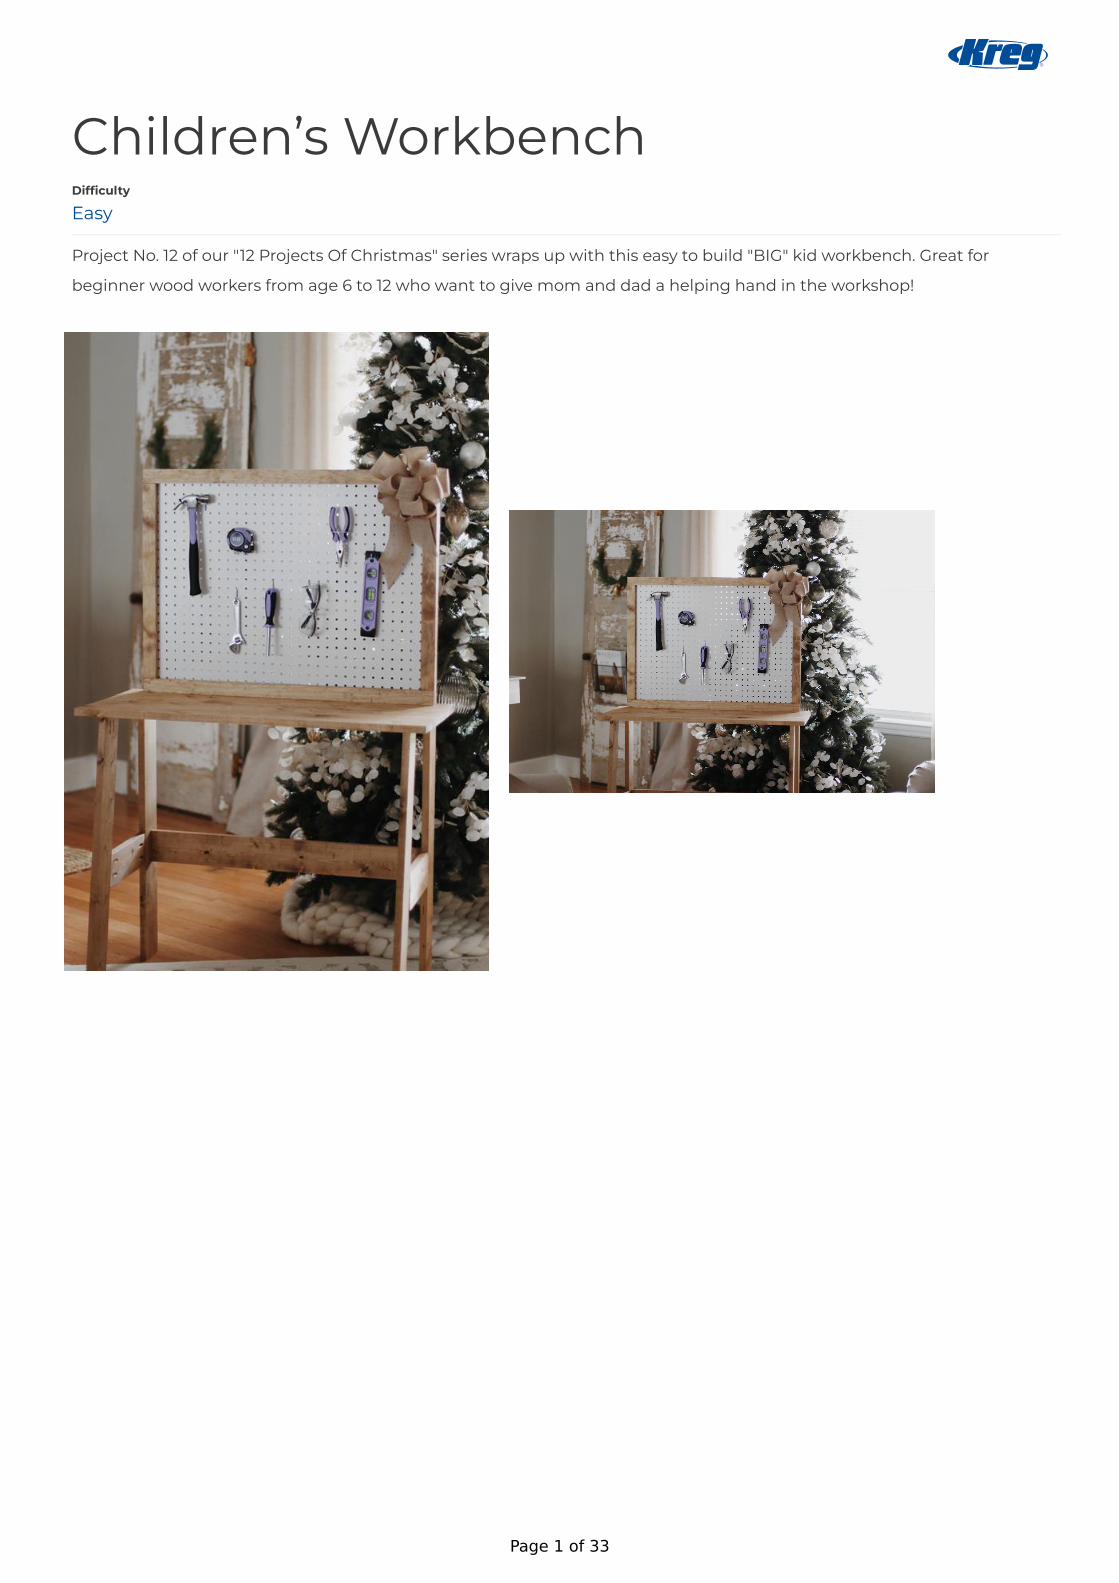
Children’s Workbench
Project No. 12 of our "12 Projects Of Christmas" series wraps up with this easy to build "BIG" kid workbench. Great for
beginner wood workers from age 6 to 12 who want to give mom and dad a helping hand in the workshop!
Difficulty
Easy
Page 1 of 33

Page 2 of 33

ToolsKreg Tools
Wood Project Clamp - 6"
Kreg Pocket-Hole Jig® 720
Mobile Project Center
Other Tools
Circular Saw (corded)
Miter Saw
Square
Tape Measure
Drill (cordless)
Impact Driver
Nail Gun
MaterialsWood Products
Board , 1x2 , 96"4
Board , 1x6 , 96"4
Board , 1x4 , 96"4
Hardware & Supplies
Kreg Screws 1 1/4 Inch1
Brad Nails 1 1/2 Inch1
Page 3 of 33

Cut List & PartsWorkbench Top , 1" X 6" X 36"3
Back Legs , 1" X 4" X 29-1/4"2
Front Legs , 1" X 4" X 29-5/8" (Long Point To Short Point) Ends Cut At 9 Degrees And 10 Degrees Parallel2
Back Leg Brace , 1" X 4" X 30-1/4"1
Side Leg Braces , (See Step 12 For Instructions)2
Pegboard Braces , 1" X 4" X 23-1/4"2
Long Trim , 1" X 2" X 32-3/16"2
Short Trim , 1" X 2" 21-1/4"2
Pegboard , 32" X 24"1
Page 4 of 33
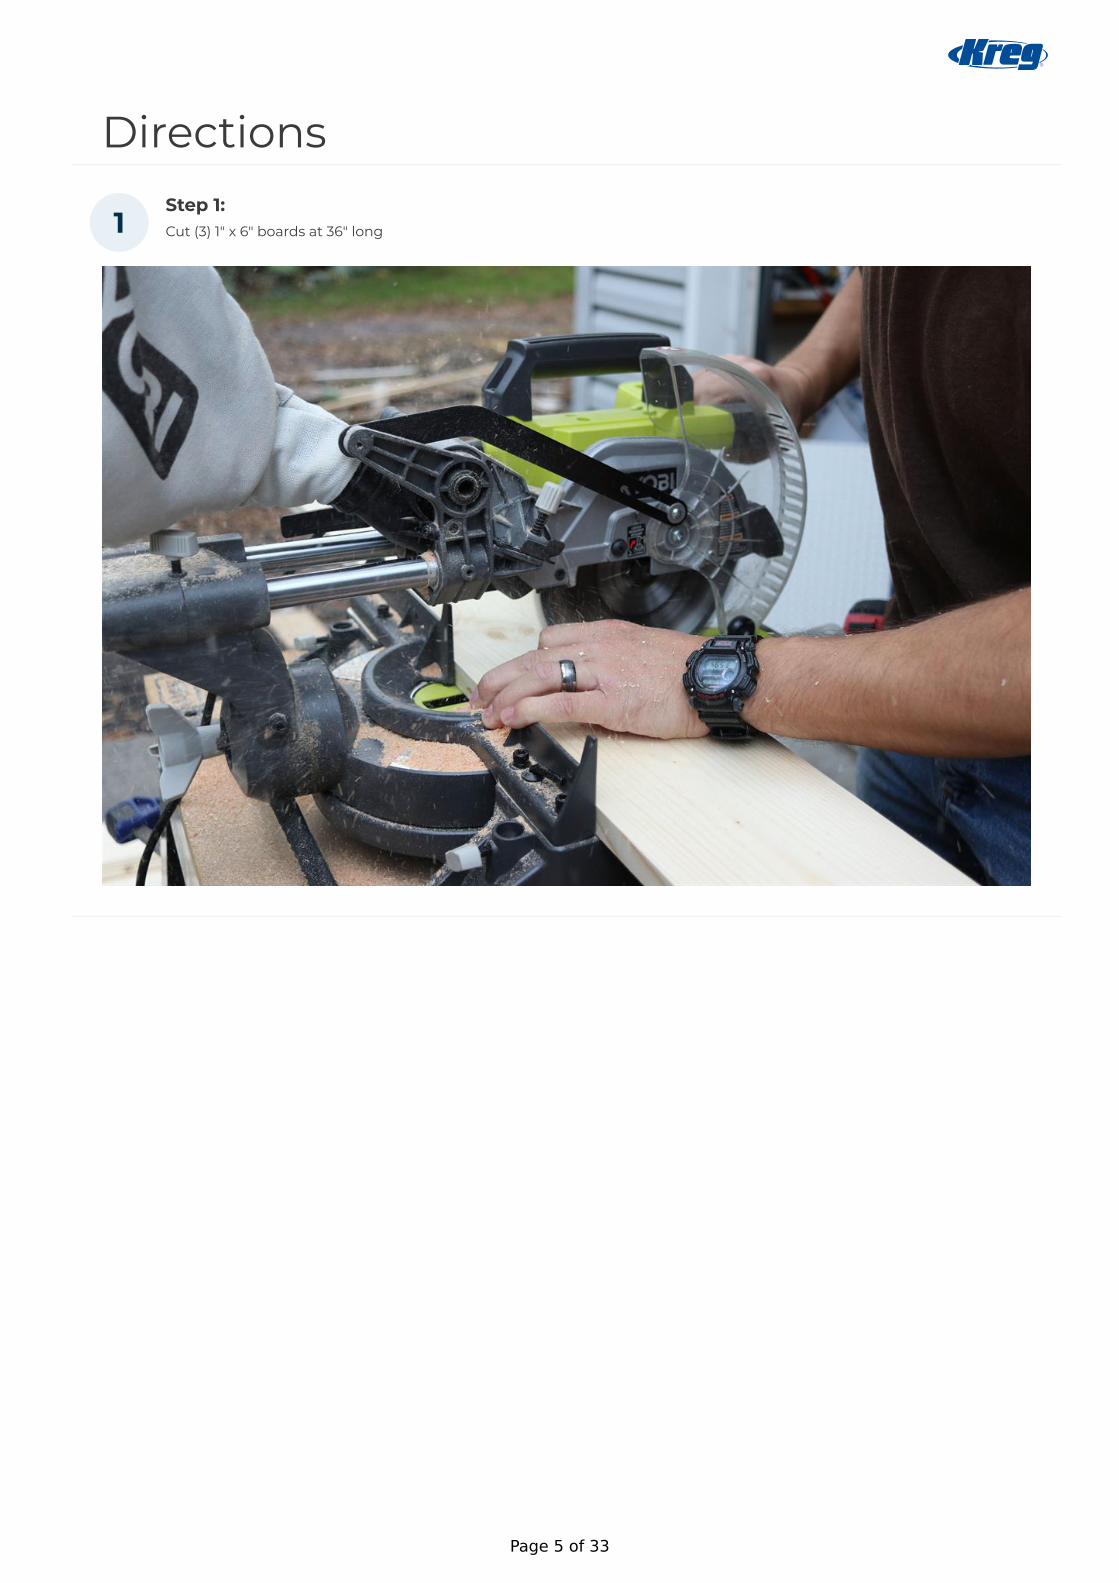
DirectionsStep 1:Cut (3) 1" x 6" boards at 36" long1
Page 5 of 33

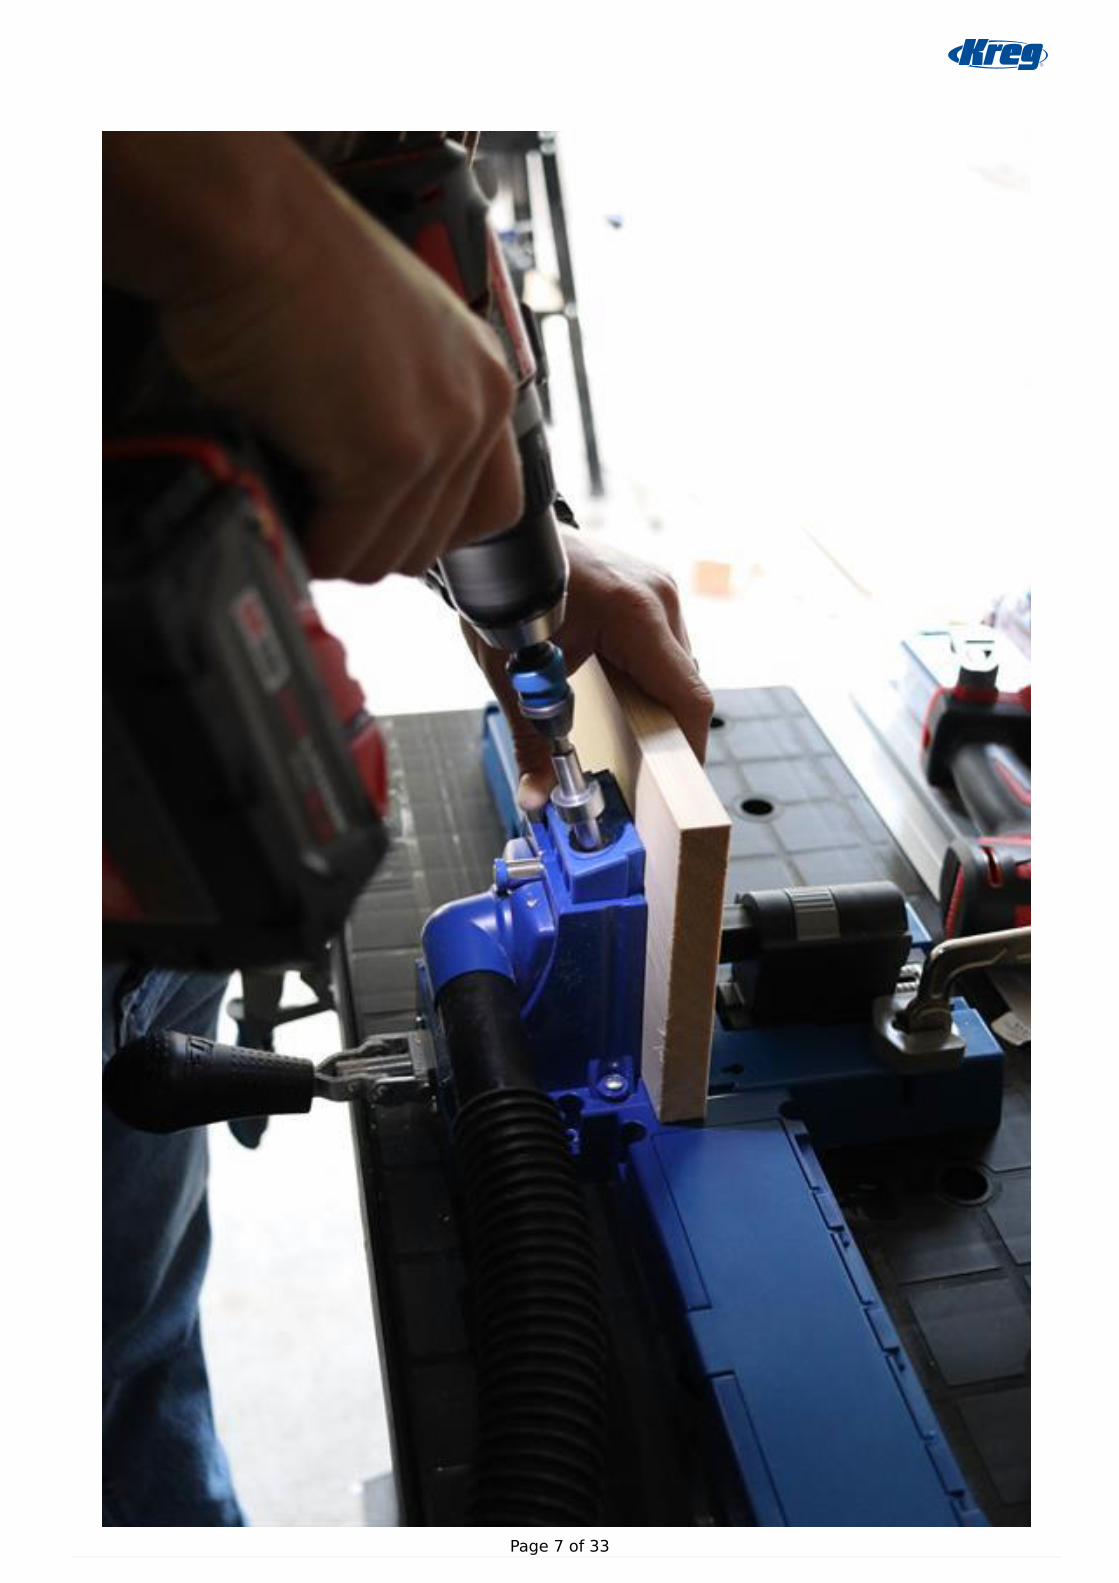
Step 2:Drill (3) pocket holes into one side of (2) of your 1" x 6" x 36" boards using your Kreg Jig K52
Page 6 of 33
Page 7 of 33
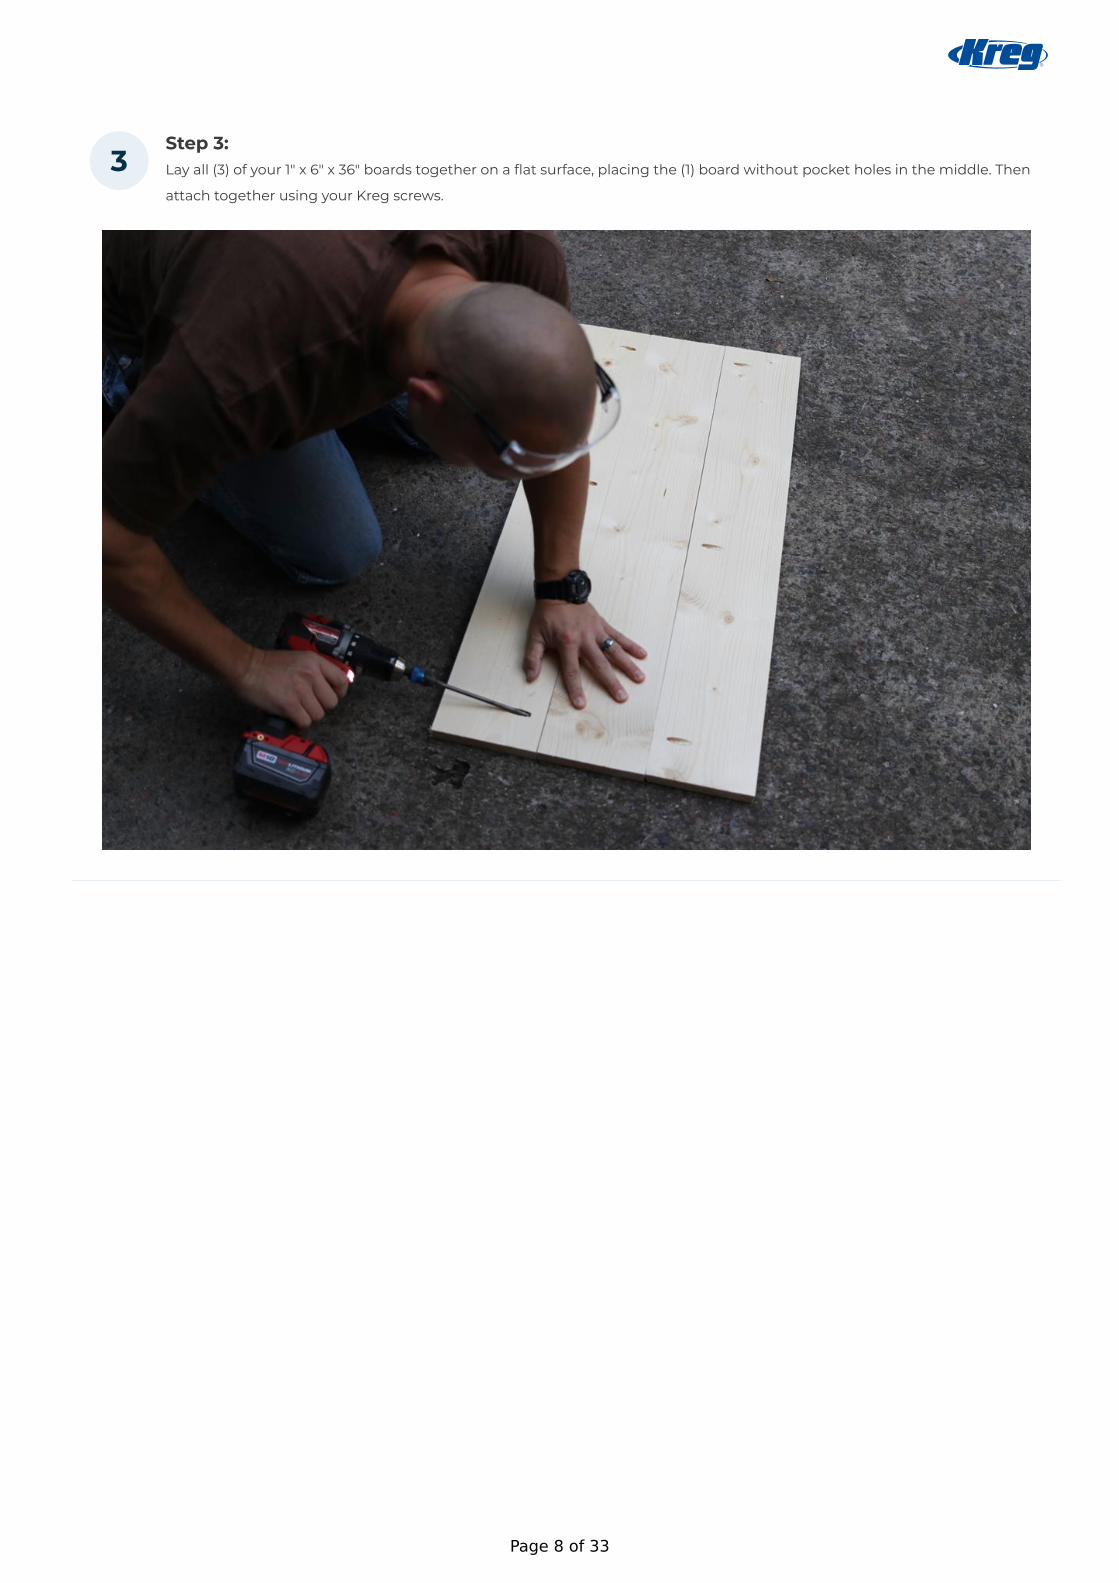
Step 3:Lay all (3) of your 1" x 6" x 36" boards together on a flat surface, placing the (1) board without pocket holes in the middle. Then
attach together using your Kreg screws.
3
Page 8 of 33
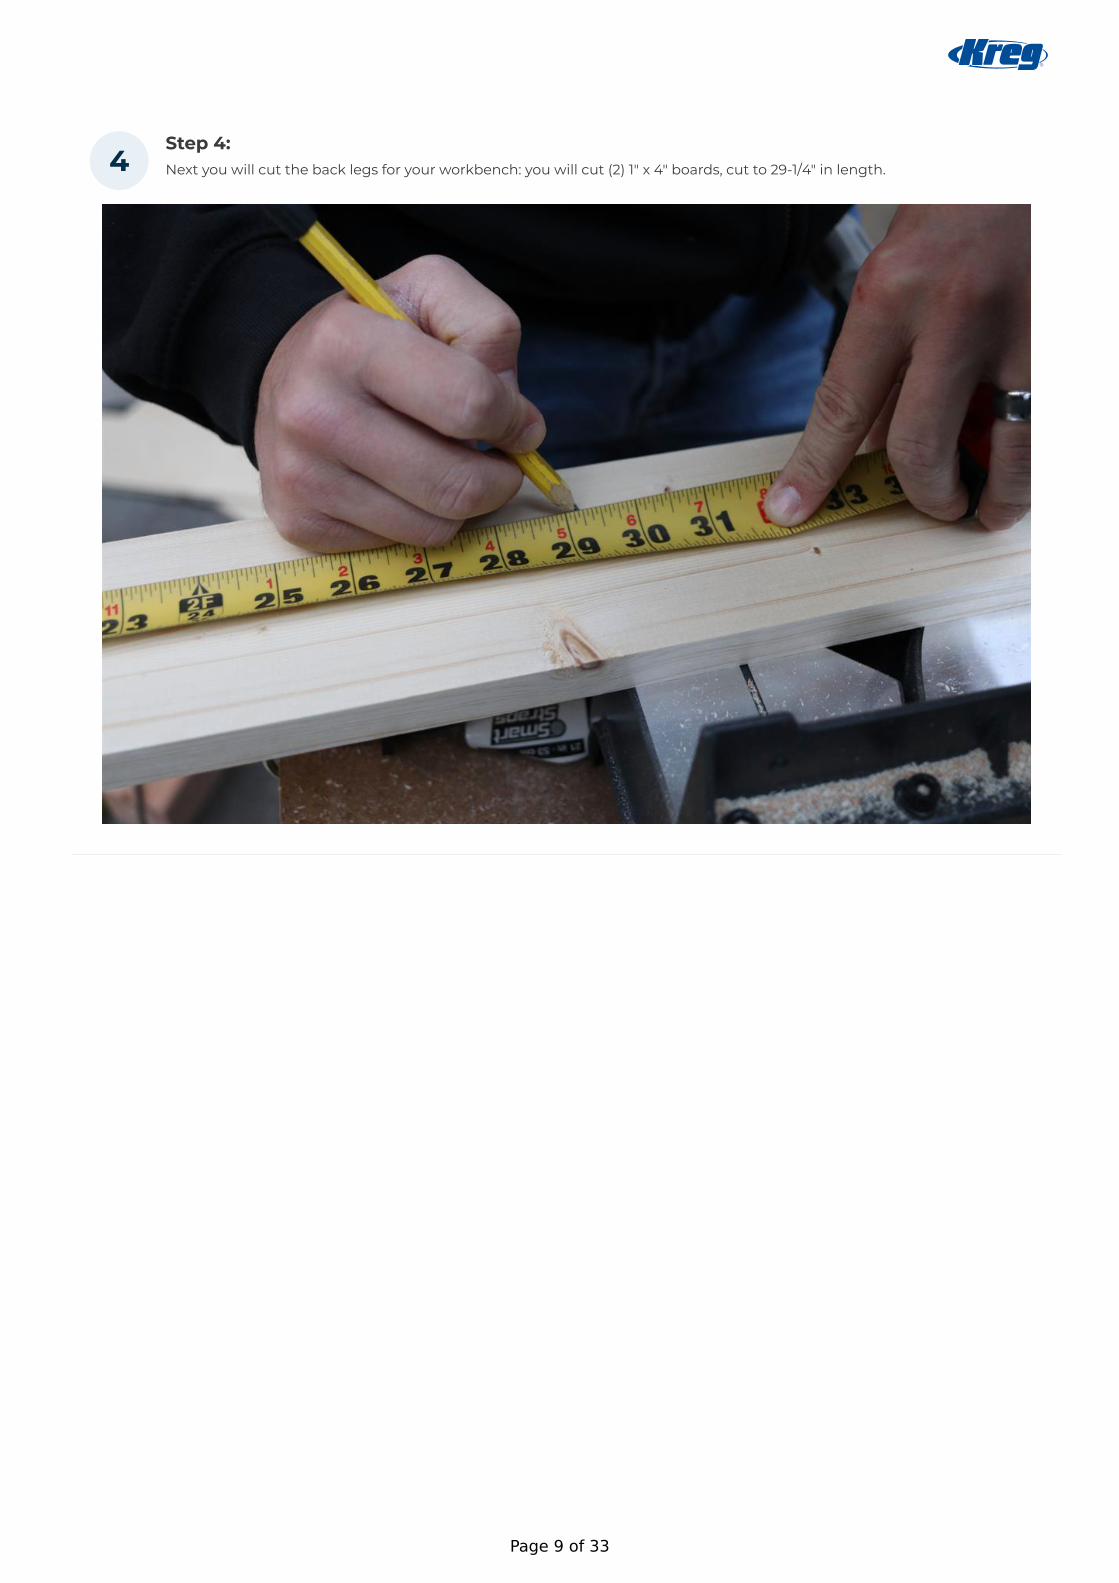
Step 4:Next you will cut the back legs for your workbench: you will cut (2) 1" x 4" boards, cut to 29-1/4" in length.4
Page 9 of 33

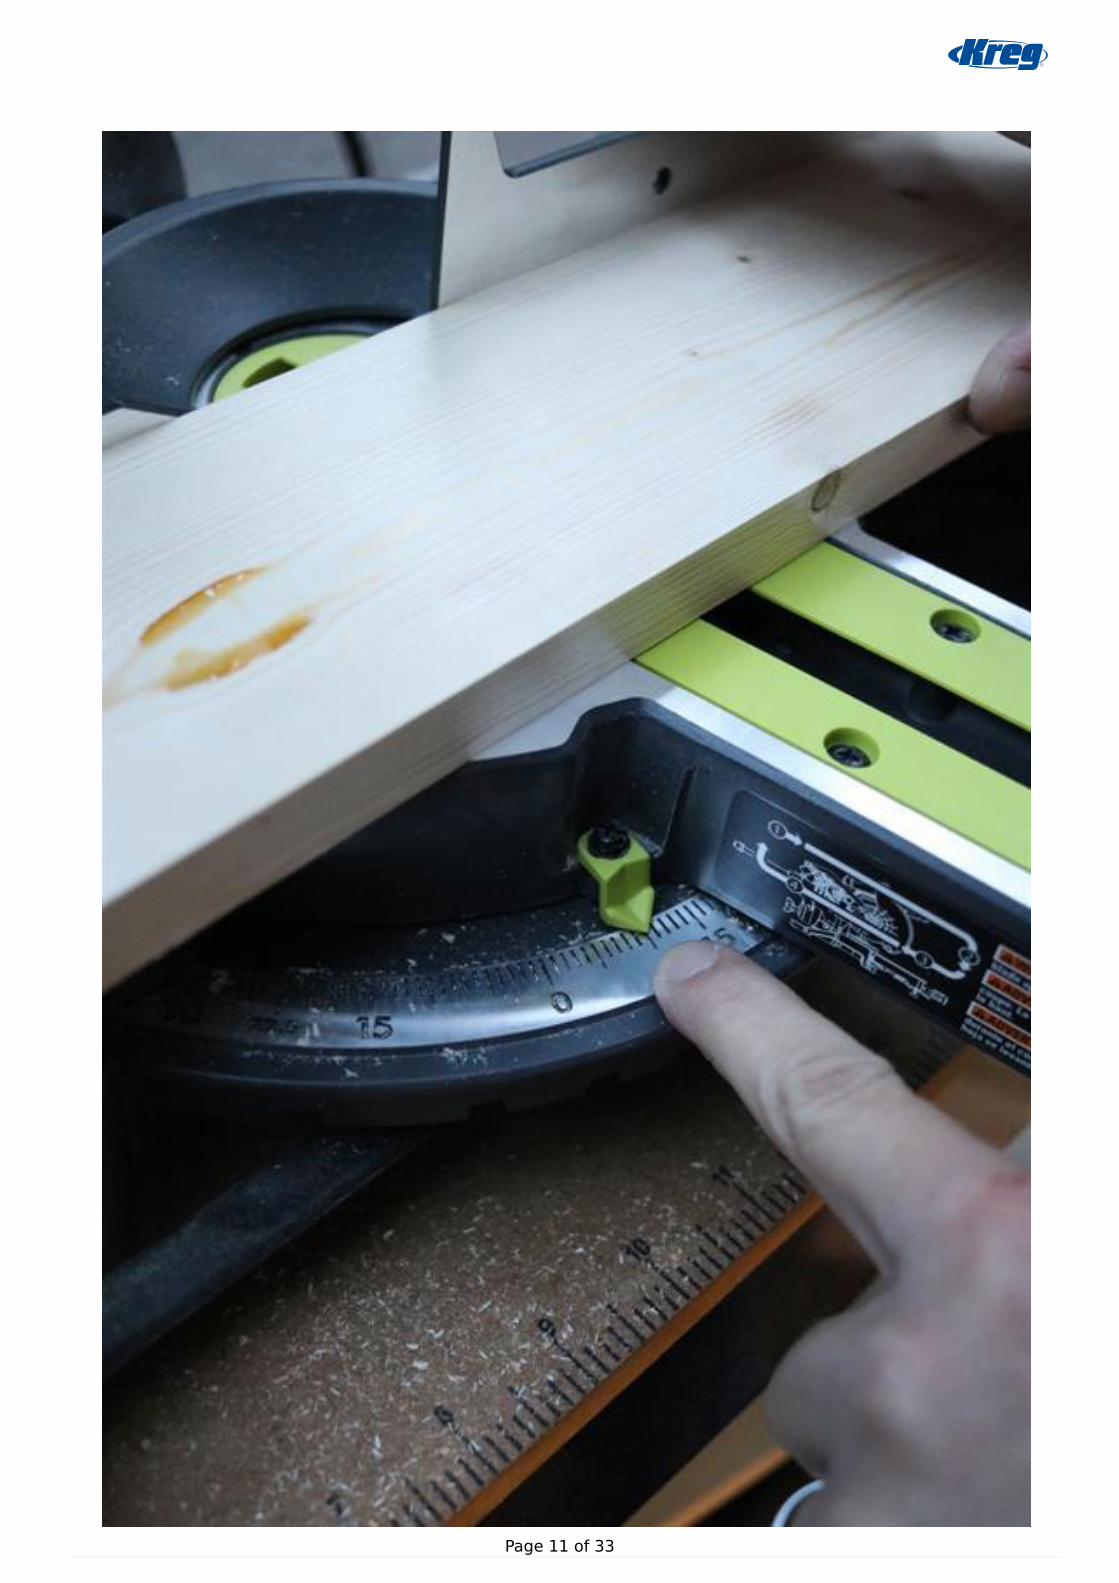
Step 5:Now you will adjust your miter saw to cut a 10 degree cut (as shown).5
Page 10 of 33
Page 11 of 33

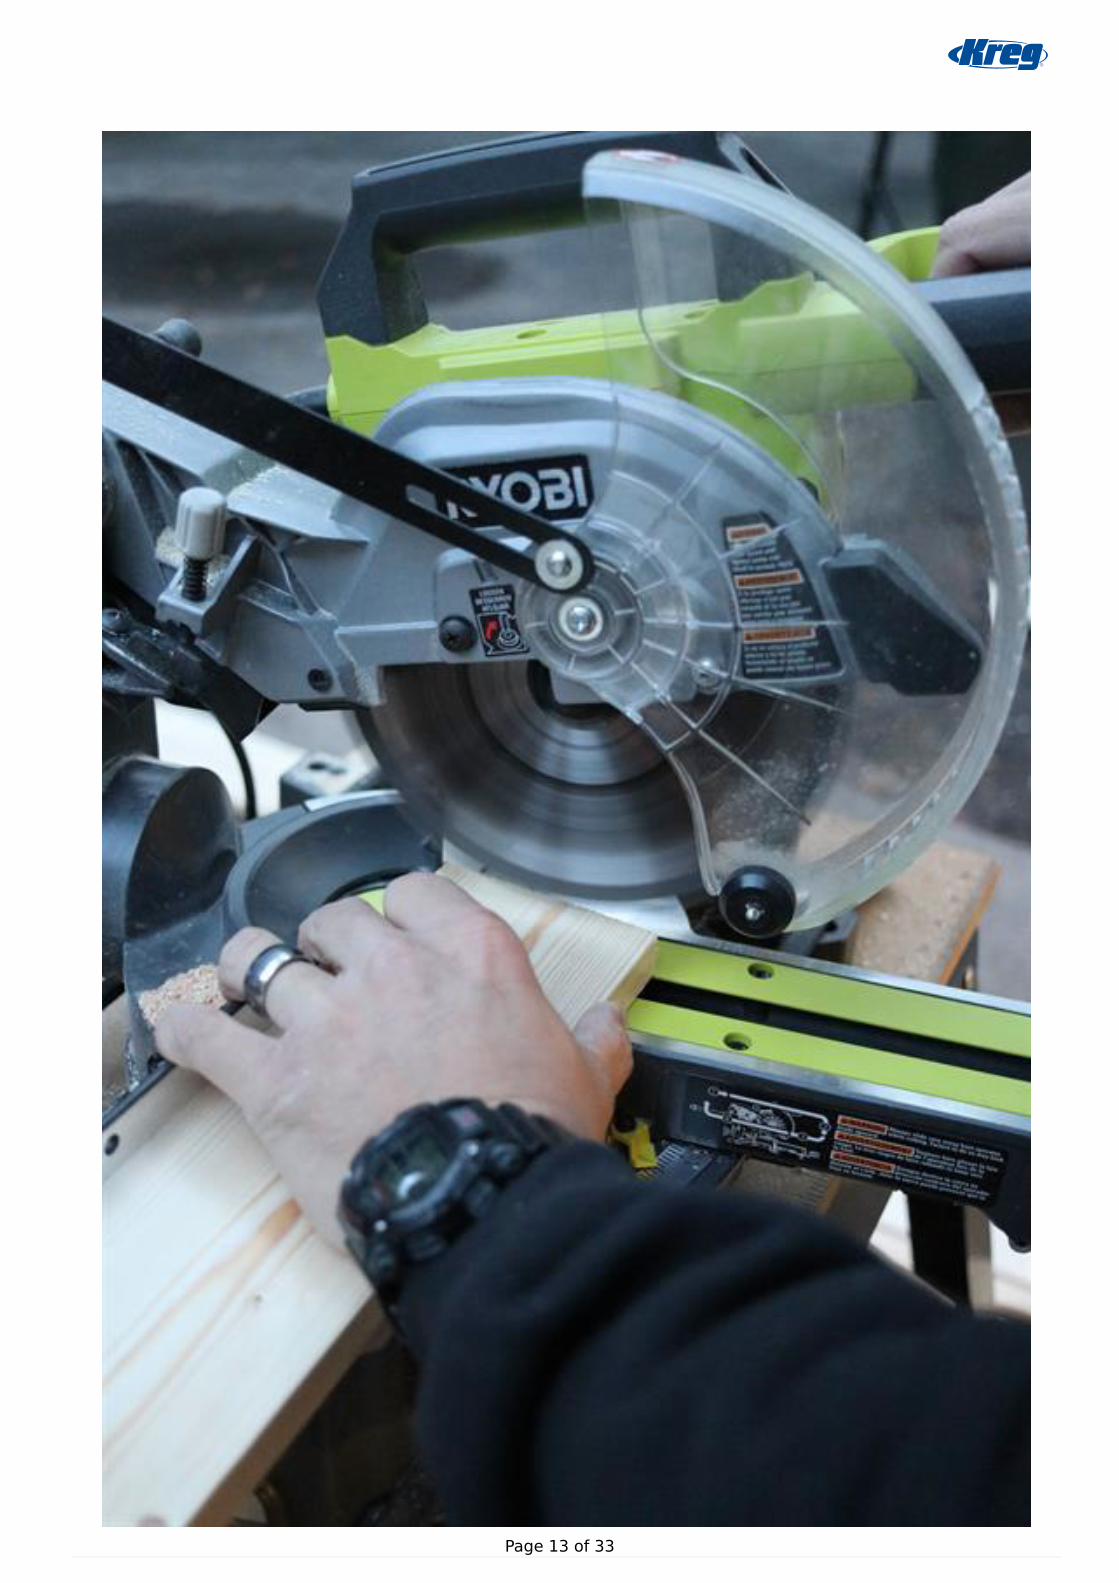
Step 6:You will proceed to cut 10 degree cuts at one end of (2) full length boards. After your end angles are cut, you will measure up
each board (long point to short point) to 29-5/8", mark then cut a 9 degree angle, parallel to your 10 degree angle.
6
Page 12 of 33
Page 13 of 33
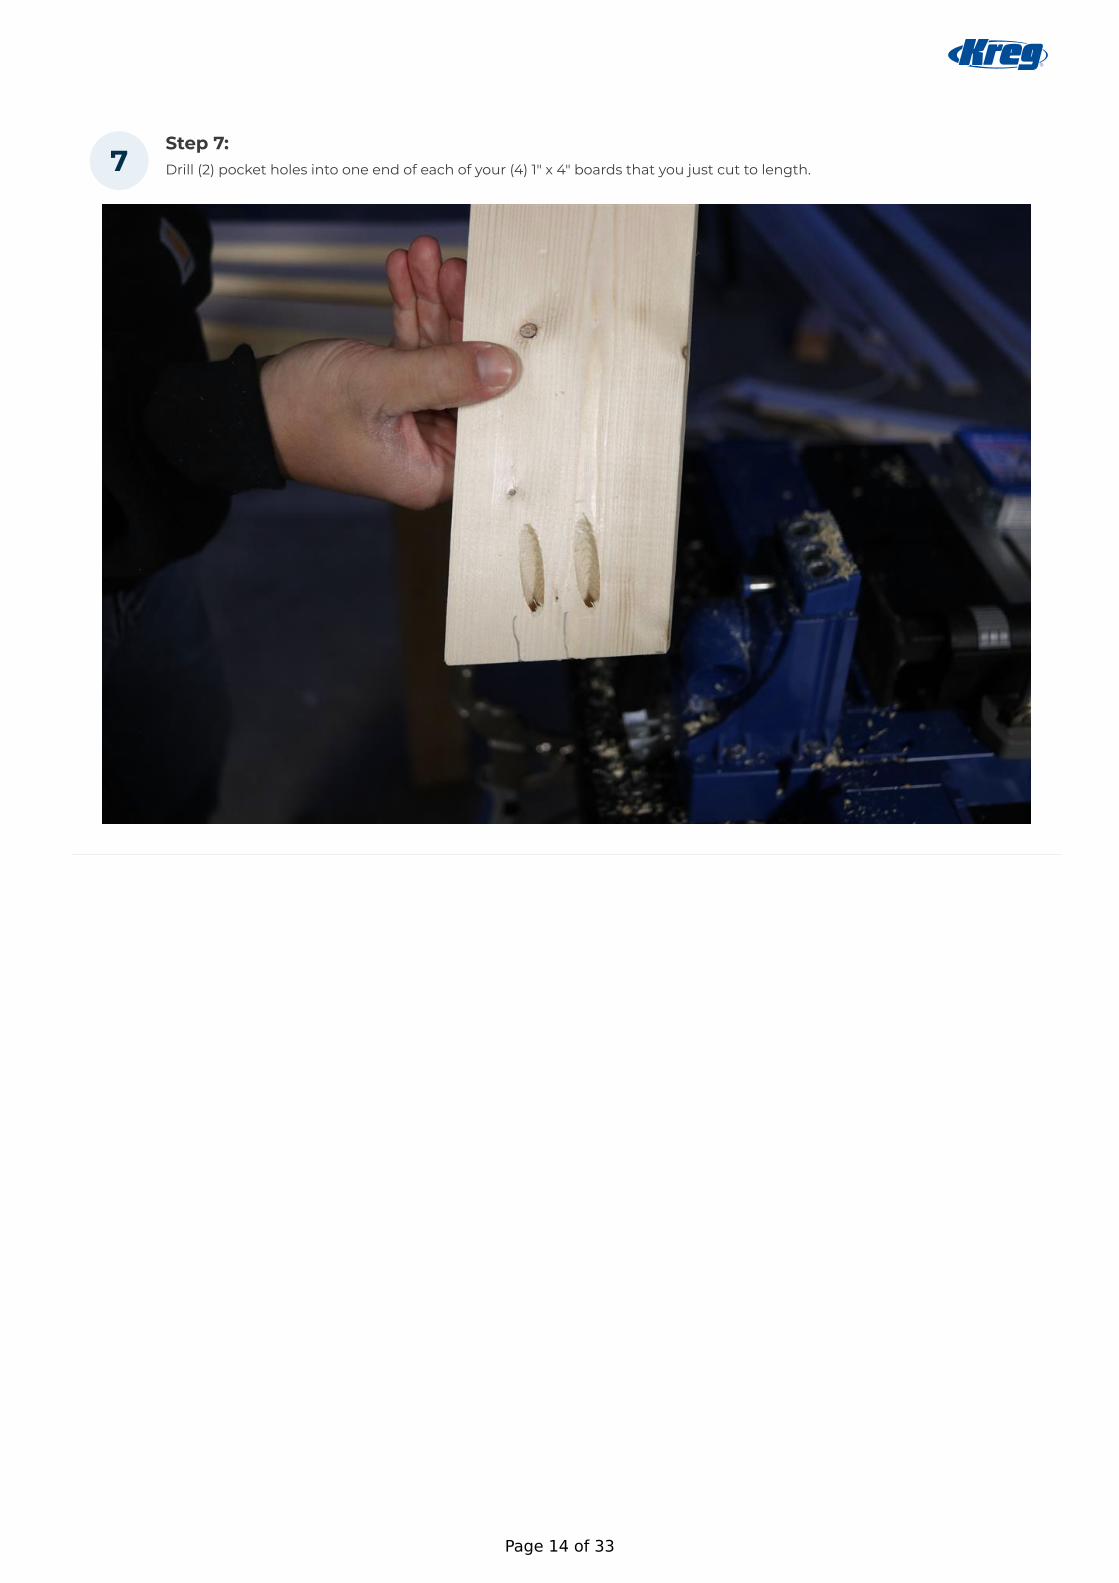
Step 7:Drill (2) pocket holes into one end of each of your (4) 1" x 4" boards that you just cut to length.7
Page 14 of 33

Step 8:After all pocket holes are drilled, you are ready to attach all (4) legs to the bottom side of your workbench counter. Place
each front leg (your 2 legs that are angled on both ends - 9 degree cut end will be placed on the wood, 10 degree cut end
will rest on ground once assembled) 2" in from the side edge and 2" in from the front edge then attach using your Kreg
screws.
8
Page 15 of 33
Page 16 of 33

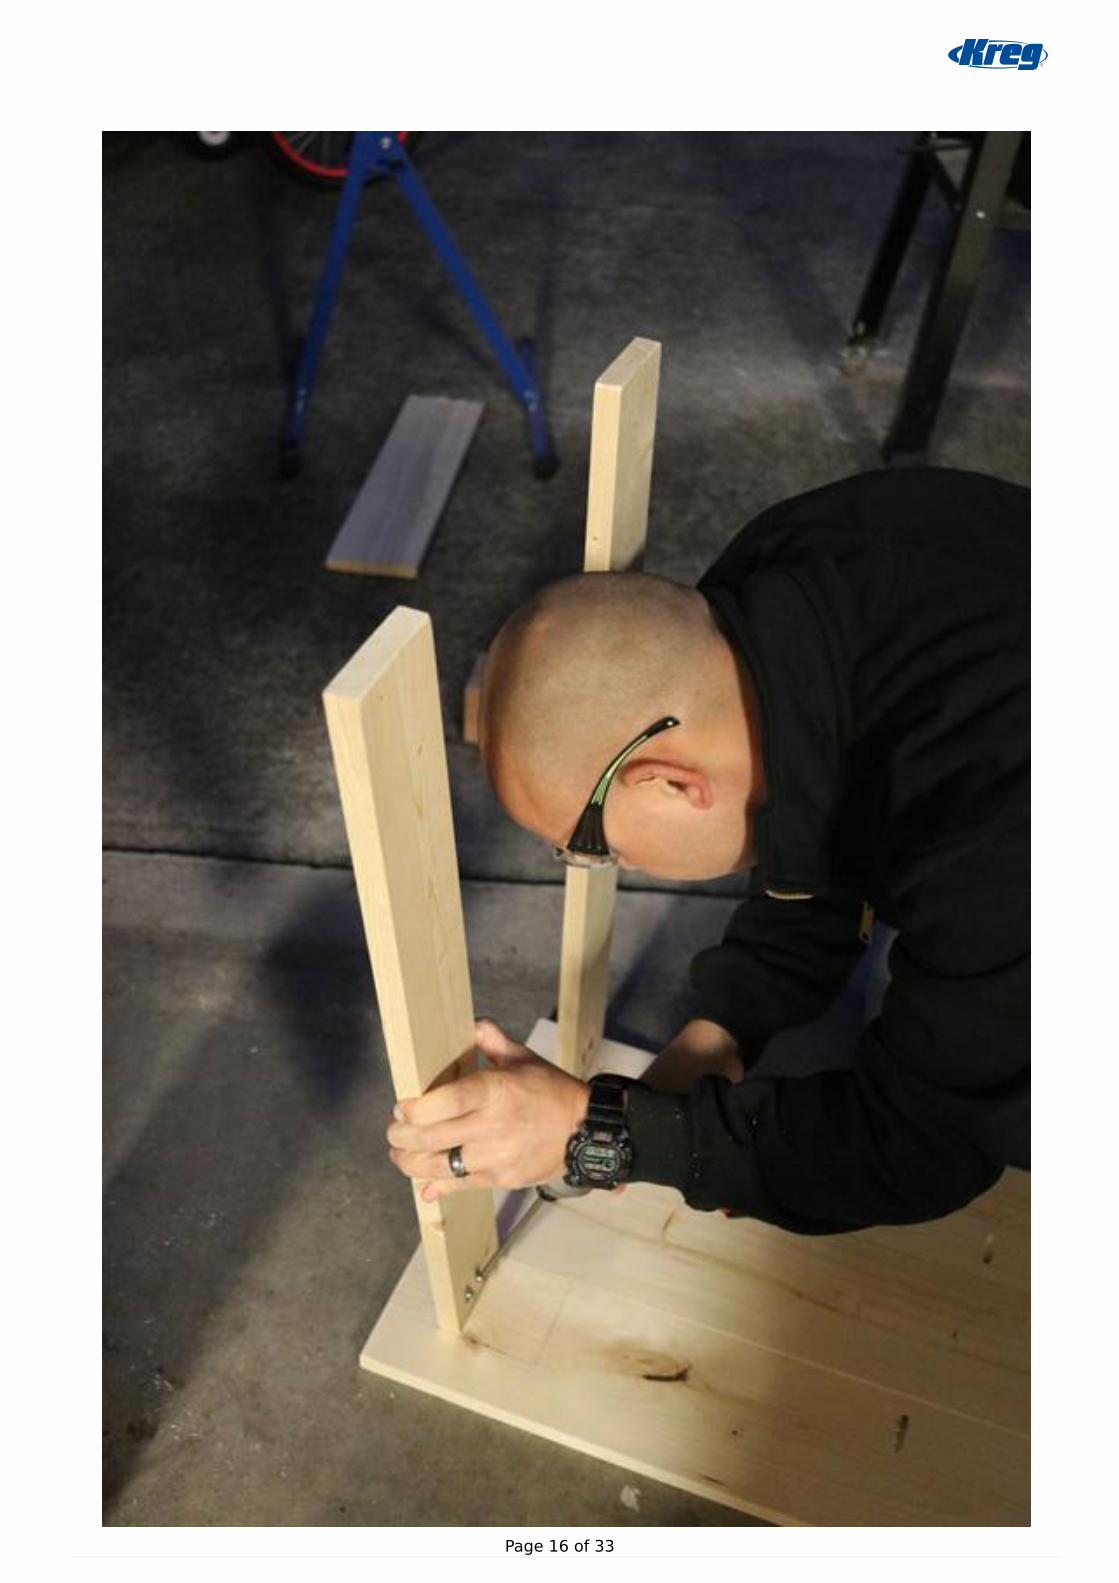
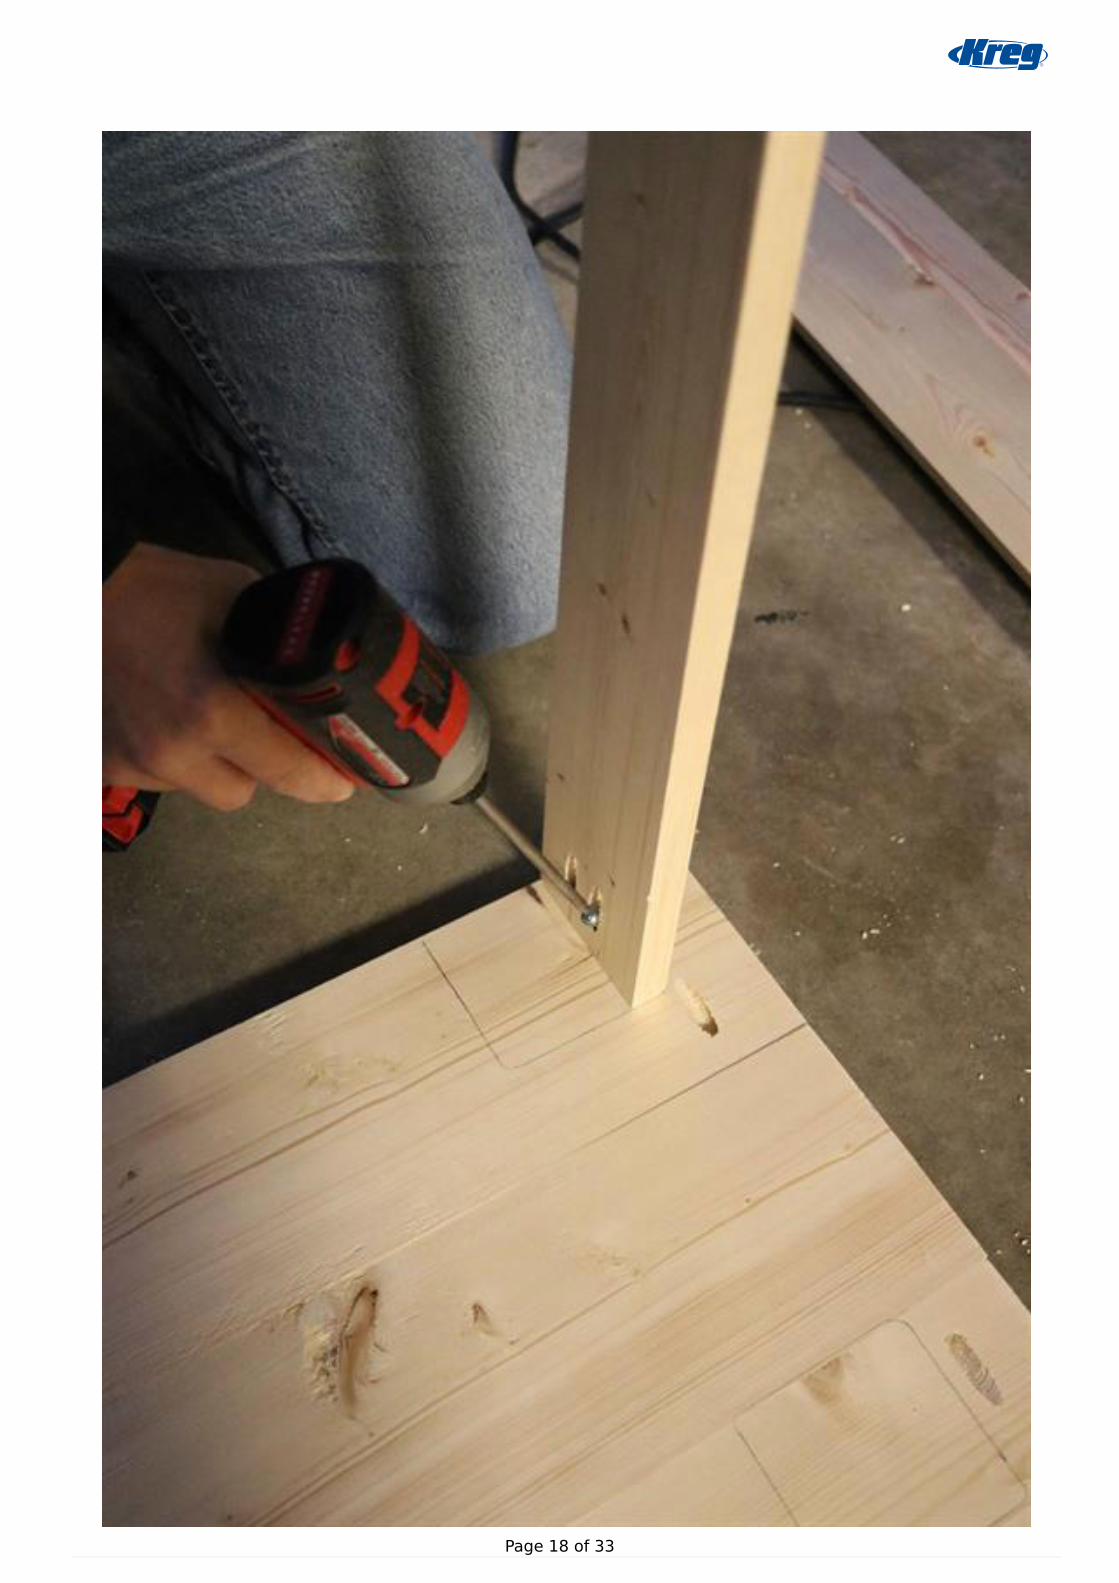
Step 9:Place each back leg 2" in from the side edge and then flush with the back side. Attach using your Kreg screws.9
Page 17 of 33
Page 18 of 33
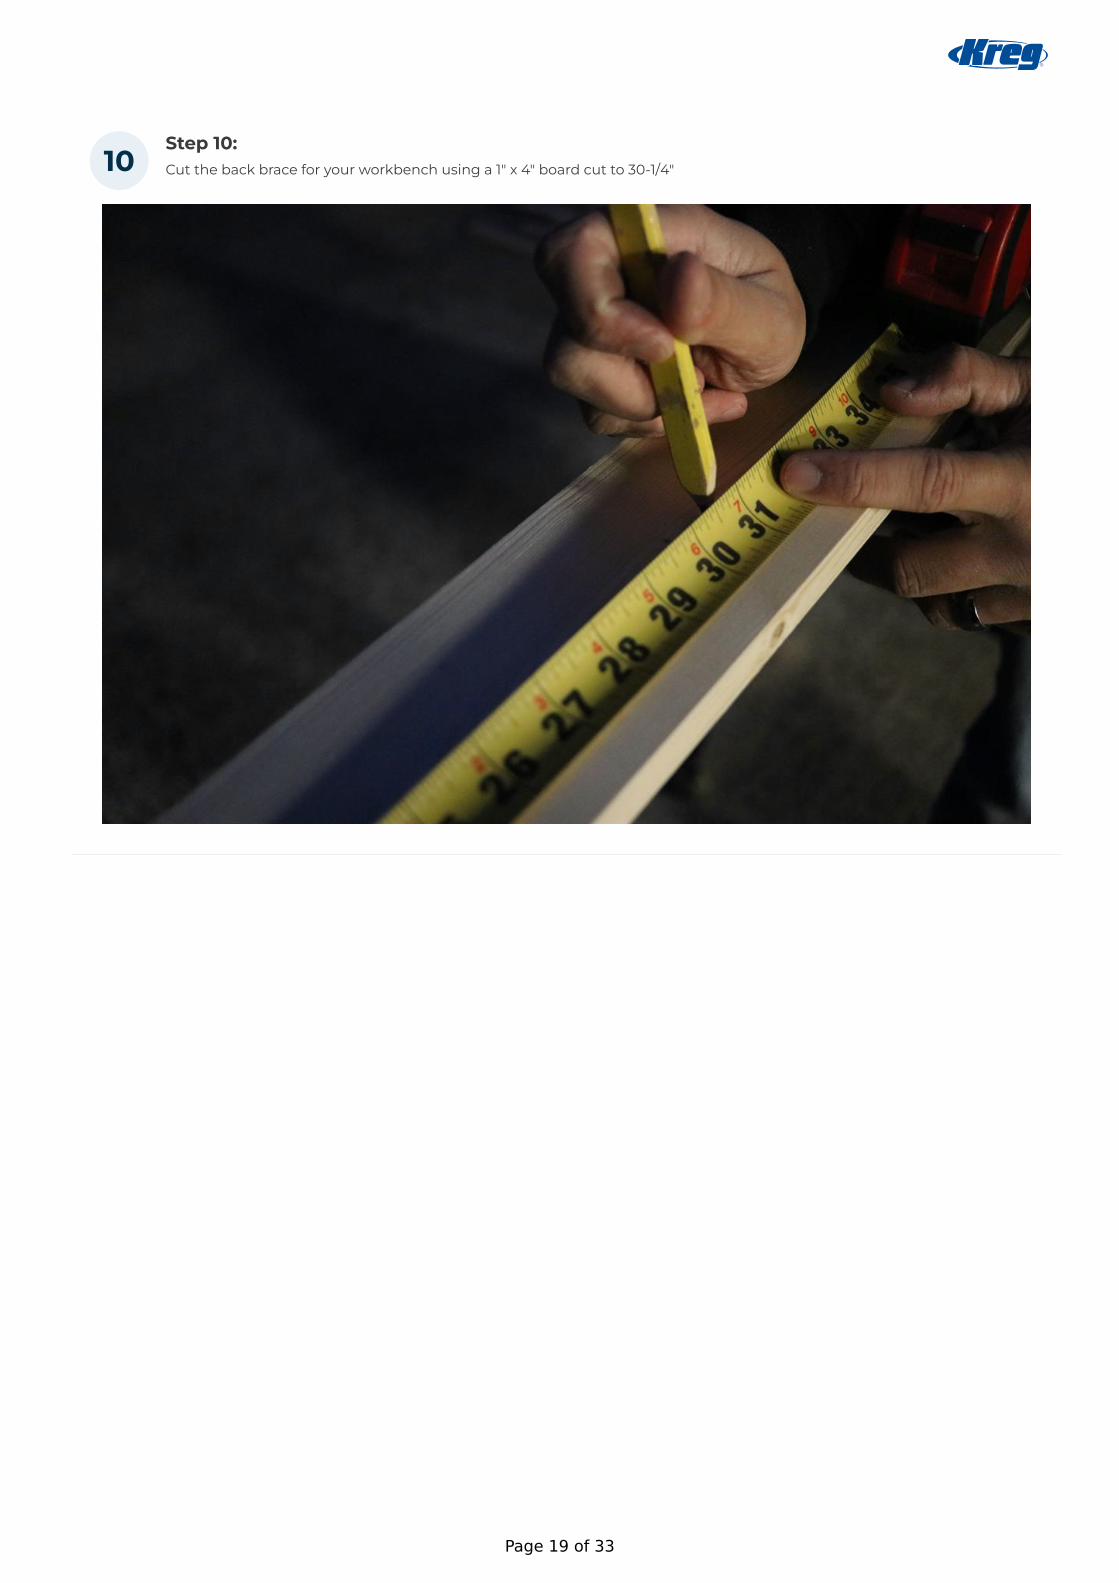
Step 10:Cut the back brace for your workbench using a 1" x 4" board cut to 30-1/4"10
Page 19 of 33
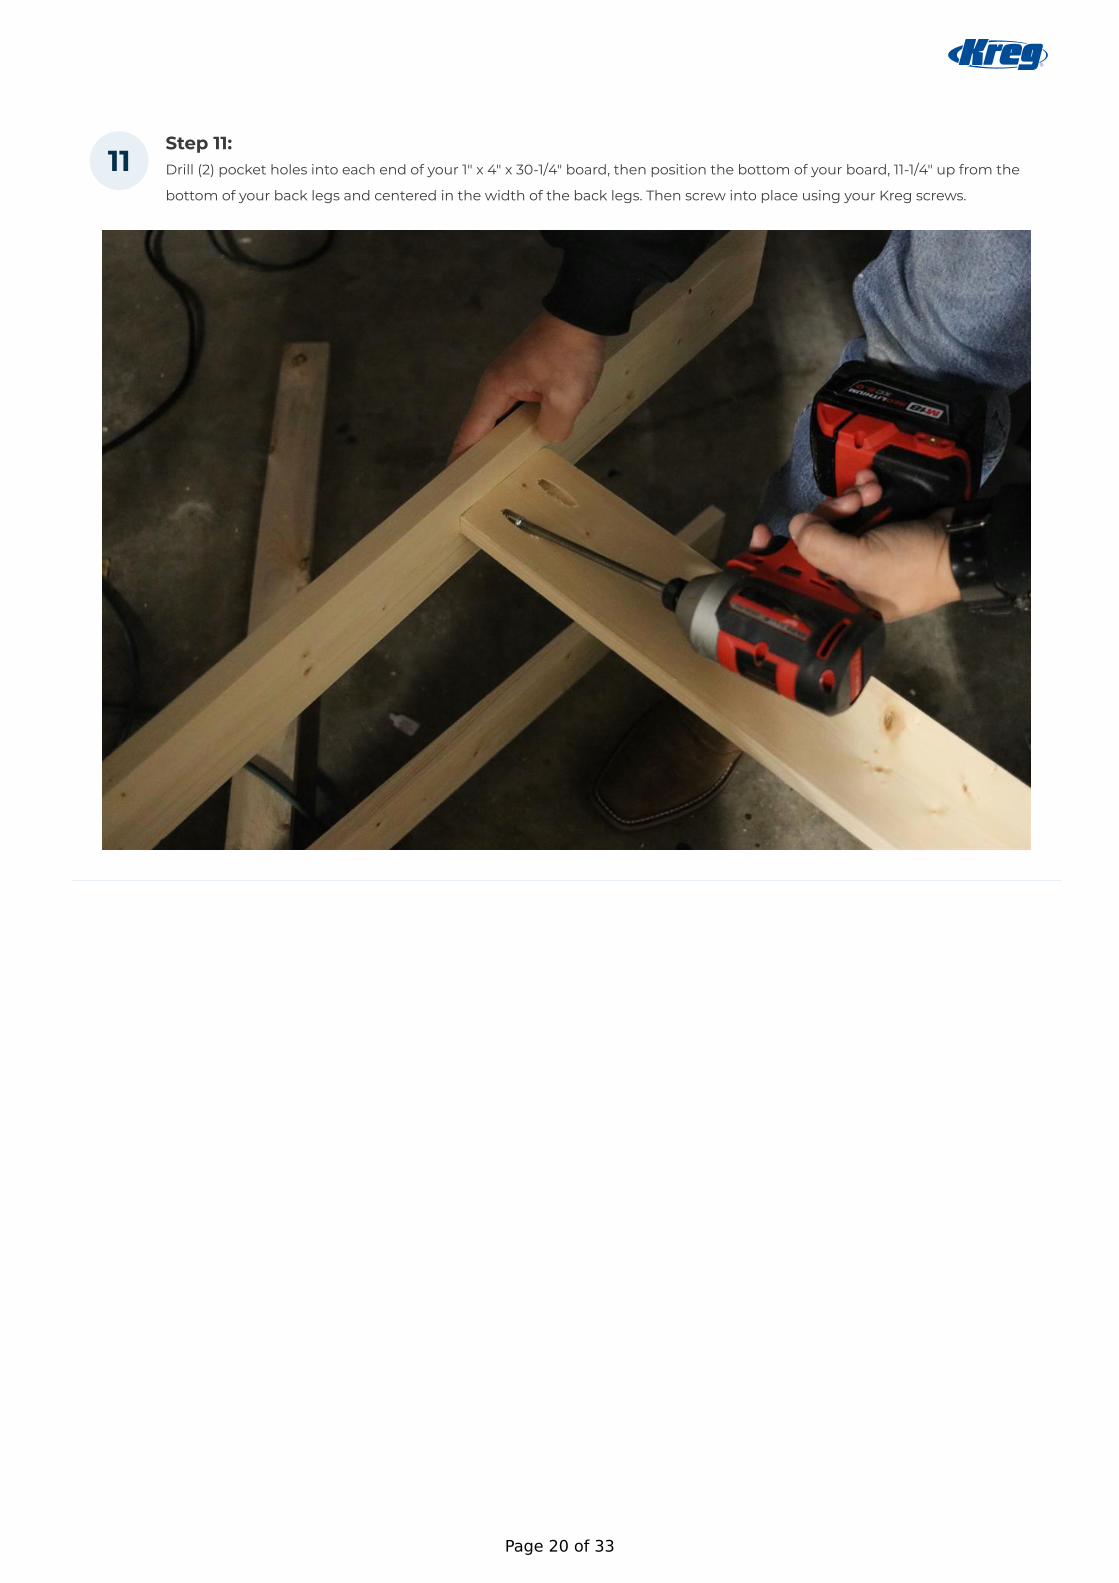
Step 11:Drill (2) pocket holes into each end of your 1" x 4" x 30-1/4" board, then position the bottom of your board, 11-1/4" up from the
bottom of your back legs and centered in the width of the back legs. Then screw into place using your Kreg screws.
11
Page 20 of 33
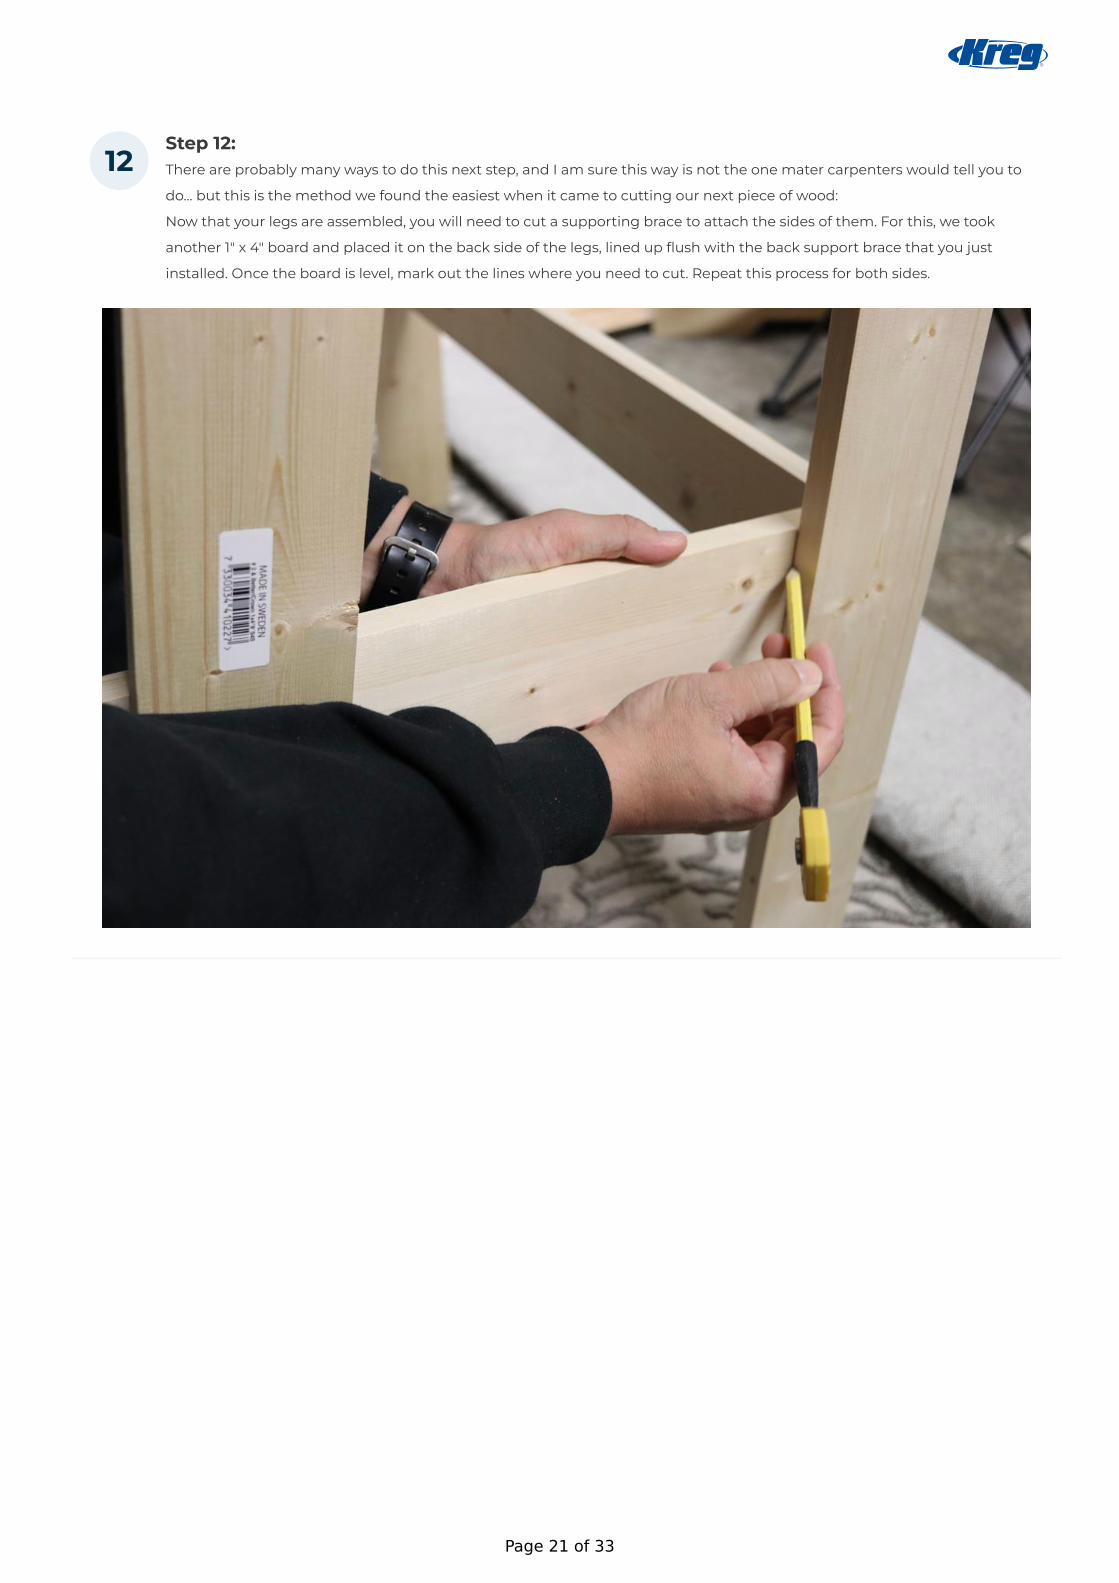
Step 12:There are probably many ways to do this next step, and I am sure this way is not the one mater carpenters would tell you to
do... but this is the method we found the easiest when it came to cutting our next piece of wood:
Now that your legs are assembled, you will need to cut a supporting brace to attach the sides of them. For this, we took
another 1" x 4" board and placed it on the back side of the legs, lined up flush with the back support brace that you just
installed. Once the board is level, mark out the lines where you need to cut. Repeat this process for both sides.
12
Page 21 of 33

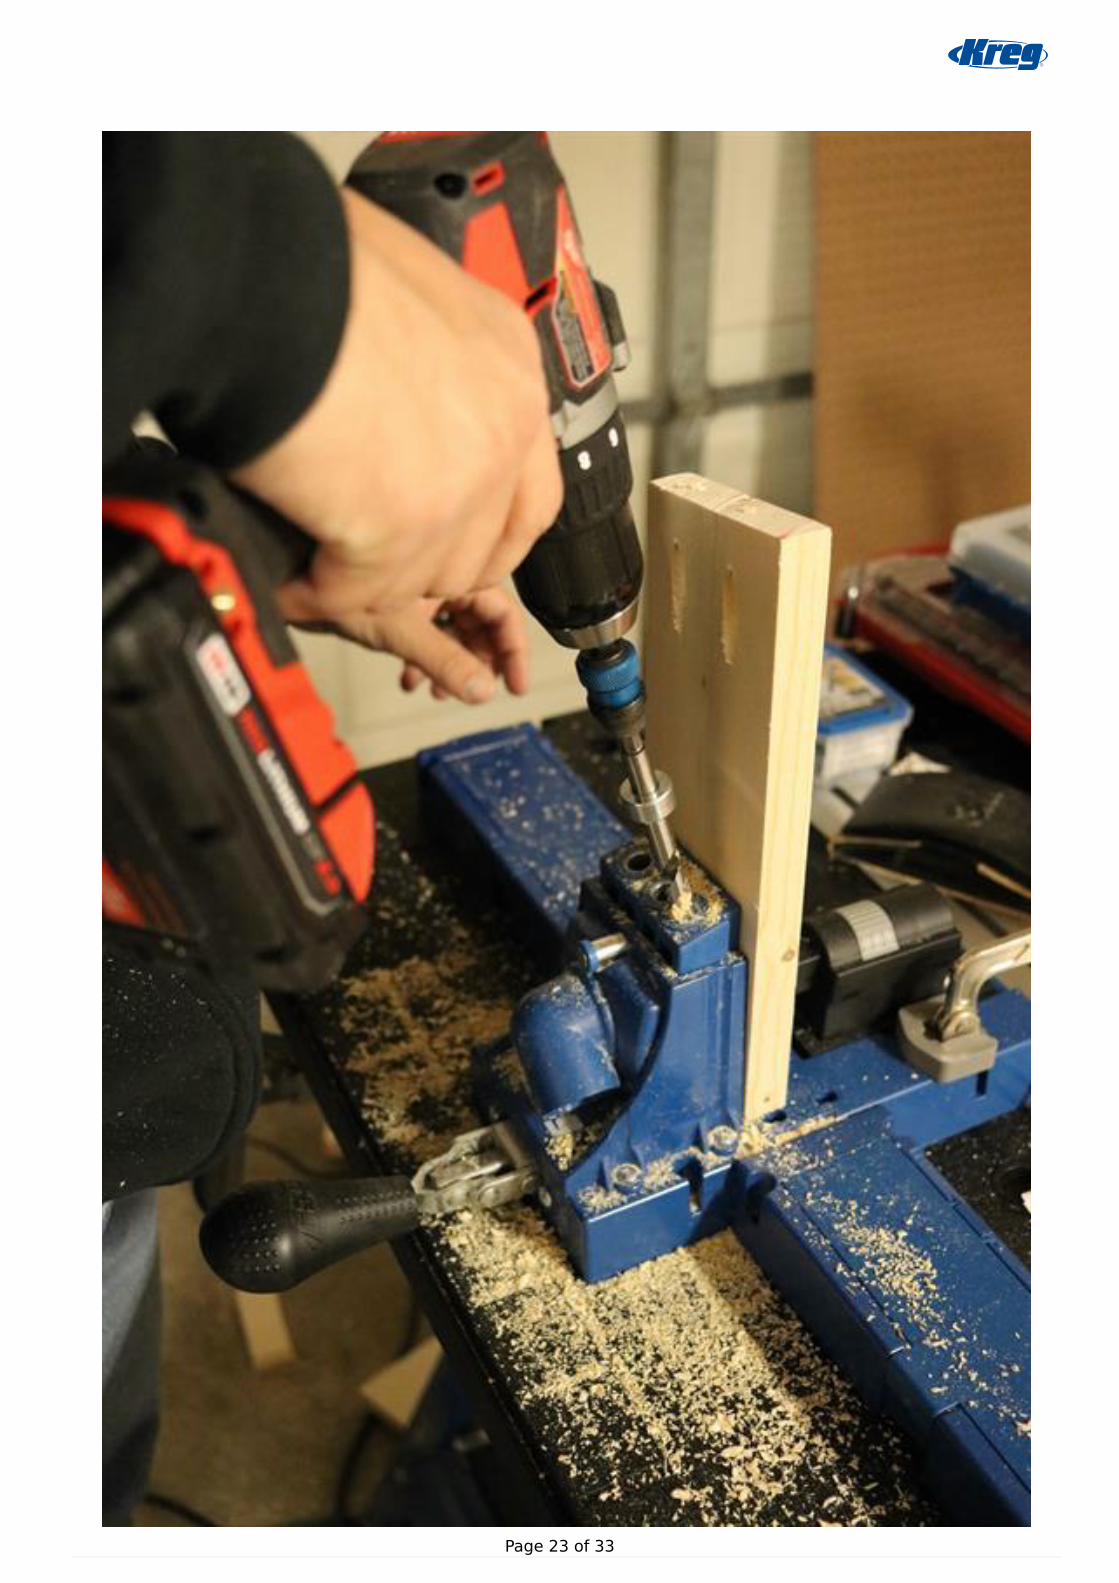
Step 13:Drill (2) pocket holes into each and of your side braces.13
Page 22 of 33
Page 23 of 33
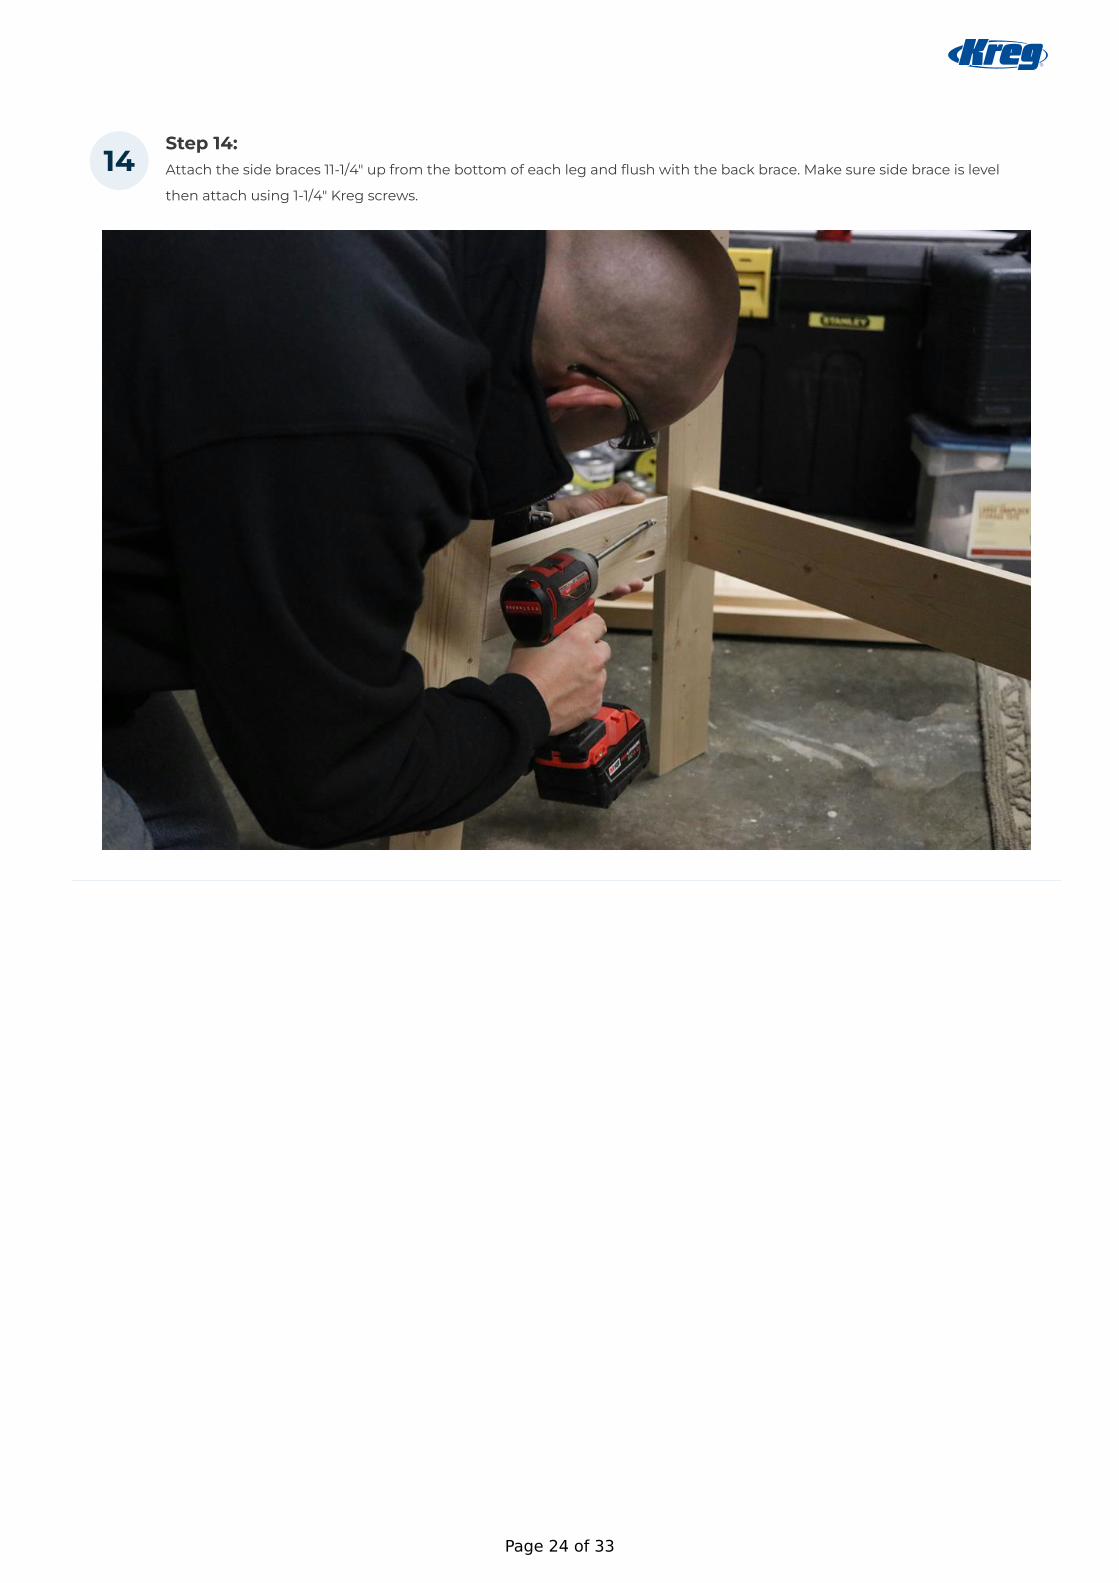
Step 14:Attach the side braces 11-1/4" up from the bottom of each leg and flush with the back brace. Make sure side brace is level
then attach using 1-1/4" Kreg screws.
14
Page 24 of 33

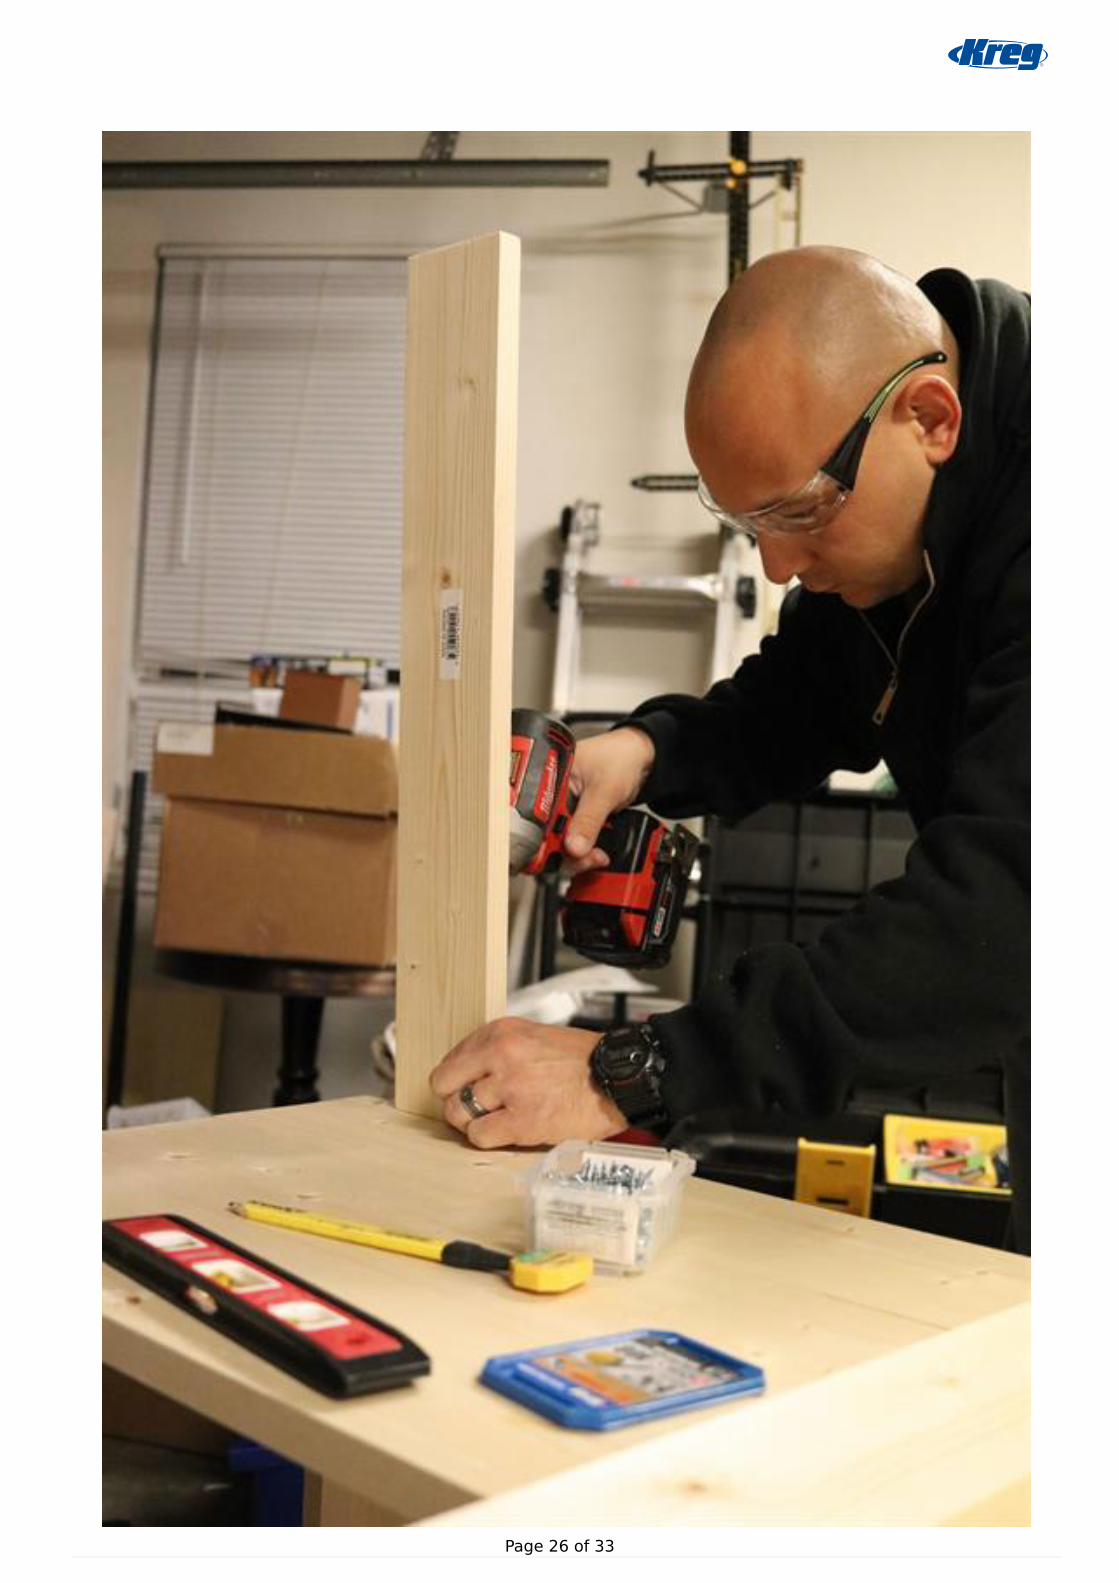
Step 15:The bottom half of your workbench is now fully assembled, next it is time to work on the top - Start by cutting (2) 1" x 4"
boards to 23-1/4". These will be the braces that attach to the top of your workbench counter to hold the pegboard in place.
After your boards are cut, drill (2) pocket holes into (1) end of each board then attach to the top of your work surface, placing
the boards flush with the back and 2" in from each side.
15
Page 25 of 33
Page 26 of 33

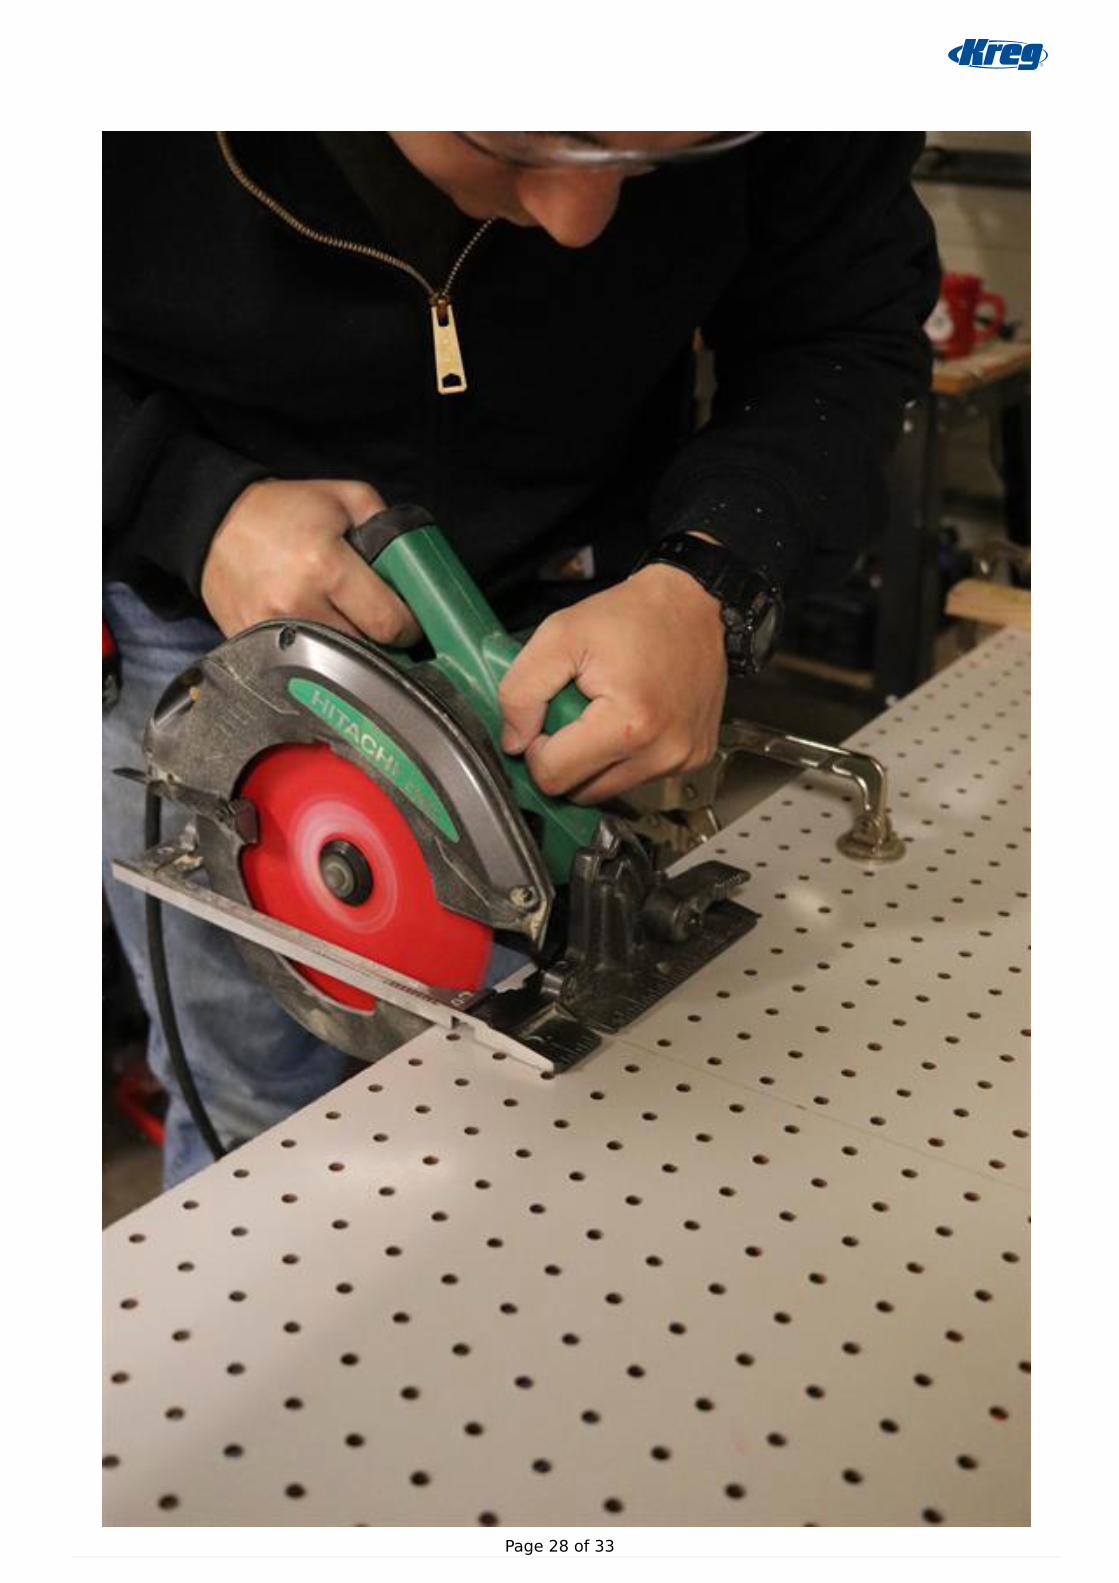
Step 16:Next, it's time to cut the pegboard. Using a circular saw, cut your pegboard down to 32" x 24"16
Page 27 of 33
Page 28 of 33
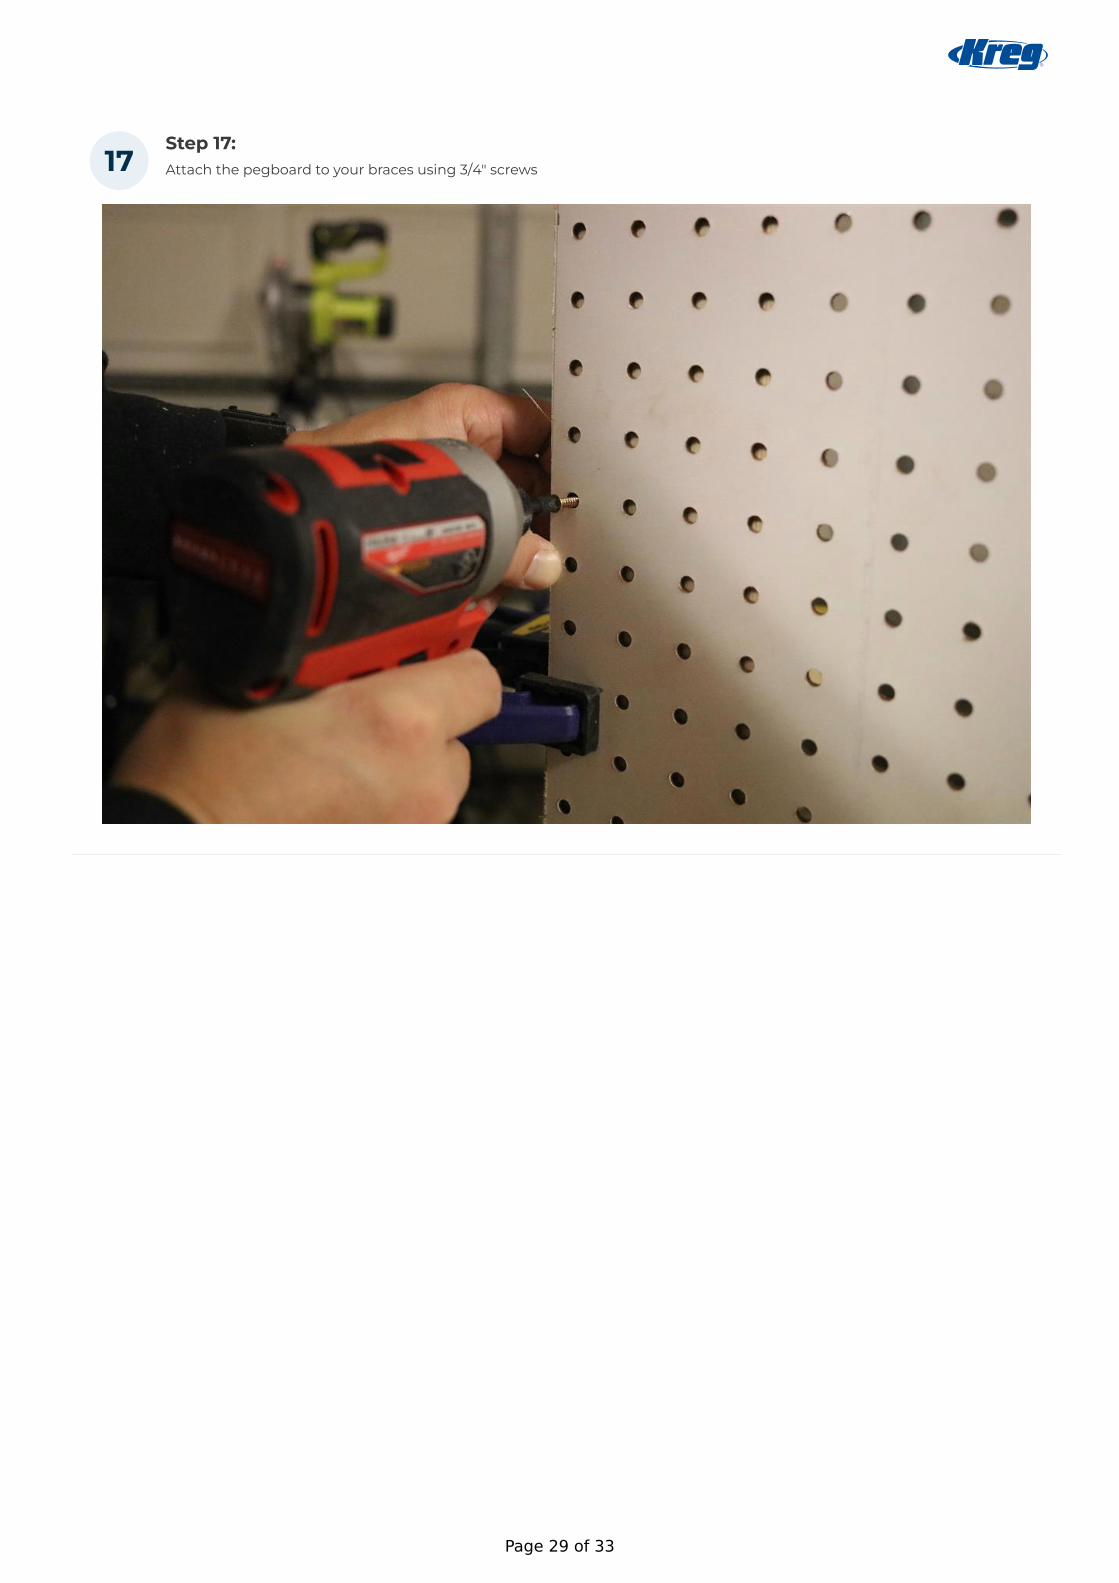
Step 17:Attach the pegboard to your braces using 3/4" screws17
Page 29 of 33
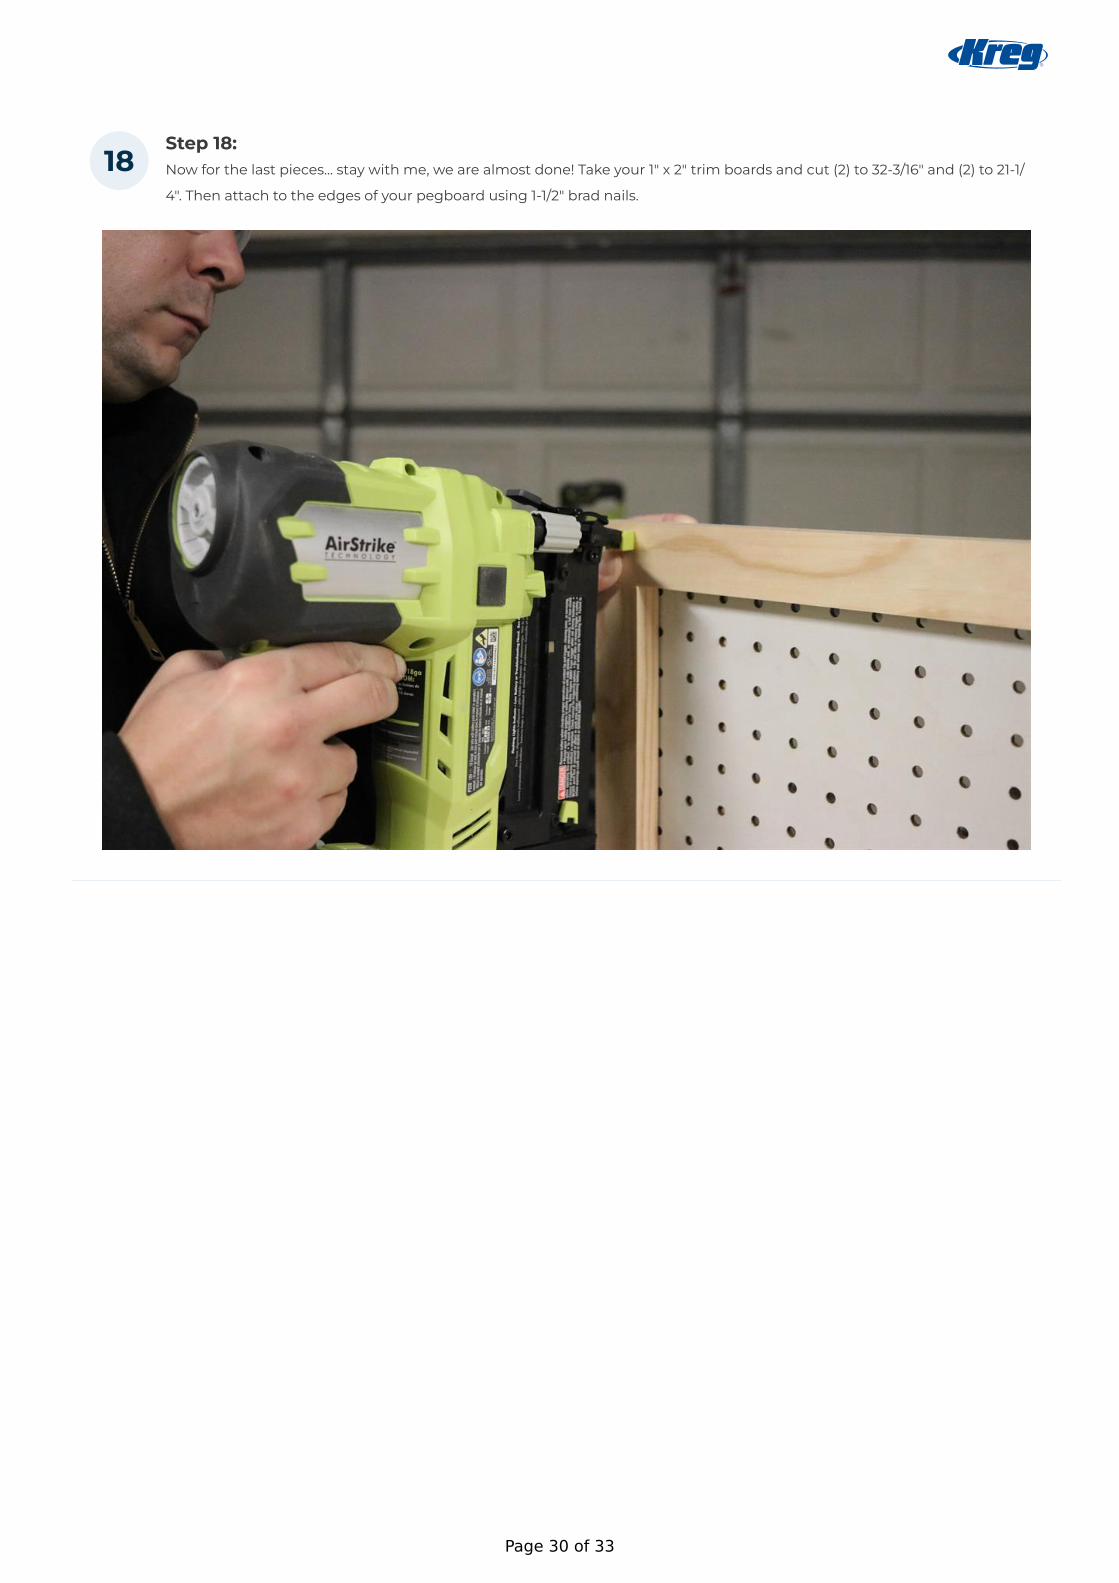
Step 18:Now for the last pieces... stay with me, we are almost done! Take your 1" x 2" trim boards and cut (2) to 32-3/16" and (2) to 21-1/
4". Then attach to the edges of your pegboard using 1-1/2" brad nails.
18
Page 30 of 33
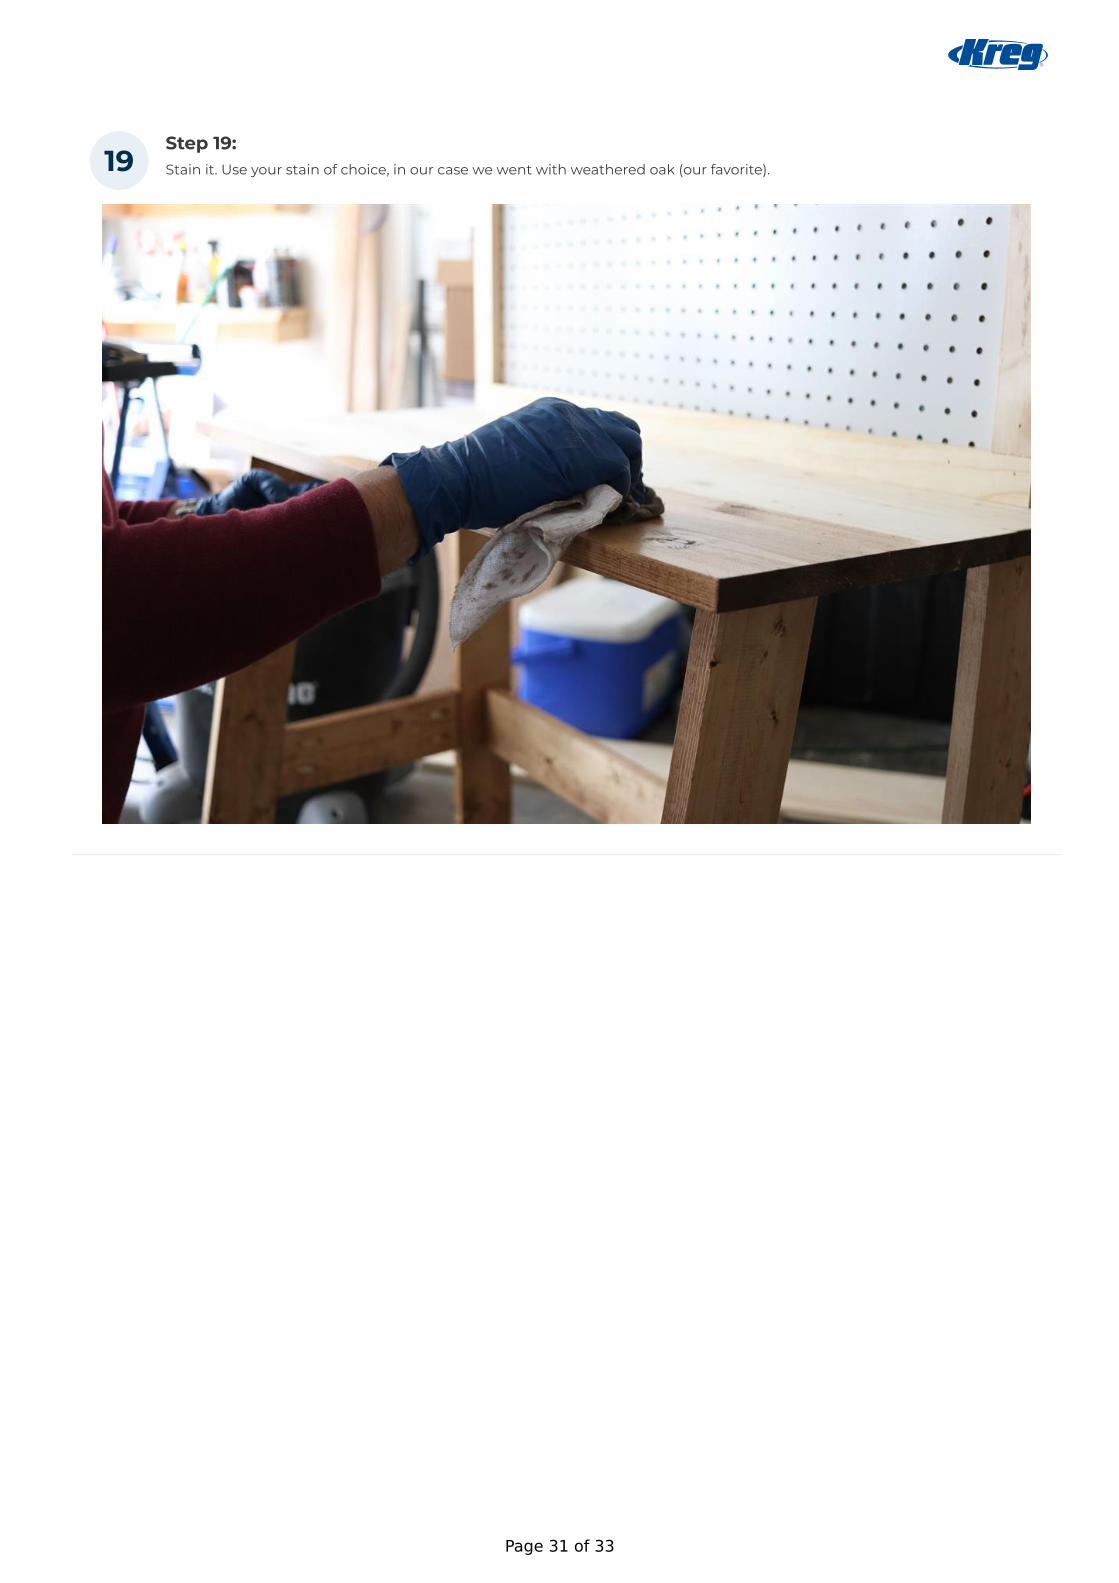
Step 19:Stain it. Use your stain of choice, in our case we went with weathered oak (our favorite).19
Page 31 of 33

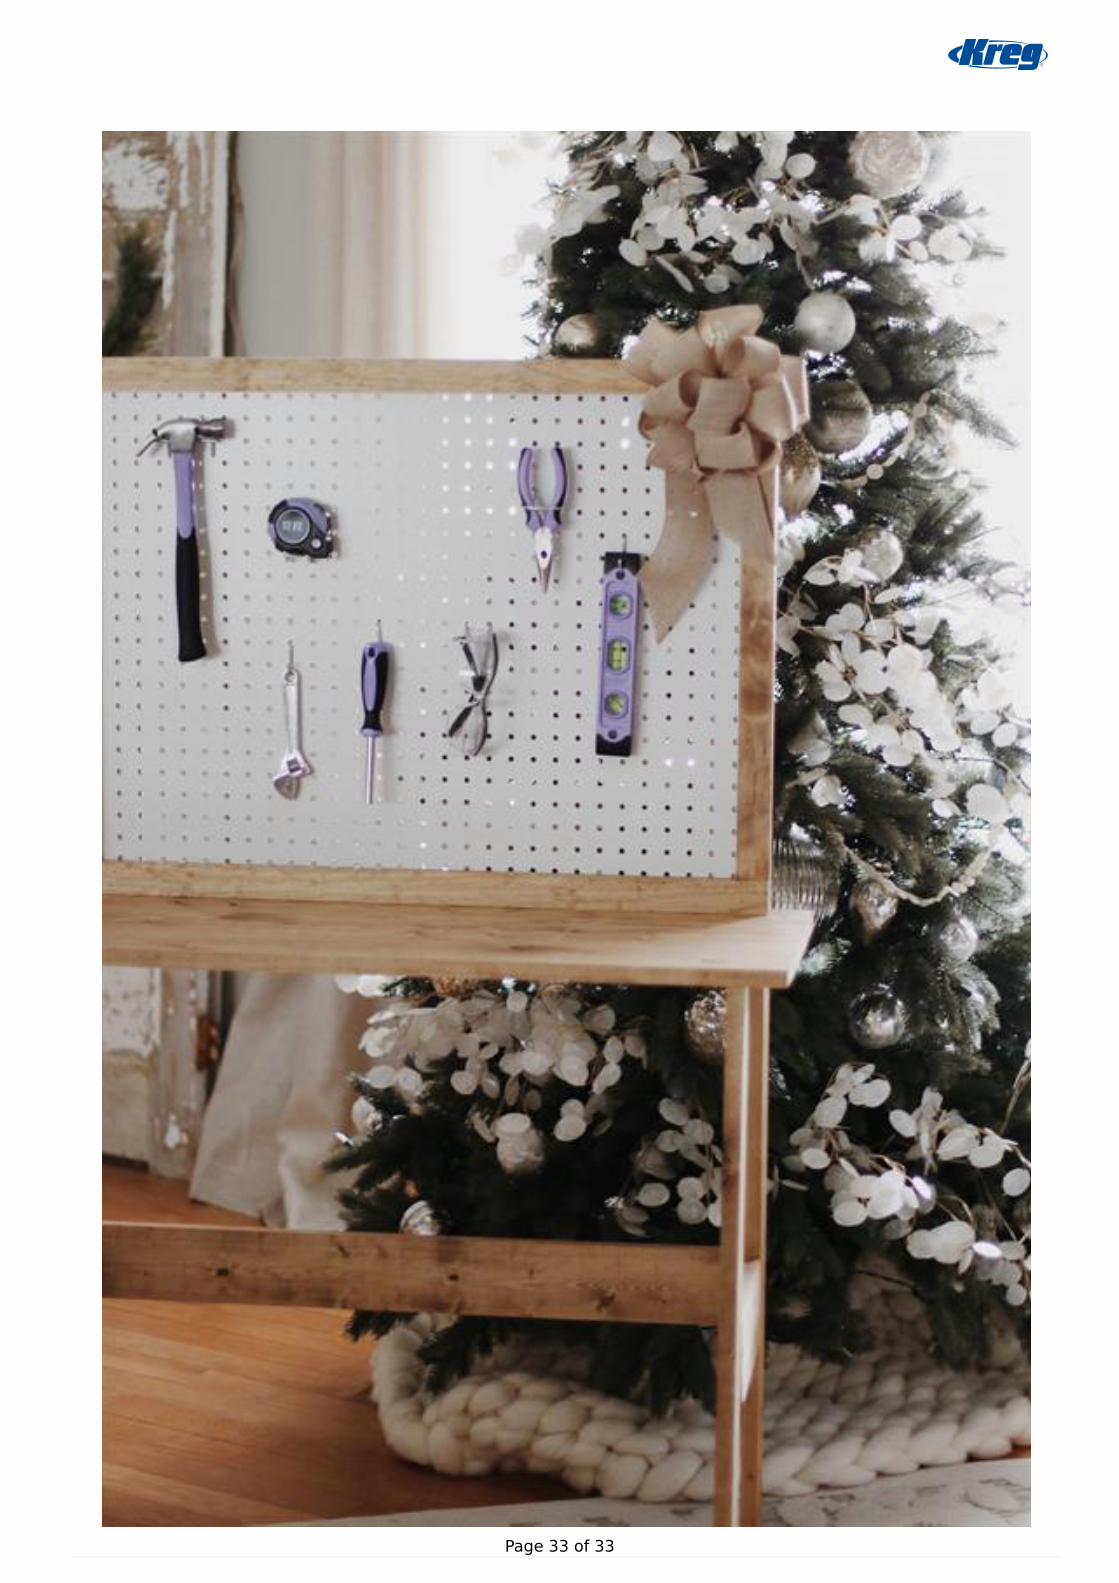
Step 20:You did it! Give yourself a pat on the back, and if you have been following this build series, we THANK YOU for following
along all of the way to the end! We hope that you have enjoyed these projects and have been inspired to build your own for
the ones in your life that you love. There is no better gift than one that came from your own two hands.
20
Page 32 of 33
Page 33 of 33