chest drainage systems -...
TRANSCRIPT

Chest Drainage Systems

Pleural Anatomy
•Lungs are surrounded by thin tissue called the pleura, a continuous membrane that folds over itself:
•Parietal pleura lines the chest wall
•Visceral pleura covers the lung

Pleural Anatomy
•Normally, the two membranes are separated only by the lubricating pleural fluid
•Fluid reduces friction, allowing the pleura to slide easily during breathing
Normal Pleural fluid quantity:Approx. 25 mL per lung

When pressures are disrupted
•If air or fluid enters
the pleural space
between the parietal
and visceral pleura,
the pressure gradient
that normally keeps
the lung against the
chest wall disappears
and the lung collapses

• Pleural Effusions
• Empyema
• Pneumothorax
Indications for Chest tubes

Transudate or exudate in the pleural space is a
pleural effusion
Conditions requiring chest drainage
Pleural Effusion

Definition: Infected pleural effusion: Pus in the pleural space: Often secondary to bacterial Pneumonia.
▫ Fluid can build to a pint or more.
▫ In severe cases the pus ball can develop a fibrotic covering that can attach
itself to the wall of the
pleural lining.
Empyema

Pneumothorax
Air between the pleurae is a
pneumothorax
Parietal pleura
Visceral pleura Pleural space

Hemothorax
Blood in the pleural space is a
hemothorax

Treatment for pleural conditions
1. Remove fluid & air as promptly as possible
2. Prevent drained air & fluid from returning to the pleural space
3. Restore negative pressure in the pleural space to re-expand the lung
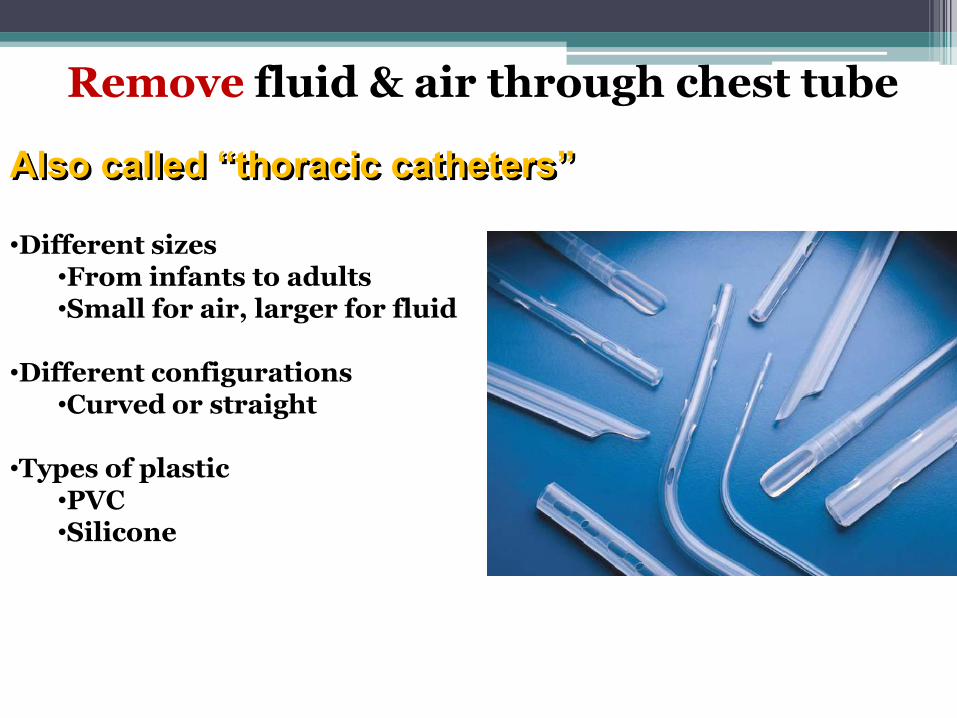
Remove fluid & air through chest tube
Also called “thoracic catheters”
•Different sizes•From infants to adults•Small for air, larger for fluid
•Different configurations•Curved or straight
•Types of plastic•PVC•Silicone

Prevent air & fluid fromreturning to the pleural space
Chest tube is attached to a drainage device
Allows air and fluid to leave the chest
Contains a one-way valve to prevent air & fluid returning to the chest
Designed so that the device
is below the level of the
chest tube for gravity drainage

• To drain blood, pus, or lymph
from the pleural cavity, the chest
tube is inserted at a slightly lower
intercostal space (6th or 7th)
To drain air from the pleural cavity
the chest tube may be inserted at a
higher intercostal space (2nd)
What the system looks like

Chest Tube Assessments
•Verify that all connections are firmly secured with 2” silk tape
•Ensure that there are no kinks in tubing
•Maintain clean dressing as ordered by physician (Vaseline gauze should ONLY be used if requested by Physician!)
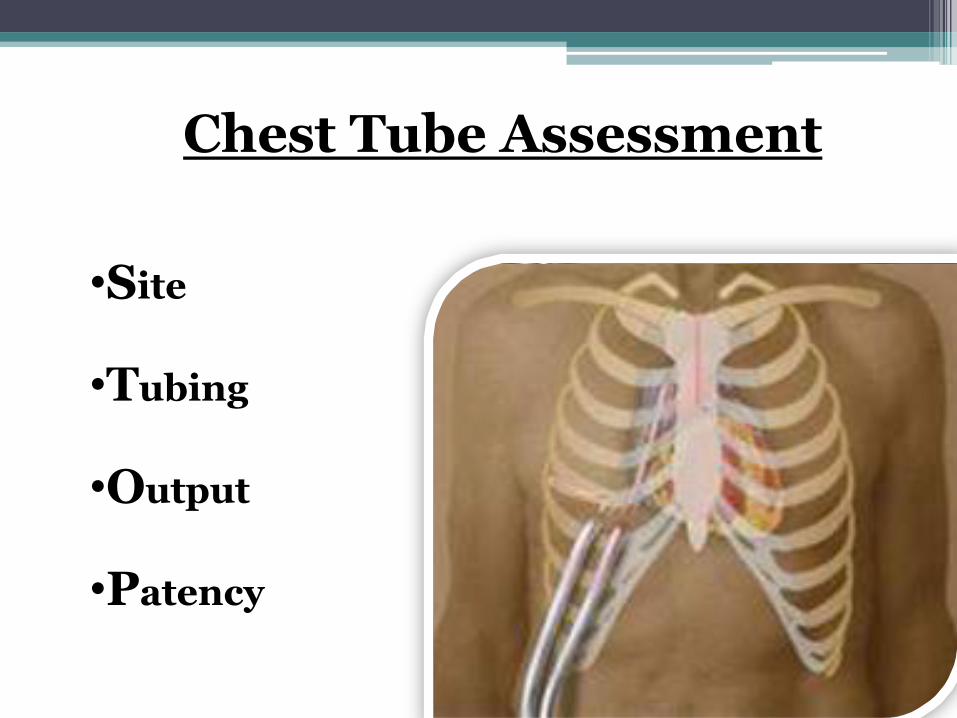
•Site
•Tubing
•Output
•Patency
Chest Tube Assessment

Check for:
Clean & Dry dressing
Subcutaneous emphysema
Swelling, redness, warmth & purulent drainage at site
SITE

Check for:
Connections are securedAll tubing unkinked & draining freelyAll connections secured with 2” silk tapeKeep drainage system below the level of
the patient at all times.Appropriate water pressure in suction
chamber as ordered by physician
TUBING
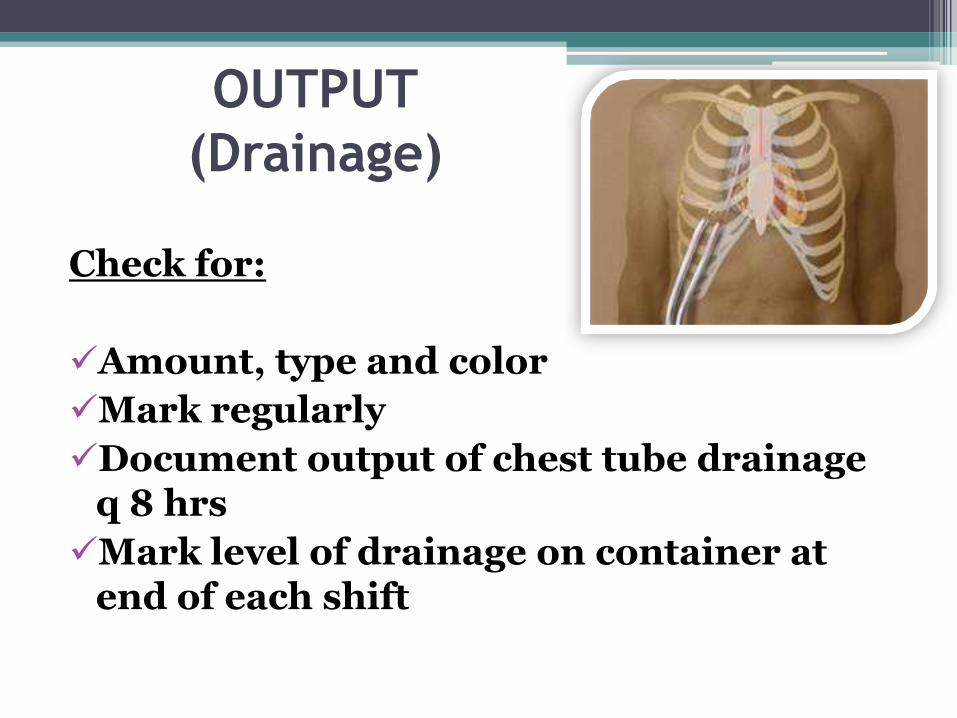
Check for:
Amount, type and color
Mark regularly
Document output of chest tube drainage q 8 hrs
Mark level of drainage on container at end of each shift
OUTPUT
(Drainage)

Assess the water seal with the suction off
If water seal level is too high, it will
be more difficult for air to leave the
chest
If water is too low= leaves water seal
chamber at risk for exposure to air,
can cause a Pneumothorax
PATENCY

Nursing Care of Patient with Chest Tube
Assess breathing pattern, rate, and symmetry q shift.
Auscultate quality of breath sounds on both affected and unaffected sides q 4 hours and prn.
Chest tube dressings should be changed at least daily & more often to keep incision dry.
Vaseline gauze shouldONLY be used if it was on thedressing removed!(Not all surgeons use it!)If no drainage, the dressing canbe removed.

Nursing Care of Patient with Chest Tube
Place patients in semi-fowlers 30 – 45 degrees
Monitor vital signs q 4hrs, prn or as ordered by MD
Turn all patients q2 hrs from side to side, avoiding back for more than 1 hour
Prevent patient from lying onand kinking chest tubes
Be sure to know the orderedsuction levels. Check & Documentthe suction level.
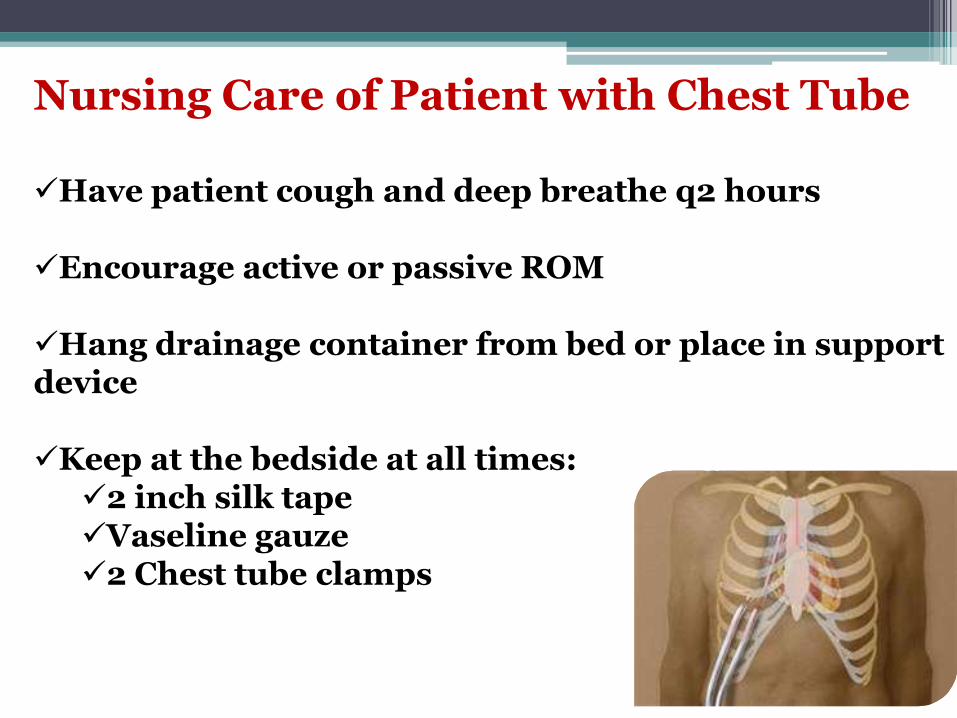
Nursing Care of Patient with Chest Tube
Have patient cough and deep breathe q2 hours
Encourage active or passive ROM
Hang drainage container from bed or place in support device
Keep at the bedside at all times:2 inch silk tapeVaseline gauze2 Chest tube clamps
Nursing Care of Patient with Chest Tube
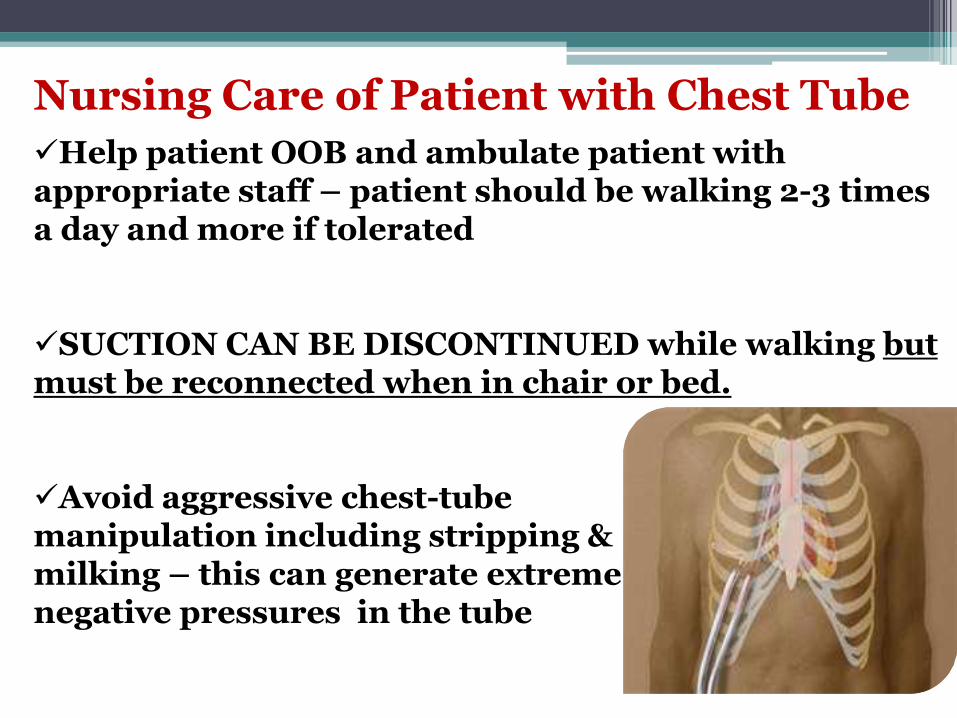
Help patient OOB and ambulate patient with appropriate staff – patient should be walking 2-3 times a day and more if tolerated
SUCTION CAN BE DISCONTINUED while walking but must be reconnected when in chair or bed.
Avoid aggressive chest-tubemanipulation including stripping &milking – this can generate extremenegative pressures in the tube
Reportable Conditions
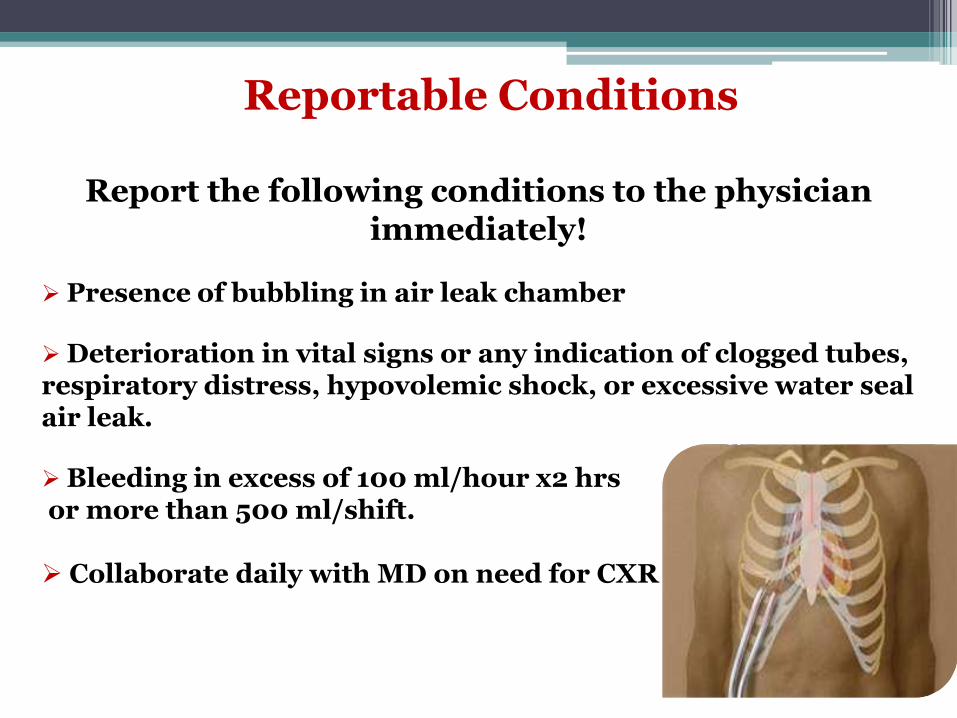
Report the following conditions to the physician immediately!
Presence of bubbling in air leak chamber
Deterioration in vital signs or any indication of clogged tubes, respiratory distress, hypovolemic shock, or excessive water seal air leak.
Bleeding in excess of 100 ml/hour x2 hrsor more than 500 ml/shift.
Collaborate daily with MD on need for CXR

Emergency Measures
DISCONNECT: If chest tube becomes disconnected, the tube is to be immediately clamped (double) as close to the patient as possible.Both exposed ends cleaned with betadine swabs for 30 sec, left to air dry for 30sec, then reconnect system with fresh adhesive tape.
DISLODGEMENT
If tube accidentally pulled out, promptly apply Vaseline gauze & 4X4’s-tapeon 3 sides.Page MD stat; prepare new tube insertion.Stay with pt.; observe for resp. distress from tension pneumothorax
Emergency Measures cont…..
.
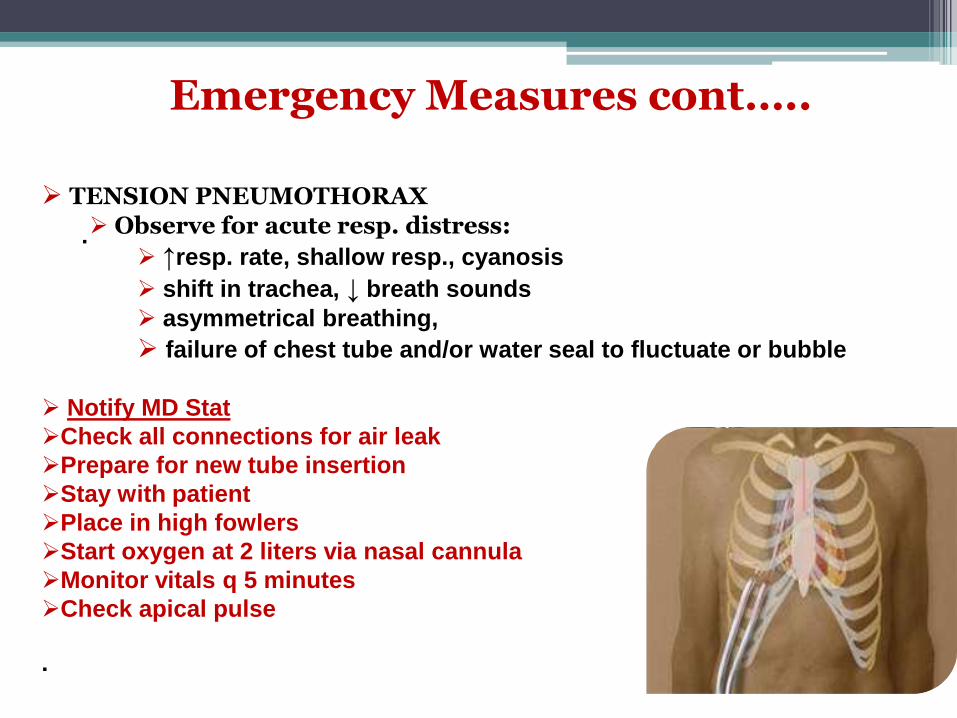
TENSION PNEUMOTHORAX
Observe for acute resp. distress:
↑resp. rate, shallow resp., cyanosis
shift in trachea, ↓ breath sounds
asymmetrical breathing,
failure of chest tube and/or water seal to fluctuate or bubble
Notify MD Stat
Check all connections for air leak
Prepare for new tube insertion
Stay with patient
Place in high fowlers
Start oxygen at 2 liters via nasal cannula
Monitor vitals q 5 minutes
Check apical pulse
.

ASPIRA CATHETER
(Pleural Drainage System)
• The Aspira drainage catheter is
a tunneled, long-term catheter
used to drain fluid from the
pleural cavity to relieve symptoms
associated with pleural effusion.
• The purpose of the Aspira is to perform INTERMITTENT pleural effusion drainage at
home.
ASPIRA CATHETER
• Day of Insertion: Catheter may be attached to continuous suction (Sahara system) by an adaptor to drain off large effusions.
• Once drainage lessens (less than 300 ml) the Sahara system will be removed and the catheter capped.
• The catheter will then be drained as needed depending on patient symptoms (usually daily) until discharge.

Aspira Catheter
Connection Procedure1. Remove cap from end of catheter and discard
2. Connect Aspira catheter to drainage bag by pushing together till hear a “click”
3. Place bag at least arms length below chest
4. Squeeze bulb ONCE
5. Let fluid drain until stops or bag fills to 1000ml
6. Disconnect by pinching wings
7. Wipe catheter end with alcohol
8. Place new sterile cap on end of catheter
9. Cut corner of bag measure then discard fluid

Aspira Catheter
If drainage exceeds 1 liter then inform MD, reconnection to standard chest tube suction may be indicated.
NEVER leave Aspira drainage bags attached for continuous drainage.
If it is necessary to reconnect to chest tube drainage system,, use of an adaptor is necessary…obtain from Central.
When connecting to chest tube suction or syringe suction attach adaptor to suction FIRST then to catheter!

• Heimlich valve is a flutter valve that allows trapped air to escape from the thoracic cavity via chest tube when patient exhales and prevents more air from entering the patient’s involved lung during inhalation.
• Drainage can escape through valve but are not designed for collection of major drainage.
HEIMLICH VALVE

Function of the Heimlich Valve
Heimlich Valves (flutter valves)Allow accumulated air and fluid to escape during expiration
without admitting air during inspiration
•The Blue end of the Heimlich valve should be attached to the chest tube toward the patient.
•The tubing inside the valve flutters as the patient exhalesindicating tube patency.
•The valve will stop fluttering when the pneumothorax has resolved.
Heimlich Valve Drainage Set-up
• For small amount of drainage, attach sterile disposable glove to Heimlich valve end with rubber band.
• For moderate to large amount of drainage:
▫ Attach connection tubing to clear plastic end of Heimlich valve
▫ Insert proximal end of connection tubing into plastic drainage bag . (i.e.: foley, nephrostomy bag)

Heimlich Valve Care • Stopcock (if used) should be open to air.
• Assess patient for respiratory distress. If distress occurs, notify physician immediately.
• If Heimlich attached to drainage – empty contents q8 hours and observe amount, color, consistency and odor.
• Firmly attach the catheter’s open end to the blue end of the valve. The catheter should be firmly taped to the valve to prevent accidental dislodging.

Discontinuation of Chest Tubes
• The chest tube/drain is ready for removal after:▫ The patient's respiratory status has improved
▫ Disappearance of air leaks present in water seal compartment
▫ Chest film verifies re-expansion of lung
▫ Drainage has decreased to 50 – 100 ml fluid per 25 hours

Chest drain/tube removal
• Explain procedure to patient/significant other• Administer pain medicine ½ hour prior to tube
removal • Assess patient including vital signs, respiratory rate,
rhythm, and breath sounds• Wash hands!• Prepare dressing of Vaseline gauze and 4x4s or
dressing of physician’s choice• Patient should be in semi-Fowler’s position• Have pt. take deep breath and hold while bearing down• Check with physician about need for follow-up xray

Documentation for chest drains• Time inserted
• Insertion site
• Size and type of tube
• Type of dressing & securement
• Type of drainage device if amount of suction used
• Color, consistency, character, & amount of drainage q8 hrs.
• Patient tolerance of insertion and post procedure vitals
• Respiratory assessment & vitals prior to removal of chest tube
• Date and time of removal
• Who implemented removal procedure
• Patient tolerance & post removal vitals and respiratory assessment
• Type of dressing applied

Review completed. Close this window and
take test.