character rigging animation tutorial with custom rigg controller
TRANSCRIPT


Quadruped Custom Rig Controller
Tutorial
This is an overview about the rigging of
quadruped characters.
Here is a step-by-step introduction
into the creation of a Character.
so lets open Blender with the model of a
Character.
To begin I recommend to move the
Character to a separate layer.

Custom Quadruped Rigging

Quadruped Custom Rig Controller
Tutorial

Quadruped Custom Rig Controller
Tutorial
Select a new head, original head and add Bland Shape, make sure that we have to select Front Chain in Create Bland Shape options
Now we can play with our new head! We can sculpt it or use deformers to modify his face.
Turn on your Blend Shape so you can see how it looks on the original head.
To turn on Blend Shape, go to Window > Animation Editors > Blend Shape, the Blend Shape you just add should be “blendShape3” look for it and scroll it up.
We should not add more polygons to the head, it may cause some problems.

Quadruped Custom Rig Controller
Tutorial

Quadruped Custom Rig Controller
Tutorial Unlock the duplicate head from the original head.
Select face that you want to turn it to eyebrows, then press shift key
Now, extrude and smooth the brows then, place our new brows on the original head.
We will attach brows to the head using Wrap Deformers, select brows and head. Go to Create Deformers > Wrap. Use brows control to check it.

For Leg Movement :
First, select Leg > select geometry > go to Create Deformers > Wrap.
Next, select leg > select geometry > go to Edit Deformers > Wrap > Add Influence. Repeat this process till the last geometry underneath the leg. Do the same.
If you get a warning “No points were weighted to the wrap. Try increasing the maxDistancesetting.” Select the geometry that contains that wrap, go to wrap output channel and change the number on Max Distance. The process with another leg.

Quadruped Custom Rig Controller Tutorial
Same Way you can
do with the hand
Movement.
As per the above
instructions you can
give the movements
to the hands too.
Selected finger can
move , then select
next one with the
same process.

Here, as you can see the circles now we will give some movements to
that area.

Here is how to give a leg movement
:

Character’s Movements :

Creating Character’s Siting
Movement :
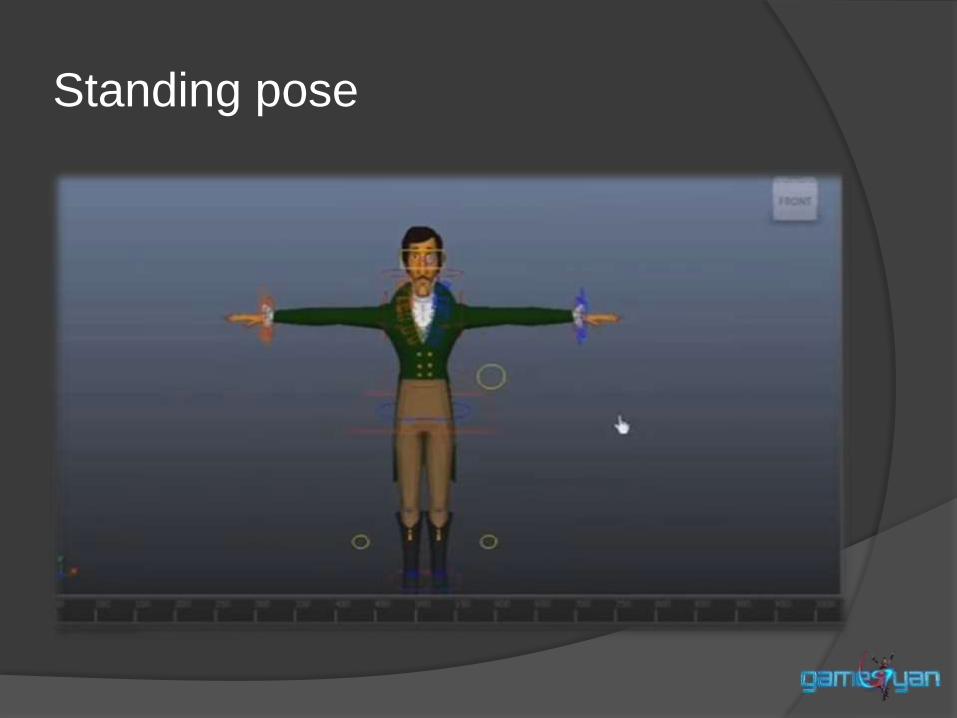
Standing pose

GameYan Studio

Visit us on : http://www.gameyan.com/
For some Character Models :
http://www.gameyan.com/3d-character-modeling.html