best practices to improve your end user...
TRANSCRIPT

Best Practices to Improve Your End User Experience

ContentsBest Practices to Improve Your End User Experience
3 Introduction
4 QuickBase Terms
8 Best Practices for Creating Reports, Table Homepages, Pages, Roles & Permisions, Form Customization, and Email Notices
12 Checklist
13 Watch the Webinars

Introduction
This guide explores some of the best
practices designed to improve your end
user experience. Topics covered include
Reports, Table Homepages, Pages, Roles,
Permissions, Form Customization, and Email
Notices. This guide will help you to increase
team efficiency and drive app adoption.
4
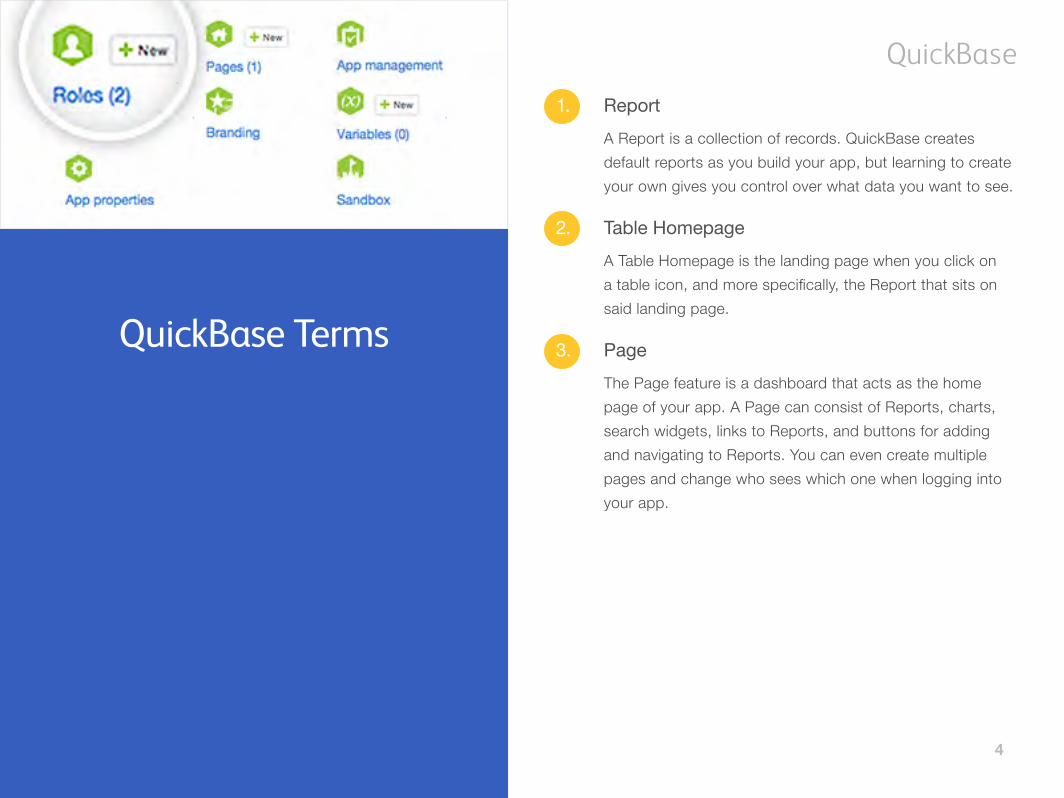
1. ReportA Report is a collection of records. QuickBase creates default reports as you build your app, but learning to create your own gives you control over what data you want to see.
2. Table HomepageA Table Homepage is the landing page when you click on a table icon, and more specifically, the Report that sits on said landing page.
3. PageThe Page feature is a dashboard that acts as the home page of your app. A Page can consist of Reports, charts, search widgets, links to Reports, and buttons for adding and navigating to Reports. You can even create multiple pages and change who sees which one when logging into your app.
QuickBase Terms

5
4. RolesRoles control the level of access that a user has to a specific application.
5. PermissionsPermissions are specific properties that define what a user in that given role can view and modify.
6. FormA Form is the display of a single record. Forms allow users to add, view and edit records.
7. Form Customization Form Customization allows you to choose what fields and sections appear based on if a user is adding, editing or viewing a record.
8. NotificationsQuickBase sends Email Notifications when records meeting certain criteria are added, modified or deleted.
9. SubscriptionsWith Report Subscriptions, QuickBase periodically emails a selected report on a daily, weekly or monthly basis.
10. RemindersQuickBase will email a reminder to a user a specific number of days before or after the date in a date field.

6
Reports, Table Homepages, and Pages
Why is this important?
Reports, Table Homepages and Pages all work in harmony. Creating thoughtful reports, Table Homepages, and Pages means fewer clicks for the users and a more relevant, tailored experience for each type of user. Proper use of these means the most important information will be available right away.
Not putting time into Reports, Table Homepages, and Pages means your app will…
• Be more difficult to use
• Take more time to use
• Not be adopted by users
Roles and Permissions
Why is this important?
Roles and Permissions ultimately dictate the user experience. Reports, Table Homepages, Pages, and Forms all contribute to the end user experience, but Roles and Permissions are the final filter that dictate what the users ultimately see and can modify.
Not putting time into Roles, Permissions, and customizing Forms means…
• Everyone (users and admin) has the same access
• Data population can be more confusing for users if they see fields they’re unfamiliar with
• Users will be reluctant to use your app if they have to constantly ignore parts of the app that aren’t relevant to them

7
Email Notices
Why is this important?
Notifications inform users of changes to data and of new data. Users stay informed of updates without having to access apps and look for changes. Subscriptions keep users up-to-date on reports they access often without leaving their inboxes. Reminders help ensure your team’s work is completed on time or even ahead of schedule.
Not putting time into crafting Notifications, Subscriptions and Reminders means…
• Users have to access QuickBase to see what’s new and updated
• Deadlines aren’t met
• Team members won’t be able to collaborate

8
Best Practices for Creating Reports,
Table Homepages, Pages, Roles & Permisions,
Form Customization, and Email Notices
1. Creating Reports• When creating a Report (Reports & Charts New
Table Report), you should first focus on columns, filters, sorting, and grouping
− Columns: Select custom columns to choose what columns you want to see in your report
− Filters: Filter apply specific filter (such as Status is not equal to completed to omit Completed projects from a Report)
− Dynamic Filters: Determine what filters you want on left-hand side of Table Homepage where Report is displayed
− Sorting and Grouping: Choose the ordering of records on the Report, such as Sort and Group from low to high by Project Manager to group projects under their project managers, or Sort from Low to High by Due Date to see the projects due soonest at the top of the report
• When building similar reports, you can copy existing reports rather than rebuilding them
− On a Table Homepage, select settings and then visit the reports and charts page

9
2. Creating Table Homepages • Select a table icon from the table bar at the top of your
app (to the right of Home and Users)
• Select customize this Page in the upper-right
• For The [name of table] shows, you can choose:
− The same view for everyone if you want users in all roles to see the same report, or
− A view based on the user’s role if you want to specify a report for each or at least some roles
• Choose a Report that best suits the Table Homepage, such as an Open Projects Report
− Click Edit Report to the right to review the Report’s dynamic filters, which are shown on left side of Table Homepage
3. Creating Pages • Go to home page of app customize this page in the
upper-right
• Add widgets depending on your needs:
− Reports
− Text
− Button Bar
− Link Bar
− Search
− Web Page
• Once you’ve placed a widget on the canvas, you can mouse over to reveal a gear icon to adjust settings
• Can select a variety of placement options (green bar will appear to help you see where are you are placing widget)
• Consider making several Pages (Home Settings Pages) for different purposes
− The Button widget allows you to create buttons to go to other Pages
10
5. Customizing Forms • There are many ways to customize Forms, but a good
way to start is by going to a specific record because it gives you context for what type of information is already there
• Choose Customize This Form in the upper-right
− Elements: Allows you to select fields you want in your form
• Use Alternate Label Text (if you want to name field something different than what will display)
− Properties: Allows you to change form name
− Dynamic Form Rules: Set conditional statements to change the appearance of the form and/or what the user is allowed to interact with
• Example: With a text multiple-choice field for data such as Priority, a Dynamic Form Rule could reveal a text box for the user to provide an expla-nation only if Priority is Urgent
4. Creating Roles & Permissions• To access Roles and Permisions, go to Users Manage
Roles or Settings Roles
• Choose what users can see and modify
− Can set different criteria for “view” and “modify”
− Can determine if they can add or delete records
− Can determine which specific fields you want people to be able to modify or even see
• At any time you can test roles by selecting your name and “Test this app as..”
− “End test” can be found in the upper-left of your account

11
6. Creating Email NoticesNotifications
• Decide when and why a Notification is sent
• Send criteria – why the Notification is being sent
− A Status of a record has been set to a specific result, such as Completed
− The user has had a record assigned to her/him (using a User field)
− Any specific data field(s) have changed
• Customize the subject and message of Notification
− Can display as much/as little info about the record(s) implicated
− Can provide a copy of the record(s) implicated
− Can provide a link to the record(s) implicated
Subscriptions
• Automatically email Reports on a periodic basis
• Choose from daily, weekly, monthly or custom date ranges to send
Reminders
• Choose when to remind recipient of an upcoming date (xx number of days before a date field)
• Can also configure for dates in the past and overdue items

12
Checklist
Replace a default Report with a custom Report on the Table Homepages
Create a few different Pages and link them together by buttons (put your important reports on the Pages)
Review your current Roles and modify them as necessary
Try the “Test this app as another role” function
Review your default form on any table — consider improvements you can make for your end-users who are populating data
Create Email Notices to keep your team informed of changes in data

13
Watch the Webinars
Part 1: Organizing Data — Dashboards & Reports https://quickbase.wistia.com/medias/kxx7nsno62
Part 2: Roles/Permissions and Customizing Forms https://quickbase.wistia.com/medias/m0actafnjc
Part 3: Notifications, Subscriptions, and Reminders https://quickbase.wistia.com/medias/38bexfax6b