2 - windows 10 desktop - quia · pdf filecomputer, we will now take a look at the elements of...
TRANSCRIPT
2 - Diving into the desktop
It’s time for a quick tour of the Windows 10 desktop. The desktop has changed a little, but it should still be at least somewhat familiar to those of you who have used Windows before.
2.1 – Logging in
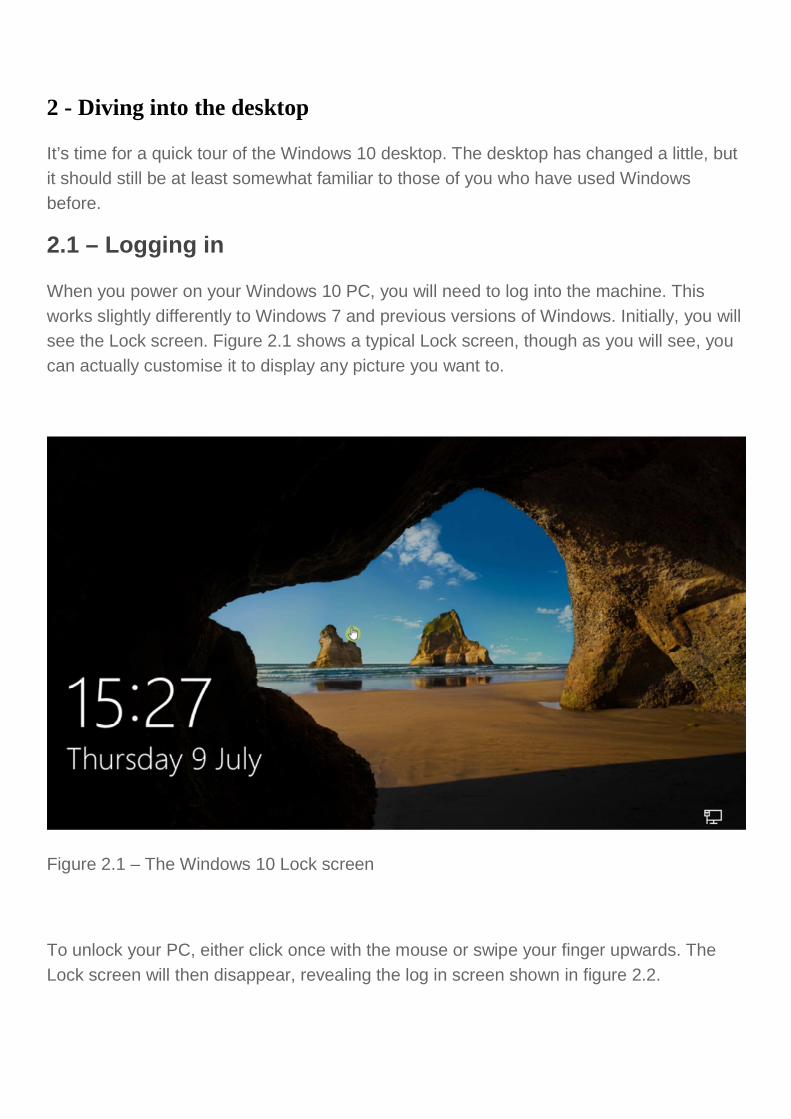
When you power on your Windows 10 PC, you will need to log into the machine. This works slightly differently to Windows 7 and previous versions of Windows. Initially, you will see the Lock screen. Figure 2.1 shows a typical Lock screen, though as you will see, you can actually customise it to display any picture you want to.
Figure 2.1 – The Windows 10 Lock screen
To unlock your PC, either click once with the mouse or swipe your finger upwards. The Lock screen will then disappear, revealing the log in screen shown in figure 2.2.

Figure 2.2 – Once the Lock screen has been dismissed, you can log in
Enter your password into the text entry box shown in figure 2.2. If you are using a touch screen, tap on the password box with your finger and the on-screen keyboard will appear. Press enter or click the right-pointing arrow once you have entered your password. You will then be logged into the PC. What happens next depends on what kind of PC you are running. If Windows does not detect a touch screen, you will be taken directly to the desktop. The desktop is where most users who have keyboard and mouse equipped systems will spend most of their time.
If Windows does detect a touch screen and no keyboard and mouse, it should switch you directly into Tablet PC mode. Tablet PC mode changes the Start menu into a full-screen Start screen and makes some other changes to make working with touch only systems more manageable.

2.2 – Desktop elements
Since we are starting the guide looking at Windows 10 on a traditional desktop or laptop computer, we will now take a look at the elements of the Windows 10 desktop. Figure 2.3 illustrates these elements.
Figure 2.3 – The standard Windows 10 desktop
Figure 2.3 shows the standard Windows 10 desktop you will see on a clean (new) installation of the operating system. We will now go over the basic elements shown in the picture.
Start button:- In Windows 10 both the Start button and the Start menu make a welcome return. To open the Start menu from the desktop, simply click on the Start button. Alternatively, press the Windows key to access the Start menu, or press the Windows button on your device (if present).

Taskbar:- The area at the bottom to the left of the notification area is called the taskbar. The taskbar works just like it did in Windows 7 and 8, but a little differently to both Windows XP and Windows Vista. On the bottom left of the screen you may have noticed some icons. If you are familiar with Windows Vista or earlier versions of Windows you will know that the taskbar is where you can see programs that are already running. Since you can see some icons here already, you might be wondering why there appear to be programs already running. Well, these programs are not actually running at all. Unlike earlier versions of Windows, programs can be “pinned” on the taskbar. This means that they will stay on the taskbar for easy access even when they are not running. By default we get the Microsoft Edge web browser, File Explorer and the Windows Store.
It is important to understand that icons on the taskbar do not necessarily represent programs that are running. You can click on the icons pinned to the taskbar to start a program running. When a program is running, it will have a line underneath its taskbar icon, see figure 2.4 for an example.
Figure 2.4 – Microsoft Edge running on the taskbar, next to File Explorer and Windows Store which are “pinned” but not running
If you hover your mouse pointer over a running taskbar icon, Windows will show you a preview window.
Figure 2.5 – Hover your mouse pointer over a program running on the taskbar to see a preview of the window

You can click on the preview window to go directly to the application.
2.3 – Search bar and Task view button
Search bar:- Searching in Windows 10 has gone through several improvements. You can now search directly from the taskbar by using the search bar. Click on the search bar and then enter your query, this will search your PC and the web. If you don’t see the full search bar, click the magnifying glass icon to open it.
Task view button:- You can click or tap the Task view button to see all your running programs and quickly switch to them. This icon also gives you access to the virtual desktops feature.
2.4 – Notification area
Notification Area or System Tray:- The official Microsoft name for this part of the desktop is the notification area, but lots of users refer to it as the System Tray. The notification area works the same in Windows 10 as it did in Windows 8. To see your notification area icons, you click the small up pointing arrow. See figure 2.6 for more details.
Figure 2.6 – The notification area/System Tray is opened with a click on this small arrow icon
To the right of the arrow icon highlighted in figure 2.6, there are four other icons. These icons are also counted as part of the notification area, though you might think otherwise at first glance. The first icon (furthest left) is the network icon, this can be used for connecting quickly to networks, both wired and wireless. Then there’s the volume icon, a quick click of this accesses a sliding control which can adjust the volume level for all sounds on your computer.

The next icon is the Action Centre icon. The Action Centre is where you can view notifications that you missed and also change various settings.
Finally, the last icon (which may not appear on all PCs) calls up the on-screen keyboard. Useful if you are using a touch-only machine.
Date and time:- To the right of the notification area (see figure 2.3) is the date and time display. This is self-explanatory. You can click on the date and time display down here to adjust your computers clock if it is not showing the correct time.
Show Desktop button:- Clicking in the very bottom right hand corner of the Windows 10 desktop will activate the Show Desktop button. This button hides all of your open windows so that you can see the desktop. Clicking it again will reveal the windows again.
Recycle Bin:- This lonely looking icon in the top left hand corner of the desktop is the Recycle Bin. Files and folders you delete are (usually!) placed in this folder before being removed entirely.
Note:- The picture in the background on our desktop is called the desktop background or wallpaper. This picture can be changed to any image you like. Many of our videos and lessons were compiled using pre-release versions of Windows 10 and the standard desktop background may change for the release version. Because of this, don’t be alarmed if your desktop background looks different.