rkexcelamerica.comrkexcelamerica.com/assets/g1wheelset.pdfs:\word\instructions\excel\proseriesg1_rearwheelassemblyinstructions.docx...
TRANSCRIPT


Takasago EXCEL Pro Series
Rear Drive Carrier Exploded View
Rear Brake Carrier Exploded View
1 - Excel Universal Hub 2 - Excel Drive Side Spacer (Longer) 3 - Excel Drive Carrier 4 - Excel Custom 8x35 Flat Head Bolt 5 - Excel Custom 2 Lip Steel Seal 6 - 8mm Threaded Hole in Hub 7 - 8mm Unthreaded Hole in Carrier
1 6
3
4
2 5
7
1 - Excel Universal Hub 2 - Excel Brake Side Spacer (Shorter) 3 - Excel Brake Carrier 4 - Excel Custom 6x25 Flat Head Bolt 5 - Excel Custom 2 Lip Steel Seal 6 - 6mm Threaded Hole in Hub 7 - 6mm Unthreaded Hole in Carrier 8 - 1/4x5/8 Dowel Pin
1
5 7
6
8
3 4
2 Tools Needed for Installation 1.) 4mm Allen Wrench 2.) 6mm Allen Wrench 3.) 8mm Allen Wrench 4.) 10mm Wrench 5.) 13mm Wrench 6.) Torque Wrench for ft/lbs
S:\WORD\Instructions\Excel\ProSeriesG1_RearWheelAssemblyInstructions.docx
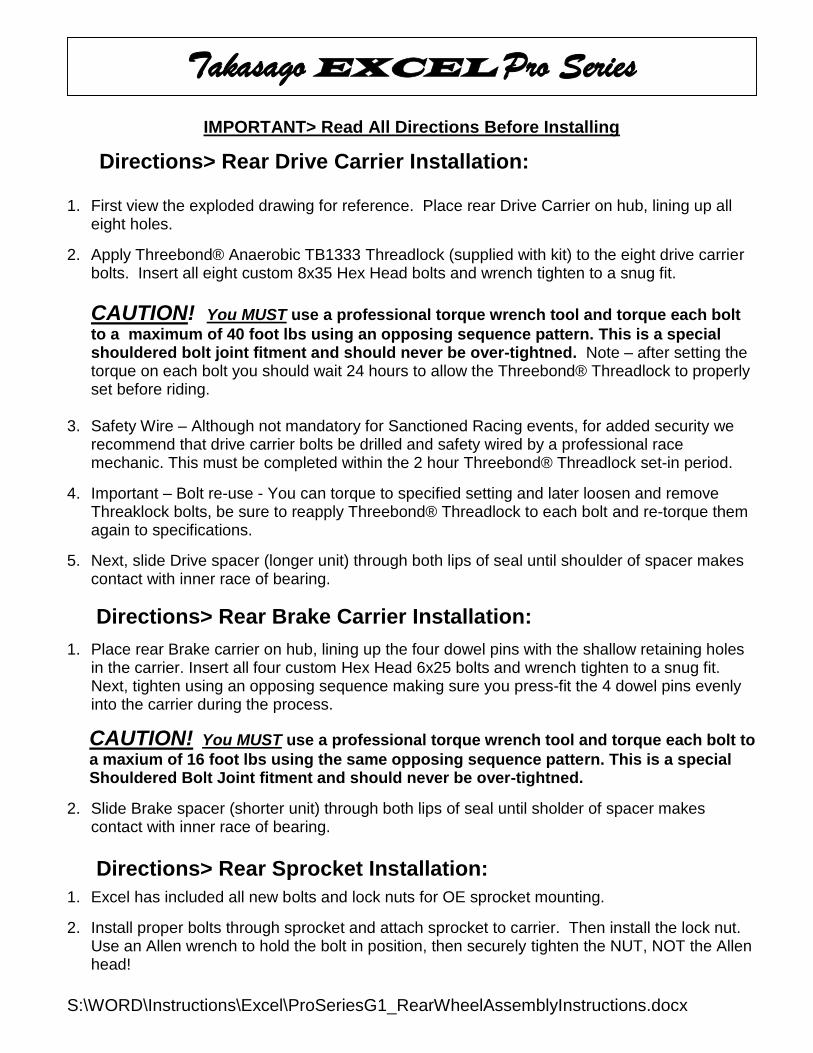
IMPORTANT> Read All Directions Before Installing 1. First view the exploded drawing for reference. Place rear Drive Carrier on hub, lining up all
eight holes.
2. Apply Threebond® Anaerobic TB1333 Threadlock (supplied with kit) to the eight drive carrier bolts. Insert all eight custom 8x35 Hex Head bolts and wrench tighten to a snug fit.
CAUTION! You MUST use a professional torque wrench tool and torque each bolt
to a maximum of 40 foot lbs using an opposing sequence pattern. This is a special shouldered bolt joint fitment and should never be over-tightned. Note – after setting the torque on each bolt you should wait 24 hours to allow the Threebond® Threadlock to properly set before riding.
3. Safety Wire – Although not mandatory for Sanctioned Racing events, for added security we
recommend that drive carrier bolts be drilled and safety wired by a professional race mechanic. This must be completed within the 2 hour Threebond® Threadlock set-in period.
4. Important – Bolt re-use - You can torque to specified setting and later loosen and remove Threaklock bolts, be sure to reapply Threebond® Threadlock to each bolt and re-torque them again to specifications.
5. Next, slide Drive spacer (longer unit) through both lips of seal until shoulder of spacer makes contact with inner race of bearing.
1. Place rear Brake carrier on hub, lining up the four dowel pins with the shallow retaining holes in the carrier. Insert all four custom Hex Head 6x25 bolts and wrench tighten to a snug fit. Next, tighten using an opposing sequence making sure you press-fit the 4 dowel pins evenly into the carrier during the process.
CAUTION! You MUST use a professional torque wrench tool and torque each bolt to
a maxium of 16 foot lbs using the same opposing sequence pattern. This is a special Shouldered Bolt Joint fitment and should never be over-tightned.
2. Slide Brake spacer (shorter unit) through both lips of seal until sholder of spacer makes contact with inner race of bearing.
1. Excel has included all new bolts and lock nuts for OE sprocket mounting.
2. Install proper bolts through sprocket and attach sprocket to carrier. Then install the lock nut. Use an Allen wrench to hold the bolt in position, then securely tighten the NUT, NOT the Allen head!
Directions> Rear Drive Carrier Installation:
Directions> Rear Brake Carrier Installation:
Directions> Rear Sprocket Installation:
Takasago EXCEL Pro Series
S:\WORD\Instructions\Excel\ProSeriesG1_RearWheelAssemblyInstructions.docx
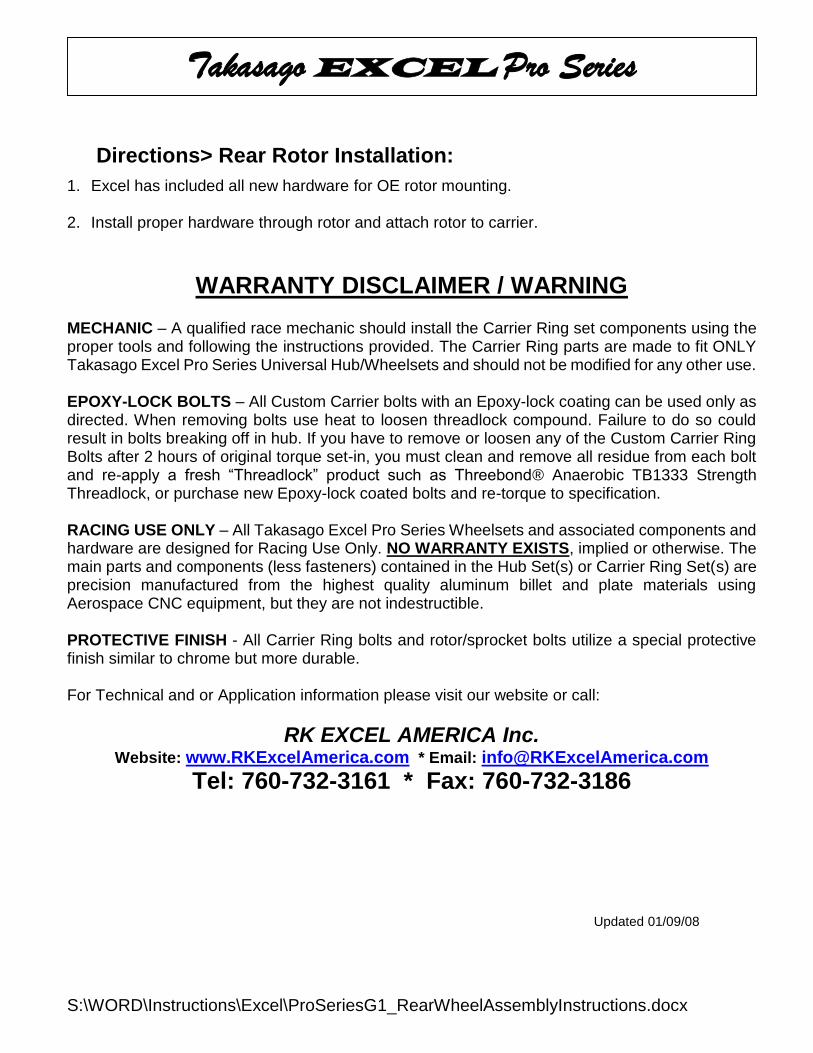
1. Excel has included all new hardware for OE rotor mounting. 2. Install proper hardware through rotor and attach rotor to carrier.
WARRANTY DISCLAIMER / WARNING MECHANIC – A qualified race mechanic should install the Carrier Ring set components using the proper tools and following the instructions provided. The Carrier Ring parts are made to fit ONLY Takasago Excel Pro Series Universal Hub/Wheelsets and should not be modified for any other use. EPOXY-LOCK BOLTS – All Custom Carrier bolts with an Epoxy-lock coating can be used only as directed. When removing bolts use heat to loosen threadlock compound. Failure to do so could result in bolts breaking off in hub. If you have to remove or loosen any of the Custom Carrier Ring Bolts after 2 hours of original torque set-in, you must clean and remove all residue from each bolt and re-apply a fresh “Threadlock” product such as Threebond® Anaerobic TB1333 Strength Threadlock, or purchase new Epoxy-lock coated bolts and re-torque to specification.
RACING USE ONLY – All Takasago Excel Pro Series Wheelsets and associated components and hardware are designed for Racing Use Only. NO WARRANTY EXISTS, implied or otherwise. The main parts and components (less fasteners) contained in the Hub Set(s) or Carrier Ring Set(s) are precision manufactured from the highest quality aluminum billet and plate materials using Aerospace CNC equipment, but they are not indestructible.
PROTECTIVE FINISH - All Carrier Ring bolts and rotor/sprocket bolts utilize a special protective finish similar to chrome but more durable. For Technical and or Application information please visit our website or call:
RK EXCEL AMERICA Inc. Website: www.RKExcelAmerica.com * Email: [email protected]
Tel: 760-732-3161 * Fax: 760-732-3186 Updated 01/09/08
Directions> Rear Rotor Installation:
Takasago EXCEL Pro Series