vems portal user guide - veterans affairsvems portal user guide vems portal user guide . prior to...
TRANSCRIPT
VEMS Portal User Guide
VEMS Portal User
Guide
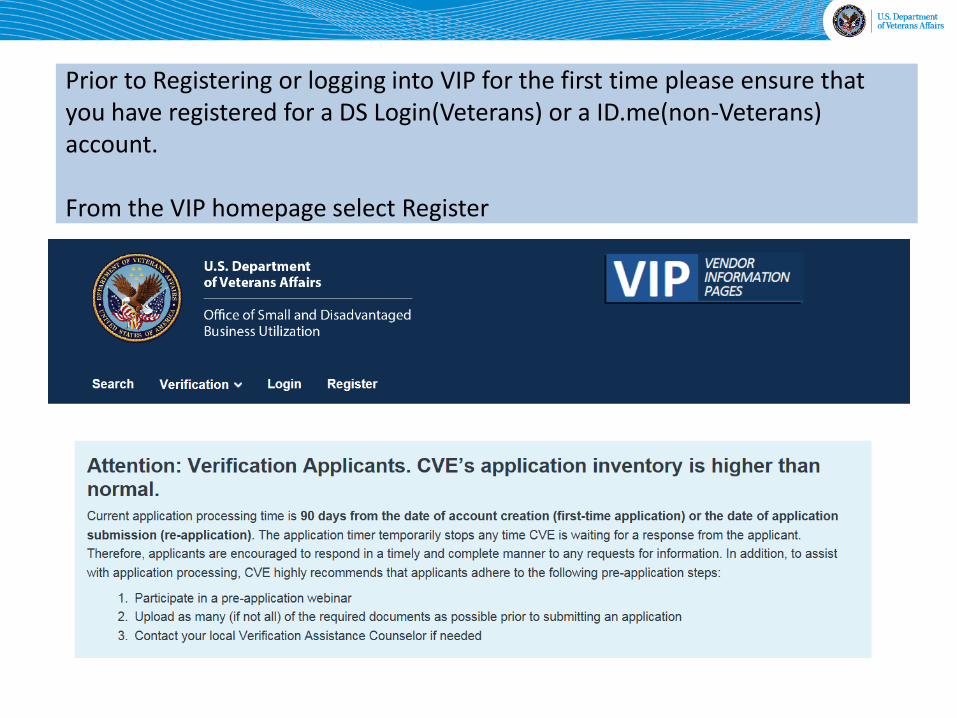
Prior to Registering or logging into VIP for the first time please ensure that you have registered for a DS Login(Veterans) or a ID.me(non-Veterans) account. From the VIP homepage select Register
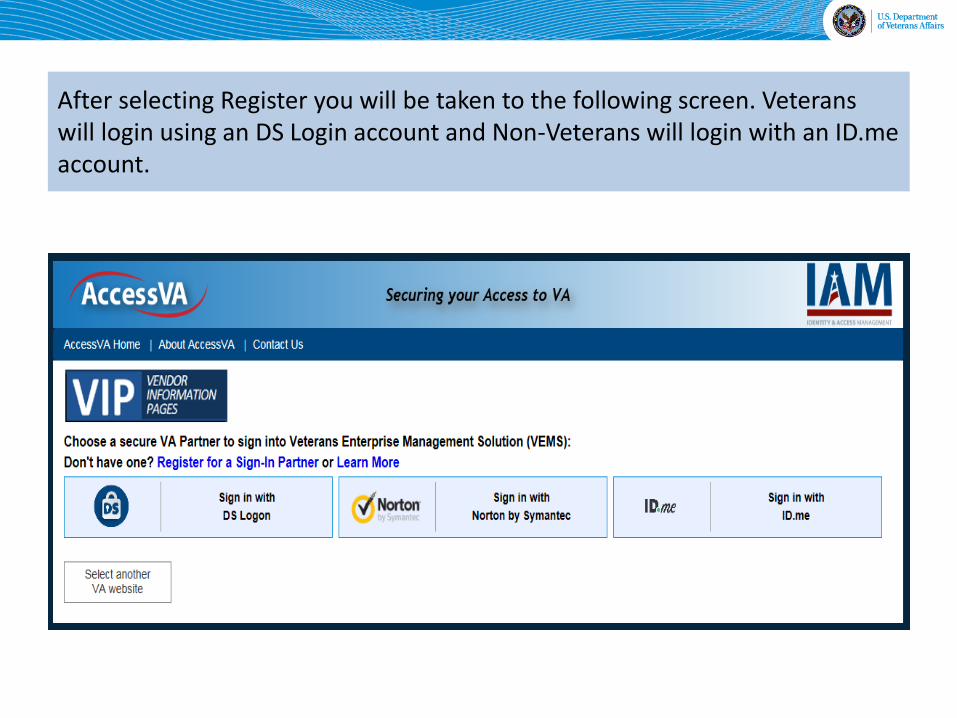
After selecting Register you will be taken to the following screen. Veterans will login using an DS Login account and Non-Veterans will login with an ID.me account.
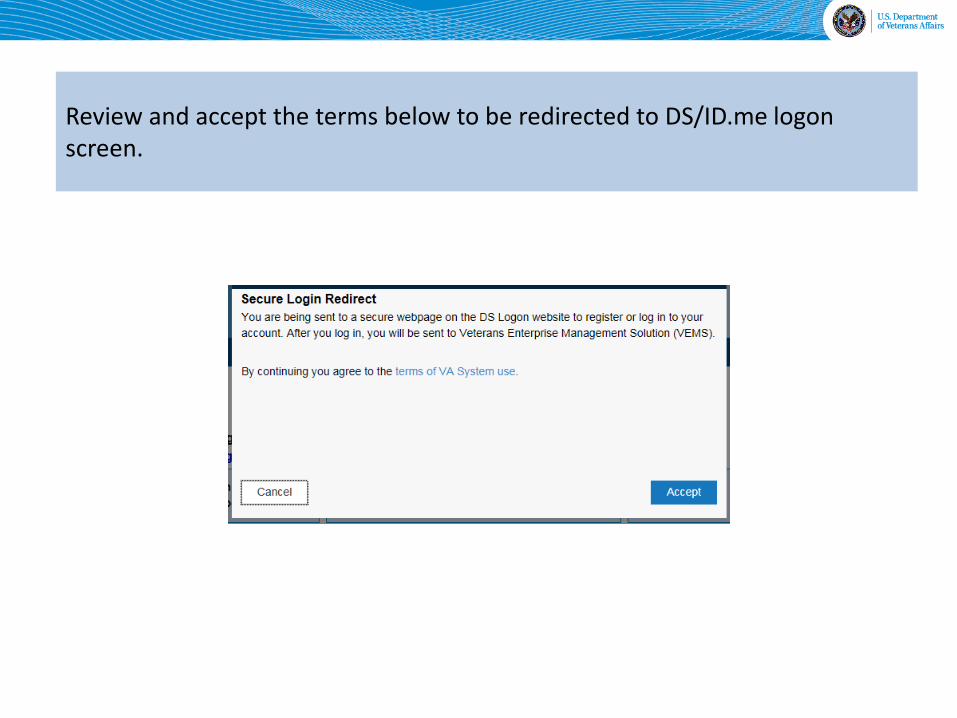
Review and accept the terms below to be redirected to DS/ID.me logon screen.
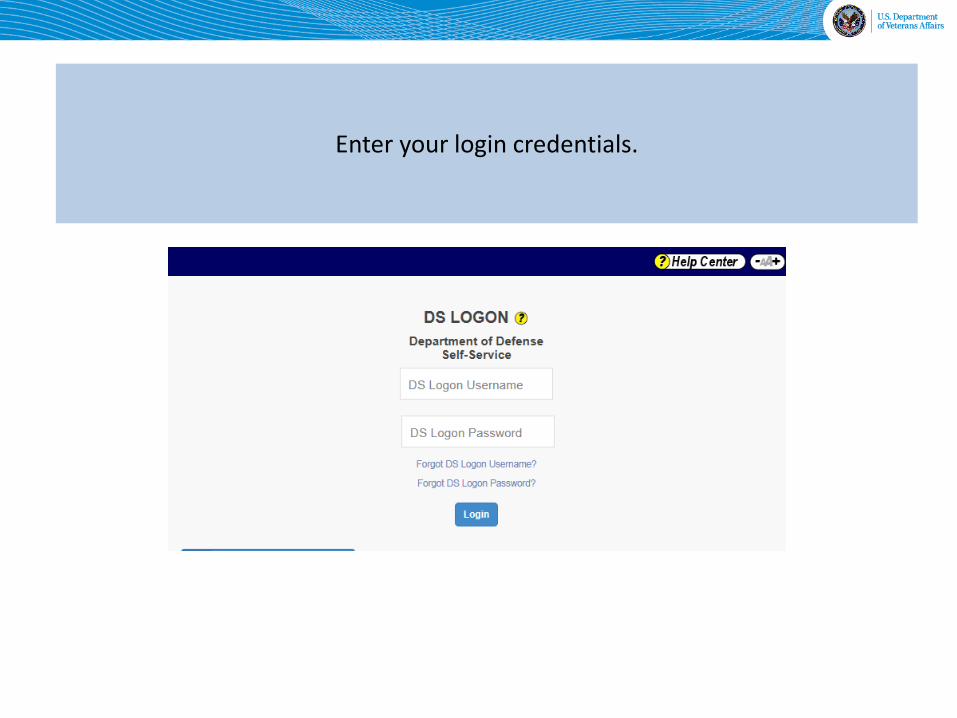
Enter your login credentials.
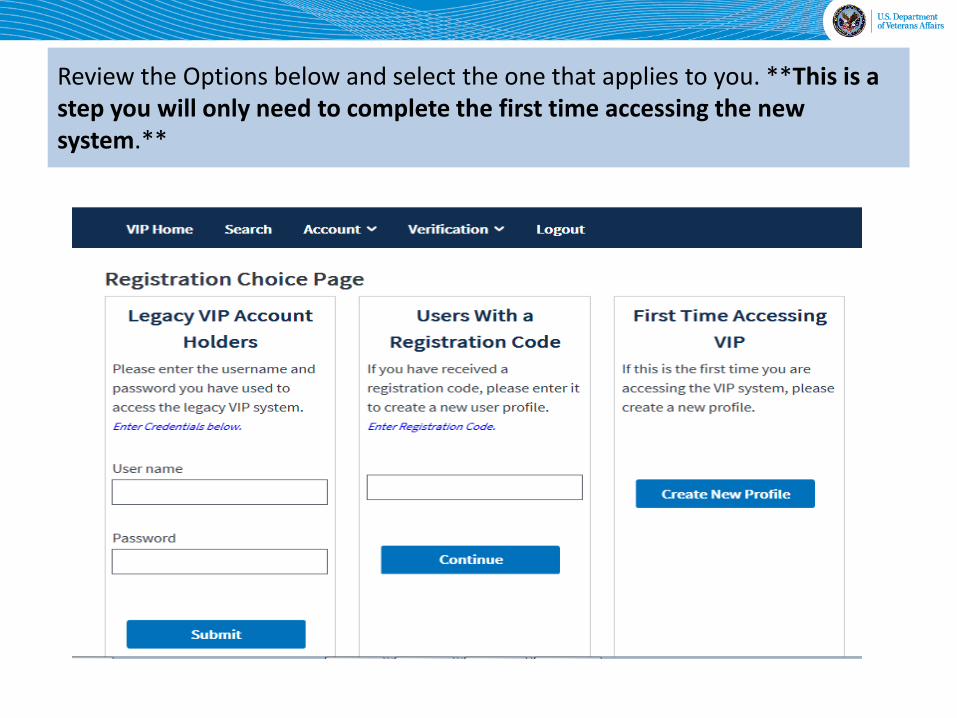
Review the Options below and select the one that applies to you. **This is a step you will only need to complete the first time accessing the new system.**

User Profile fields are populated with the information entered into the DS Logon and ID.me account. You can verify and make changes as needed. Once you are done select Submit.
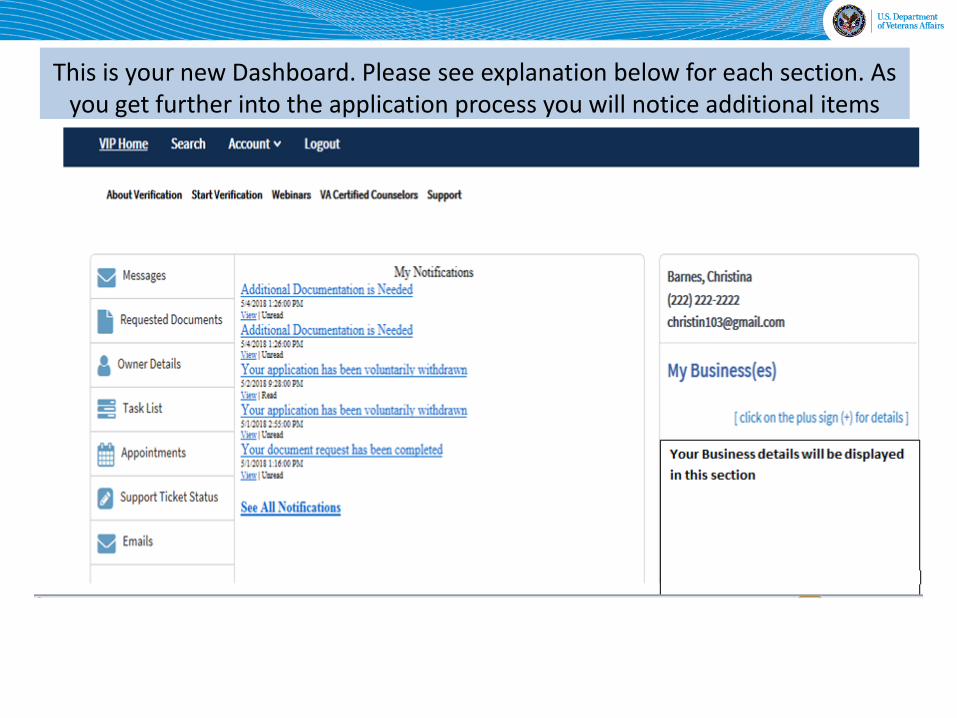
This is your new Dashboard. Please see explanation below for each section. As you get further into the application process you will notice additional items
appear on the Dashboard on the left side of the screen.
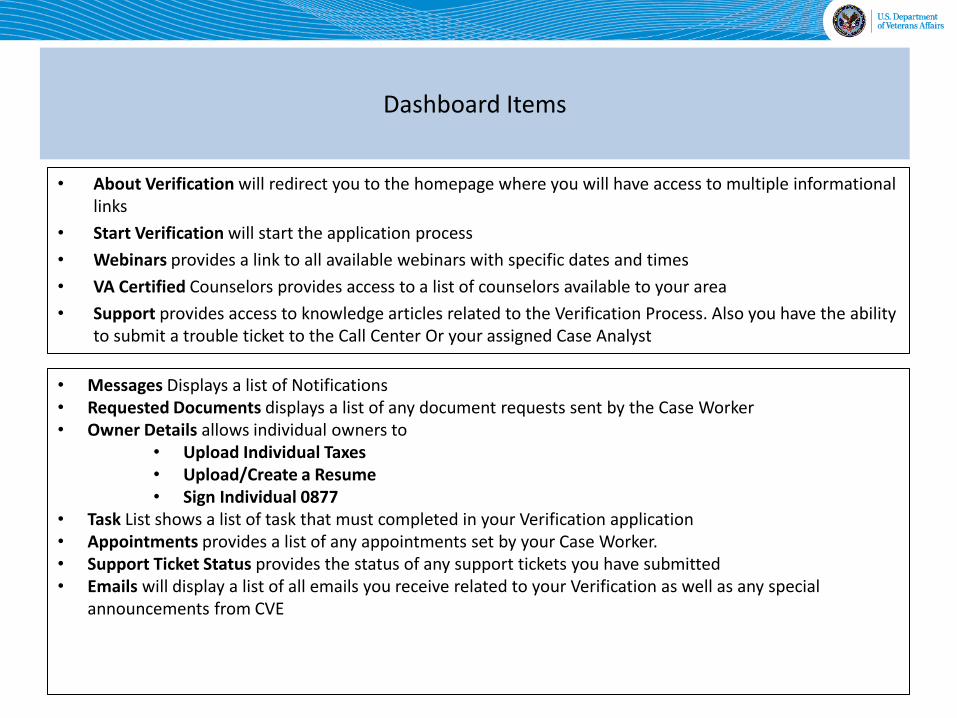
• About Verification will redirect you to the homepage where you will have access to multiple informational links
• Start Verification will start the application process
• Webinars provides a link to all available webinars with specific dates and times
• VA Certified Counselors provides access to a list of counselors available to your area
• Support provides access to knowledge articles related to the Verification Process. Also you have the ability to submit a trouble ticket to the Call Center Or your assigned Case Analyst
• Messages Displays a list of Notifications • Requested Documents displays a list of any document requests sent by the Case Worker • Owner Details allows individual owners to
• Upload Individual Taxes • Upload/Create a Resume • Sign Individual 0877
• Task List shows a list of task that must completed in your Verification application • Appointments provides a list of any appointments set by your Case Worker. • Support Ticket Status provides the status of any support tickets you have submitted • Emails will display a list of all emails you receive related to your Verification as well as any special
announcements from CVE
Dashboard Items

Enter a valid DUNS Number. You must be registered in both Dunn&Bradstreet and SAM(System for Award Management) if you do not have a DUNS number
click on the link below and you will be taken to the Dunn&Bradstreet site where you can obtain one. If you are not registered with SAM please go to
www.sam.gov and complete the registration process.

The system will verify your DUNS and pull your Business address which will be displayed below.

Prequalification questionnaire is required and you will not be able to move forward in the process without completing. The purpose of this questionnaire
is to help you determine if you meet the requirements for the Verification program.
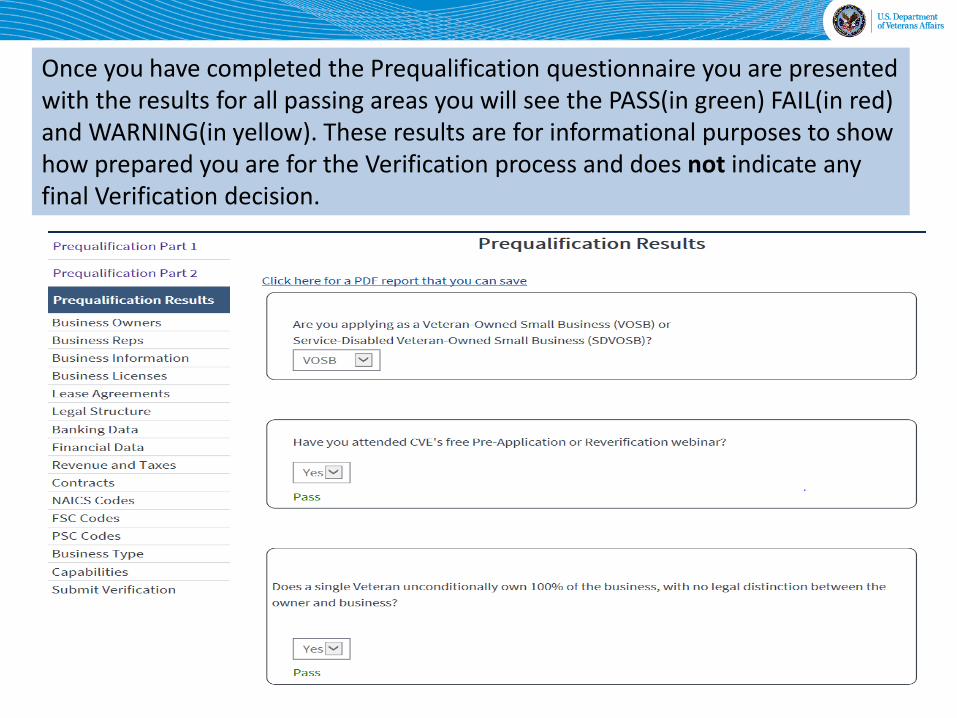
Once you have completed the Prequalification questionnaire you are presented with the results for all passing areas you will see the PASS(in green) FAIL(in red) and WARNING(in yellow). These results are for informational purposes to show how prepared you are for the Verification process and does not indicate any final Verification decision.

Business Owners Page this is where you would enter data for all business owners and ownership percentage. Click on the +
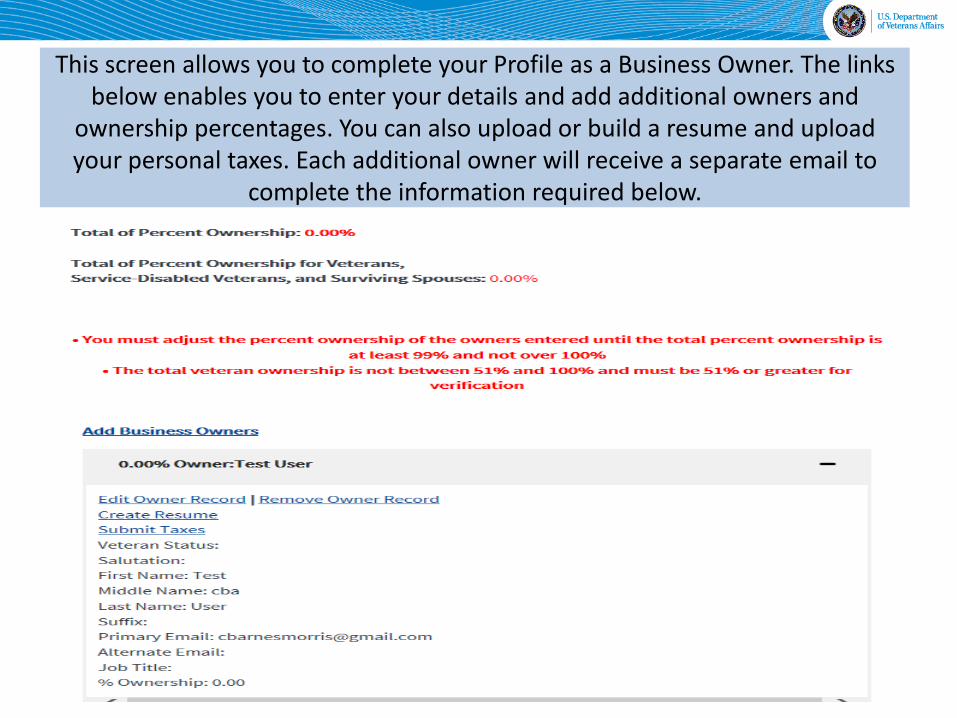
This screen allows you to complete your Profile as a Business Owner. The links
below enables you to enter your details and add additional owners and ownership percentages. You can also upload or build a resume and upload your personal taxes. Each additional owner will receive a separate email to
complete the information required below.

Business Reps – you have the ability to add a business rep to assist in managing the Business Profile. By default the first person to start the
application is designated as the Primary Rep and this gives the ability to add/remove Reps, change the Primary Rep.

Business Information- Here you will need to enter the details specific to the
Business you are submitting for Verification

Business Licenses – Enter any licenses you may hold that are pertinent or required for the operation of your business. If a license is not required for your
industry you will have the ability to indicate that on this form. Click on Edit License to complete this section.
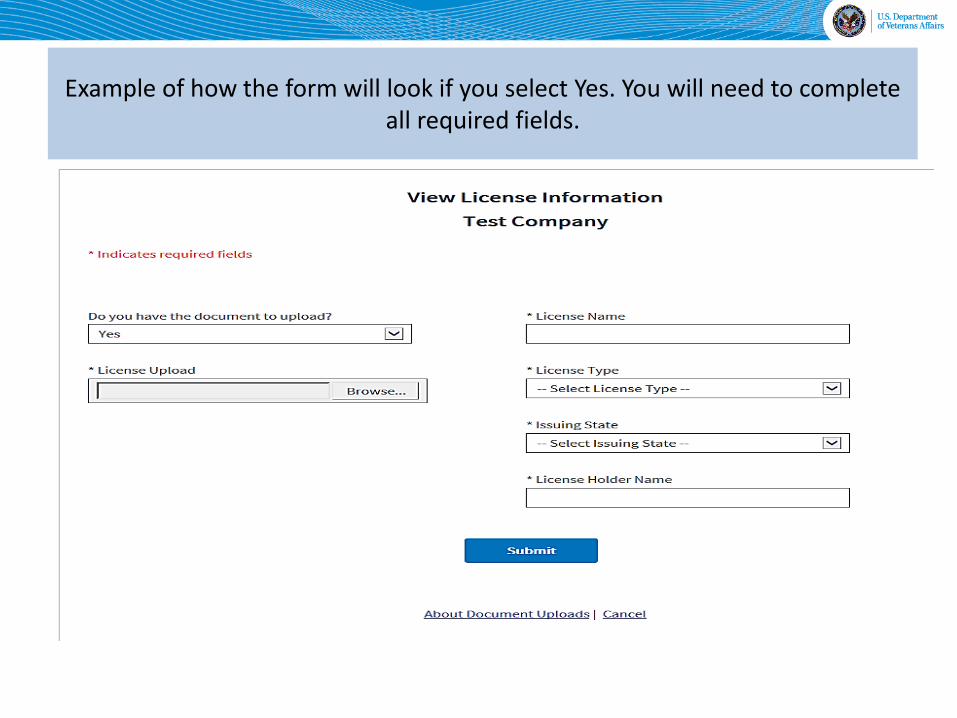
Example of how the form will look if you select Yes. You will need to complete all required fields.
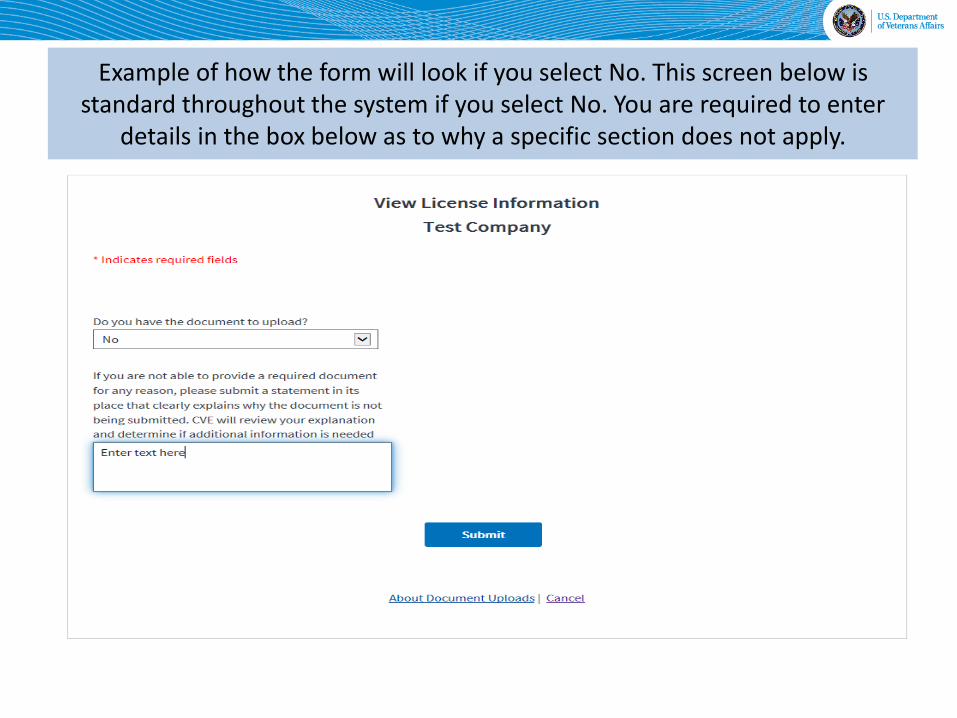
Example of how the form will look if you select No. This screen below is standard throughout the system if you select No. You are required to enter
details in the box below as to why a specific section does not apply.

Lease Agreements– Click on Edit Lease Agreement and enter all required details related to any lease agreements.

Sample of the fields required on the Lease Agreement form.
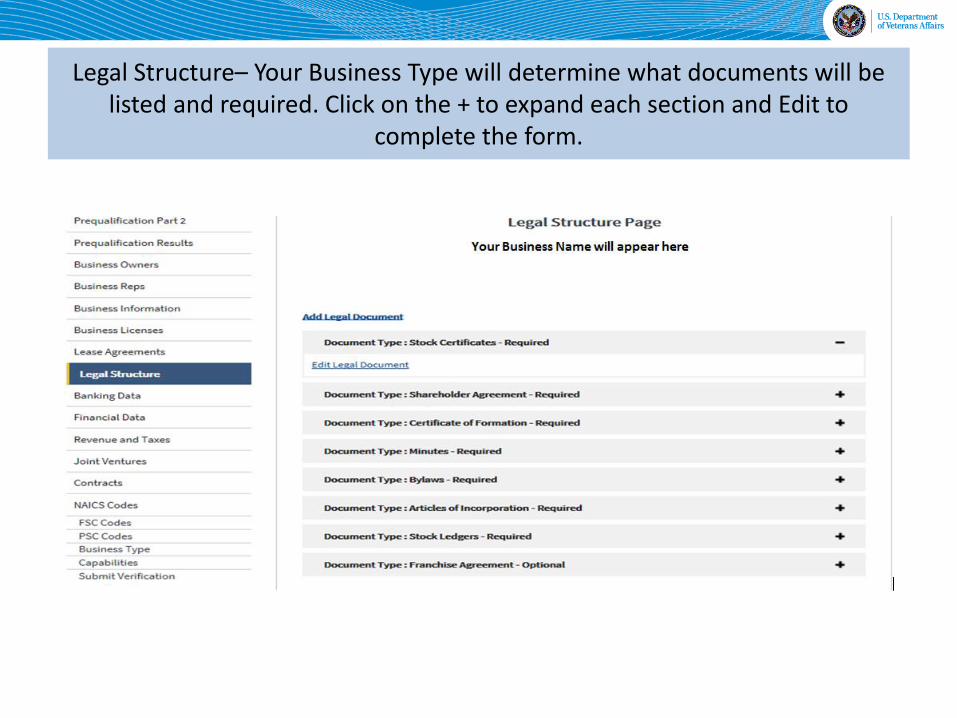
Legal Structure– Your Business Type will determine what documents will be listed and required. Click on the + to expand each section and Edit to
complete the form.

Banking Data– Enter the required information.

Sample Bank Information form

Financial Data– Complete all required fields.

Revenue and Taxes - Enter the required Business Tax data and forms. Selecting Add Additional Tax gives you the ability to enter additional tax
forms.
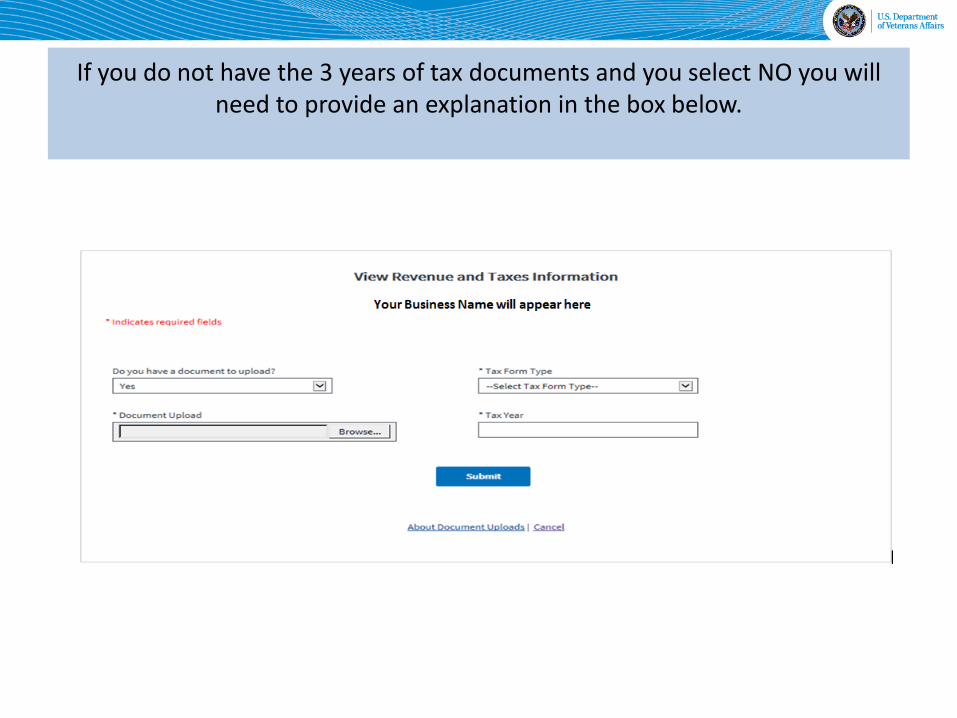
If you do not have the 3 years of tax documents and you select NO you will
need to provide an explanation in the box below.
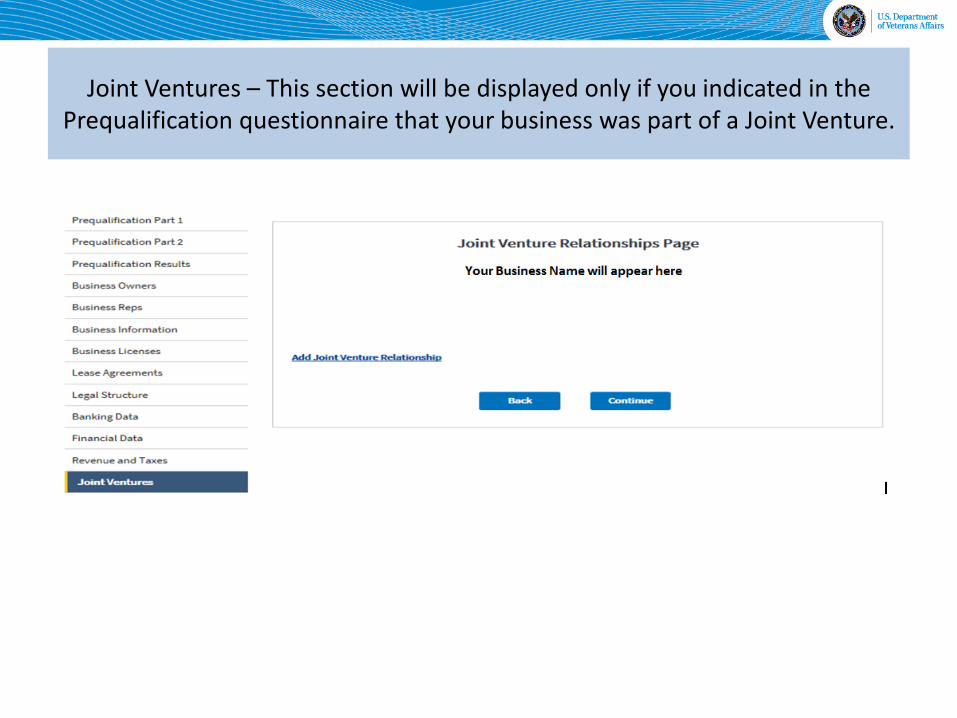
Joint Ventures – This section will be displayed only if you indicated in the
Prequalification questionnaire that your business was part of a Joint Venture.

Sample Joint Venture form

Contracts– Your are required to provide details on your last (5) contracts.

Sample Contract form

If you do not have any Contract data to upload select No and enter an explanation below.
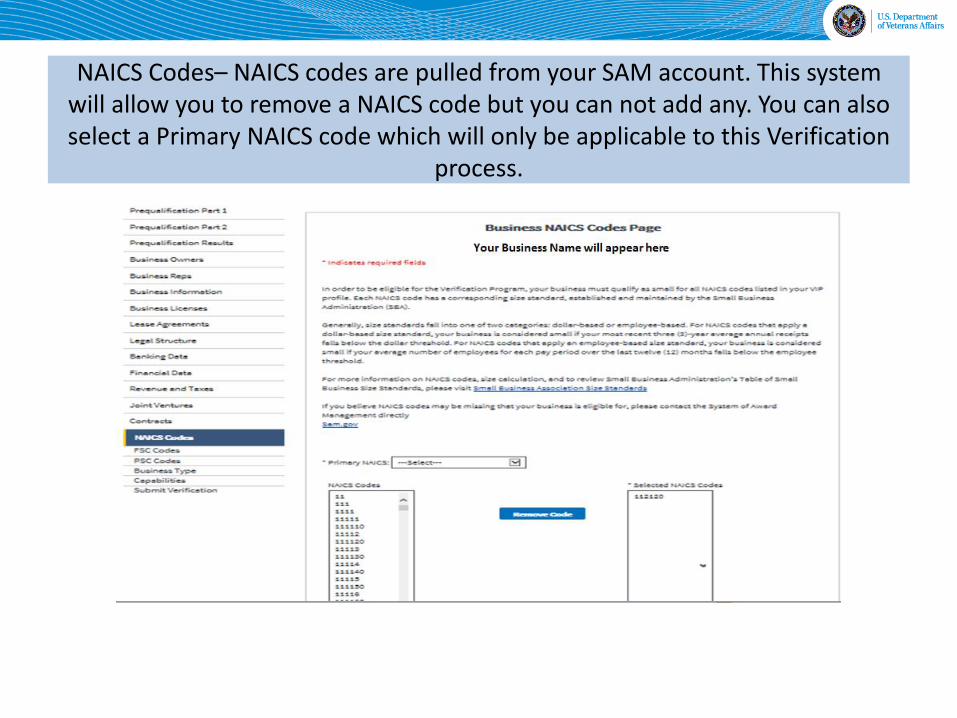
NAICS Codes– NAICS codes are pulled from your SAM account. This system will allow you to remove a NAICS code but you can not add any. You can also select a Primary NAICS code which will only be applicable to this Verification
process.
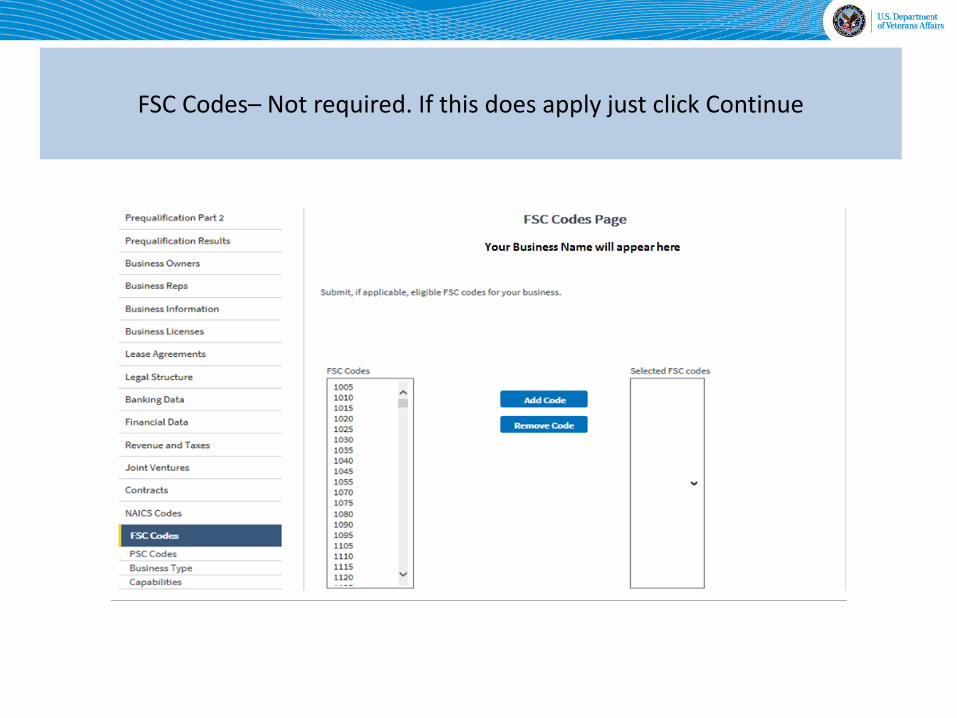
FSC Codes– Not required. If this does apply just click Continue

PSC Codes– Not required. If this does apply just click Continue

Business Type – Complete all required fields below

Capabilities– Complete all the fields below

Click on Return to Dashboard
Submit Verification– Once you have completed all required fields the system will review your application and provide a summary of the information
provided all completed sections will have a green check mark. Any section that requires attention will provide detail on what is missing. In this example I
did not complete my owner information and sign the 0877. Click on Return to Dashboard(bottom of the screen)
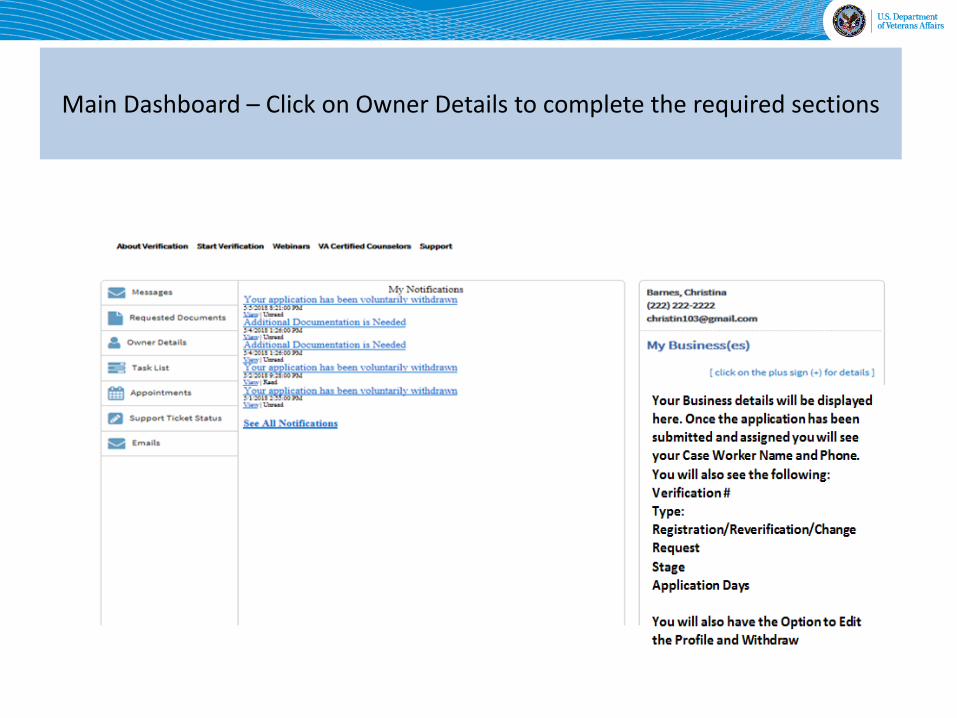
Main Dashboard – Click on Owner Details to complete the required sections

Owner Details click on the link for each section and enter all required
information. Here you will also have the ability to complete and sign the 0877 form.
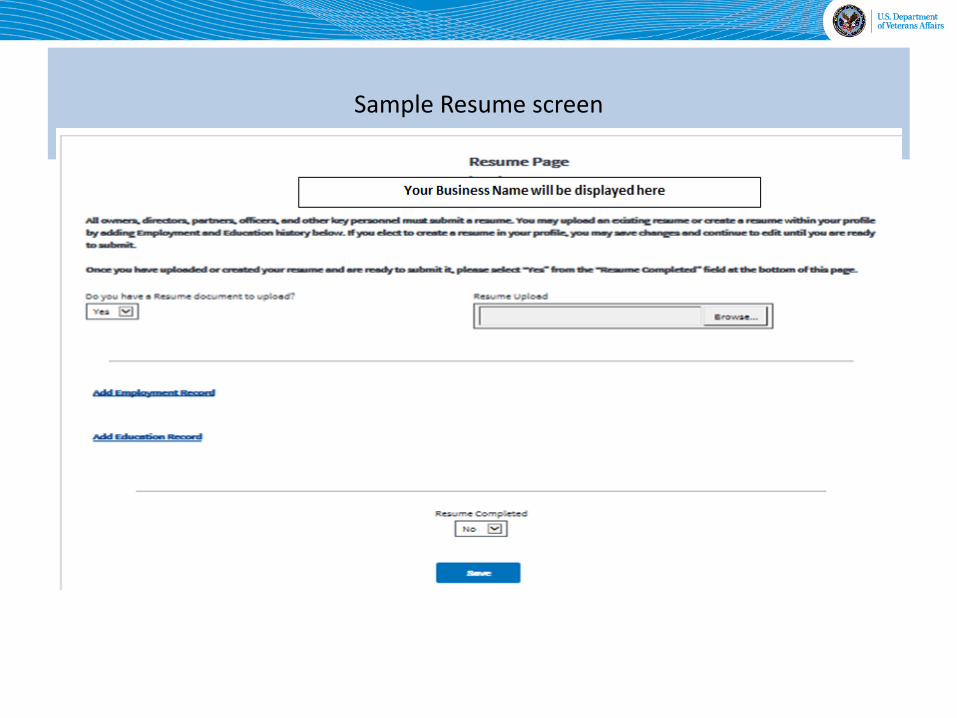
Sample Resume screen

Sample Resume – if you do not have a Resume select No and you will receive the prompt below to build a Resume in the system.

Personal Taxes - Click on Add Additional Tax Year and complete the required information
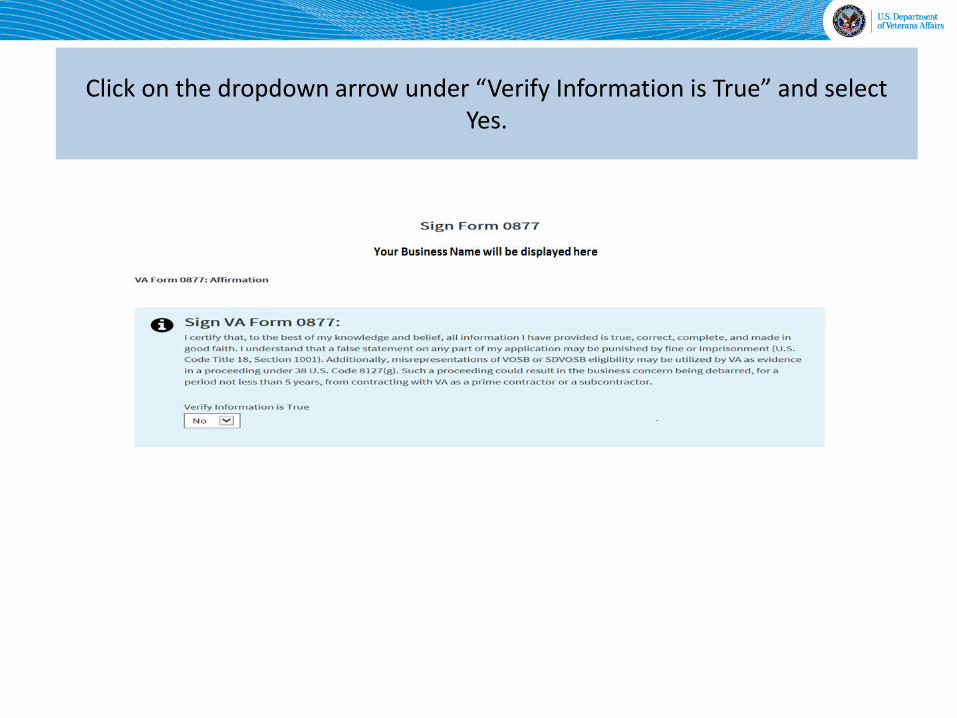
Click on the dropdown arrow under “Verify Information is True” and select Yes.

Click on Submit.
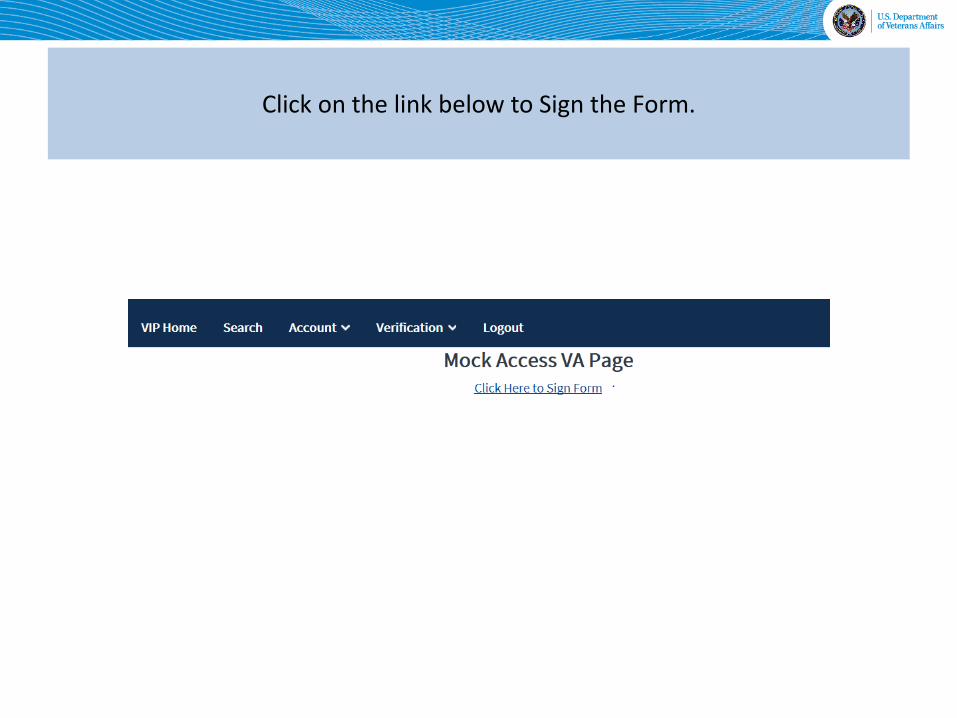
Click on the link below to Sign the Form.
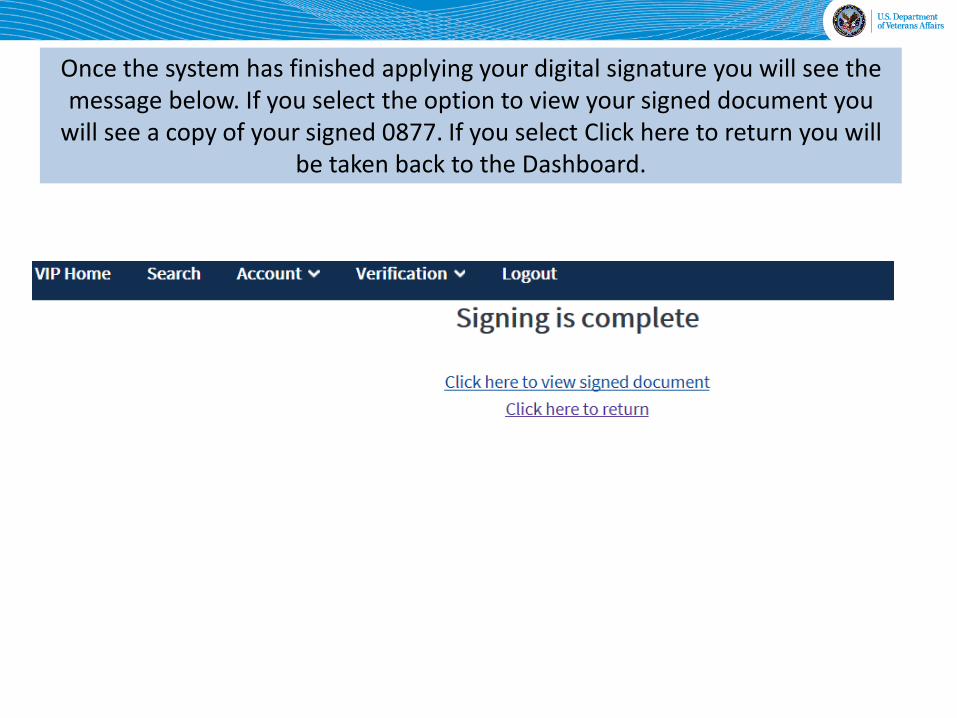
Once the system has finished applying your digital signature you will see the message below. If you select the option to view your signed document you
will see a copy of your signed 0877. If you select Click here to return you will be taken back to the Dashboard.

Review the Submission Certification statement and select Yes to agree. If you worked with a Verification Assistance Counselor you can enter that
information below. Click on Submit to complete the submission of your application for Verification
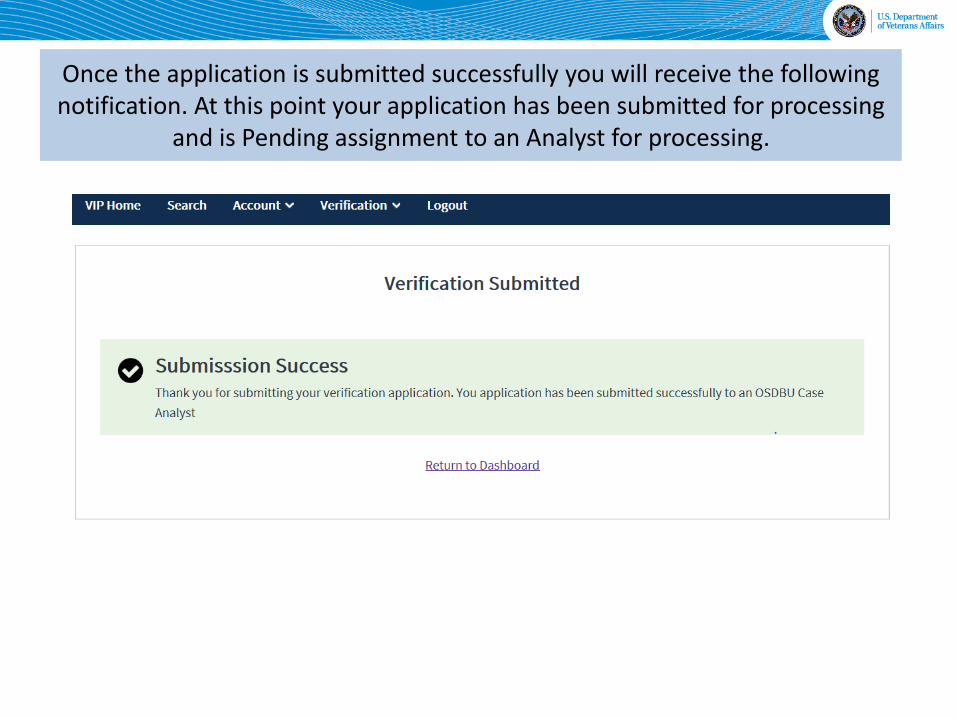
Once the application is submitted successfully you will receive the following notification. At this point your application has been submitted for processing
and is Pending assignment to an Analyst for processing.
