unit 10 - client side customisation of web...
TRANSCRIPT

Unit 20 - Client Side
Customisation of Web Pages
Week 5 – Lesson 6
Designing a web-site
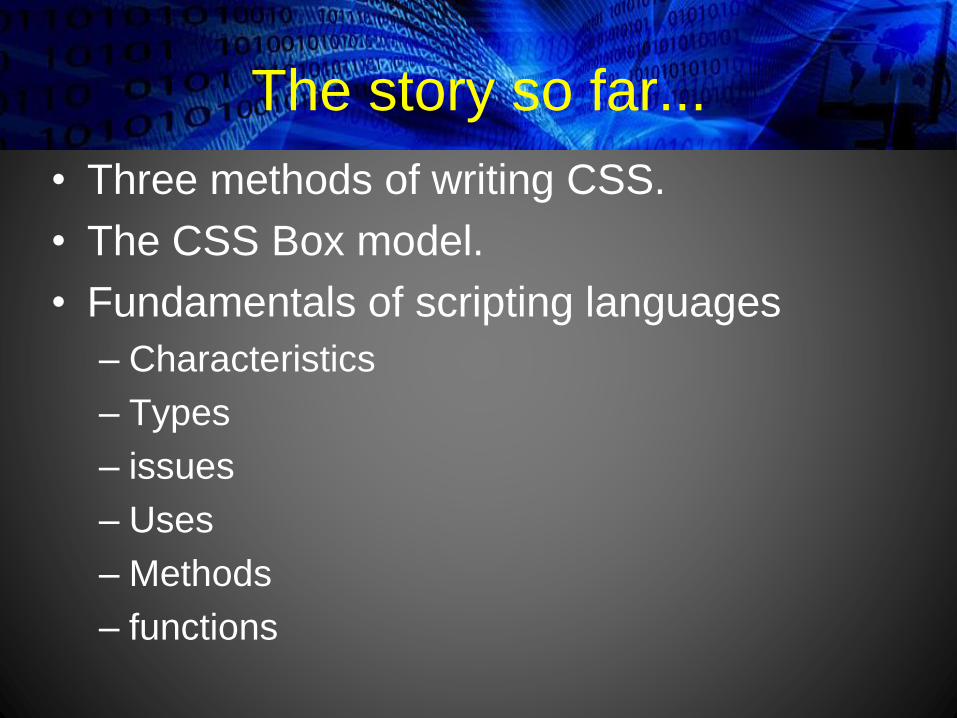
The story so far...
• Three methods of writing CSS.
• The CSS Box model.
• Fundamentals of scripting languages
– Characteristics
– Types
– issues
– Uses
– Methods
– functions

This assignment
• Design and build a website, using CSS
and scripting
• Test it
• Demonstrate good practice
• Evaluate your website

Using CSS to control layout
• Part of the design process
• Advantages
– House style
– Promotes standardised design throughout a
website (good practice)
– Easier to maintain – changes to blocked CSS
tend to be quicker and with less chance of
error.

Task
• Create a house-style:
• Consider
– positioning of elements
– Colour schemes
– Font types
– Font sizes
– ‘standard’ elements that will appear on all
pages

Design
• Screen design or ‘storyboard’
• Should clearly show precise layout
• Include
– dimensions
– Font (family, size, colour)
– Colours
– Images
– Other elements
• Will also include notes to ensure clarity

Storyboards

The Real Deal

Navigation diagram
Five pages will be simpler!www.tobinkusuma.com

Designing with CSS...
Need to design the ‘common’ elements.
• Headings
• Styling
– Fonts
– Backgrounds (including images)
• Spacing
– Margins (paragraph text)
– Borders
– Padding (table cells)
• Measurements: in, cm, mm, pc(1pica = 12pt), pt
(1/72 inch), px, em (M), exe (x), %, rem

Relative Measurments
• Em and rem are practical for perfectly
scalable layout
• Em – relative to height of current font
• Rem – rel to font size of root element
• % - percentage of parent element
• Ex – rarely used rel. to x-height of current
font

Activity 1
1. Create the CSS for the background and
fonts for design #1
2. Test your css works on a prototype page
(HTML)
3. The house style is changing to red.
4. Alter your css, test the new webpage.

Float commands
• Browsers read HTML line by line
• They stack each element underneath the
preceding element:
<body>
<div>
<!– a styled box --!>
</div>
<div>
<!– a second styled box !-->
</div>
</body>
Box 1
Box 2

Float commands
• A float command tells the element to ‘float’
to one side and allow the next element to
come alongside it.
• Possible options are:
• float: left;
• float: right;
• float: none;
• There must be enough width in the
page/containing element to allow this.
Box 1 Box 2

Float commands
• Use float commands to create Design #1
http://www.w3schools.com/html/tryit.asp?
filename=tryhtml_layout_float
[[http://cssreference.io/|A free visual guide to CSS]]
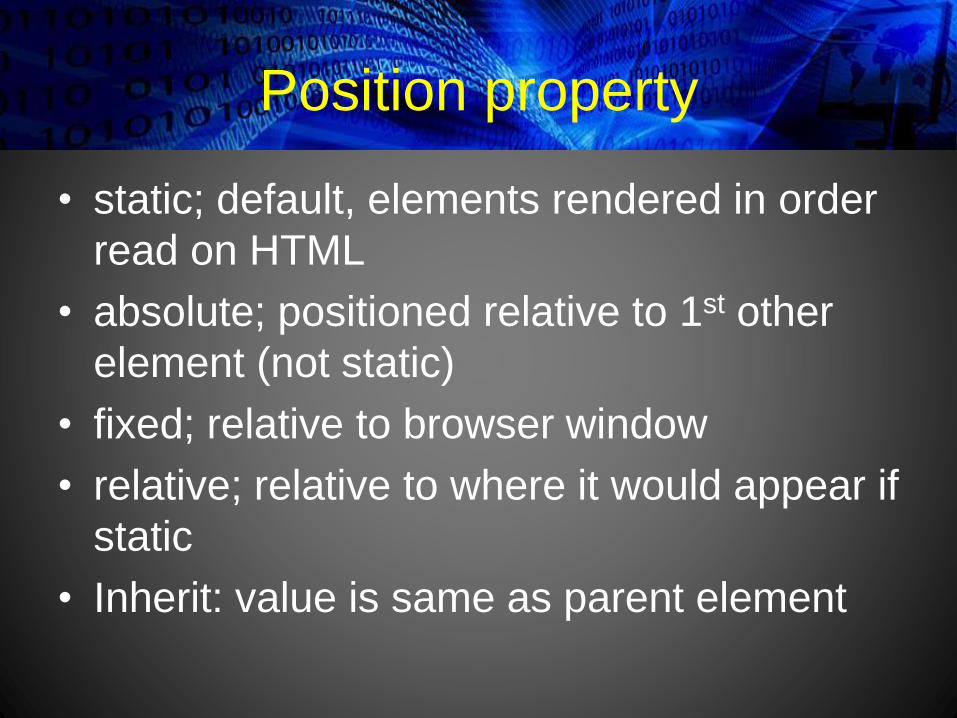
Position property
• static; default, elements rendered in order
read on HTML
• absolute; positioned relative to 1st other
element (not static)
• fixed; relative to browser window
• relative; relative to where it would appear if
static
• Inherit: value is same as parent element

Nested elements task
• Create a page with nested elements.
• Wrapper
– Left bar – include links to
• absolute
• Fixed
• relative
– Main
• Box 1
• Box 2
– Right bar
– footer
Copy and add position:
absolute
Change to
Position: fixed
Change to position: relativeDefine width, height,
left and top margins
Background-color
color

Layout
.titlep {
border: red solid thin;
Margin: 50%;
Position: fixed/absolute/relative;
Top: 0px;
}
.titlec {
border: blue groove; padding: 3cm 6cm;
}
• Implemented as
<span class=“titlep”>Page Title</span>
<div class=“titlec”>Table title</div>

Selectors
• E.g. If you want all paragraphs to have
certain formatting specify:
p {....}
• You can also combine elements:
h1, h2, p {...}
• Any element can take a class attribute
body{...}
• But should only be used where necessary.

Class or id
• Class can be repeated on a page, an id can only be
used once per page
• e.g.
#maincontent {...}
• This is an id it only occurs once on the page
.upperrow{...}
• This is a class it could be defining the upper row of two
alternating rows that will be repeated several times in a
table.
• IDs give functionality, can be referred to in scripts.

Lists
• Websites should be written at a lower
complexity than standard text
• Users do not want to read huge
paragraphs
– Make content orderly
– Make it easier to read
– Make it accessible to more users (good
practice)

...lists
Two types:
1. Ordered (numbered) [numbers, roman
numerals, alphabetical] <ol></ol>
• Unordered (bulleted) <ul></ul>
Style defined in CSS,
In HTML <li> tag defines each item

Activity 2
• Using the web-page from activity 1:
• Add an ordered list of five fruits to the
main body of text
• Add an unordered list of three flowers
before the first list
• Put a line break <br> between the lists

Styling
• www.google.com this is a default setting for a
hyperlink in PowerPoint; same happens on your
web-page. You can use CSS to overwrite these
styles to fit with your design.
• Anchor links must be overwritten in this order:
1. a:link {color: value} original colour
2. a:visited {color: value} after visiting link
3. a:hover {color: value} mouse hovering
4. a:active {color: value} is active

Activity 3
• Using the same web-page as activity 1
and activity 2 create buttons based on
navigation diagram design #3
• Change the links as follows:
– unclicked – black text
– hover – larger font
– visited – different font
– active – background colour - yellow

Navigation
Use CSS to create ‘drop-down menus’:
• ul style formats whole list
• ul li style formats main list headers
• li ul style formats list sub-headers
• ul li a style formats actual list elements
• hover and over commands –
appearance/disappearance of list items
• some older browsers do not support hover
command – need script to allow it.

Activity #4
• Using prototype website created in other
activities add menus given in code
“dropdown.html”
• Add three more menus for:
– flowers
– nuts
– herbs

Responsive Web Design (RWD)
• Easy reading
• Easy navigation
• Minimum resizing, panning & scrolling
• Performs over a wide range of devices
www.dreamstime.com
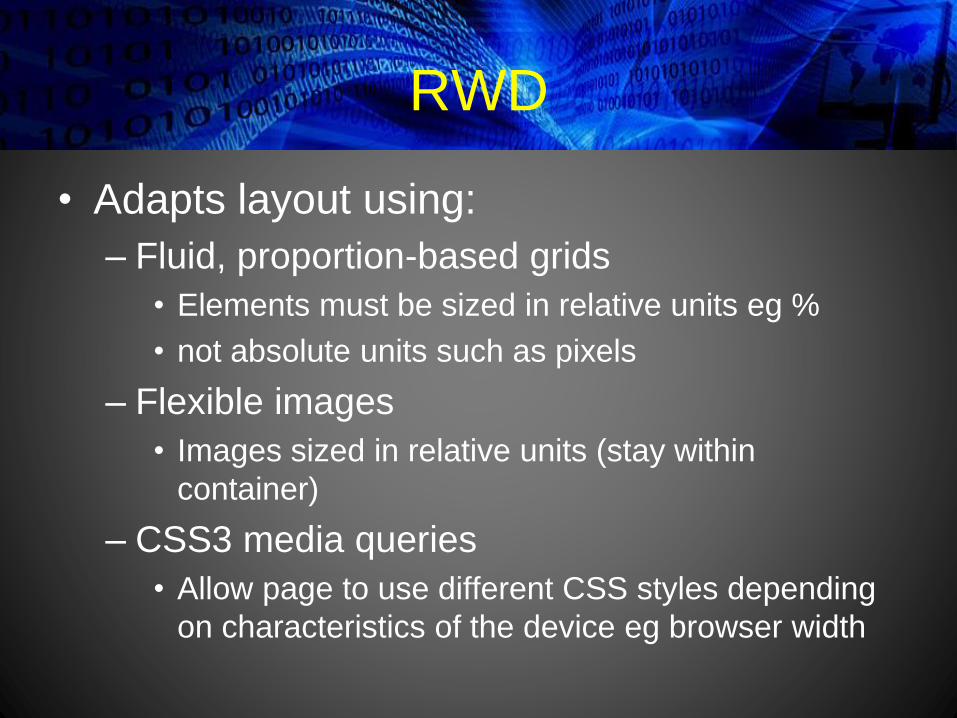
RWD
• Adapts layout using:
– Fluid, proportion-based grids
• Elements must be sized in relative units eg %
• not absolute units such as pixels
– Flexible images
• Images sized in relative units (stay within
container)
– CSS3 media queries
• Allow page to use different CSS styles depending
on characteristics of the device eg browser width
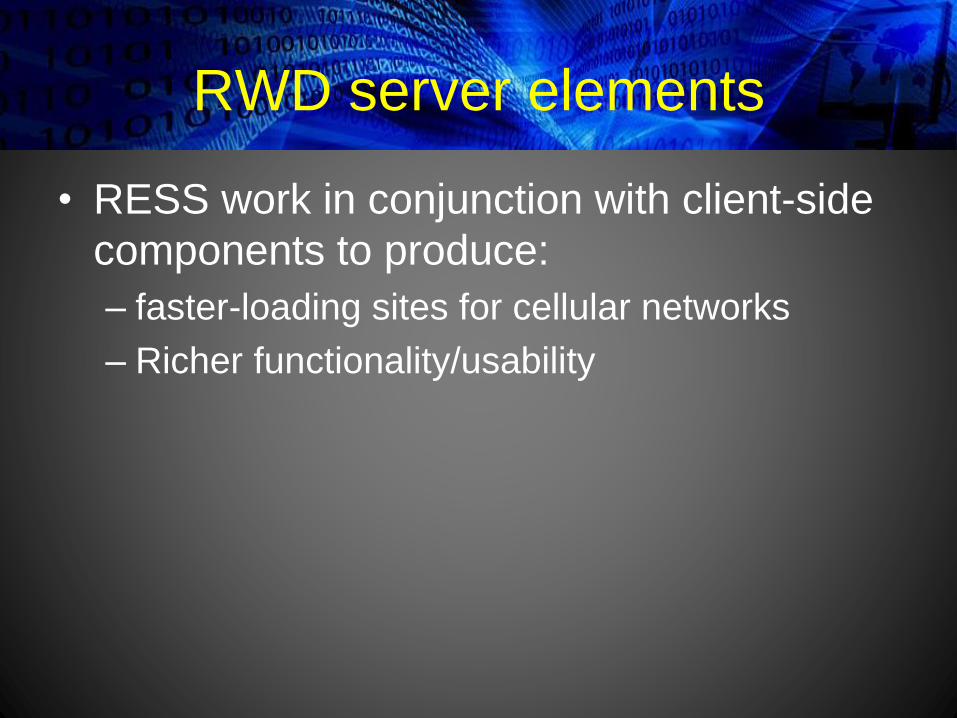
RWD server elements
• RESS work in conjunction with client-side
components to produce:
– faster-loading sites for cellular networks
– Richer functionality/usability
Task
• Select a page you have already created
using CSS
• Attach a ‘bootstrap’ RWD
• Adapt the bootstrap to give:
– different colours
– Different sized elements
– Different fonts
– etc

Some useful resources for RWD
• http://blog.teamtreehouse.com/beginners-guide-
to-responsive-web-design
• http://coding.smashingmagazine.com/2011/01/1
2/guidelines-for-responsive-web-design/
• http://www.fastnetwebdesign.co.uk/blog/using-
twitter-bootstrap-to-create-a-responsive-web-
design-rwd-for-joomla
• http://www.onextrapixel.com/2012/11/12/how-to-
use-twitter-bootstrap-to-create-a-responsive-
website-design/

Assignment 3 - Clients
Oink
• A business selling
designer piggy-banks;
their customers are
children and parents
although they hope to
develop a corporate line
selling their product as
promotional items to
banks and other financial
institutions.
Locked Down Data
• An IT security
consultancy providing
advice to business and
individuals to protect
against a variety of
threats to data and
systems:– Malicious damage
– Threats related to e-commerce
– Counterfeit goods
– Technical failure
– Human error
– Theft of equipment

Assignment 3
• Task 1: (P4)
• Design a website for either ‘Locked Down Data’ or ‘Oink’. Your
design must meet the following specification:
• It must contain at least five pages
• It must contain at least three different examples of interactivity
• The layout must be controlled by CSS and show examples of all
three implementation styles (external, in-line, header).
• Hints: Consider how you will use CSS from the start. Don’t ignore it
at this stage then try to add it in later. Be methodical and thorough.
Note: one of the requirements is to include 3 different examples of interactivity;
we will explore this next time.
Assignment 3• Task 1: (P4)
• Your design must include the following sections:
• A screen-shot showing the chosen domain name for your site and its
current availability at www.UK2.net
• A navigation diagram (site-map)
• A description of the house-style including how this will be managed
through CSS
• Screen designs (storyboards) for each page detailing how CSS will
be implemented (external, in-line, header) and any scripting required
• A table of the design describing each page using the headings:
page name, description of page content, required images and web
technologies used.
• Pseudo-code or flow diagrams to show how each interactivity will
behave.
• Ensure that your design will incorporate ‘good practice’.