treat rising damp and redecorate in under 24hrs...combining the power of our patented dryzone...
TRANSCRIPT

S Y S T E M
APPLICATION GUIDELINES
PRODUCT DESCRIPTION
Combining the power of our patented Dryzone damp-proof-ing cream with modern fast-track replastering, the Dryzone System is a new and swifter method for replastering after rising damp treatment. As effective as sand:cement render, but faster and cleaner.
The three key steps in the Dryzone System:
FAST, HIGH PERFORMANCE RISING DAMPTREATMENT & REPLASTERING SOLUTION. COMPLETEA TREATMENT & REDECORATE WITHIN 24HRS.
TREAT RISING DAMP AND REDECORATE IN UNDER 24HRS
For further information or technical advice call 01403 210204Dryzone System is a Safeguard product © Safeguard Europe 2013
Dryzone damp-proo�ng cream to effectively treat rising damp: solvent-free, patented and the most tested product on the market
Dryshield Cream to prime the wall: long-lasting protection against damp, salt and mould in just one coat
Drygrip Adhesive to �x plasterboard: creates a durable bond to masonry that's strongly salt and moisture resistant
NOTE
These Application Guidelines assume that the applicator is experienced with the �tting of plasterboard to masonry walls.
The Dryzone System treats rising damp. If other forms of damp are present (i.e. penetrat-ing damp, leaking gutters) these should be addressed before the System is installed.

INSTALLING THE DRYZONE SYSTEM
1. Prepare the wall: remove plaster
Fully remove all contaminated plaster, exposing the underlying masonry.
All loose material should be fully removed by brushing clean.
2. Inject Dryzone: treat rising damp
Treat the rising damp. Drill holes and inject Dryzone cream to treat rising damp. See Dryzone Application Guidelines for full details.
3. Apply Drybase: treat remaining damp
Apply two coats of Drybase liquid-applied DPM to the lower portion of the wall below theDryzone insertion line.
4. Dryshield Cream: prime the wall
Apply Dryshield to wall in a single coat using a large soft brush. Make sure any holes and cracks are �lled with cream and that all areas are coated evenly. One 5 litre pack of Dryshield Cream covers up to 25m2, depending upon the unevenness and porosity of the substrate.
1
2
3
4
For further information or technical advice call 01403 210204Dryzone System is a Safeguard product © Safeguard Europe 2013
INSTALLING THE DRYZONE SYSTEM
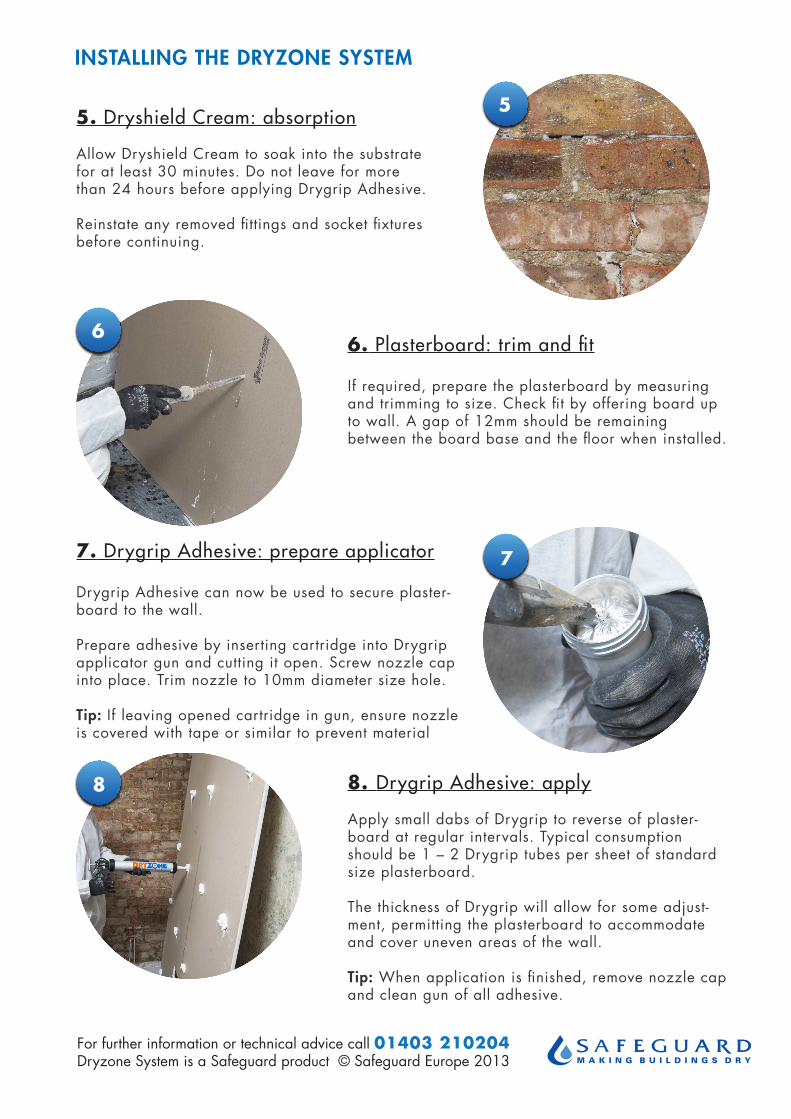
5. Dryshield Cream: absorption
Allow Dryshield Cream to soak into the substrate for at least 30 minutes. Do not leave for more than 24 hours before applying Drygrip Adhesive.
Reinstate any removed �ttings and socket �xtures before continuing.
6. Plasterboard: trim and �t
If required, prepare the plasterboard by measuring and trimming to size. Check �t by offering board up to wall. A gap of 12mm should be remaining between the board base and the �oor when installed.
7. Drygrip Adhesive: prepare applicator
Drygrip Adhesive can now be used to secure plaster-board to the wall.
Prepare adhesive by inserting cartridge into Drygrip applicator gun and cutting it open. Screw nozzle cap into place. Trim nozzle to 10mm diameter size hole.
Tip: If leaving opened cartridge in gun, ensure nozzle is covered with tape or similar to prevent material
8. Drygrip Adhesive: apply
Apply small dabs of Drygrip to reverse of plaster-board at regular intervals. Typical consumption should be 1 – 2 Drygrip tubes per sheet of standard size plasterboard.
The thickness of Drygrip will allow for some adjust-ment, permitting the plasterboard to accommodate and cover uneven areas of the wall.
Tip: When application is �nished, remove nozzle cap and clean gun of all adhesive.
5
6
7
8
For further information or technical advice call 01403 210204Dryzone System is a Safeguard product © Safeguard Europe 2013

INSTALLING THE DRYZONE SYSTEM
9. Plasterboard: �t to wall
Offer the board up to the wall and �t into place. Ensure suf�cient contact with Drygrip adhesive whilst allowing an air gap (preferably 10mm) to remain so that the plasterboard is not in contact with the wall. Adjust sections of plasterboard to �t over uneven areas as necessary.
10. Plasterboard: prop up
It is recommended to prop up the board. Use the Dryzone System plastic wedges for a precise �t. Alternatively offcut pieces of plasterboard at 12mm height or more can be used for the board to rest on.
At normal temperatures Drygrip Adhesive should set adequately after 1½ hours. At colder temperatures (i.e. sub 10°C), leave for 2 – 3 hours and checkadhesion by gently pressing board before further
11. Plasterboard: �x and set
Use Dryzone System Positioning Plugs as a secondary �xing to ensure an even �at surface across all boards.
Use the provided Dryzone System drill bit to drill 4 - 6 holes at board corners and middle no closer than 25mm to edges. Tap in Positioning Plugs with a hammer, ensuring the �nal surface is even.
12. Finishing: tape and plaster
Apply scrim tape to all board joins. A skim coat of plaster can now be applied. Proceed with additional replastering or decoration as required.For faster replastering: tape and joint boards using dry jointing method, then apply a coat of plaster-board sealer. This can be immediately painted onto once the sealer is touch-dry.
9
10
11
12
For further information or technical advice call 01403 210204Dryzone System is a Safeguard product © Safeguard Europe 2013

For further information or technical advice call 01403 210204Dryzone System is a Safeguard product © Safeguard Europe 2013
THE COMPLETED DRYZONE SYSTEM
Health & Safety
Always read full MSDS before use. May produce an allergic reaction. Wear gloves and suitable protective clothing.
Storage
Store Dryzone System products in a cool, well ventilated area. Protect from frost.
Contact
For any enquiries contact Safeguard’s Technical Department on 01403 210204 or by email at [email protected]
For more information visit www.safeguardeurope.com
Tip:
The Dryzone System can also be used for half height replastering. Measure and trim board to �t before applying Drygrip Adhesive.
Where gaps are present, a polyurethane foam can be used to in�ll these prior to scrim and plaster.
BEFORE AFTER

For further information or technical advice call 01403 210204Dryzone System is a Safeguard product © Safeguard Europe 2013
APPENDIX
Condensation
Calculations show that the overall risk of condensation is reduced when using the Dryzone System compared with traditional sand:cement replastering systems. However when using this type of product due consideration must be given to the overall design to minimise risk of condensation and the recommendations contained in BS 5250:2011 should be followed. Where higher levels of relative humidity are anticipated other environmental controls should be considered, such as:
Humidistat Fan
Positive Pressure Unit
Dehumidi�ers
Contact Safeguard’s technical department for advice on reducing the condensation risk.
Insulation
Most forms of insulated plasterboard can be used with the Dryzone System provided that the normal precautions associated with the installation of internal insulation are adhered to. In particular care should be taken to ensure that the insulation board is correctly �tted and all gaps �lled to prevent moisture migrating from the warm air in the room to the colder solid wall behind the insulation as this will present a condensation risk.
The guidance given in BS5250:2011 “Code of practice for control of condensation in buildings” should be followed with particular reference to sections G.3.1.4 “Solid masonry wall – Internal insulation” and G.3.2.4 “Masonry wall with cavity – Internal insulation:”
“Internally applied thermal insulation isolates the heated interior from the masonry, which will therefore be cold, producing a risk of interstitial condensation behind the thermal insula-tion; to prevent that, an AVCL should be applied on the warm side of the thermal insulation.”
BS5250:2011 “Code of practice for control of condensation in buildings”, G.3.1.4 and G.3.2.4
A suitable AVCL (Air and Vapour Control Layer) can usually be achieved by the application of a skim coat or by taping and jointing the tapered edges of the insulated plasterboards. However, where calculations indicate a risk of persistent condensation, a dedicated AVCL of suitably high vapour resistance should be used – see BS5250:2011 section 4.5.6 for guidance.
It should also be noted that insulated plasterboard is not “breathable” and therefore its use will cause walls that have been treated for rising damp to take longer to dry out.