ten stops on the road to building a canvas course · the rich content editor (rce) will open. ......
TRANSCRIPT
Academic Commons| Thomas Jefferson University| [email protected]| May 2020
Start the Engine: Access Canvas
Choose the Destination: Plan
Customize the Ride (Part I): Profile & Notifications
Customize the Ride (Part II): Edit Course & Instructor Information
Map the Route: Create the Module Framework
Roadside Attractions: Create the Assignments
Fill in the Gaps: Add Content
Post the Itinerary: Add the Syllabus
Looking Ahead: Preview the Course in Learner View
Hit the Gas: Publish
Ten Stops on the Road to Building a Canvas Course This document is a quick reference guide that may be used to help instructors get started with key tasks to create a course in Canvas. Each of the ten stops provides information on what to do and links to more detailed instructions provided by Canvas.
Academic Commons| Thomas Jefferson University| [email protected]| May 2020
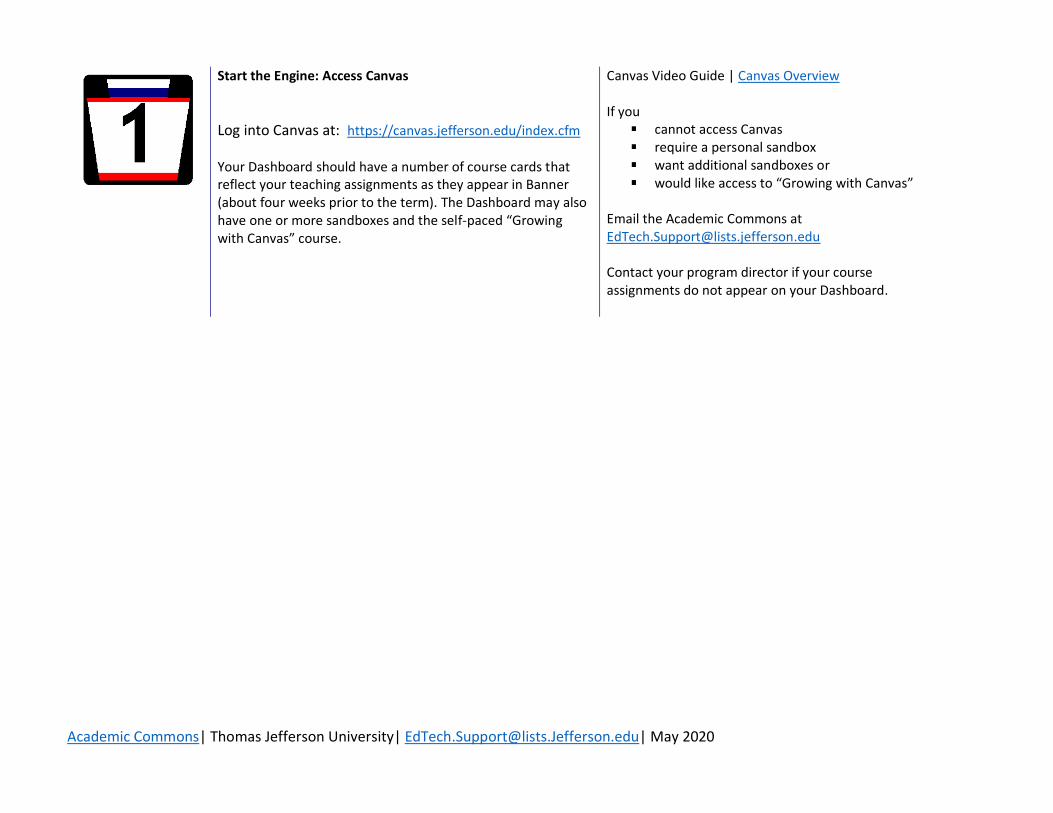
Start the Engine: Access Canvas
Log into Canvas at: https://canvas.jefferson.edu/index.cfm Your Dashboard should have a number of course cards that reflect your teaching assignments as they appear in Banner (about four weeks prior to the term). The Dashboard may also have one or more sandboxes and the self-paced “Growing with Canvas” course.
Canvas Video Guide | Canvas Overview
If you cannot access Canvas require a personal sandbox want additional sandboxes or would like access to “Growing with Canvas”
Email the Academic Commons at [email protected] Contact your program director if your course assignments do not appear on your Dashboard.
Academic Commons| Thomas Jefferson University| [email protected]| May 2020
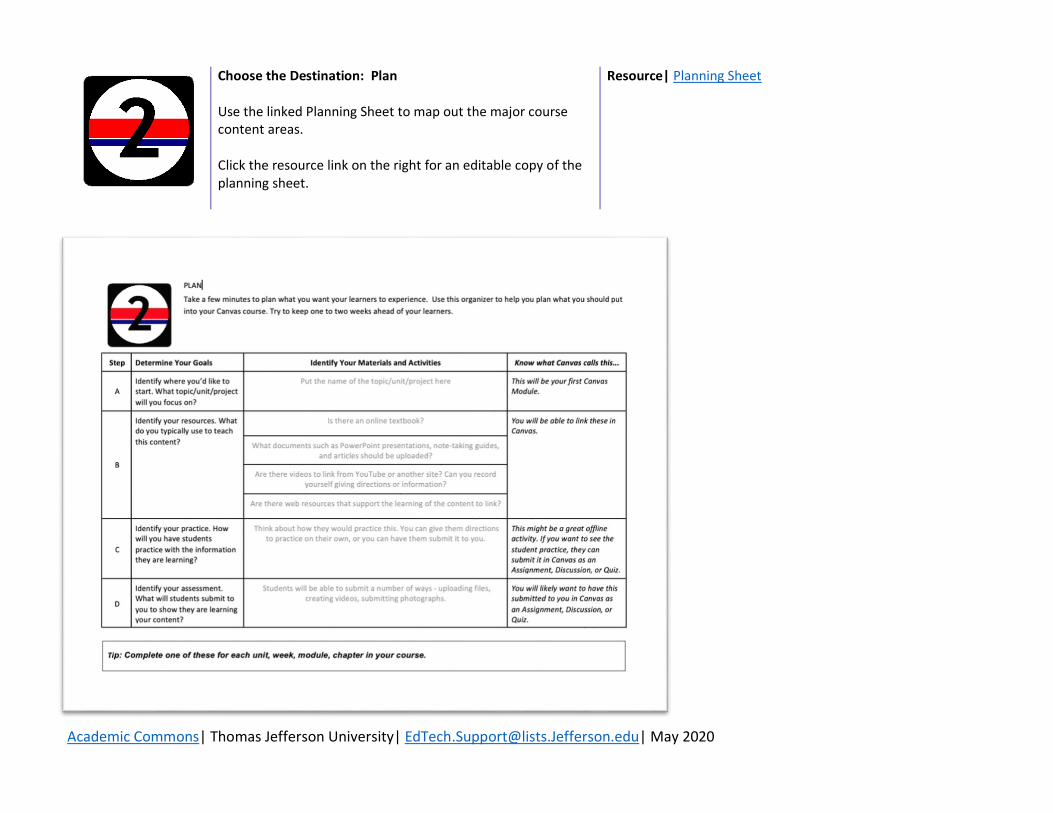
Choose the Destination: Plan Use the linked Planning Sheet to map out the major course content areas. Click the resource link on the right for an editable copy of the planning sheet.
Resource| Planning Sheet

Academic Commons| Thomas Jefferson University| [email protected]| May 2020
Customize the Ride (Part I): Profile & Notifications Notifications in Canvas tell the system WHAT information you wish to be sent outside of Canvas, HOW OFTEN, and WHERE it is sent. From the Account badge on the global navigation menu, select the Settings link. Under Ways to Contact on the right (or at the bottom depending on your screen resolution), add any desired additional contact methods (e.g., a second e-mail address or account, SMS/text messages) and confirm each as directed. You may customize your Settings by adding a profile image,
changing your time zone and/or indicating your preferred
pronouns.
Click on Update Settings to save your changes.
Once you have updated your settings and included any additional communication methods, access the Notifications section. Review and customize each to reflect the information you wish to be sent, the frequency and where it should be directed.
Canvas Video Guide| Notifications Overview Canvas Guide | Edit Your Profile Canvas Guide | Add a Profile Picture Canvas Guide | Notifications Preferences

Academic Commons| Thomas Jefferson University| [email protected]| May 2020
Customize the Ride (Part II): Course & Instructor Information All courses should have information that provides an overview of the course and information about the instructor. This information may be on the same page or on different pages. Most templates include a button that links to this information from the course home page. Navigate to the appropriate page. Select Edit from the upper right-hand corner of the page. The Rich Content Editor (RCE) will open. Position the cursor in the RCE box to edit or add text. Type text or copy and paste from another source into the RCE. The RCE includes several formatting tools that allows you to modify text much like the tool ribbon in Microsoft products. Click Save.
Canvas Video Guide | New Rich Content Editor (RCE) Canvas Guide | Editing Canvas Content Canvas Guide |Add & Modify Text in the New RCE
Academic Commons| Thomas Jefferson University| [email protected]| May 2020
Map the Route: Create the Module Framework You already may organize your course by thematic topics, units, weeks, or chapters. Canvas uses Modules to organize the learning experience. It may be helpful to think of the module as a titled chapter in the “book” of your course. For this step, you’re simply building the overall Module structure or the table of contents for your course. You named your modules in Step Two. Consult your Planning Sheet(s) from Stop 2 for reference. Access Modules from the course menu on the left.
Click on the + Module button to add the first named module. Repeat until you have created a table of contents (module structure) with chapter titles (module titles) for your course.
Canvas Video Guide | Modules Overview Canvas Guide | Add a Module

Academic Commons| Thomas Jefferson University| [email protected]| May 2020
Roadside Attractions: Create the Assignments
Adding or creating an Assignment automatically adds a column to the gradebook for that item. You must create an Assignment, graded Discussion, or graded Quiz for any item you wish to appear in the grade center. This may include quizzes, papers, projects, presentations, discussion board contributions, participation, exams, etc.
Access Assignments within the course menu at the left.
Click on the + Assignment link.
Give the Assignment a name.
Select a Due Date (if applicable).
Assigned Due Dates will automatically populate the Course Calendar and the learner’s to-do list.
Indicate the total points possible.
Extra credit assignments should have 0 points possible so that they are calculated as extra points.
Choose a Submission Type (how you want to receive the work—online, on paper, or in real-time with a presentation).
Click on Save & Publish.
Note: Publish each assignment to make them available to learners.
Canvas Video Guide | Assignments Overview Canvas Guide | Create an Assignment Canvas Video Guide | Discussions Overview Canvas Guide | Create a Discussion Canvas Video Guide | Quizzes Overview Canvas Guide | Create a Quiz Canvas Video Guide| Canvas Calendar

Academic Commons| Thomas Jefferson University| [email protected]| May 2020
Fill in the Gaps: Add Content You created the Module structure for your course in a previous step. In this step, you will create and associate Pages with these Modules. Pages organize course materials and resources. You can add a variety of content to a Page, including text, Word documents, PDFs, pre-recorded lectures, YouTube clips, weblinks and images. Start with one of the earliest modules. Click the + icon next to the module title.* Select Page from the drop-down menu. Identify this as a New Page. Name the Page.
Click Add Item.
Select the new link. Use the Edit button to add content to the page using the Rich Content Editor (RCE). You must publish each module and the individual items you add to make them available to learners. *The +icon button also allows you to add Assignments, Quizzes, Files, and Discussions to Modules. Previously developed materials will automatically appear.
Canvas Video Guide | Pages Overview Canvas Guide | Create a Page Canvas Guide | Uploading a Document Canvas Guide | Rich Content Editor Index

Academic Commons| Thomas Jefferson University| [email protected]| May 2020
Post the Itinerary: Add the Syllabus In Canvas, you can upload your syllabus as a Word document or a PDF. You can copy/paste the text of your syllabus directly into Canvas. Click on the Syllabus tab in the course navigation menu or the Syllabus button on the course front page. Select Edit. Paste the text of your Syllabus within the edit window OR upload a Word or PDF Document. Click Update Syllabus to save.
Canvas Guide | Canvas Syllabus Tool Canvas Guide | Uploading a Document

Academic Commons| Thomas Jefferson University| [email protected]| May 2020
Looking Ahead: Preview the Course in Learner View
Prior to publishing a course, it is a good idea to view the course in Student View in order to test it fully before it is published.
Access Settings within the course menu at the left.
Click on the Student View button.
Preview the course as a student: view pages, view the syllabus, view quizzes, view the calendar, and view the scheduler.
Click on Leave Student View at the bottom right when done with the preview.
Note: Attendance, conferences, conversations, collaborations, differentiated assignments, external apps, groups, peer reviews, and profiles do not work in the Student View.
Academic Commons| Thomas Jefferson University| [email protected]| May 2020
Hit the Gas: Publish
In order for students to see a Canvas course, you need to publish the course.
Access Home within the course menu at the left.
Locate the Course Status button.
Click on the Publish button. The publish button should be green once published.
Note: Publishing a course does not publish content that has been designated as ‘draft’ or unpublished. To publish content, assignments, modules, etc. you must click the publish icon next to each item.

Academic Commons| Thomas Jefferson University| [email protected]| May 2020