stick a computer on it: how to embed a microcontroller into anything watitis 2011 presentation...
TRANSCRIPT

Stick a Computer on it: How to Embed a Microcontroller
into Anything
WatITis 2011 Presentation
December 6th, 2011
What is a microcontroller
• It’s a computer• Most of you probably already know that• It’s a self-contained computer on a
microchip, just add code and electricity
2011

What is a microcontroller
• “a small computer on a single integrated circuit containing a processor core, memory, and programmable input/output peripherals” - wikipedia
2011

What is a microcontroller
• They have made huge leaps in technology in the past 20 years
• This is where I show my age• (I’m not THAT old)
2011

(my) History of microcontrollers
• Mid-90’s you had to do the following to get a microcontroller working:
• Plot out your circuit, plan your inputs and outputs
• Refer to pre-ordered information sheets to find the microcontroller model that you think will work best for your application
2011

(my) History of microcontrollers
• Order and read the user manual• Know the chip like the back of your hand• Find and install the development
environment• If you were lucky, the dev. env. came with
a debugger, if not, find a 3rd-party debugger, learn it and use it
2011

(my) History of microcontrollers
• Code in assembler• Test the code on the debugger, hit the
space bar a lot• Sell your soul, get it to work in theory• Buy a programmer ($200 - 1000)• Buy your chip(s) ($30+ each)• Program your chip
2011

(my) History of microcontrollers
• Test it out• Doesn’t work? Throw it out. Or spend 2-3
times more on a reprogrammable chip• Re-learn everything• Gouge out your eyes in frustration• But when it works, its better than sex
2011

Why they didn’t take off
• Expensive (initial set up cost and waste)• Difficult to use and learn (variety)
– Frequently had to re-learn things between manufacturers, product lines, years
• Lengthy development time (very stepwise)
2011

Microcontrollers today
• Easy peasy lemon squeezy
2011

Microcontrollers today
• Recent explosion in the past 5 years• Cheap• Easy to learn (Java and .NET)• Rapid prototyping
2011

Microcontrollers today
• PICAXE System• BasicX• NETduino• Arduino
2011

Shake hands with the Arduino
2011

Arduino
• Cheap (<$30) development model– Ardweeny costs $7
• Easy to use – Java-based languages
• Quick prototyping – Reprogrammable in situ
2011

Arduino
• Very active and healthy community• 100% Open-source project
– Development environment is Open-source– Libraries are Open-source– The physical board is Open-source
• Eagle files are available to download and modify
2011

Arduino
• Microcontroller: ATmega328 • Operating Voltage: 5V • Input Voltage (recommended): 7-12V • Input Voltage (limits): 6-20V • Digital I/O Pins: 14 (of which 6 provide PWM output) • Analog Input Pins: 6 • DC Current per I/O Pin: 40 mA • DC Current for 3.3V Pin: 50 mA • Flash Memory: 32 KB (ATmega328) of which 0.5 KB used by bootloader • SRAM: 2 KB (ATmega328) • EEPROM: 1 KB (ATmega328) • Clock Speed: 16 MHz
2011

Arduino - Expansion
• Many companies have grown that create custom “shields” or add-on attachments that piggyback onto an Arduino board.
2011

Arduino - Expansion
• Motor • Wifi/Bluetooth/Cell/IEEE 802.15.4
Networks • LCD Displays• Ethernet Networking• GPS• SD Card
2011

Arduino - Community
• Home automators• E-textiles• CNC/3D printing• Robotics• Interactive art• Drones
2011

Arduino - Community
• Many companies have formed that make their own custom Arduino boards for very specific applications
2011
Arduino - Community
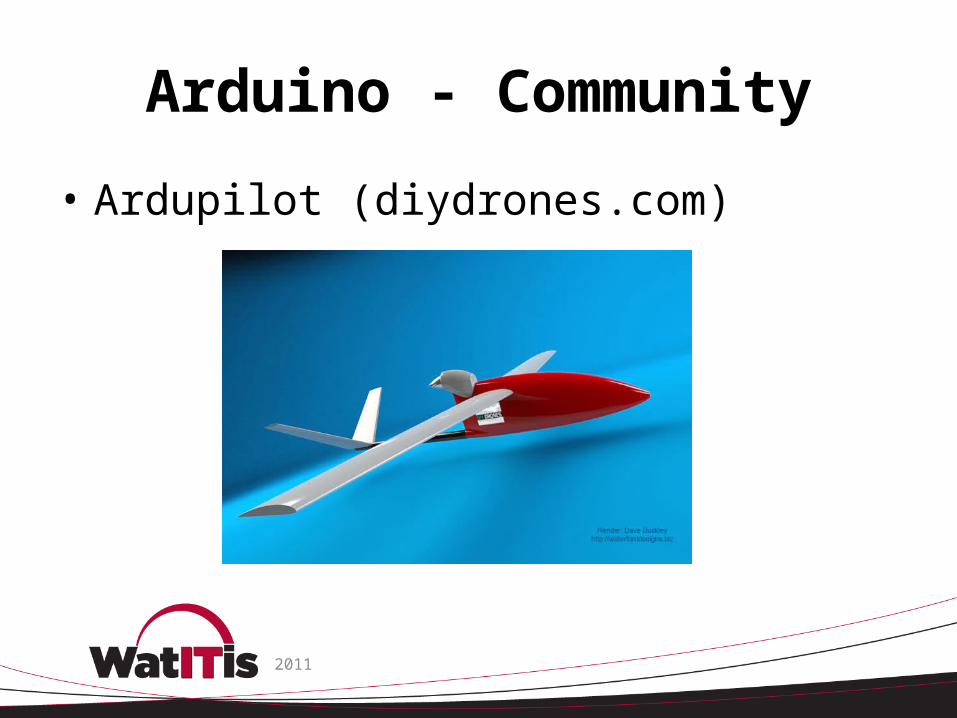
• Ardupilot (diydrones.com)
2011

Where to start
• Buy an Arduino ($30)– Robotshop.ca– Creatroninc.com
• Dig up a USB cable• Buy the following books:
– Getting started with Arduino ($10)– Getting Started in Electronics (?)
2011

Where to start
• Buy a soldering iron ($15 - 40), learn to solder– http://www.youtube.com/watch?v=BLfXXRfRIz
Y
• Buy/salvage parts, and start building– KW Surplus– Princess Auto– Old electronics
2011

Where to start
• If you are frugal and do your research, you can buy an Ardweeny for about $7, soldering iron for $15, and salvage parts for free.
• If you are not careful you can easily spend your paycheque on lots of parts that will sit in your basement unused and your wife complain about it. Possibly.
2011

Embedding in anything
• Arduinio Fio
2011

Embedding in anything
• Arduino Fio is one of the custom Arduino boards, developed by the Arduino team
• Built-in IEEE 802.15.4 support so you can control, reprogram, and send information wirelessly
• Powered by Li-Po battery
2011

Embedding in anything
• Hack a kids toy car, now it’s a remote controlled-car
• Combine a sprinkler system with a motion sensor, now it’s a squirrel-drencher
• Add it to a cat toy, cat now tweets every time it hits the toy
• Add a thermal printer, display tweets in old-timey ticker-tape format
2011

Really. Ticker tape twitter.
2011

Not-so-useful embedding
• Twitty kitty
2011

Useful embedding
• Bakery
2011

Useful embedding
• Internet cat feeder
2011

Be creative
• A lot can be done quickly if you have the $• A lot can be done quickly for (almost) free
if you are creative
2011

Thank-you
• I always like to chat and share new ideas• [email protected]• jaymis.net (http://jaymis.net/2011-watitis/)• @jwgoertz
2011