soldering jump rings - beads baubles and jewels

1
800.545.6566 riogrande.com Products. Service. Know-how. Sharing your passion for making jewelry. Soldering Jump Rings Intimidated by soldering? Give it a try and be amazed by the results! Select the right tools, commit to practice and check out these tips to give your jump rings more strength and a smooth finish to eliminate snagging on hair and clothing. Please Note: Always wear the appropriate safety gear when operating a torch. step 1 The jump rings must be perfectly closed as solder will not flow and fill joints/seams. Align the ends of the jump ring so they are flush with no gap. step 2 To protect the metal from oxidizing while being heated, coat the entire piece with a barrier flux (Rio Stop-Ox or a mixture of one part boric acid to one part denatured alcohol in a lidded glass jar to keep the solution from evaporating). step 3 Select your solder. For this project, we are using easy silver solder in wire and paste forms. Easy solder melts at approximately 1100°F—ideal for these silver jump rings. step 4 Place the piece in the Third-hand with the joint/seam up. Put a small amount of My-T-Flux on the seam area. step 5 Snip a very small piece (approximately 1mm) of wire solder and place it on the charcoal block. Light the torch and lightly flash the flame over the piece of solder to ball it up; you may want to place the solder pick directly behind the solder piece because the flame will push the ball away. step 6 Using the solder pick, pick up the solder ball and place it over the joint/seam, trying to make sure it touches both sides. You can use paste solder for soldering and many people prefer this. Paste solder is a solder and flux combination so no additional flux is necessary. Place a small amount of paste solder on the joint/seam. step 7 Heat the jump ring from the underside of the ring; the heat will pull the molten solder through the joint/seam, sealing the two ends together. Move the flame slowly across both sides of the joint/seam to make sure the heat is evenly distributed. step 8 When you are finished soldering the components together, submerge the piece in cool water and then place in warm pickle solution—this cleans any oxides and flux residue from the piece and prepares the surface for finishing. (Tip: If the pickle solution is strong and hot, the piece only needs to be submerged for a minute.) Dip the piece in a clean rinse water to neutralize the pickle solution, dry it thoroughly and prepare for finishing. We recommend using the Little Dipper™ Pickle Pot and Rio Pickle™. Description Order # Little Torch Set 500-090 Automatic Torch Igniter 503-048 Little Torch™ Torch Holder 500-018 Round Third Hand Base with Tweezer 502-066 Silquar™ High-Heat Block 502-004 (helps protect your work surface) Long-Life Hard Charcoal Block 502-025 (helps to keep oxygen from discoloring the silver) My-T-Flux™ Green Flux (protects the silver) 504-006 Safety glasses 201-052 Titanium Solder Pick 503-019 Sterling Closed Square Jump Ring 695-102 Sterling Round Jump Ring 693-616 Sterling Oval Lobster Clasp 630-198 Pump Flux Dispenser 504-025 Natural Brush Sticks 115-146 Description Order # Stainless Steel Cross-Lock Tweezers 115-051 Silver Wire Solder, Easy 101-100 Silver Paste Solder, Easy 103-099 Heavy-Duty 9" Copper Tongs 501-017 Rio Pickle™ for Non-Ferrous Metals 501-023/3 Little Dipper™ Economy Pickle Pot 501-012 Boric Acid 704-096 Disposable Propane Tank 500-091/2 Disposable Oxygen Tank 500-092/2 Safe-D-Tect Leak Detector 500-238 Rotating Soldering Table 502-007 Swanstrom Chain-Nose Pliers 111-300 Apron 113-670 Denatured Alcohol Crescent Wrench Assortment of tweezers Pyrex Dish supplies:

Upload: others

Post on 11-Feb-2022

1 views

Category:

Documents


0 download

TRANSCRIPT

800.545.6566 riogrande.com

Products. Service. Know-how.Sharing your passion for making jewelry.

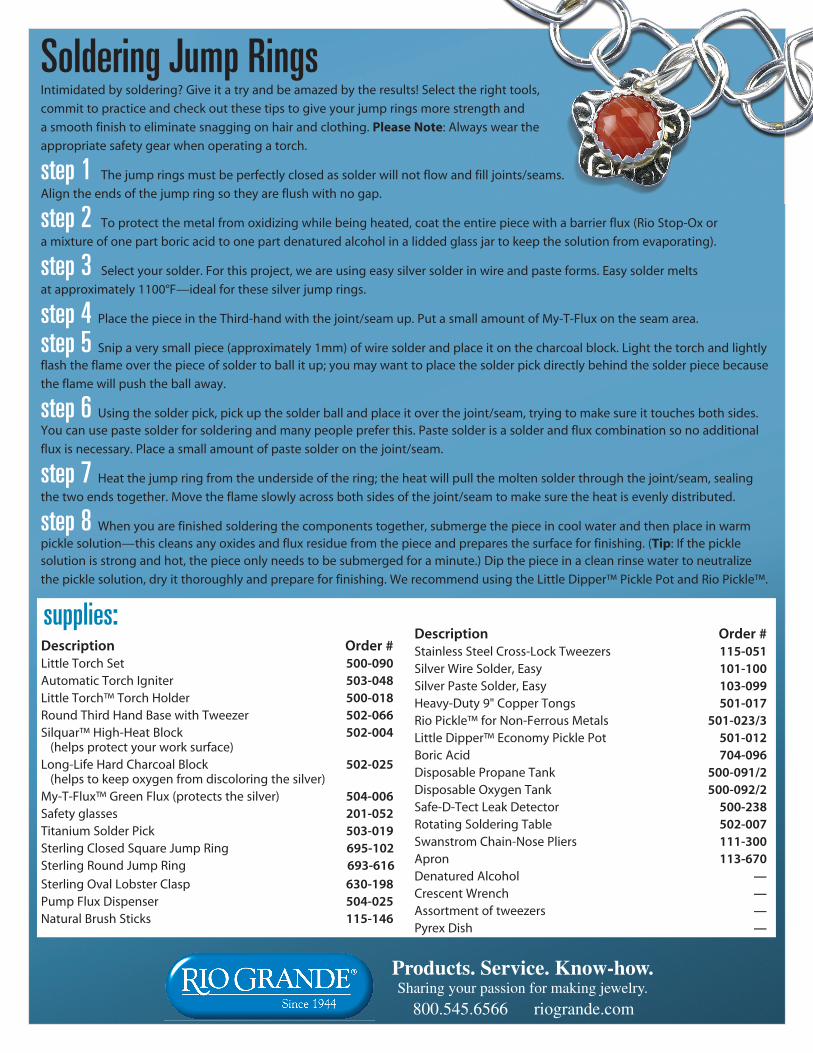
Soldering Jump RingsIntimidated by soldering? Give it a try and be amazed by the results! Select the right tools,

commit to practice and check out these tips to give your jump rings more strength and

a smooth finish to eliminate snagging on hair and clothing. Please Note: Always wear the

appropriate safety gear when operating a torch.

step 1 The jump rings must be perfectly closed as solder will not flow and fill joints/seams.

Align the ends of the jump ring so they are flush with no gap.

step 2 To protect the metal from oxidizing while being heated, coat the entire piece with a barrier flux (Rio Stop-Ox or

a mixture of one part boric acid to one part denatured alcohol in a lidded glass jar to keep the solution from evaporating).

step 3 Select your solder. For this project, we are using easy silver solder in wire and paste forms. Easy solder melts

at approximately 1100°F—ideal for these silver jump rings.

step 4 Place the piece in the Third-hand with the joint/seam up. Put a small amount of My-T-Flux on the seam area.

step 5 Snip a very small piece (approximately 1mm) of wire solder and place it on the charcoal block. Light the torch and lightly flash the flame over the piece of solder to ball it up; you may want to place the solder pick directly behind the solder piece because

the flame will push the ball away.

step 6 Using the solder pick, pick up the solder ball and place it over the joint/seam, trying to make sure it touches both sides. You can use paste solder for soldering and many people prefer this. Paste solder is a solder and flux combination so no additional

flux is necessary. Place a small amount of paste solder on the joint/seam.

step 7 Heat the jump ring from the underside of the ring; the heat will pull the molten solder through the joint/seam, sealing

the two ends together. Move the flame slowly across both sides of the joint/seam to make sure the heat is evenly distributed.

step 8 When you are finished soldering the components together, submerge the piece in cool water and then place in warm pickle solution—this cleans any oxides and flux residue from the piece and prepares the surface for finishing. (Tip: If the pickle solution is strong and hot, the piece only needs to be submerged for a minute.) Dip the piece in a clean rinse water to neutralize

the pickle solution, dry it thoroughly and prepare for finishing. We recommend using the Little Dipper™ Pickle Pot and Rio Pickle™.

Description Order #Little Torch Set 500-090Automatic Torch Igniter 503-048Little Torch™ Torch Holder 500-018Round Third Hand Base with Tweezer 502-066Silquar™ High-Heat Block 502-004 (helps protect your work surface)Long-Life Hard Charcoal Block 502-025 (helps to keep oxygen from discoloring the silver)My-T-Flux™ Green Flux (protects the silver) 504-006Safety glasses 201-052Titanium Solder Pick 503-019Sterling Closed Square Jump Ring 695-102Sterling Round Jump Ring 693-616

Sterling Oval Lobster Clasp 630-198Pump Flux Dispenser 504-025Natural Brush Sticks 115-146

Description Order #Stainless Steel Cross-Lock Tweezers 115-051Silver Wire Solder, Easy 101-100Silver Paste Solder, Easy 103-099Heavy-Duty 9" Copper Tongs 501-017Rio Pickle™ for Non-Ferrous Metals 501-023/3Little Dipper™ Economy Pickle Pot 501-012Boric Acid 704-096Disposable Propane Tank 500-091/2Disposable Oxygen Tank 500-092/2Safe-D-Tect Leak Detector 500-238Rotating Soldering Table 502-007Swanstrom Chain-Nose Pliers 111-300Apron 113-670Denatured Alcohol —Crescent Wrench —Assortment of tweezers —Pyrex Dish —

supplies: