software installation and upgrade guide - amazon...
TRANSCRIPT
Vicon Industries Inc. does not warrant that the functions contained in this equipment will meet your requirements or that the operation will be entirely error free or perform precisely as described in the documentation. This system has not been designed to be used in life-critical situations and must not be used for this purpose. Document Number: 8009-8285-00-01 Rev: 6/17 Product specifications subject to change without notice Copyright © 2017 Vicon Industries Inc. All rights reserved.
Vicon Industries Inc. Tel: 631-952-2288) Fax: 631-951-2288
Toll Free: 800-645-9116 24-Hour Technical Support: 800-34-VICON
(800-348-4266) UK: 44/(0) 1489-566300 www.vicon-security.com
XX285-00-01
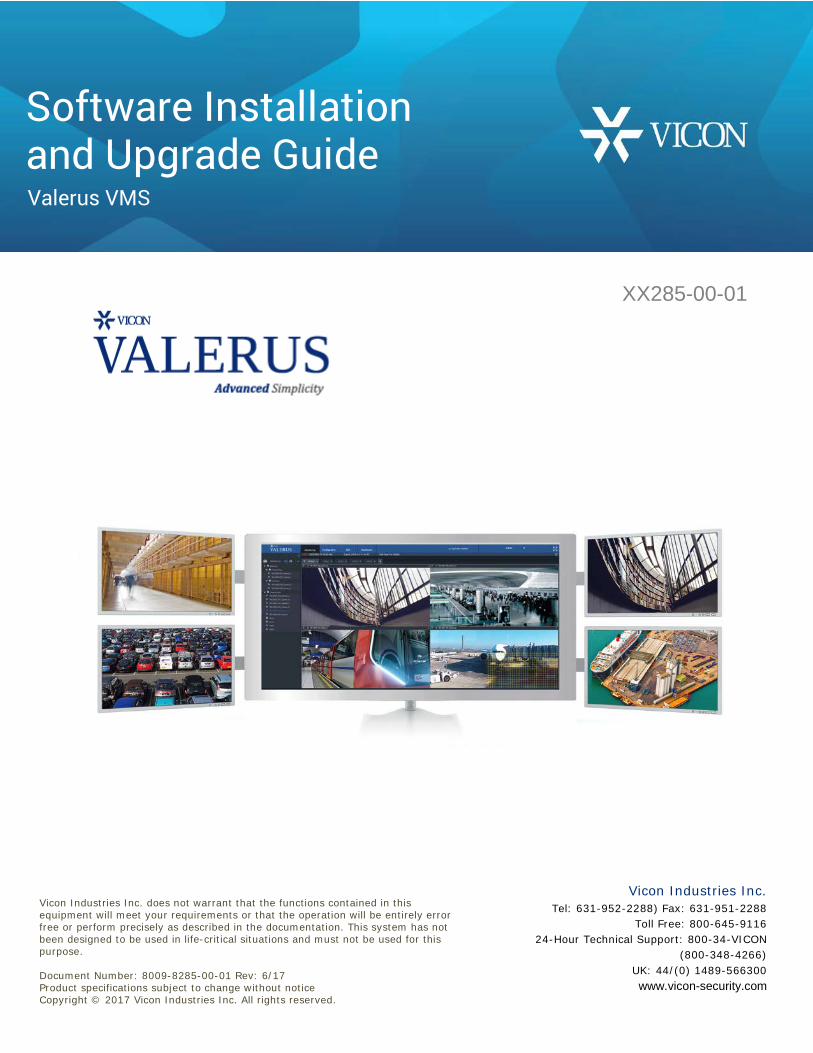
Valerus VMS
Software Installation and Upgrade Guide
2 | Valerus Software Installation and Upgrade Guide
Table of Contents
Introduction .......................................................................................................................................... 3 Prerequisites .................................................................................................................................... 3
Installation ............................................................................................................................................ 4 Software Install or Upgrade ............................................................................................................. 4

Valerus Software Installation and Upgrade Guide | 3
Introduction
This manual describes the procedures to install Vicon’s Valerus video management software (VMS) for a new installation or upgrade from an earlier version. The upgrade installation will maintain configuration and recorded data.
Prerequisites
The following are recommended hardware and operating system requirements for a new installation.
• Operating System: Microsoft® Windows® 10, 64 bit; Windows Server 2012
• CPU: Intel® i5 min. processor
• RAM: 8 GB
• Disk Space: 5 GB min. for installation; 25 GB min. for recording
• Graphics: 256 MB RAM onboard
• Browser: Must have Internet Explorer 11 min. or Firefox (must support Active X)
Note: The minimum hardware and operating system requirements are subject to change. For the latest requirements, refer to the Valerus datasheet on Vicon’s website at www.vicon-security.com

4 | Valerus Software Installation and Upgrade Guide
Installation
The software is typically downloaded from the Vicon website and then installed onto the server.
Software Install or Upgrade
Download the Valerus software from the software download page on the Vicon website, vicon-security.com. Open and run the file. The installation/upgrade process will begin.
Note: If you attempt to install the software on a server that already has that same version installed, a message to Repair or Remove the existing software will pop up. Select Repair or Remove and the process will proceed.
The first screen to display is the Welcome screen. Click Next.
The next display is the Vicon License agreement. Accept the terms by clicking the radio button and then click Next.
Click Install to start the installation. Follow the steps in the setup wizard to complete the installation.

Valerus Software Installation and Upgrade Guide | 5
The installation process begins. This may take a few minutes. The status bar will indicate the progress of the installation. Click Next when 100%. Some of the screens that will display are shown below.
Some warnings may display as the installation continues. Click OK and/or Yes, respectively.

6 | Valerus Software Installation and Upgrade Guide When the installation is complete, a notification screen will display. Click Finish.
For new installations, or installations where the configuration has not yet been established, the Valerus launcher screen displays. From here the functionality of the server is chosen. Choose All-In-One for a single server system that is both the application and recording server for the system, Application Server if this is a dedicated Application Server for the system or Recording Server if this is a dedicated Recording Server in the system; the default setting is Recording Server. If the option to Configure next time is selected, this same screen will display every time the VMS is rebooted until a selection is made. For up to 150 cameras, the server can be All-in-One and can handle all the functions. For more than 150 cameras there should be a separate Application Server and as many Recording Servers (NVRs) as the system requires. Click Configure now or Configure next time to define when the system will configure.
The Close button is disabled while the system configures, so the process cannot be interrupted.

Valerus Software Installation and Upgrade Guide | 7
The screen below displays when configuration is complete. The Valerus system is now completely installed and ready to be set up. Close can be selected.
A shortcut will display on the desktop if this has been configured as an All-In-One or Application Server.
Reboot the server if necessary to activate.
Once Valerus is installed, the Valerus launcher can be redefined from the Windows Start menu. Valerus can be relaunched as All-In-One, Application Server or Recording Server.
Licensing
After the software is installed there is a 30-day grace period in which the system can be used at the PRO license level. In this time, the user can determine what license tier best suits their situation, TRY, CORE or PRO. The license level is determined by a combination of number of devices and a feature set. After 30 days, the system must be licensed or all functionality will be lost. The licensing can be done directly from the Configuration, System screens in the VMS. Refer to the full Valerus User Guide for complete detailed instructions.