sms tutorials adcirc symmetric cyclone simulation...
TRANSCRIPT

SMS Tutorials ADCIRC – Symmetric Cyclone Simulation
Page 1 of 8 © Aquaveo 2016
SMS 12.1 Tutorial ADCIRC – Symmetric Cyclone Simulation
Objectives
This lesson is designed to give an overview of the ADCIRC functionality to generate the winds of a
symmetric cyclonic storm (NWS = 8) and the interface to this option in the SMS. ADCIRC supports
multiple wind formats and includes the two separate wind generation models which can simulate cyclonic
storms. Storm definitions can be downloaded from historic databases or defined interactively.
This tutorial will teach the basic skills concerning how to use the Dynamic Image option.
Prerequisites
Overview Tutorial
ADCIRC Tutorial
Requirements
ADCIRC Interface
ADCIRC Model
Time
20-30 minutes
v. 12.1

SMS Tutorials ADCIRC – Symmetric Cyclone Simulation
Page 2 of 8 © Aquaveo 2016
1 ADCIRC Symmetric Cyclonic Wind Option ................................................................... 2 2 The ADCIRC Simulation................................................................................................... 2
2.1 Review of Model Parameters ...................................................................................... 3 2.2 No Wind Solution ........................................................................................................ 4
3 Defining the Storm ............................................................................................................. 4 3.1 Storm Path ................................................................................................................... 4 3.2 Storm Parameters ........................................................................................................ 6 3.3 Setting the ADCIRC parameters for wind ................................................................... 6
4 Running ADCIRC with wind ............................................................................................ 7 5 Visualization of the Computed Storm .............................................................................. 8 6 Conclusion ........................................................................................................................... 8
1 ADCIRC Symmetric Cyclonic Wind Option
The ADCIRC model includes many options for simulating wind in an analysis. The type
of wind is specified as the NWS parameter in the ADCRIC Model Control dialog (fort.15
or control file). This document addresses the option in ADCIRC for generating a wind
field representing a symmetric cyclonic storm during the ADCIRC simulation. The
generated wind and pressure fields generated by ADCIRC can be exported during this
type of a simulation for inspection in relation to hydraulic currents and water levels
computed during the simulation.
2 The ADCIRC Simulation
To apply a cyclonic storm model in ADCIRC, an ADCIRC simulation must exist. For
this example, a fairly low resolution representation of the Western North Atlantic
(WNAT) is provided. The grid (fort.14 or *.grd) consists of approximately 53,000 nodes.
For information on how to set up a basic ADCIRC simulation, refer to the ADCIRC
modeling tutorial.
To open the project:
1. Launch SMS or use the File | Delete All command to remove any existing data if
SMS is already running.
2. Use the File| Open command to bring up the Open dialog.
3. Locate the project “NWS8.sms” in the data files folder for this tutorial and click
Open. (The file can also be dragged and dropped into the running SMS
application or onto the SMS icon.)
SMS will open the project and display the domain as shown in Figure 1.

SMS Tutorials ADCIRC – Symmetric Cyclone Simulation
Page 3 of 8 © Aquaveo 2016
Figure 1 The NWS8 file displayed in SMS
2.1 Review of Model Parameters
It is always a good idea to be familiar with a simulation before modifying or applying it.
Since this project was provided, take a few minutes to review the characteristics of the
simulation.
1. Select Display | Projection... to bring up the Display Projection dialog.
2. Confirm the project is working in geographic coordinates—Geographic
(Latitude/Longitude), Zone NAD83, arc degrees. If this is not the projection
shown, click on Set Projection and enter the correct projection. Most ADCIRC
analysis runs will utilize geographic space, but often the grid is constructed in a
rectilinear space and then converted to the geographic projection.
3. Click OK to exit the Display Projection dialog.
4. Activate the Mesh module and Select ADCIRC | Model Control... to bring up the
ADCIRC Model Control dialog.
5. Review the selected model parameters:
a. In the General tab, note that the project title is “M2 Tide”. This reflects
that the base simulation runs a single tidal constituent. This tab also
shows that the nonlinear model options (Finite amplitude terms,
Advective terms, and Time derivative terms) are disabled. For production
runs, these terms would be enabled. They are disabled here for speed in
working with the tutorial.
SMS Tutorials ADCIRC – Symmetric Cyclone Simulation
Page 4 of 8 © Aquaveo 2016
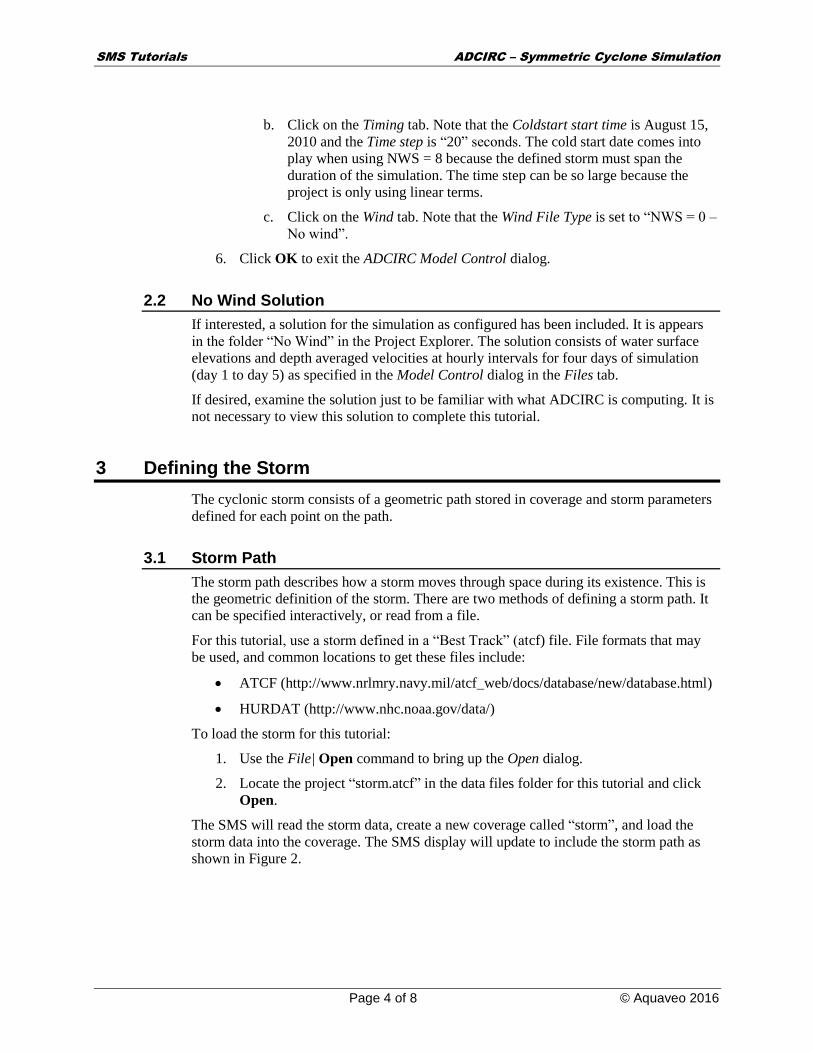
b. Click on the Timing tab. Note that the Coldstart start time is August 15,
2010 and the Time step is “20” seconds. The cold start date comes into
play when using NWS = 8 because the defined storm must span the
duration of the simulation. The time step can be so large because the
project is only using linear terms.
c. Click on the Wind tab. Note that the Wind File Type is set to “NWS = 0 –
No wind”.
6. Click OK to exit the ADCIRC Model Control dialog.
2.2 No Wind Solution
If interested, a solution for the simulation as configured has been included. It is appears
in the folder “No Wind” in the Project Explorer. The solution consists of water surface
elevations and depth averaged velocities at hourly intervals for four days of simulation
(day 1 to day 5) as specified in the Model Control dialog in the Files tab.
If desired, examine the solution just to be familiar with what ADCIRC is computing. It is
not necessary to view this solution to complete this tutorial.
3 Defining the Storm
The cyclonic storm consists of a geometric path stored in coverage and storm parameters
defined for each point on the path.
3.1 Storm Path
The storm path describes how a storm moves through space during its existence. This is
the geometric definition of the storm. There are two methods of defining a storm path. It
can be specified interactively, or read from a file.
For this tutorial, use a storm defined in a “Best Track” (atcf) file. File formats that may
be used, and common locations to get these files include:
ATCF (http://www.nrlmry.navy.mil/atcf_web/docs/database/new/database.html)
HURDAT (http://www.nhc.noaa.gov/data/)
To load the storm for this tutorial:
1. Use the File| Open command to bring up the Open dialog.
2. Locate the project “storm.atcf” in the data files folder for this tutorial and click
Open.
The SMS will read the storm data, create a new coverage called “storm”, and load the
storm data into the coverage. The SMS display will update to include the storm path as
shown in Figure 2.

SMS Tutorials ADCIRC – Symmetric Cyclone Simulation
Page 5 of 8 © Aquaveo 2016
Figure 2 ATCF file loaded into SMS showing storm path
Interactive Storm
The following is given as an example of how to define a storm interactively. If
uninterested in this process, skip to the next section. To create a new wind coverage by:
1. Right-click on the “Map Data” entry of the Project Explorer and select New
Coverage.
2. In the New Coverage dialog, set the type to “PBL/Holland” under the Wind type.
3. Specify a Coverage Name or accept the default name of “ADCIRC Wind” then
click OK.
4. The Storm Attributes dialog will appear. Model and wind attributes can be
specified here, but for this tutorial, accept the default settings by clicking on OK.
5. Digitizing storm path would normally be done at this point. Each point will need
attributes, which would be specified as described in the next section. It’s not
necessary to do this at this time. This tutorial will continue to use the storm data
loaded into the project previously.
6. Before continuing, delete the new coverage by right-clicking on the coverage and
selecting Delete.

SMS Tutorials ADCIRC – Symmetric Cyclone Simulation
Page 6 of 8 © Aquaveo 2016
3.2 Storm Parameters
If the storm definition came from an external source, whether it represents an historic
storm or a pure simulation, the external source will usually include the storm parameters.
These consist of a starting time for the storm and the following values at each location
along the storm path:
1. With the Mesh model active, select ADCIRC | Model Control... to review the
selected model parameters in the ADCIRC Model Control dialog.
2. Review the ADCIRC Model Control dialog again following steps 5.a–5.c of
Section 2.1 then click OK to exit the dialog.
After reviewing the ADCIRC parameters, SMS provides a dialog to view and edit each of
these storm parameters. To do so:
1. Select the “storm” coverage to make it active.
2. Select the Select Feature Point tool in toolbar.
3. Double-click on any feature node on the storm path. When doing so, SMS
converts all vertices in the path to feature nodes and launches the Storm Track
Node Attributes dialog as shown in Figure 3 below.
Figure 3 Storm Track Node Attributes dialog
4. Note the following fields in the Storm Track Node Attributes dialog:
◦ Min sea level pressure (mb) at this point: This is another reflection of the
storm strength.
◦ Radius of the last closed isobar (in nautical miles) at this point: This defines
the size of the storm's significant influence.
◦ Radius of maximum winds (in nautical miles): This defines the size of the
central portion of the storm.
5. Click OK to close the Storm Track Node Attributes dialog when done.
SMS Tutorials ADCIRC – Symmetric Cyclone Simulation
Page 7 of 8 © Aquaveo 2016
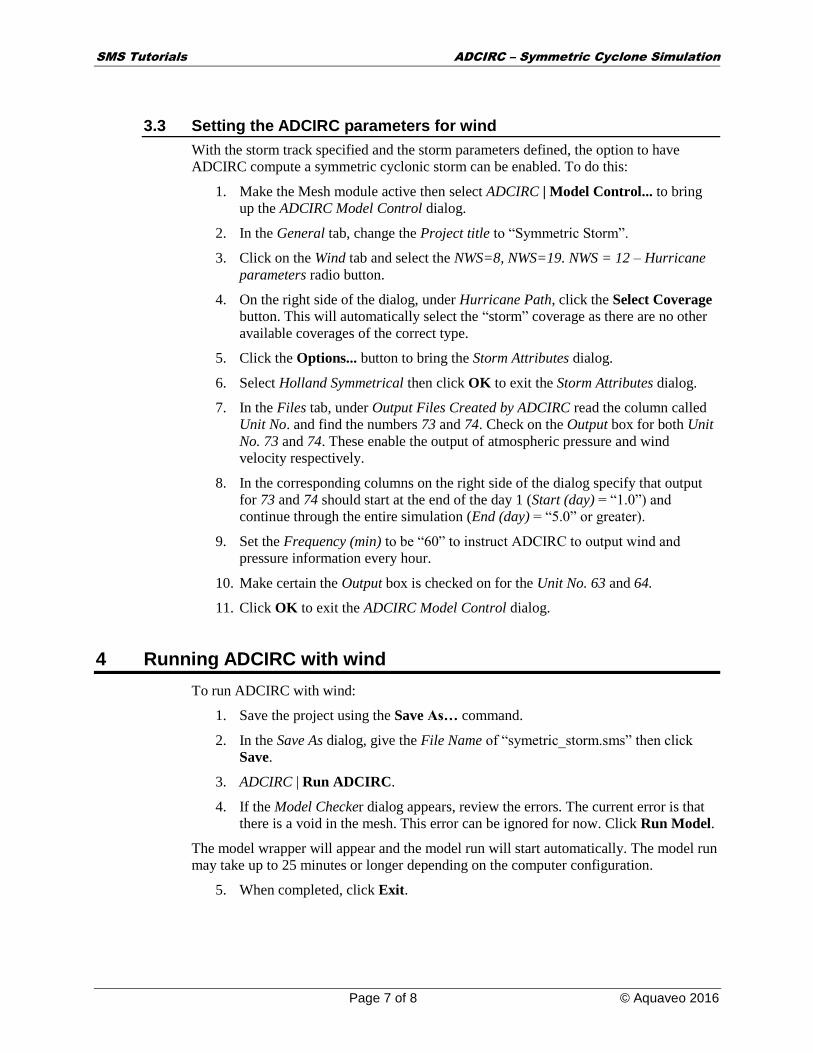
3.3 Setting the ADCIRC parameters for wind
With the storm track specified and the storm parameters defined, the option to have
ADCIRC compute a symmetric cyclonic storm can be enabled. To do this:
1. Make the Mesh module active then select ADCIRC | Model Control... to bring
up the ADCIRC Model Control dialog.
2. In the General tab, change the Project title to “Symmetric Storm”.
3. Click on the Wind tab and select the NWS=8, NWS=19. NWS = 12 – Hurricane
parameters radio button.
4. On the right side of the dialog, under Hurricane Path, click the Select Coverage
button. This will automatically select the “storm” coverage as there are no other
available coverages of the correct type.
5. Click the Options... button to bring the Storm Attributes dialog.
6. Select Holland Symmetrical then click OK to exit the Storm Attributes dialog.
7. In the Files tab, under Output Files Created by ADCIRC read the column called
Unit No. and find the numbers 73 and 74. Check on the Output box for both Unit
No. 73 and 74. These enable the output of atmospheric pressure and wind
velocity respectively.
8. In the corresponding columns on the right side of the dialog specify that output
for 73 and 74 should start at the end of the day 1 (Start (day) = “1.0”) and
continue through the entire simulation (End (day) = “5.0” or greater).
9. Set the Frequency (min) to be “60” to instruct ADCIRC to output wind and
pressure information every hour.
10. Make certain the Output box is checked on for the Unit No. 63 and 64.
11. Click OK to exit the ADCIRC Model Control dialog.
4 Running ADCIRC with wind
To run ADCIRC with wind:
1. Save the project using the Save As… command.
2. In the Save As dialog, give the File Name of “symetric_storm.sms” then click
Save.
3. ADCIRC | Run ADCIRC.
4. If the Model Checker dialog appears, review the errors. The current error is that
there is a void in the mesh. This error can be ignored for now. Click Run Model.
The model wrapper will appear and the model run will start automatically. The model run
may take up to 25 minutes or longer depending on the computer configuration.
5. When completed, click Exit.

SMS Tutorials ADCIRC – Symmetric Cyclone Simulation
Page 8 of 8 © Aquaveo 2016
5 Visualization of the Computed Storm
Load the solution (fort.63, fort.64, fort.73, fort.74, maxele.63, etc.).
1. Use the Open command to bring up the Open dialog.
2. Locate and open each of the following files from the NWS8 solutions folder:
“fort.63”
“fort.64”
“fort.73”
“fort.74”
“maxele.63”
“maxvel.63”
“maxwvel.63”
“minpr.63”
“maxele.64”
“maxvel.64”
“maxwvel.64”
“minpr.64”
3. Click OK when the Convert to XMDF dialog appears.
4. After loading the solution files, select Display | Display Options to bring up the
Display Options dialog.
5. Under the 2D Mesh, turn on the Vectors option. Click OK to close the Display
Options dialog.
6. In the Time steps window, click on each time step to see generated solutions.
Figure 4 Symmetric cyclone visualization
6 Conclusion
This concludes the ADCIRC Symmetric Cyclone Simulation tutorial. If desired, continue
to experiment with this part of SMS or continue on to the next tutorials.