simon xt talking touch screen
DESCRIPTION
simon XT Talking Touch ScreenTRANSCRIPT

GE Security
Simon XT Talking Touch Screen Quick Operation Guide Description The Simon XT Talking Touch Screen is a color 3.5 inch LCD screen with a graphical user interface designed to control the basic functions of your Simon XT (v1.3 or later) control panel.
You can use the touch screen to obtain the status of your home (open doors, movement detected, etc.) and to control your security system:
• Arm the system (doors, windows, and motion sensors).
• Disarm the system.
• Activate a panic alarm to call the central monitoring station in a nonmedical emergency.
Depending on the system configuration provided by your dealer, you may also have the following options:
• Turn system controlled lights on or off.
• View and modify home temperature.
• Access limited online reference information (for example, weather forecasts).
Note: Contact your dealer for configuration and option details.
This document provides basic operation information for your touch screen and security system. For complete Simon XT system programming and operation, refer to the Simon XT panel documentation.
Upon start up
Upon start up, the Calibration screen appears. Use the Calibration screen to calibrate this touch screen. Touch the + icons in the corners on the Calibration screen using a soft, fine point.
Home Screen You can access the Home screen from any display by touching the close icon. The Home screen will also appear after a period of inactivity on any screen (unless you set a blank screen as your default screen saver).
© 2010 GE Security, Inc. 1 of 4
P/N 466-2384 • REV A • ISS 02MAR10
Time
The current time is located at the top center of the Home screen. The time is automatically updated periodically by the security system time.
Emergency button
In an emergency, touch and hold the red Emergency button for 5 seconds to send a panic alarm.
Note: If your system is connected to a security monitoring service, the authorities will be notified. Contact your dealer for details.
If you touch the Emergency button by mistake, you can cancel the panic alarm by touching the red Alarm button and entering your code within 30 seconds (typical time limit, contact your dealer for more information on your system configuration).
Alarms
If an alarm occurs in your security system, an alarm message will appear at the bottom of the Home screen. The message will indicate the time the alarm occurred and the sensor that sent the alarm. For example, the message might be, “10:30a sn x Front Door”, indicating the front door sensor sent an alarm at 10:30 am.
Home status icons
The four icons across the middle of the screen represent the status of your home.
Doors. Depicts monitored door status (most typically external doors). A green check indicates all monitored doors are closed. A red exclamation point indicates one or more doors are open.
Windows. Depicts monitored window status. A green check indicates all monitored windows are closed. A red exclamation point indicates one or more windows are open.
Motion. Depicts motion detected by the motion sensors in your home. A green check indicates no recent motion detected. A red exclamation point indicates recent motion was detected. A typical use for this feature would be to have a touch screen in the garage to see if movement is detected in the home before you enter the home.
Armed (or Disarmed). Indicates the current state of your security system.
Note: Consult your dealer for a complete list of all monitored doors and windows in your system.
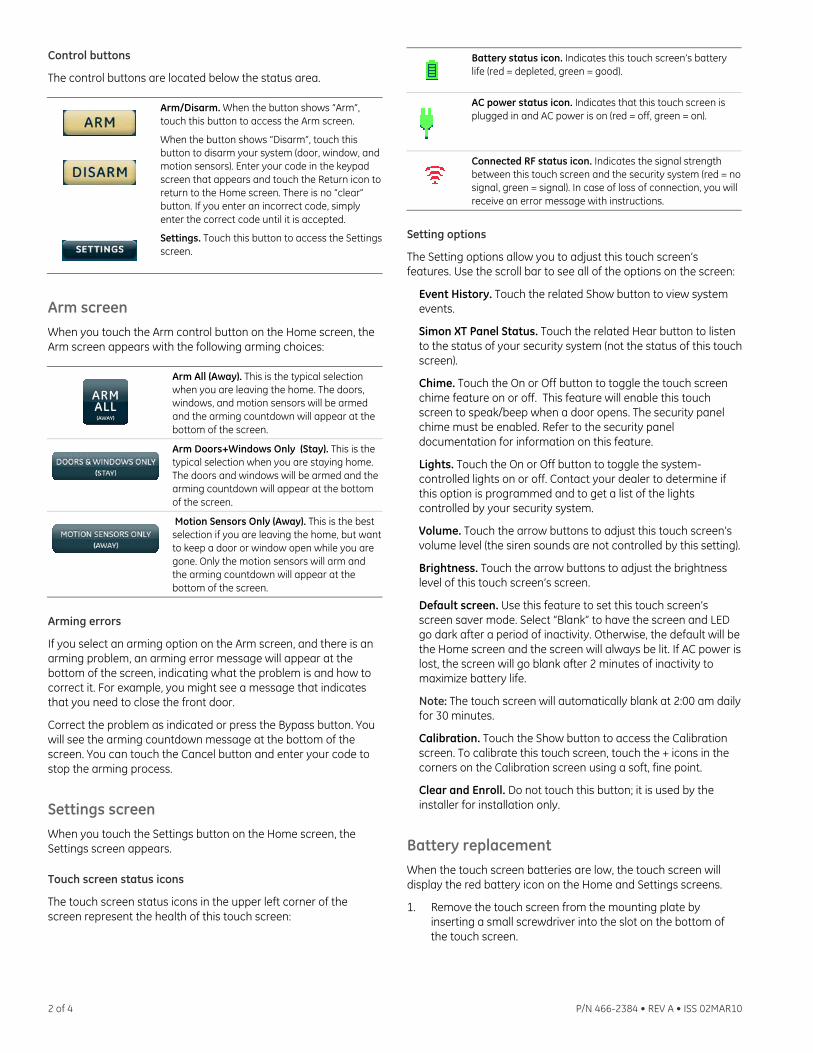
Control buttons
The control buttons are located below the status area.
Arm/Disarm. When the button shows “Arm”, touch this button to access the Arm screen.
When the button shows “Disarm”, touch this button to disarm your system (door, window, and motion sensors). Enter your code in the keypad screen that appears and touch the Return icon to return to the Home screen. There is no “clear” button. If you enter an incorrect code, simply enter the correct code until it is accepted.
Settings. Touch this button to access the Settings screen.
Arm screen When you touch the Arm control button on the Home screen, the Arm screen appears with the following arming choices:
Arm All (Away). This is the typical selection when you are leaving the home. The doors, windows, and motion sensors will be armed and the arming countdown will appear at the bottom of the screen.
Arm Doors+Windows Only (Stay). This is the typical selection when you are staying home. The doors and windows will be armed and the arming countdown will appear at the bottom of the screen.
Motion Sensors Only (Away). This is the best selection if you are leaving the home, but want to keep a door or window open while you are gone. Only the motion sensors will arm and the arming countdown will appear at the bottom of the screen.
Arming errors
If you select an arming option on the Arm screen, and there is an arming problem, an arming error message will appear at the bottom of the screen, indicating what the problem is and how to correct it. For example, you might see a message that indicates that you need to close the front door.
Correct the problem as indicated or press the Bypass button. You will see the arming countdown message at the bottom of the screen. You can touch the Cancel button and enter your code to stop the arming process.
Settings screen When you touch the Settings button on the Home screen, the Settings screen appears.
Touch screen status icons
The touch screen status icons in the upper left corner of the screen represent the health of this touch screen:
Battery status icon. Indicates this touch screen’s battery life (red = depleted, green = good).
AC power status icon. Indicates that this touch screen is plugged in and AC power is on (red = off, green = on).
Connected RF status icon. Indicates the signal strength between this touch screen and the security system (red = no signal, green = signal). In case of loss of connection, you will receive an error message with instructions.
Setting options
The Setting options allow you to adjust this touch screen’s features. Use the scroll bar to see all of the options on the screen:
Event History. Touch the related Show button to view system events.
Simon XT Panel Status. Touch the related Hear button to listen to the status of your security system (not the status of this touch screen).
Chime. Touch the On or Off button to toggle the touch screen chime feature on or off. This feature will enable this touch screen to speak/beep when a door opens. The security panel chime must be enabled. Refer to the security panel documentation for information on this feature.
Lights. Touch the On or Off button to toggle the system-controlled lights on or off. Contact your dealer to determine if this option is programmed and to get a list of the lights controlled by your security system.
Volume. Touch the arrow buttons to adjust this touch screen’s volume level (the siren sounds are not controlled by this setting).
Brightness. Touch the arrow buttons to adjust the brightness level of this touch screen’s screen.
Default screen. Use this feature to set this touch screen’s screen saver mode. Select “Blank” to have the screen and LED go dark after a period of inactivity. Otherwise, the default will be the Home screen and the screen will always be lit. If AC power is lost, the screen will go blank after 2 minutes of inactivity to maximize battery life.
Note: The touch screen will automatically blank at 2:00 am daily for 30 minutes.
Calibration. Touch the Show button to access the Calibration screen. To calibrate this touch screen, touch the + icons in the corners on the Calibration screen using a soft, fine point.
Clear and Enroll. Do not touch this button; it is used by the installer for installation only.
Battery replacement When the touch screen batteries are low, the touch screen will display the red battery icon on the Home and Settings screens.
1. Remove the touch screen from the mounting plate by inserting a small screwdriver into the slot on the bottom of the touch screen.
2 of 4 P/N 466-2384 • REV A • ISS 02MAR10
2. Replace all batteries being sure to follow the polarity instructions (replace with four 1.5 V, Alkaline AAA batteries).
Avoid touching the touch screen face while you are replacing the batteries.
3. Briefly disconnect the AC power (this will clear the battery fault).
4. Reconnect AC power.
Note: If AC power is lost and batteries are not present or are depleted, the touch screen will not power up until AC power is restored (even if new batteries are installed).
Cleaning the touch screen If necessary, use a soft cloth to clear smudges on the screen; do not use glass cleaner on the screen.
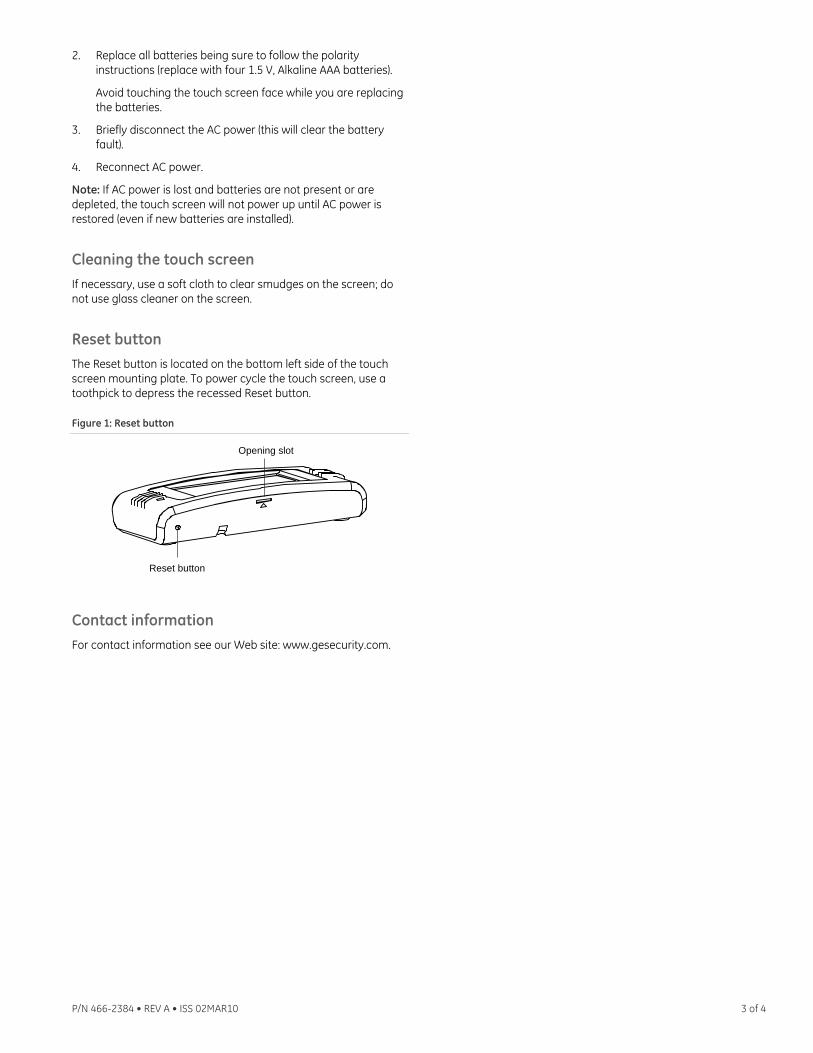
Reset button The Reset button is located on the bottom left side of the touch screen mounting plate. To power cycle the touch screen, use a toothpick to depress the recessed Reset button.
Figure 1: Reset button
Opening slot
Reset button
Contact information For contact information see our Web site: www.gesecurity.com.
P/N 466-2384 • REV A • ISS 02MAR10 3 of 4

4 of 4 P/N 466-2384 • REV A • ISS 02MAR10