schoolwires denise harlem october 20, 2009
TRANSCRIPT

Schoolwireshttp://orange.schoolwires.com
Denise Harlem
October 20, 2009

Your Schoolwires Website
By the end of this class you will be able to:• Navigate your Schoolwires Website
– Add and edit pages– Add an event to the Calendar– Access the Tools tab or drop-down menu– Manage your Files & Folders
• Understand Schoolwires vocabulary including channels, sections and pages.
• Recognize page types available to you as a Section Editor
• State the difference between viewing permissions and editing privileges
• Understand what E-Alerts are and how to create them.

How to Sign In

Sign in using your Username and Password. Select GO
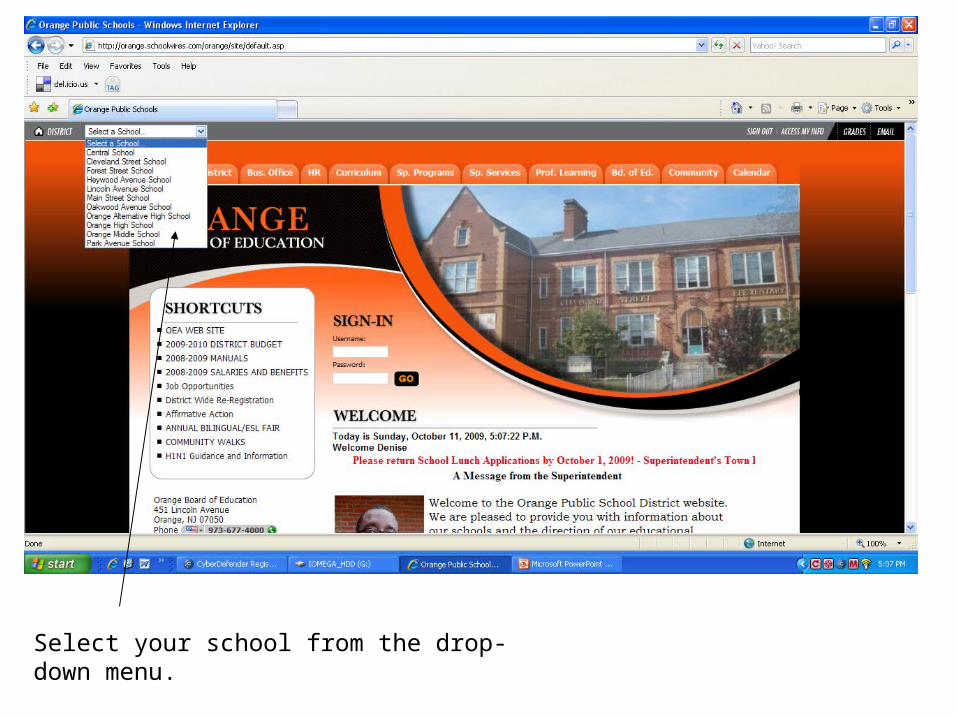
Select your school from the drop-down menu.

Select Staff Websites

Click on your name.

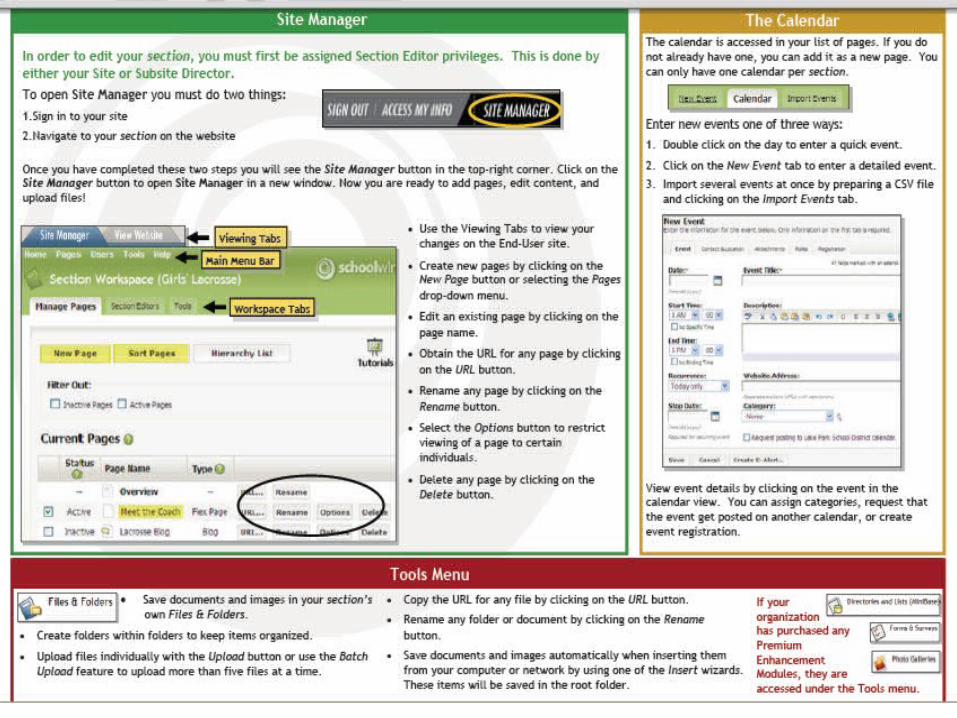
Select Site Manager

Site Manager

Community & Support / ClubSchoolio

Blogs, Media, Forums for sharing ideas and collaborating with others

Community & Support

Click Continue

Schoolwires Editor
Where you add content


Channel Bar
School Subsite

What is a Section?
• A section is a collection of pages within a channel.
• To view a section on the end-user website, pick a channel and select a section from the dropdown menu.
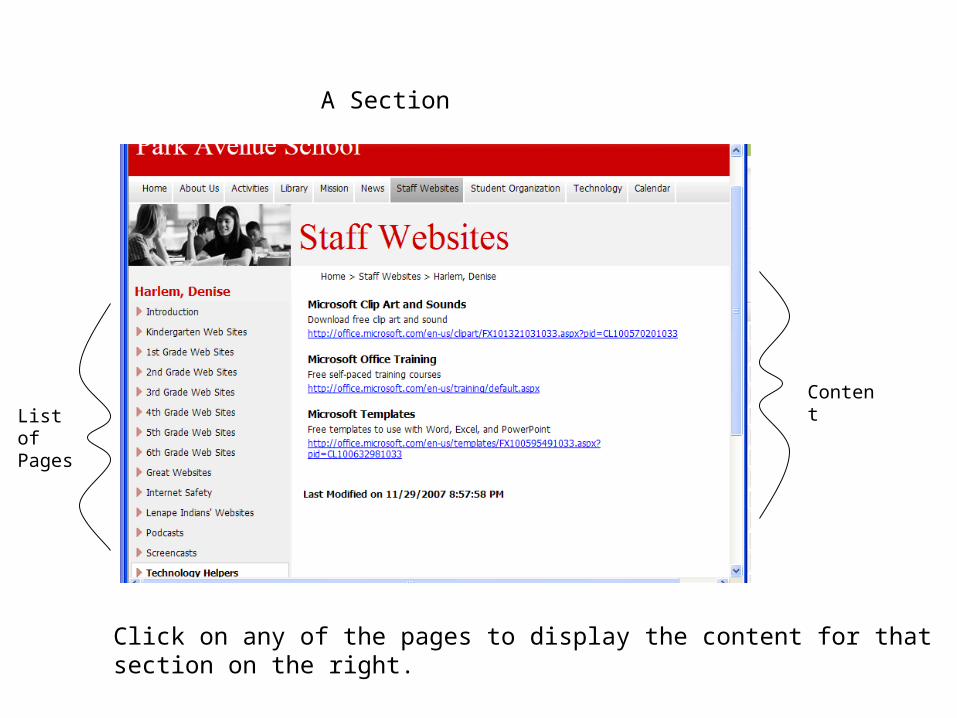
List of Pages
Click on any of the pages to display the content for that section on the right.
Content
A Section
How Does the Content Get on the Page?
The Section Workspace

What is the Section Workspace?
From a Section Workspace you can…
• Add or delete pages• Edit content on pages• Change the status of a
page• Rename and sort pages• Obtain a URL for a page• Role-protect a page• Assign other Section
Editors• Access Files & Folders
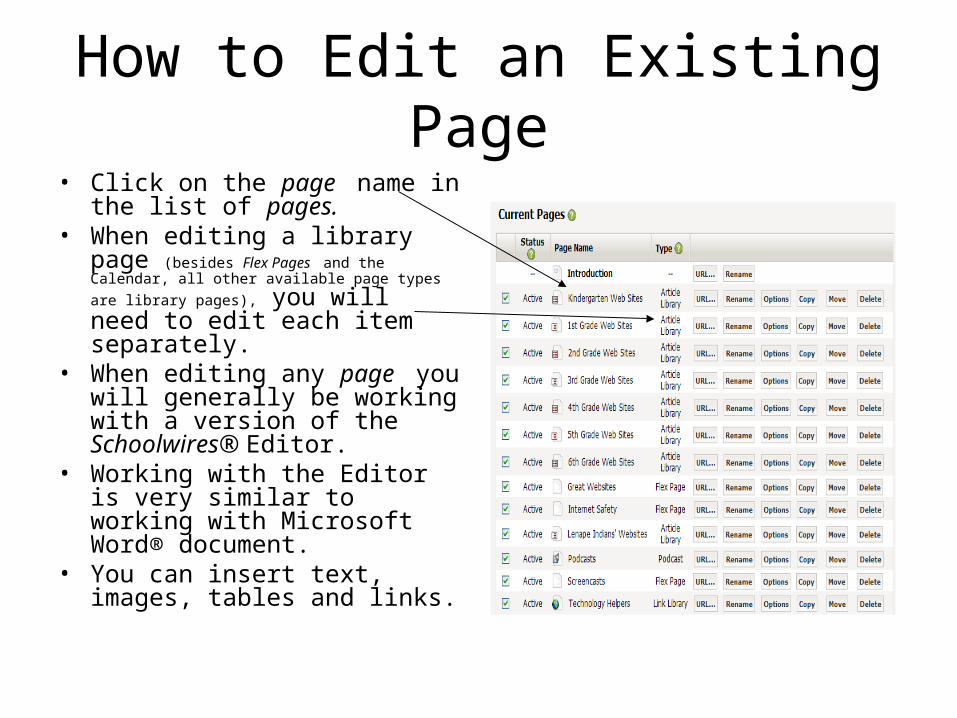
How to Edit an Existing Page• Click on the page name in the
list of pages.• When editing a library page
(besides Flex Pages and the Calendar, all other
available page types are library pages), you will need to edit each item separately.
• When editing any page you will generally be working with a version of the Schoolwires® Editor.
• Working with the Editor is very similar to working with Microsoft Word® document.
• You can insert text, images, tables and links.

Working with Text
• Click in the work space.• Start typing• You can use options
above to edit text, just as you would in Microsoft Word.
• When you are finished, be sure to select ACTIVE at the bottom before you click SAVE.

Inserting Images
• Place your cursor where you want the image to appear.
• Click on the Insert Image icon from the menu bar.
• Follow the onscreen directions.
• Step 3 of 3, you must enter Alt. Text: Basically you are naming the picture.
• Select ACTIVE, then SAVE

Inserting Tables
• Place your cursor where you want the table inserted.
• Click on the Insert Table icon.
• Highlight the number of columns and rows you want in your table.
• Click again to select your table and insert it into your workspace.
• Select ACTIVE, then SAVE
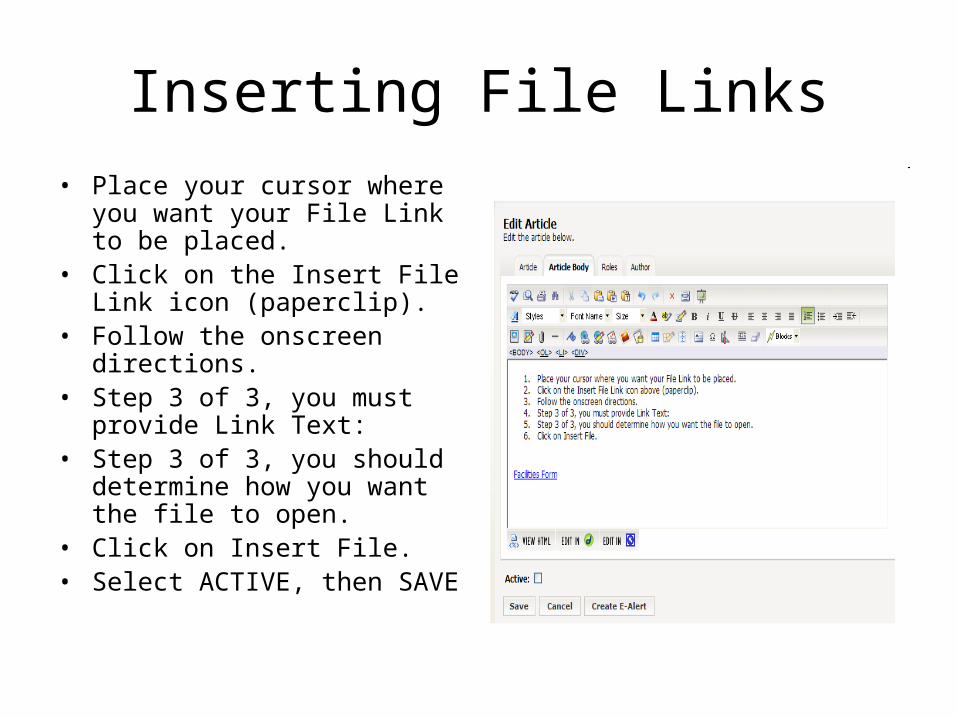
Inserting File Links
• Place your cursor where you want your File Link to be placed.
• Click on the Insert File Link icon (paperclip).
• Follow the onscreen directions.• Step 3 of 3, you must provide
Link Text: • Step 3 of 3, you should
determine how you want the file to open.
• Click on Insert File.• Select ACTIVE, then SAVE
Toolbox
• Page Layouts – choose from a variety of Page Layouts. Insert Two-Column, Three-Column Layouts and more.
• Rich-Media Objects – Choose from a variety of Rich-Media Objects. Insert Flash Movies, Sounds and more.
• Active Blocks – Choose from a variety of easy to use scripting objects. Insert User Information, Random Content and more.

Page Layouts
• Select the Open Toolbox Icon.
• Select Page Layouts.• Follow the onscreen
directions.• Here is a sample of a
Three-Column Table

How To Add a New Page
Choose one of two options:•Select the Pages drop-down menu
or•Click on the New Page button

Spell Check
Preview
Search
Cut
Copy
Paste Text
Full Screen
Undo
View Tutorials
Copy
Clear All
Redo
Paste from Word
Paste

Template Styles
Default Styles
Font Names
Font Size
Justify Center
Formatting
Italic
Strikethrough
Justify Left
Justify Full
Numbering
Background Color
Justify Right
Bullets
Bold
Indent
UnderlineFont Color
Outdent

Insert Image
Edit Image Properties
Insert File Link
Insert Form LinkBookmark
Insert Link
Edit Link Properties
Horizontal Rule
Insert Photo Gallery
Insert Directory
Insert Table
Edit Table/Cell
Show/Hide Gridlines
Insert Textbox
Special Characters
Open Toolbox
Position by Pixel
Remove Formatting Active
Blocks™
We will go over:
• Text
• Images
• Tables
• Links
• Toolbox

9 Types of Pages Available
• Flex Page• File Library Page• Link Library Page• Maps and Directions Page• Calendar Page• Podcast Page• Blog Page• Assignments Page• Article Library Page

Flex Page(useful for all types of content)
• Place text and images anywhere
• Choose a page layout or create your own
• Insert and format tables
• Insert links
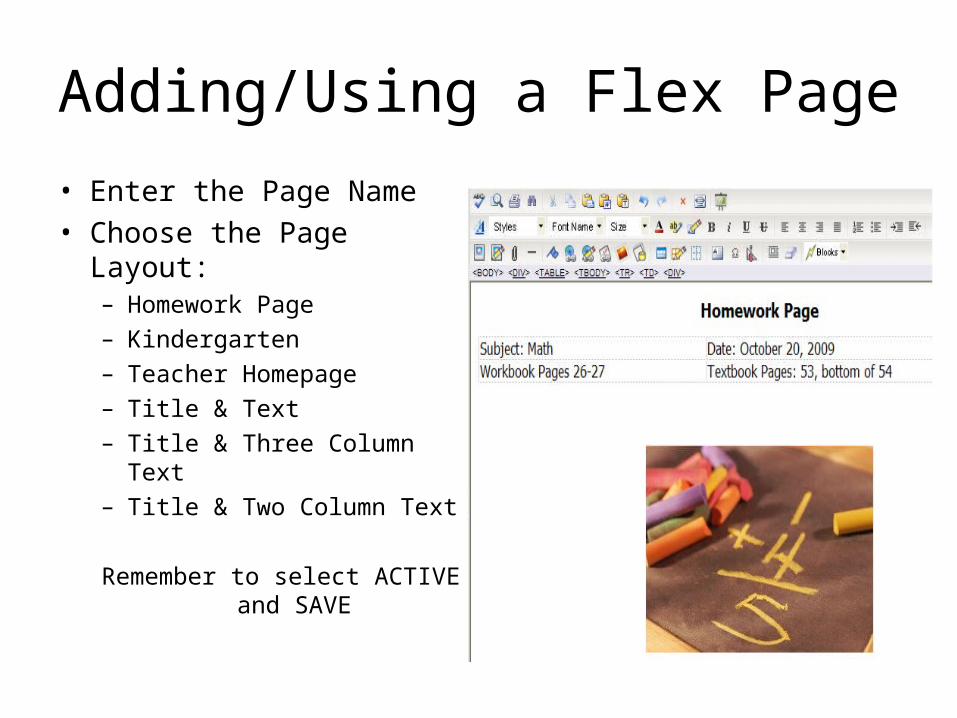
Adding/Using a Flex Page
• Enter the Page Name• Choose the Page Layout:
– Homework Page– Kindergarten– Teacher Homepage– Title & Text– Title & Three Column Text– Title & Two Column Text
Remember to select ACTIVE and SAVE

File Library Page
• Post documents for viewers to download and print
• Control when files display and when they are archived
• Enable RSS Feeds

Link Library Page(this page type is useful for helpful links, fun links and homework links)
• Organize useful websites
• Distinguish web addresses with titles and descriptions

Link Library
• Give the page a name• Open the page• Create a New Link• Follow the onscreen
directions
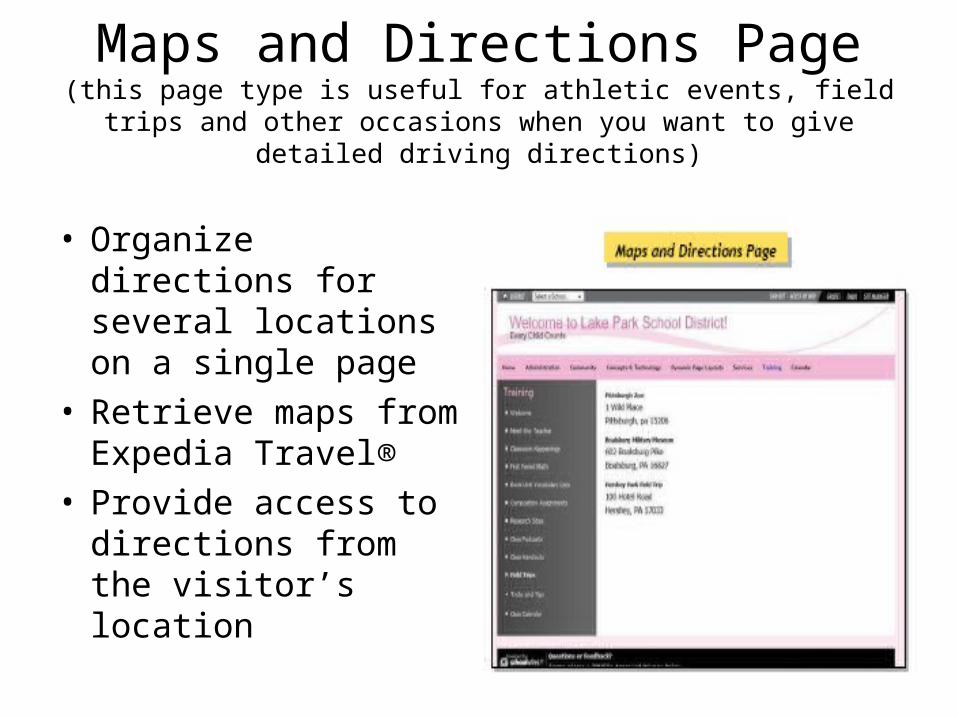
Maps and Directions Page(this page type is useful for athletic events, field trips and other
occasions when you want to give detailed driving directions)
• Organize directions for several locations on a single page
• Retrieve maps from Expedia Travel®
• Provide access to directions from the visitor’s location

Adding/Using Maps & Directions Page
• Give the page a name• Open the page• Select New Direction• Follow the onscreen
directions

Podcast Page(this page type is useful for such things as showcasing school concerts
and sharing foreign language assignments)
• Post your sound and video files and allow viewers to subscribe to your iTunes feed
• Embed video and sounds using Rich Media Objects
• Embed Youtube and Teachertube video

Adding/Using a Podcast Page
• Give the page a name• Select New Episode• Follow onscreen
directions (note: the podcast must have already been created and saved in formats shown)

Blog Page(this page type is useful for such things as facilitating cooperative learning experiences and promoting communication with parents)
• Publish information in a format that will auto archive by date
• Allow a blog post to be interactive with comments, or turn commenting off
• Moderate comments so that they won’t go live without your approval
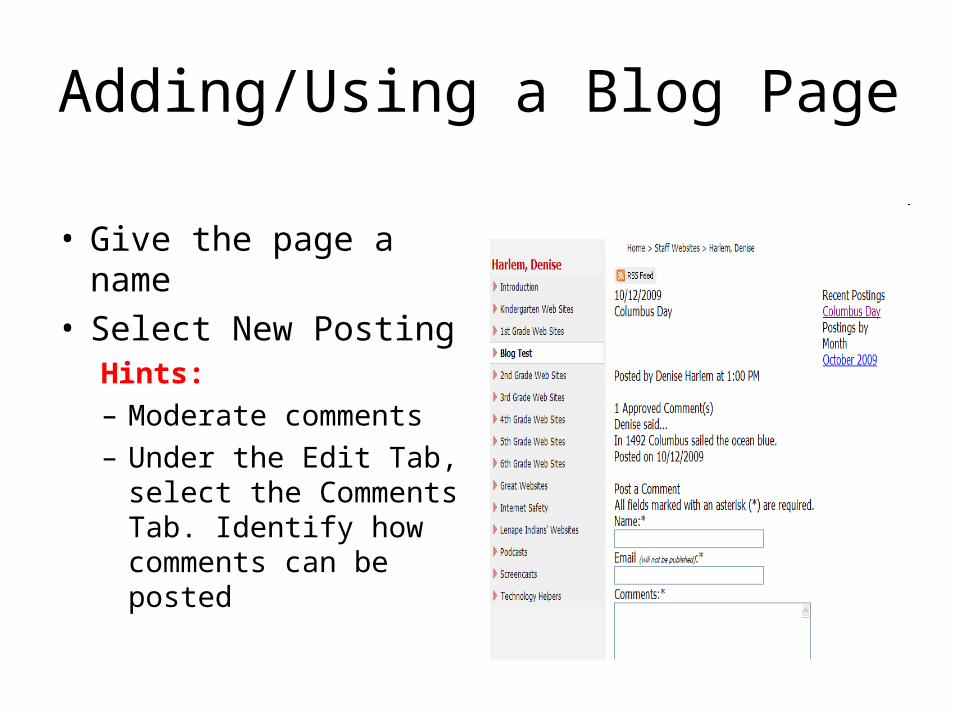
Adding/Using a Blog Page
• Give the page a name• Select New Posting
Hints:– Moderate comments– Under the Edit Tab,
select the Comments Tab. Identify how comments can be posted

Assignments Page(this page type is useful for adding and displaying homework assignments)
• Post information specific to your lesson
• Add graphics, links, and attach documents
• Add your Assignment to your section calendar with ease
• Students and parents will stay up to date on past, current, and upcoming assignments

Adding/Using an Assignment Page
• Give the page a name• Open the page• Select New
Assignment• Follow the onscreen
directions• You have the option
to add the assignment to your calendar

Article Library Page(this page type is useful for sports highlights, newsletters, and meeting
minutes)
• List several articles on one page
• Control when the articles display and when they are archived
• Enable RSS Feeds• Add accent images to
article listings• Use for Weekly
Newsletters, homework pages, sports highlights, directories

Adding/Using an Article Library Page
• Give the page a name• Create a New Article.
Include Title, Start/End Dates, Display Order
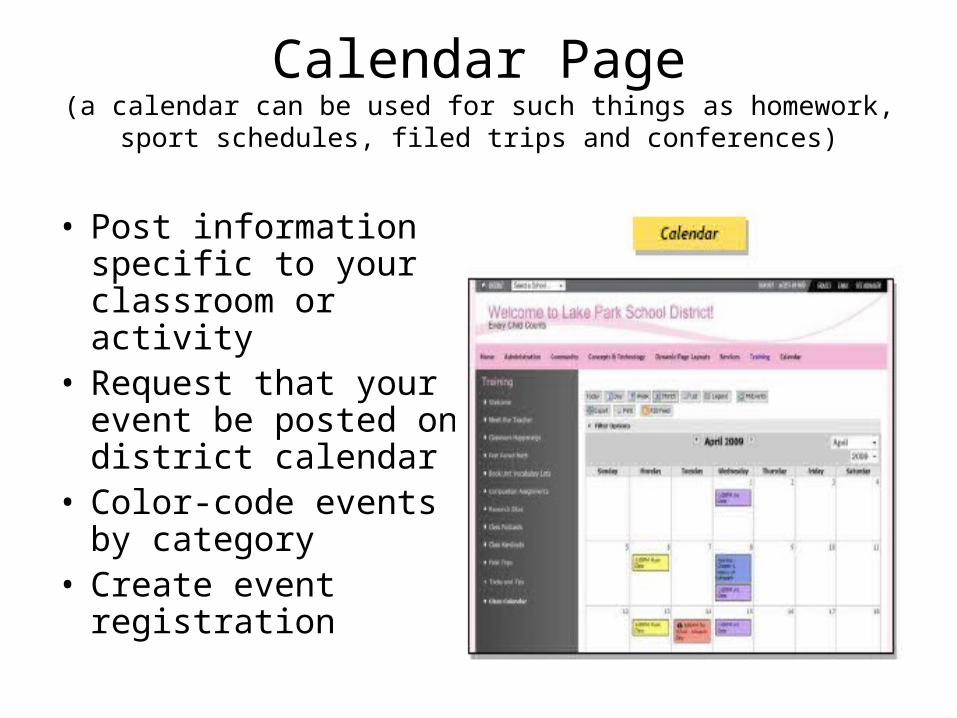
Calendar Page(a calendar can be used for such things as homework, sport schedules,
filed trips and conferences)
• Post information specific to your classroom or activity
• Request that your event be posted on district calendar
• Color-code events by category
• Create event registration

Calendar
Overview

Different Views for End-users
Today, Day, Week, Month (default view), Legend.

Legend explains the color-coding of events

Print an event or the calendar view

Use arrows to advance or go back Or use drop-down list

Calendar
Adding Calendar Events
3 Methods

1. New Event Tab
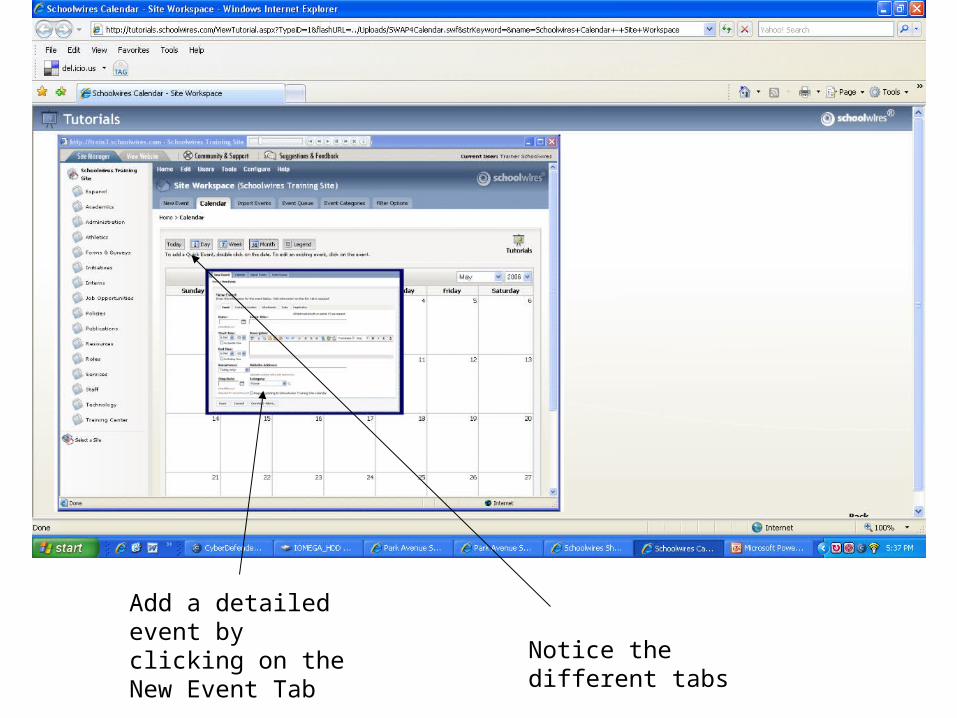
Add a detailed event by clicking on the New Event Tab Notice the different tabs
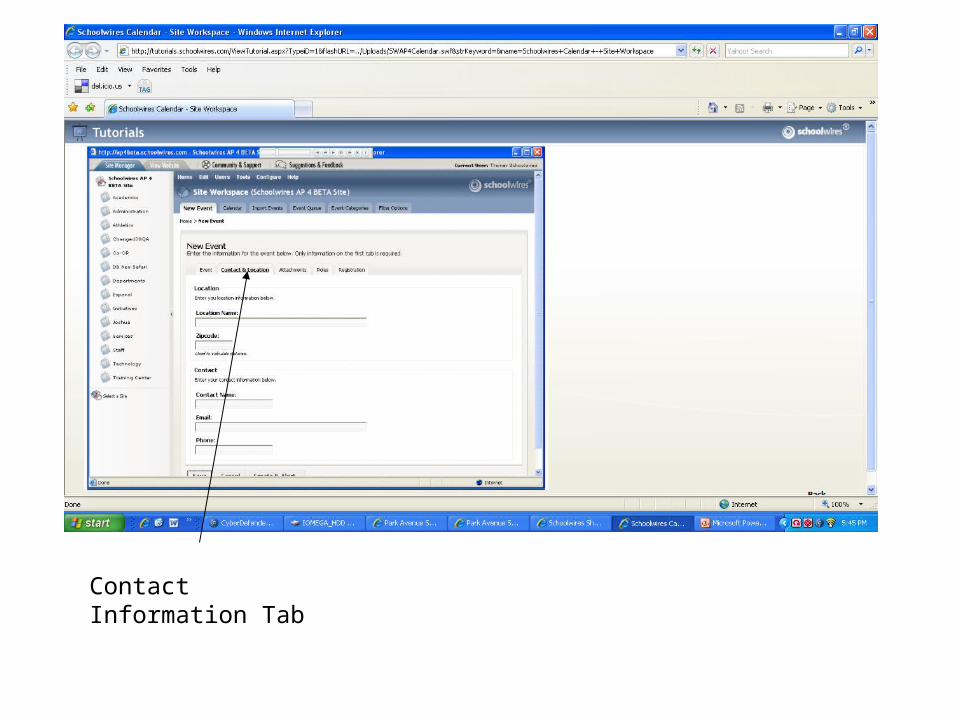
Contact Information Tab
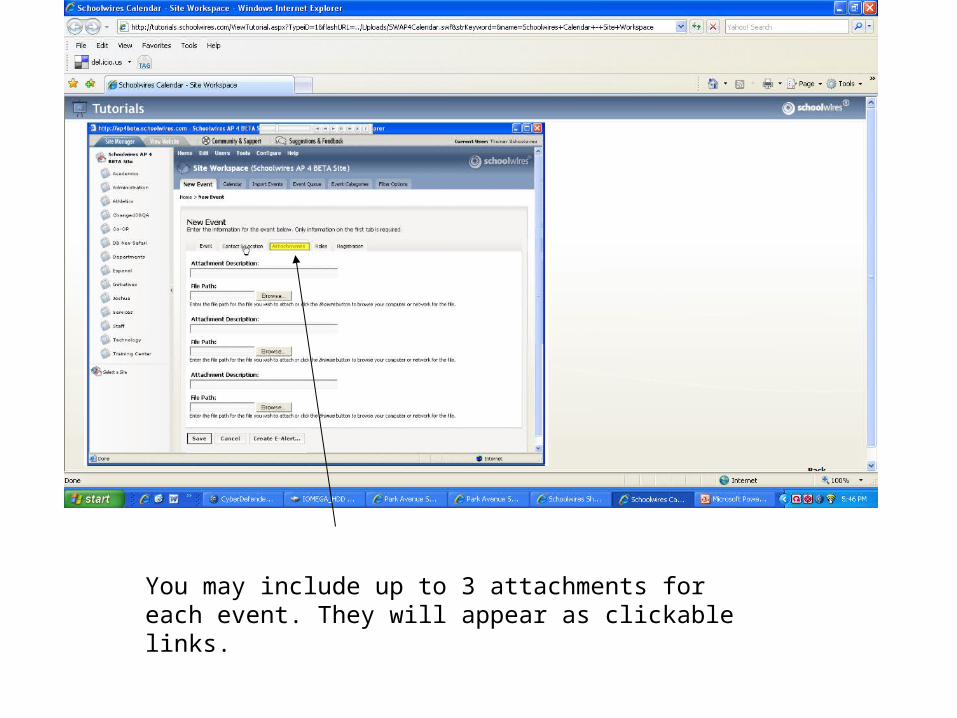
You may include up to 3 attachments for each event. They will appear as clickable links.

You may make events private by changing the viewing options selected here.
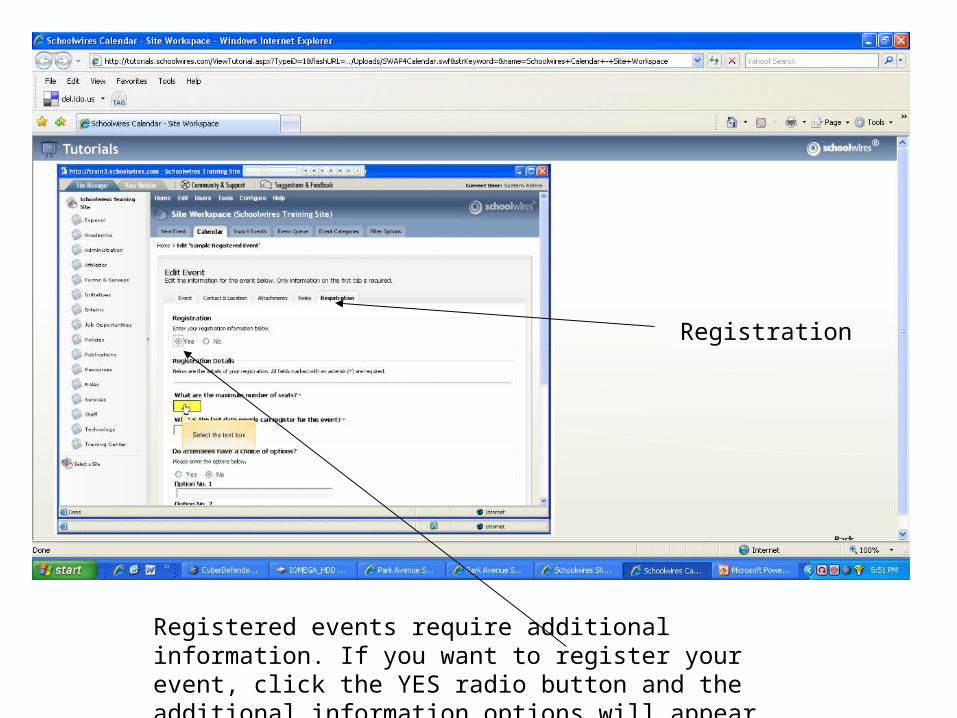
Registered events require additional information. If you want to register your event, click the YES radio button and the additional information options will appear.
Registration

Click on the SAVE button before exiting.

2. Add a Quick Event (not a lot of information)
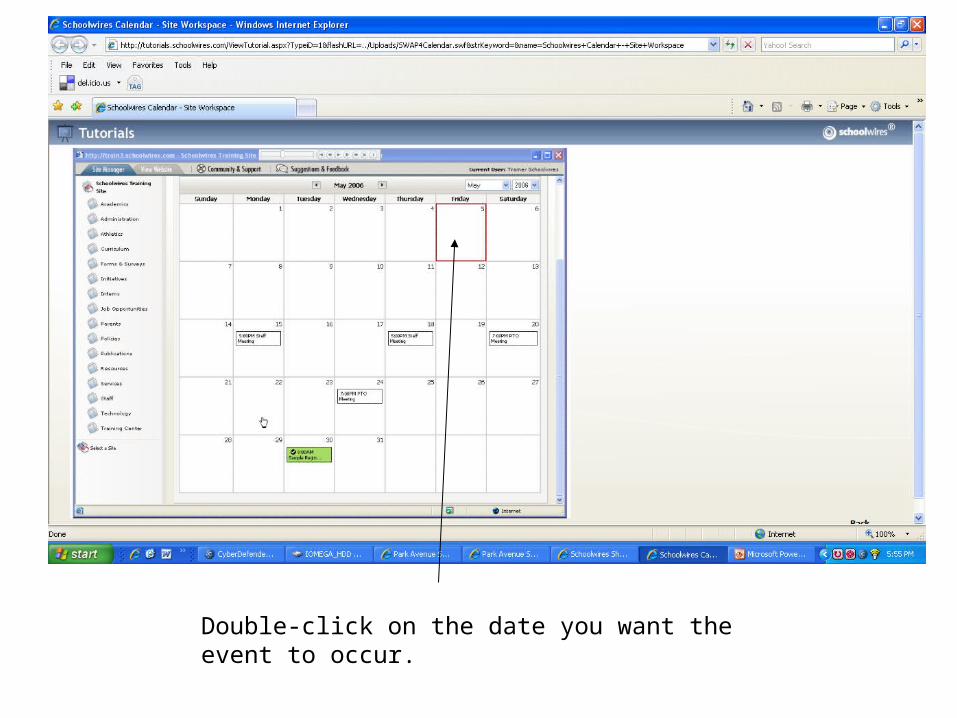
Double-click on the date you want the event to occur.
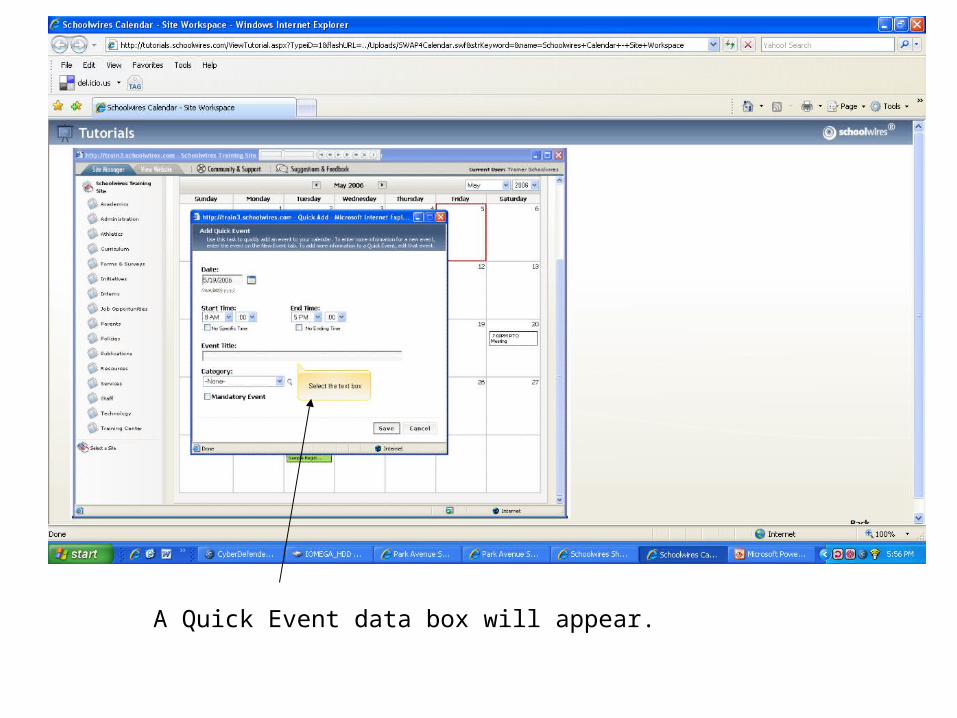
A Quick Event data box will appear.

Click on the SAVE button before exiting.

3. Import events
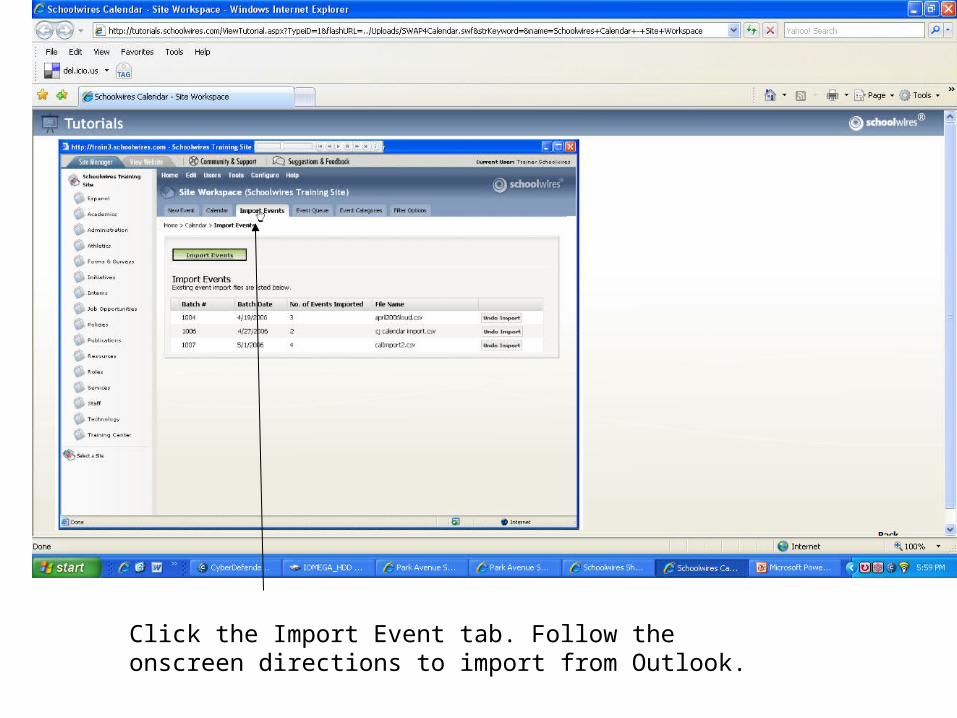
Click the Import Event tab. Follow the onscreen directions to import from Outlook.
Calendar
Editing Events
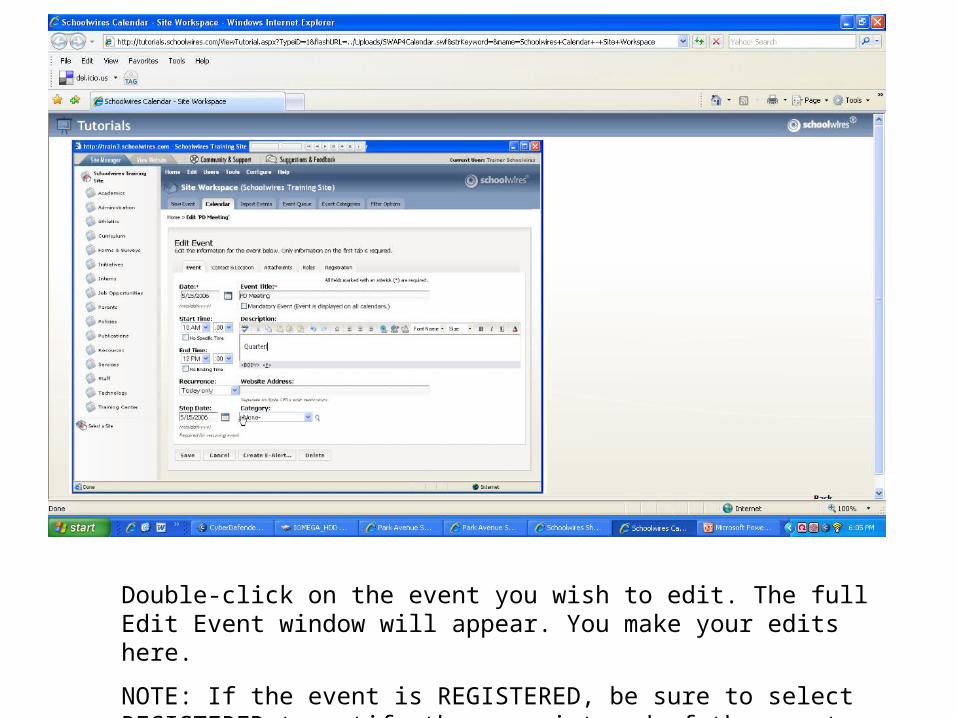
Double-click on the event you wish to edit. The full Edit Event window will appear. You make your edits here.
NOTE: If the event is REGISTERED, be sure to select REGISTERED to notify those registered of the event changes.

Click on the SAVE button before exiting.

Calendar
Deleting an Event
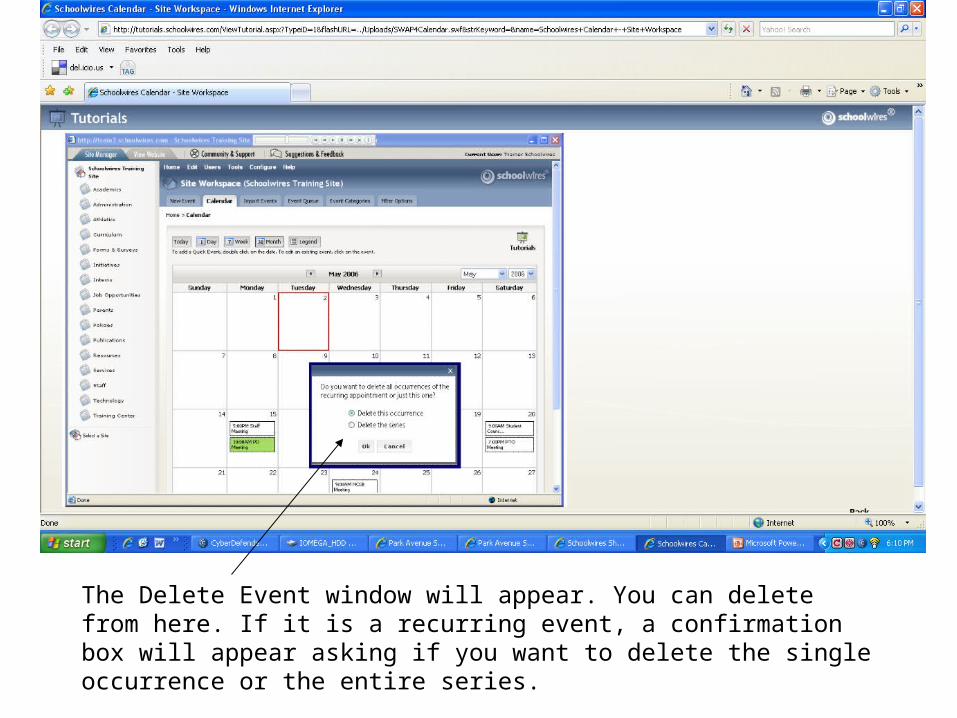
The Delete Event window will appear. You can delete from here. If it is a recurring event, a confirmation box will appear asking if you want to delete the single occurrence or the entire series.

What are E-Alerts?
Content E-Alerts…

• Content E-Alerts allow editors to notify subscribers when they make changes to one of the three major components of the homepage, to pages within a section or to calendar events.
Content E-Alerts

Exercises

Organizing Your Section
What to consider…

Organize the Following on Paper (make a plan)
• Who is your viewer? (students, faculty, parents, community)
• What type of information do you want to provide for your viewer? (contact info, directions, course info, homework, policies and procedures, schedules, photographs, music)
• What is the best way to convey the information? Do you want your viewer to be able to: view the info on the website without having to open a document, download and save or print a document, access other external websites, quickly link to another section on your own site, post a comment, view a series of photos, listen to music or an audio recording, watch a video

Modify the Overview Page
1. Rename your Overview page to something that represents your section.
2. Add text, images, and links that welcome visitors to your section
Insert a New Flex Page
1. Insert a New Page
2. Give the page a title
3. Choose a page layout
4. SAVE
5. View your page
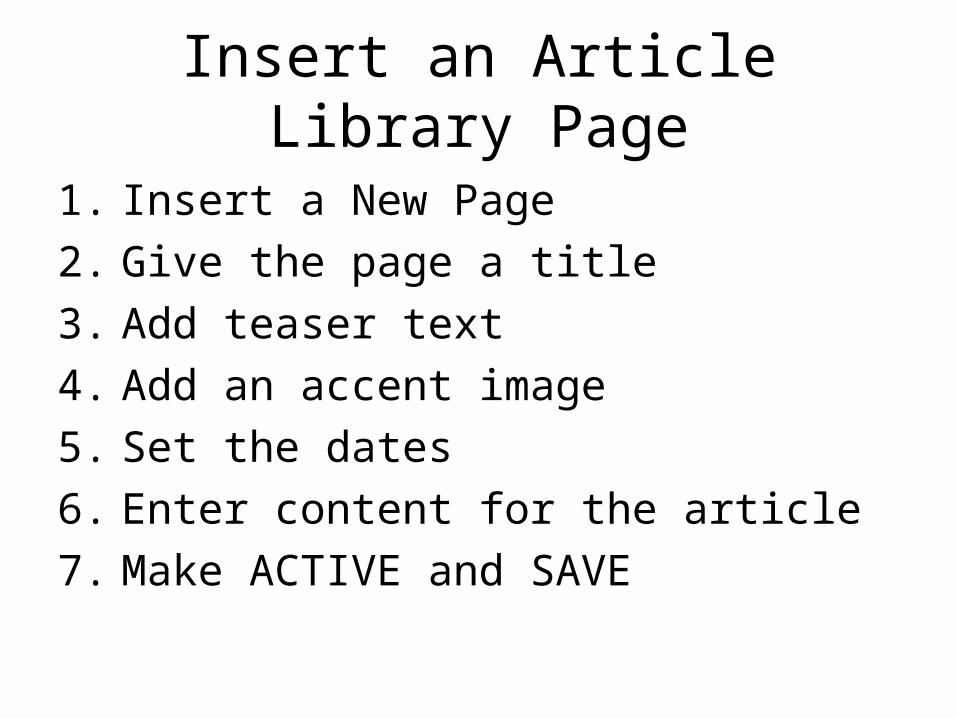
Insert an Article Library Page
1. Insert a New Page
2. Give the page a title
3. Add teaser text
4. Add an accent image
5. Set the dates
6. Enter content for the article
7. Make ACTIVE and SAVE
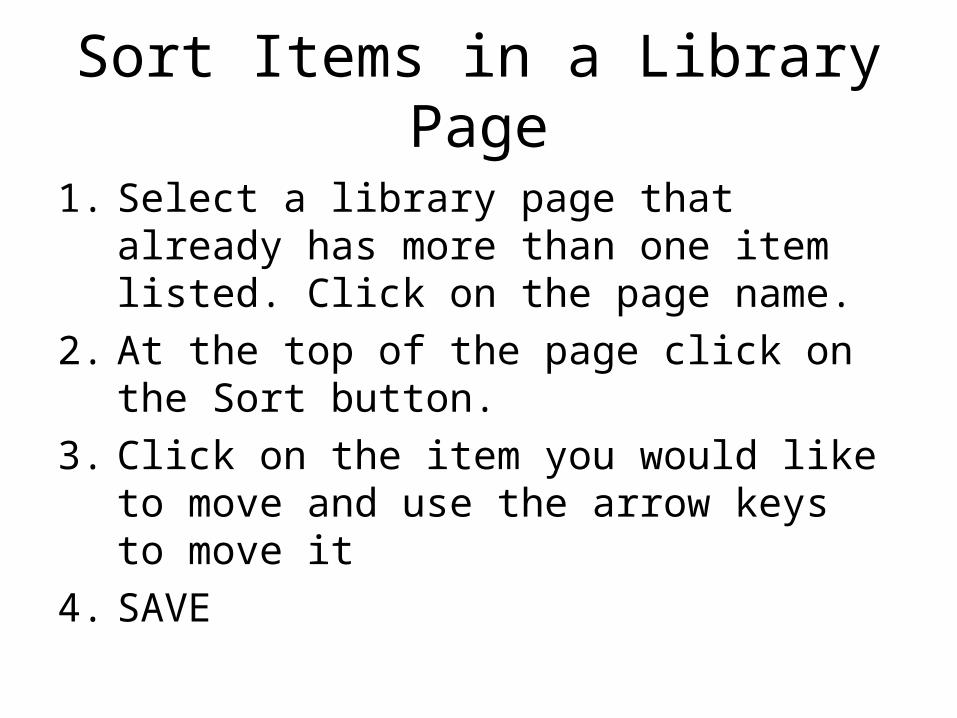
Sort Items in a Library Page
1. Select a library page that already has more than one item listed. Click on the page name.
2. At the top of the page click on the Sort button.
3. Click on the item you would like to move and use the arrow keys to move it
4. SAVE
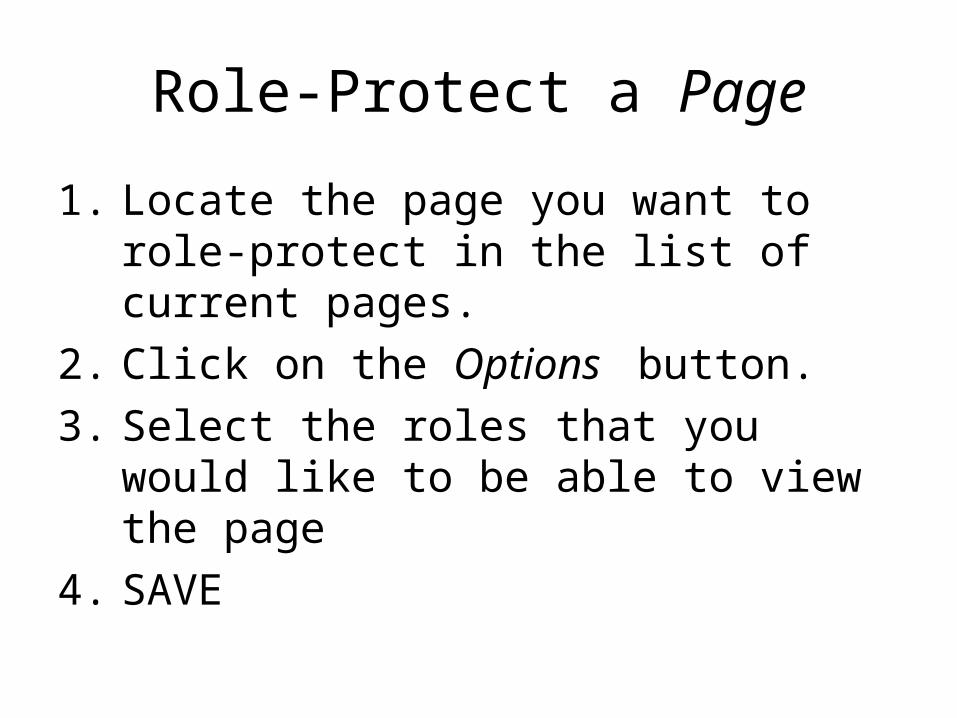
Role-Protect a Page
1. Locate the page you want to role-protect in the list of current pages.
2. Click on the Options button.
3. Select the roles that you would like to be able to view the page
4. SAVE
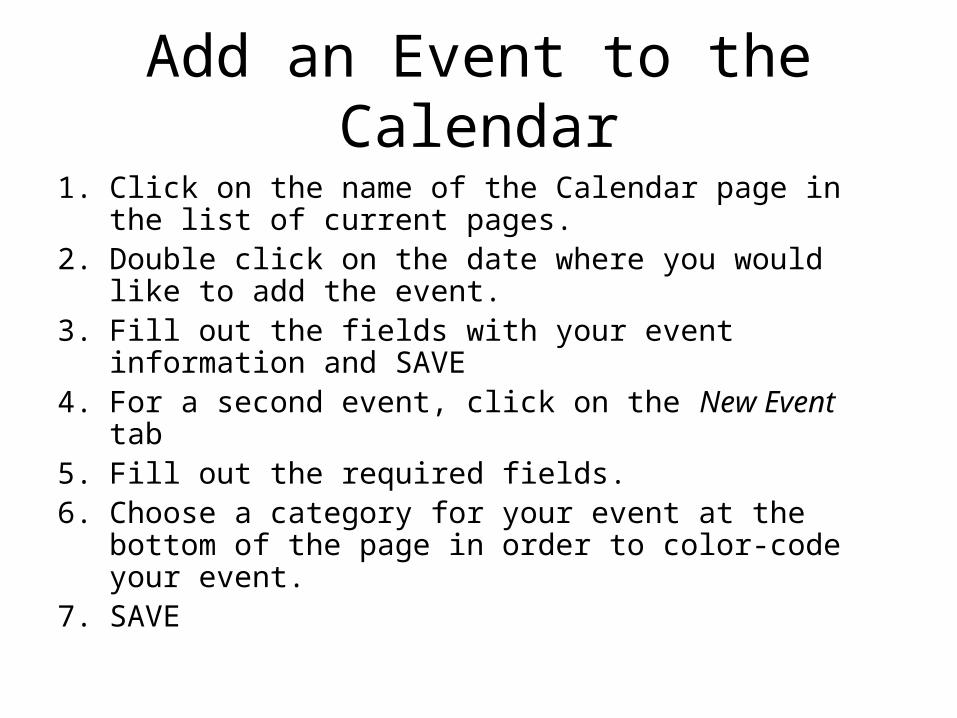
Add an Event to the Calendar
1. Click on the name of the Calendar page in the list of current pages.
2. Double click on the date where you would like to add the event.
3. Fill out the fields with your event information and SAVE4. For a second event, click on the New Event tab5. Fill out the required fields.6. Choose a category for your event at the bottom of the
page in order to color-code your event.7. SAVE

Upload Images or Documents to Files & Folders
1. Click on Files & Folders in the Tools drop-down menu or the Tools tab.
2. Create folders for your images and documents. Do this by clicking on the New Folder button at the top of the page.
3. Name your folders and click OK.4. Click on the Upload button.5. Click on the Browse button to find the items.6. Click Next7. Either click on Continue to Upload More Files or Finish
if you are complete8. Notice the new items added to your folders.
