ruby stack
TRANSCRIPT

7/26/2019 Ruby Stack
http://slidepdf.com/reader/full/ruby-stack 1/23
BitNami RubyStack 1.9.3-0
Quick Start Guide

7/26/2019 Ruby Stack
http://slidepdf.com/reader/full/ruby-stack 2/23
BitNami RubyStack 1.9.3-0
Release 1.9.3-0 2012-11-14
Copyright © 2012 BitNami
http://bitnami.org
All rights reserved.
This product and its documentation are protected by copyright. The information in this document is provided on an
"as is" basis, without warranty. Although every precaution has been taken in the preparation of this document, the
authors will not have any liability to any person or entity with respect to any loss or damage caused or alleged to be
caused directly or indirectly by the information contained in this work.
Trademark names may appear in this document. All registered and unregistered trademarks in this document are the
sole property of their respective owners.
7/26/2019 Ruby Stack
http://slidepdf.com/reader/full/ruby-stack 3/23
Acknowledgements
BitNami RubyStack is based on a number of open source components:
Ruby. The interpreted scripting language for quick and easy object-oriented programming.
http://www.ruby-lang.org/ .
Rails. Together with Ruby (RoR) is a open-source web application framework that's optimized for programmers
happiness and sustainable productivity.
http://www.rubyonrails.org/ .
MySQL. The world's leading open source database.
http://www.mysql.com
The Apache HTTP server, developed by The Apache Software Foundation.
http://www.apache.org/ .
PHP. The widely used scripting language.http://www.php.net .
The open source browser-based MySQL management tool phpMyAdmin.
http://www.phpmyadmin.net
Git. Open source, distributed version control system.
http://git-scm.com
Subversion. The open-source version control system.
http://www.subversion.tigris.org
RubyGems. The premier ruby packaging system
http://rubygems.org/
Phusion Passenger (a.k.a. mod_rails or mod_rack) makes deployment of Ruby web applications a breeze.
http://www.modrails.com/ .
Nginx. High-performance HTTP server and reverse proxy.
http://nginx.org/.
Sphinx. Full-text search engine.
http://www.sphinxsearch.com/ .
Memcached. High-performance, distributed memory object caching system.
http://www.memcached.org/.
The OpenSSL library for encrypting communications.
http://www.openssl.org/ .
The zlib data-compression library.
http://www.zlib.net
7/26/2019 Ruby Stack
http://slidepdf.com/reader/full/ruby-stack 4/23
Rmagick gem for ImageMagick.
http://rmagick.rubyforge.org/
ImageMagick image proccessor.
http://www.imagemagick.org
The libiconv library for multiple character encoding.
http://www.gnu.org/software/libiconv/
jpegsrc. Software developed by the The Independent JPEG Group.
http://www.ijg.org
The gd graphics library.
http://www.boutell.com/gd/
Ruby Version Manager (RVM)
https://rvm.io/
You can find the individual licenses for the above projects as part of the installation.
7/26/2019 Ruby Stack
http://slidepdf.com/reader/full/ruby-stack 5/23
BitNami RubyStack Overview
The BitNami Project was created to help spread the adoption of freely available, high quality, open source web
applications. BitNami aims to make it easier than ever to discover, download and install open source software such
as document and content management systems, wikis and blogging software. You can learn more about BitNami at
http://bitnami.org .
The BitNami RubyStack is an installer that greatly simplifies the installation of Ruby on Rails and runtime
dependencies. It includes ready-to-run versions of Ruby, Rails, MySQL and Subversion. RubyStack is distributed for
free under the Apache 2.0 license. Please see the appendix for the specific licenses of all open source components
included. You can learn more about BitNami Stacks at http://bitnami.org/stacks/.
Components
BitNami RubyStack includes Apache 2.2.23, ImageMagick 6.7.5, MySQL 5.5.28, Ruby 1.9.3-p327, Rails 3.2.9,
RubyGems 1.8.12, PHP 5.4.8, phpMyAdmin 3.5.3, Git 1.7.11.3, Subversion 1.7.5, nginx 1.2.4 and more
requeriment libraries.
Ruby is a dynamic, open source programming language with a focus on simplicity and productivity. It has an elegant
syntax that is natural to read and easy to write. You can learn more about Ruby at http://www.ruby-lang.org .
Ruby on Rails is a full-stack MVC framework for database-backed web applications that's optimized for programmer
happiness and sustainable productivity. It lets you write beautiful code by favoring convention over configuration. You
can learn more about Ruby at http://www.rubyonrails.org .
Apache is the most popular HTTP server on the Internet. It provides a secure, efficient and extensible web platform.
It is maintained by the Apache Software Foundation. You can find more information about Apache at
http://www.apache.org.
MySQL is the world's most popular open source database. It is a relational database management system that
combines speed, reliability and ease of use. It is developed and maintained by MySQL AB. You can find more
information about MySQL at http://www.mysql.com .
PHP is a web development scripting language that can be embedded into HTML. Powerful and easy to use, it is the
most popular Apache module. It is maintained by the PHP Group. You can find more information about PHP at
http://www.php.net .
phpMyAdmin is a tool written in PHP intended to handle the administration of MySQL through a web interface. It
allows you to manage anything from a single database to a complete MySQL server. You can find more informationabout phpMyAdmin at http://www.phpmyadmin.net .
Git is a free & open source, distributed version control system designed to handle everything from small to very large
projects with speed and efficiency. You can find more information about Git at http://git-scm.com/.
Subversion The goal of the Subversion project is to build a version control system that is a compelling replacement
for CVS in the open source community. The software is released under an Apache/BSD-style open source license.
http://subversion.tigris.org/ .
7/26/2019 Ruby Stack
http://slidepdf.com/reader/full/ruby-stack 6/23
Phusion Passenger (a.k.a. mod_rails or mod_rack) makes deployment of Ruby web applications, such as those
built on the revolutionary Ruby on Rails web framework, a breeze. It follows the usual Ruby on Rails conventions,
such as "Don?t-Repeat-Yourself". You can find more information about Passenger at http://www.modrails.com/ .
Nginx is a free, open-source, high-performance HTTP server and reverse proxy, as well as an IMAP/POP3 proxy
server. It is known for its high performance, stability, rich feature set, simple configuration, and low resource
consumption. You can find more information about Nginx at http://nginx.org/.
Sphinx is a full-text search engine, meant to provide fast, size-efficient and relevant fulltext search functions to other
applications. Sphinx was specially designed to integrate well with SQL databases and scripting languages. You can
find more information about Sphinx at http://www.sphinxsearch.com/.
Memcached free & open source, high-performance, distributed memory object caching system, generic in nature,
but intended for use in speeding up dynamic web applications by alleviating database load. Memcached is an in-
memory key-value store for small chunks of arbitrary data (strings, objects) from results of database calls, API calls,
or page rendering. You can find more information about Memcached at http://www.memcached.org/ .
Ruby Version Manager (RVM) is a command-line tool which allows you to easily install, manage, and work with
multiple ruby environments from interpreters to sets of gems. You can find more information about RVM athttps://rvm.io/
Requirements
To run BitNami RubyStack you will need:
Intel x86 or compatible processor
Minimum of 512 MB RAM
Minimum of 150 MB hard drive space
A Windows operating system
TCP/IP protocol supportAn x86 Linux operating system or
A 32-bit Windows operating system such as Windows 2000, XP, Vista or Windows Server 2003 or
an OS X operating System.
7/26/2019 Ruby Stack
http://slidepdf.com/reader/full/ruby-stack 7/23
Installation Guide
This section describes where to download BitNami RubyStack and the different installation modes that are available.
Downloading BitNami RubyStack
You can download the BitNami RubyStack binary file from http://bitnami.org/stacks/. It will be named bitnami-
rubystack-1.9.3-0-windows-installer.exe for Windows or bitnami-rubystack-1.9.3-0-linux-
installer.bin for Linux or or bitnami-rubystack-1.9.3-0-linux-x64-installer.bin for Linux 64 bits or
bitnami-rubystack-1.9.3-0-osx-x86-installer.app.zip for OS X x86.
Installing BitNami RubyStack
To begin the installation process, double-click on the file from your Desktop environment or invoke it directly from the
command line.
You will be greeted by the 'Welcome' screen. The next step is to select the installation directory.
Then you can choose to install or not phpMyAdmin to handle the administration of MySQL through a web interface. If
you want a sample Rails application to be created during installation, you should select "Sample Rails application"
component.
RubyStack bundles a number of components that use TCP/IP ports. In particular, the default listening port for MySQL
3306 and for Apache 80 on Windows and 8080 on Linux. If any of these ports are already taken, the installation will
ask you to enter a different port number.
The next screen will prompt you for data necessary to create the initial admin user:
MySQL root password: Here you can set the password that will be used when performing operations such as creating
or deleting databases.
If you selected phpMyAdmin component, it will be configured with the user name 'root' and the password provided for
MySQL root user. Once installation is completed, you can access at http://127.0.0.1:80/phpmyadmin on Windows
and http://127.0.0.1:8080/phpmyadmin on Linux.
If you have chosen to install a sample Rails application, then installation will ask you about the application name and
database password: RubyStack will create a sample Rails application with the name selected here. It will also create
the corresponding databases using that name as a prefix. Finally, the password written here will be used by your new
aplication when accesing the databases with the application name as user name.
You are now ready to begin the installation, which will start when you press 'Next'. Once the installation process has
been completed, you will see the 'Installation Finished' page. At this point, you can launch a webrick server and a
browser. In addition to that, a report summarizing the installation options will be shown. The report is located at the
root of the installation directory and will also be accessible from a link in the Start Menu. It contains the passwords
and usernames you provided during installation, so you may want to store it in an alternate location if other people
are able to access that file.
If you receive an error message during installation, please refer to the Troubleshooting section.
7/26/2019 Ruby Stack
http://slidepdf.com/reader/full/ruby-stack 8/23
Directory Structure
The installation process will create several subfolders under the main installation directory:
mysql/: MySQL Database.
sqlite/: SQLite Database.
ruby/: Ruby and ruby gems files.
img/: Additional image files and icons.
imagemagick/: ImageMagick image proccessor.
subversion/: Subversion files.
scripts/: Script with enviroment vars.
licenses/: Component licenses.
apache2/: Apache2 files.
php/: PHP files.
apps/phpMyAdmin/: phpMyAdmin files.
nginx/: nginx files.
memcached/: Memcached files.
sphinx/: Sphinx files.
git/: git files.
7/26/2019 Ruby Stack
http://slidepdf.com/reader/full/ruby-stack 9/23
Uninstalling BitNami RubyStack
As part of the installation, an uninstall program will be created at the installation root directory and a link placed in the
Start Menu. The uninstaller will stop the currently running servers and delete any files and registry entries created
during installation. The uninstaller will not delete any files or databases that were created by the end user.
7/26/2019 Ruby Stack
http://slidepdf.com/reader/full/ruby-stack 10/23
Ruby on Rails
On this section we are going to assume that Rubystack has been installed at C:\Rubystack-1.9.3-0\ on Windows,
/home/user/rubystack on Linux or /Applications/rubystack/projects/ on OS X and your Rails application
name is rubystack.
This part of the tutorial has been written following a Questions and Answers model.
How do I start doing things with RubyStack?
The first thing you must do is to run a Rails Environment by selecting:
Start -> BitNami RubyStack -> Use Ruby on Windows or
/home/user/rubystack/rubyconsole on Linux or OS X.
That will open a console window with a properly setup environment where you can then issue
commands.
How do I launch or stop MySQL and Apache services?
BitNami ships a Manager Tool that is a simple graphical interface that can start and stop the
BitNami servers that are located in the same installation directory. To start the utility, double click
the file named 'manager-windows','manager-linux' or 'manager-osx' from your file browser.
Another option is to use the command line. On Windows, open the Rails Environment and then run
the servicerun.bat script to start or stop the services. In order to start services you must run:
servicerun.bat START
and to stop them:
servicerun.bat STOP
Be sure you are in the main directory of the RubyStack installation (C:\RubyStack-1.9.3-0\).
On Linux or OS X, you can start/stop Apache, MySQL and Subversion server with ctlscript.sh. You
can type ./ctlscript.sh help to see all options:usage: ./ctlscript.sh help
./ctlscript.sh (start|stop|restart)
./ctlscript.sh (start|stop|restart) mysql
./ctlscript.sh (start|stop|restart) apache
./ctlscript.sh (start|stop|restart) subversion
help - this screenstart - start the service(s)
stop - stop the service(s)
restart - restart or start the service(s)
How do I launch my web application?
Launch "Use Ruby" from the Start Menu, go to your rails application's directory and start the server.
For example, if you did not change its name, the default Rails application is named rubystack and is
located under C:\RubyStack-1.9.3-0\projects\rubystack-1.9.3-0 on Windows and
/home/user/rubystack/projects/ on Linux or /Applications/rubystack/projects/ on OS X,
7/26/2019 Ruby Stack
http://slidepdf.com/reader/full/ruby-stack 11/23
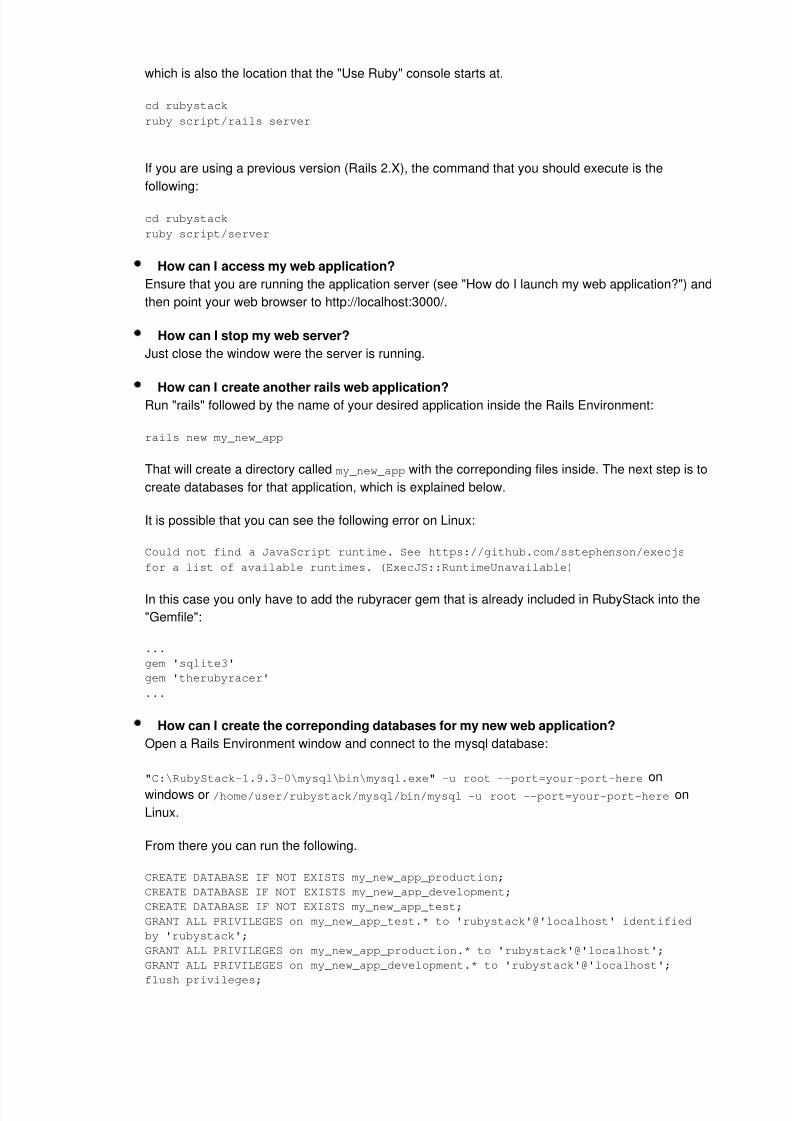
which is also the location that the "Use Ruby" console starts at.
cd rubystack
ruby script/rails server
If you are using a previous version (Rails 2.X), the command that you should execute is the
following:
cd rubystack
ruby script/server
How can I access my web application?
Ensure that you are running the application server (see "How do I launch my web application?") and
then point your web browser to http://localhost:3000/.
How can I stop my web server?
Just close the window were the server is running.
How can I create another rails web application?Run "rails" followed by the name of your desired application inside the Rails Environment:
rails new my_new_app
That will create a directory called my_new_app with the correponding files inside. The next step is to
create databases for that application, which is explained below.
It is possible that you can see the following error on Linux:
Could not find a JavaScript runtime. See https://github.com/sstephenson/execjs
for a list of available runtimes. (ExecJS::RuntimeUnavailable)
In this case you only have to add the rubyracer gem that is already included in RubyStack into the
"Gemfile":
...
gem 'sqlite3'
gem 'therubyracer'
...
How can I create the correponding databases for my new web application?
Open a Rails Environment window and connect to the mysql database:
"C:\RubyStack-1.9.3-0\mysql\bin\mysql.exe" -u root --port=your-port-here on
windows or /home/user/rubystack/mysql/bin/mysql -u root --port=your-port-here on
Linux.
From there you can run the following.
CREATE DATABASE IF NOT EXISTS my_new_app_production;
CREATE DATABASE IF NOT EXISTS my_new_app_development;
CREATE DATABASE IF NOT EXISTS my_new_app_test;
GRANT ALL PRIVILEGES on my_new_app_test.* to 'rubystack'@'localhost' identified
by 'rubystack';
GRANT ALL PRIVILEGES on my_new_app_production.* to 'rubystack'@'localhost';
GRANT ALL PRIVILEGES on my_new_app_development.* to 'rubystack'@'localhost';
flush privileges;
7/26/2019 Ruby Stack
http://slidepdf.com/reader/full/ruby-stack 12/23
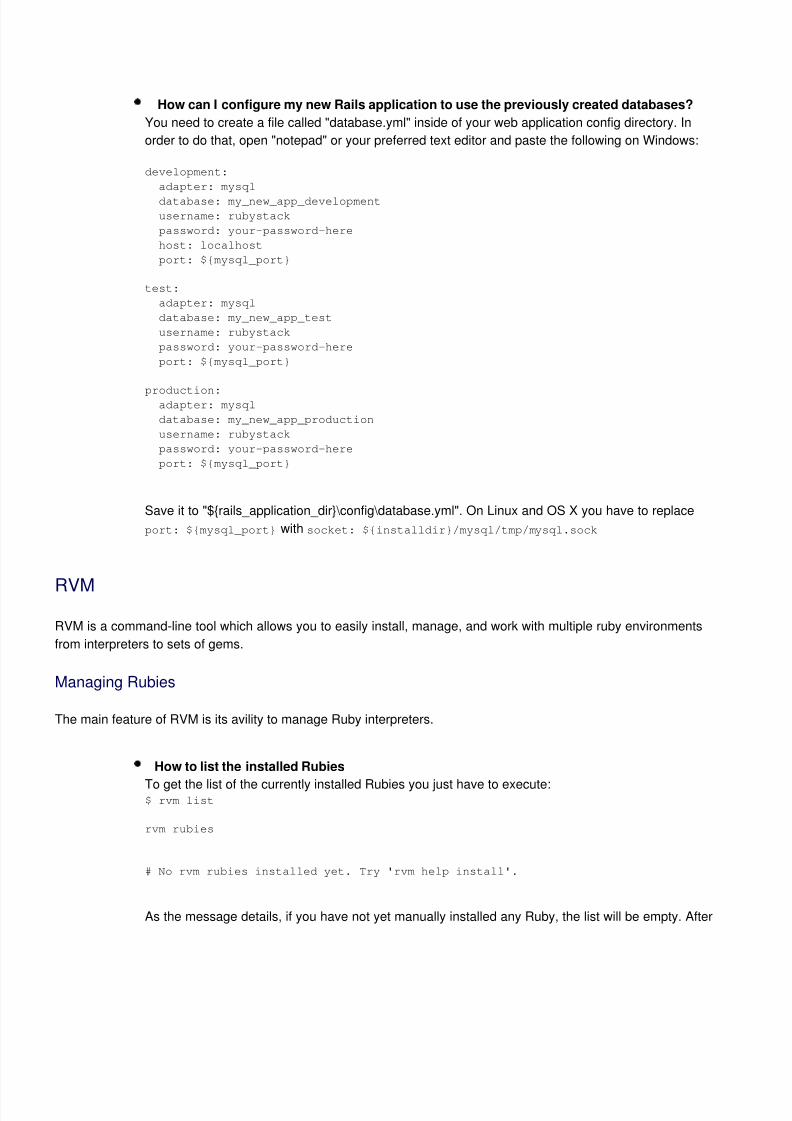
How can I configure my new Rails application to use the previously created databases?
You need to create a file called "database.yml" inside of your web application config directory. In
order to do that, open "notepad" or your preferred text editor and paste the following on Windows:
development:
adapter: mysql
database: my_new_app_development
username: rubystack
password: your-password-here
host: localhost
port: ${mysql_port}
test:
adapter: mysql
database: my_new_app_test
username: rubystack
password: your-password-here
port: ${mysql_port}
production: adapter: mysql
database: my_new_app_production
username: rubystack
password: your-password-here
port: ${mysql_port}
Save it to "${rails_application_dir}\config\database.yml". On Linux and OS X you have to replace
port: ${mysql_port} with socket: ${installdir}/mysql/tmp/mysql.sock
RVM
RVM is a command-line tool which allows you to easily install, manage, and work with multiple ruby environments
from interpreters to sets of gems.
Managing Rubies
The main feature of RVM is its avility to manage Ruby interpreters.
How to list the installed Rubies
To get the list of the currently installed Rubies you just have to execute:$ rvm list
rvm rubies
# No rvm rubies installed yet. Try 'rvm help install'.
As the message details, if you have not yet manually installed any Ruby, the list will be empty. After
7/26/2019 Ruby Stack
http://slidepdf.com/reader/full/ruby-stack 13/23
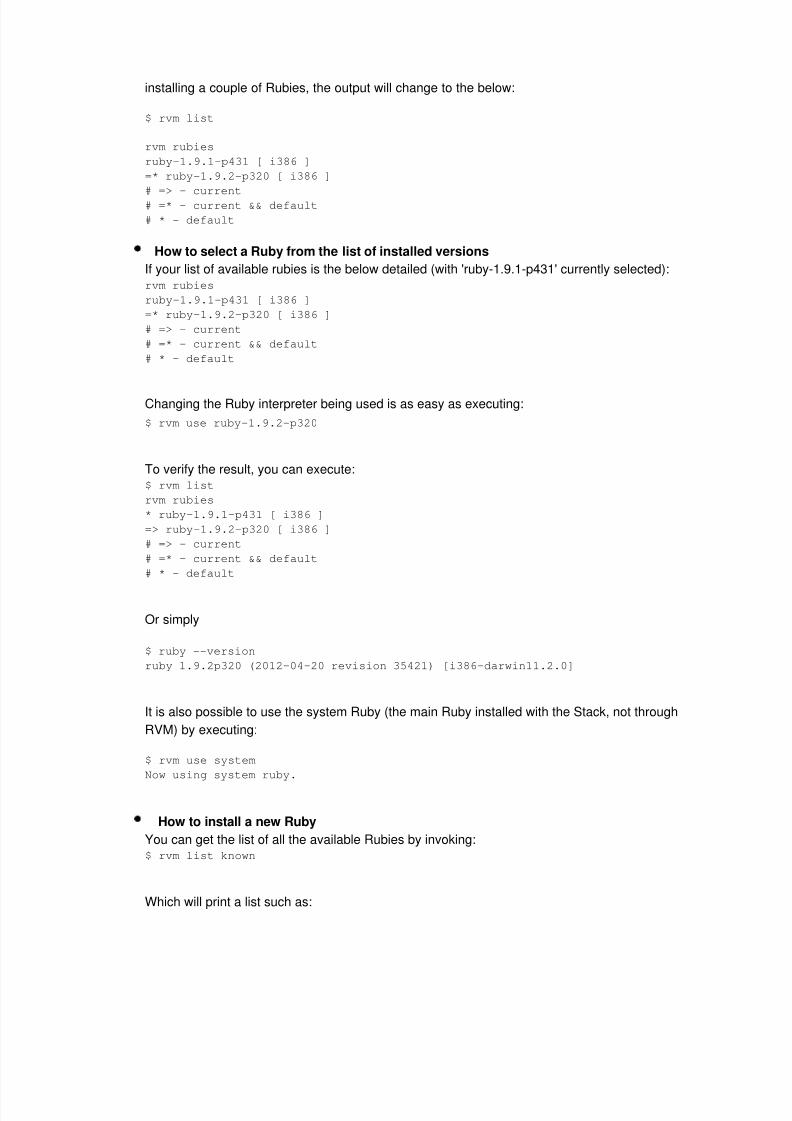
installing a couple of Rubies, the output will change to the below:
$ rvm list
rvm rubies
ruby-1.9.1-p431 [ i386 ]
=* ruby-1.9.2-p320 [ i386 ]
# => - current
# =* - current && default
# * - default
How to select a Ruby from the list of installed versions
If your list of available rubies is the below detailed (with 'ruby-1.9.1-p431' currently selected):rvm rubies
ruby-1.9.1-p431 [ i386 ]
=* ruby-1.9.2-p320 [ i386 ]
# => - current
# =* - current && default
# * - default
Changing the Ruby interpreter being used is as easy as executing:
$ rvm use ruby-1.9.2-p320
To verify the result, you can execute:$ rvm list
rvm rubies
* ruby-1.9.1-p431 [ i386 ]
=> ruby-1.9.2-p320 [ i386 ]
# => - current
# =* - current && default
# * - default
Or simply
$ ruby --version
ruby 1.9.2p320 (2012-04-20 revision 35421) [i386-darwin11.2.0]
It is also possible to use the system Ruby (the main Ruby installed with the Stack, not through
RVM) by executing:
$ rvm use system
Now using system ruby.
How to install a new Ruby
You can get the list of all the available Rubies by invoking:$ rvm list known
Which will print a list such as:
7/26/2019 Ruby Stack
http://slidepdf.com/reader/full/ruby-stack 14/23
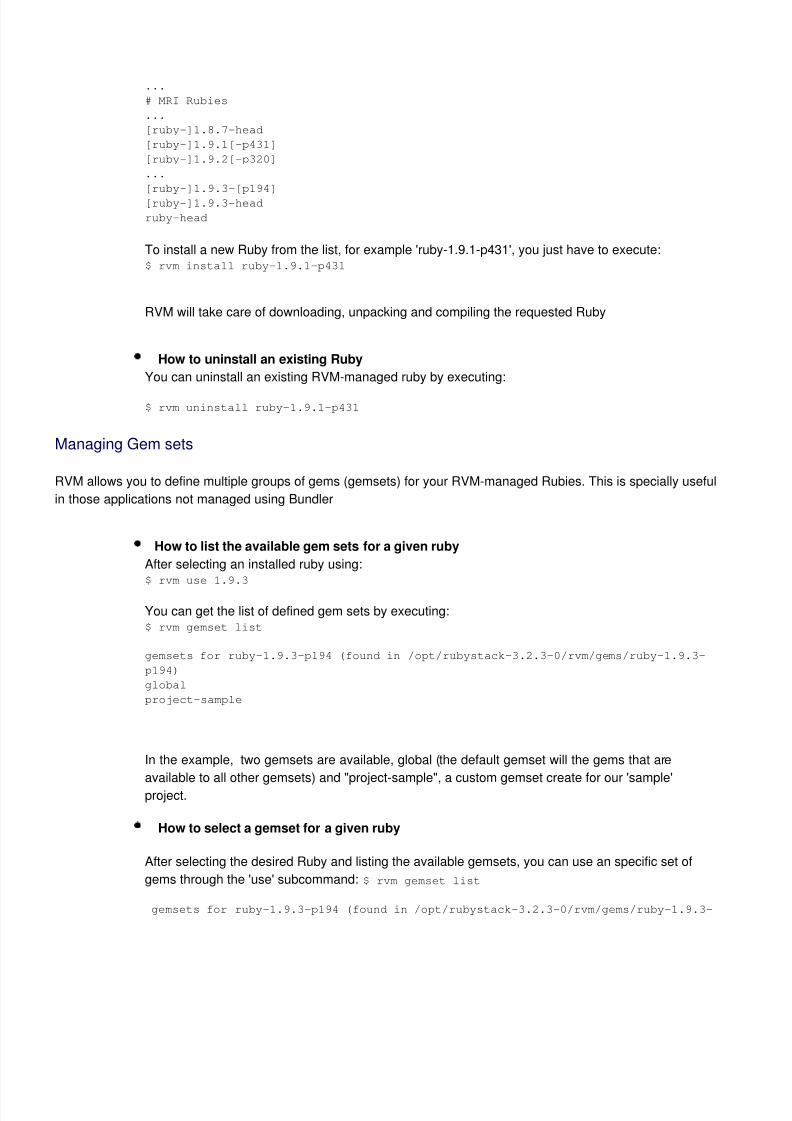
...
# MRI Rubies
...
[ruby-]1.8.7-head
[ruby-]1.9.1[-p431]
[ruby-]1.9.2[-p320]
...
[ruby-]1.9.3-[p194]
[ruby-]1.9.3-head
ruby-head
To install a new Ruby from the list, for example 'ruby-1.9.1-p431', you just have to execute:$ rvm install ruby-1.9.1-p431
RVM will take care of downloading, unpacking and compiling the requested Ruby
How to uninstall an existing Ruby
You can uninstall an existing RVM-managed ruby by executing:
$ rvm uninstall ruby-1.9.1-p431
Managing Gem sets
RVM allows you to define multiple groups of gems (gemsets) for your RVM-managed Rubies. This is specially useful
in those applications not managed using Bundler
How to list the available gem sets for a given ruby
After selecting an installed ruby using:$ rvm use 1.9.3
You can get the list of defined gem sets by executing:$ rvm gemset list
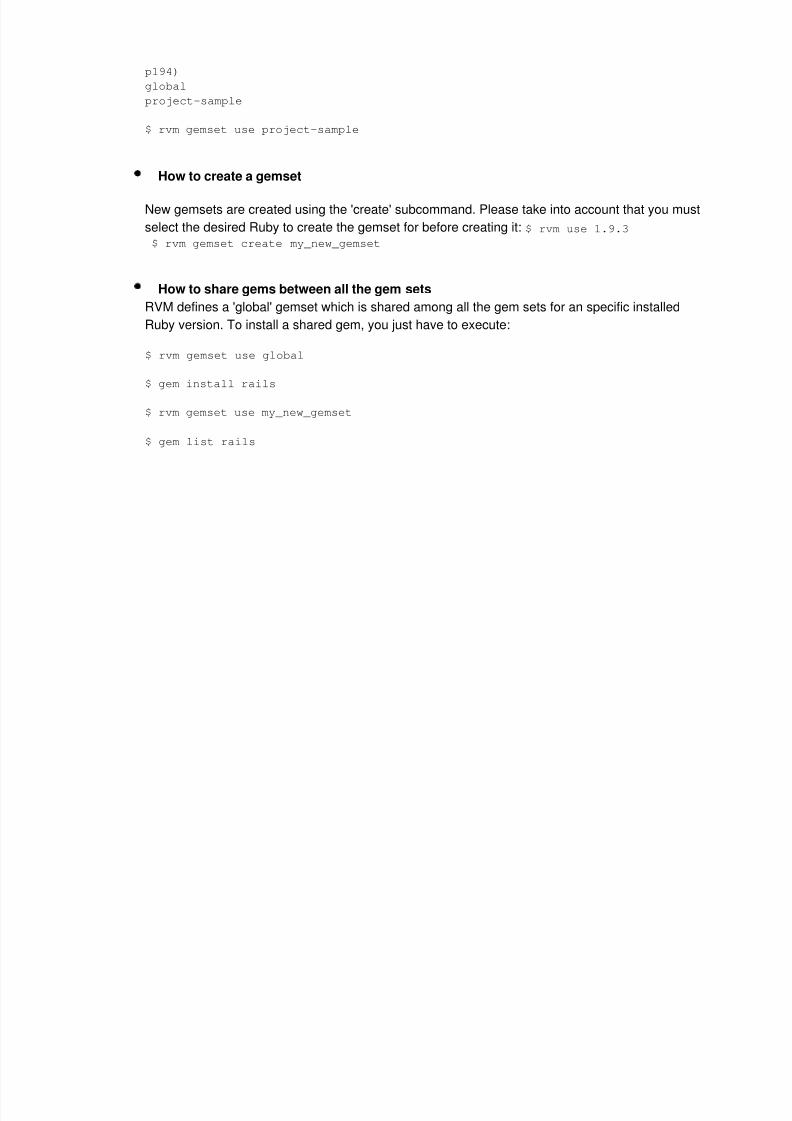
gemsets for ruby-1.9.3-p194 (found in /opt/rubystack-3.2.3-0/rvm/gems/ruby-1.9.3-
p194)
global
project-sample
In the example, two gemsets are available, global (the default gemset will the gems that are
available to all other gemsets) and "project-sample", a custom gemset create for our 'sample'
project.
How to select a gemset for a given ruby
After selecting the desired Ruby and listing the available gemsets, you can use an specific set of
gems through the 'use' subcommand: $ rvm gemset list
gemsets for ruby-1.9.3-p194 (found in /opt/rubystack-3.2.3-0/rvm/gems/ruby-1.9.3-
7/26/2019 Ruby Stack
http://slidepdf.com/reader/full/ruby-stack 15/23
p194)
global
project-sample
$ rvm gemset use project-sample
How to create a gemset
New gemsets are created using the 'create' subcommand. Please take into account that you must
select the desired Ruby to create the gemset for before creating it: $ rvm use 1.9.3 $ rvm gemset create my_new_gemset
How to share gems between all the gem sets
RVM defines a 'global' gemset which is shared among all the gem sets for an specific installed
Ruby version. To install a shared gem, you just have to execute:
$ rvm gemset use global
$ gem install rails
$ rvm gemset use my_new_gemset
$ gem list rails
7/26/2019 Ruby Stack
http://slidepdf.com/reader/full/ruby-stack 16/23
DEPLOY RUBY ON RAILS APPLICATION ON THE STACK.
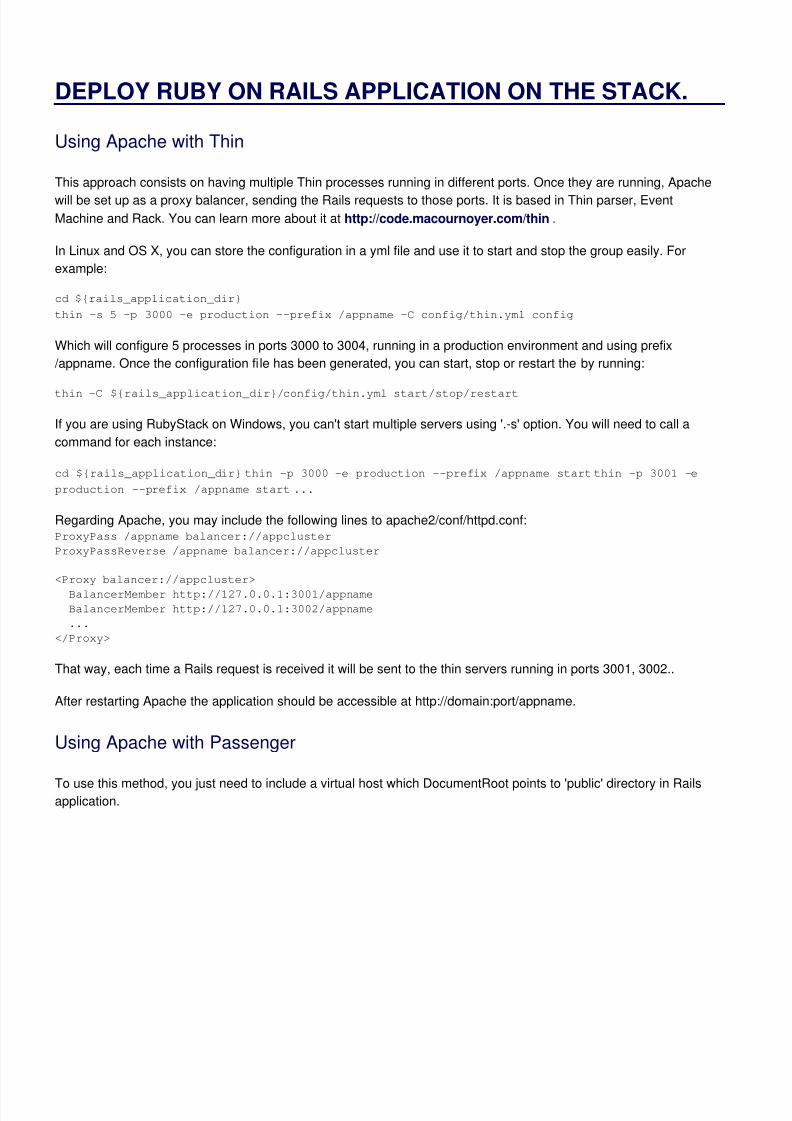
Using Apache with Thin
This approach consists on having multiple Thin processes running in different ports. Once they are running, Apache
will be set up as a proxy balancer, sending the Rails requests to those ports. It is based in Thin parser, Event
Machine and Rack. You can learn more about it at http://code.macournoyer.com/thin .
In Linux and OS X, you can store the configuration in a yml file and use it to start and stop the group easily. For
example:
cd ${rails_application_dir}
thin -s 5 -p 3000 -e production --prefix /appname -C config/thin.yml config
Which will configure 5 processes in ports 3000 to 3004, running in a production environment and using prefix
/appname. Once the configuration fi le has been generated, you can start, stop or restart the by running:
thin -C ${rails_application_dir}/config/thin.yml start/stop/restart
If you are using RubyStack on Windows, you can't start multiple servers using '.-s' option. You will need to call a
command for each instance:
cd ${rails_application_dir} thin -p 3000 -e production --prefix /appname start thin -p 3001 -e
production --prefix /appname start ...
Regarding Apache, you may include the following lines to apache2/conf/httpd.conf:ProxyPass /appname balancer://appcluster
ProxyPassReverse /appname balancer://appcluster
<Proxy balancer://appcluster>
BalancerMember http://127.0.0.1:3001/appname
BalancerMember http://127.0.0.1:3002/appname
...
</Proxy>
That way, each time a Rails request is received it will be sent to the thin servers running in ports 3001, 3002..
After restarting Apache the application should be accessible at http://domain:port/appname.
Using Apache with Passenger
To use this method, you just need to include a virtual host which DocumentRoot points to 'public' directory in Railsapplication.
7/26/2019 Ruby Stack
http://slidepdf.com/reader/full/ruby-stack 17/23
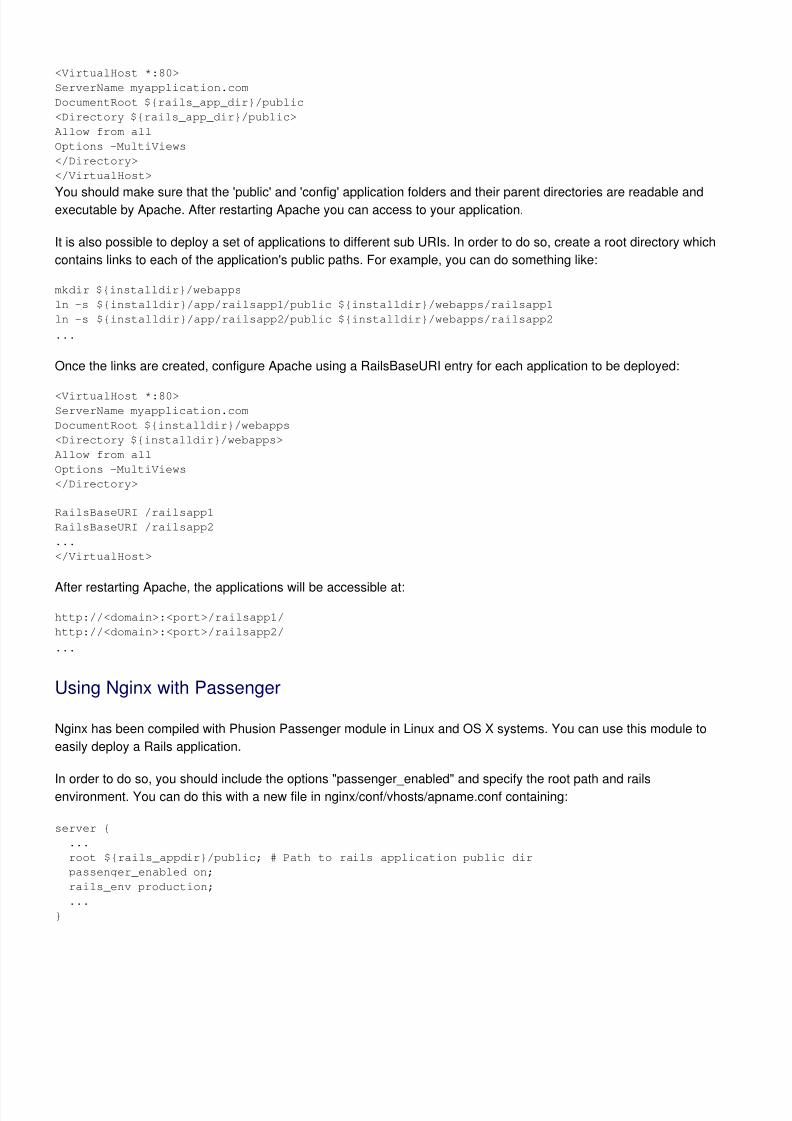
<VirtualHost *:80>
ServerName myapplication.com
DocumentRoot ${rails_app_dir}/public
<Directory ${rails_app_dir}/public>
Allow from all
Options -MultiViews
</Directory>
</VirtualHost>
You should make sure that the 'public' and 'config' application folders and their parent directories are readable andexecutable by Apache. After restarting Apache you can access to your application.
It is also possible to deploy a set of applications to different sub URIs. In order to do so, create a root directory which
contains links to each of the application's public paths. For example, you can do something like:
mkdir ${installdir}/webapps
ln -s ${installdir}/app/railsapp1/public ${installdir}/webapps/railsapp1
ln -s ${installdir}/app/railsapp2/public ${installdir}/webapps/railsapp2
...
Once the links are created, configure Apache using a RailsBaseURI entry for each application to be deployed:
<VirtualHost *:80>
ServerName myapplication.com
DocumentRoot ${installdir}/webapps
<Directory ${installdir}/webapps>
Allow from all
Options -MultiViews
</Directory>
RailsBaseURI /railsapp1
RailsBaseURI /railsapp2
...
</VirtualHost>
After restarting Apache, the applications will be accessible at:
http://<domain>:<port>/railsapp1/
http://<domain>:<port>/railsapp2/
...
Using Nginx with Passenger
Nginx has been compiled with Phusion Passenger module in Linux and OS X systems. You can use this module to
easily deploy a Rails application.
In order to do so, you should include the options "passenger_enabled" and specify the root path and railsenvironment. You can do this with a new file in nginx/conf/vhosts/apname.conf containing:
server {
...
root ${rails_appdir}/public; # Path to rails application public dir
passenger_enabled on;
rails_env production;
...
}

7/26/2019 Ruby Stack
http://slidepdf.com/reader/full/ruby-stack 18/23
In this case, it is not necessary to start additional processes appart from Nginx. After restarting Nginx, the application
will be accessible at http://domain:nginx_port/.
It is also possible to deploy a set of applications to different sub URIs. If you want to use this approach, you should
create symbolic links to each application public directory, inside a root path.
ln -s /path/to/rails_app/public /websites/phusion/railsapp
ln -s /path/to/rails_app2/public /websites/phusion/railsapp2
Then, include a passenger_base_uri option for each of them inside the server element:
server {
...
root /websites/phusion;
passenger_enabled on;
passenger_base_uri /railsapp;
passenger_base_uri /railsapp2;
...
}
After restarting Nginx, the applications will be accessible at http://localhost:nginx_port/railsapp/,
http://localhots/nginx_port/railsapps2/ ..
You can find more information about Phusion Passenger settings at http://www.modrails.com/documentation.html .
7/26/2019 Ruby Stack
http://slidepdf.com/reader/full/ruby-stack 19/23
CREATING THE FIRST REPOSITORY WITH GIT.
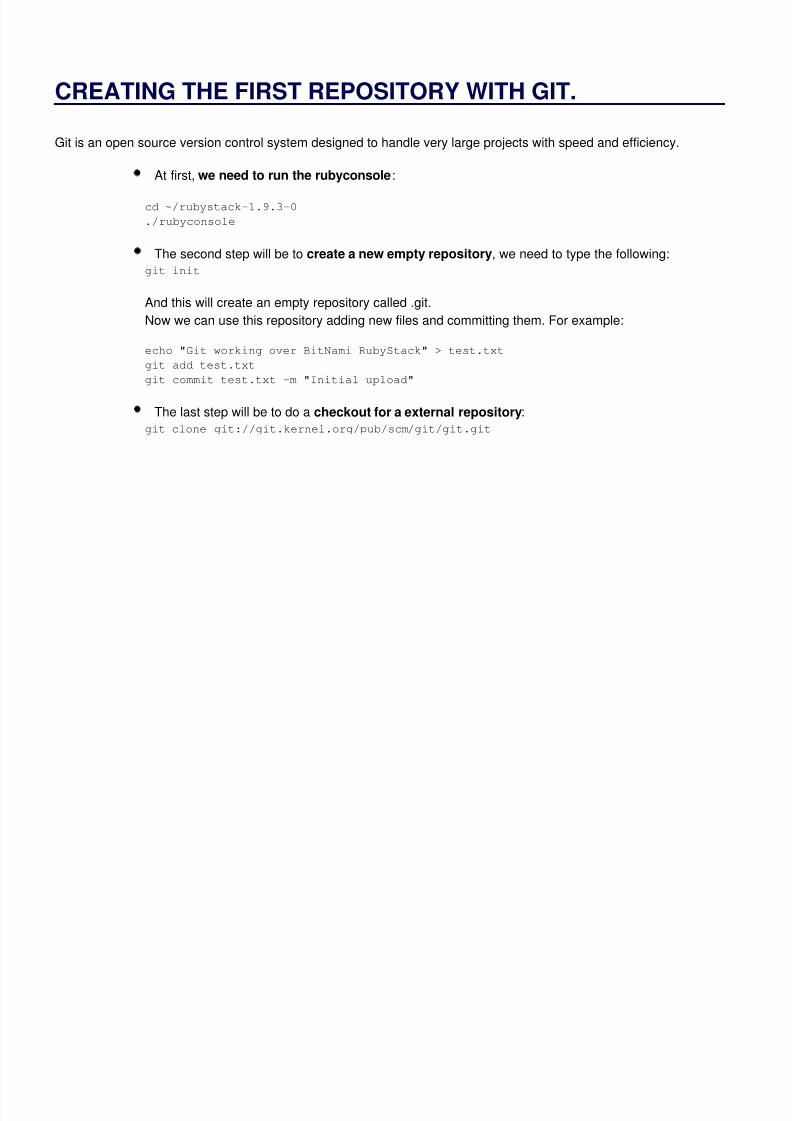
Git is an open source version control system designed to handle very large projects with speed and efficiency.
At first, we need to run the rubyconsole:
cd ~/rubystack-1.9.3-0
./rubyconsole
The second step will be to create a new empty repository, we need to type the following:git init
And this will create an empty repository called .git.
Now we can use this repository adding new files and committing them. For example:
echo "Git working over BitNami RubyStack" > test.txt
git add test.txt
git commit test.txt -m "Initial upload"
The last step will be to do a checkout for a external repository:
git clone git://git.kernel.org/pub/scm/git/git.git
7/26/2019 Ruby Stack
http://slidepdf.com/reader/full/ruby-stack 20/23
PHP
This section describes how to test your PHP installation. You can find the PHP technical documentation at
http://www.php.net/manual/en/index.php
Testing Your Installation
The easiest way to test your PHP installation is to create a test script using the phpinfo() function. Open your favorite
text editor and type:
<?php phpinfo(); ?>
Save the file as phptest.php in C:\RubyStack-1.9.3-0\apache2\htdocs\on Windows or /home/user/rubystack-
1.9.3-0/apache2/htdocs on Linux or /Applications/rubystack-1.9.3-0/apache2/htdocs/. Make sure Apache
is up and running, open a browser and type http://127.0.0.1:8080/phptest.php. You should then see a screen
showing detailed information about the PHP version you are using.
7/26/2019 Ruby Stack
http://slidepdf.com/reader/full/ruby-stack 21/23

7/26/2019 Ruby Stack
http://slidepdf.com/reader/full/ruby-stack 22/23
Troubleshooting
This section describes some of the most common problems you may find when installing BitNami RubyStack.
Installer
Installer Payload Error
You may get the following error while trying to run the installer from the command line:
Installer payload initialization failed. This is likely due to an incomplete or corrupt
downloaded file.
The installer binary is not complete, likely because the file was not downloaded correctly. You will need to download
the file and repeat the installation process.
Installation does not complete and hangs at the end forever.
You are probably overwriting a previous RubyStack installation and therefore a previous MySQL with a different
MySQL root password. Remove or move your previous RubyStack installation and try to install RubyStack again.
MySQL
If you encounter any problems starting MySQL, the first place to look in is the "Problems and Common Errors"
section of the MySQL manual, which you will find at http://dev.mysql.com/doc/
The following are some common problems:
Access denied when trying to connect to MySQL.
If you get an Access Denied message while trying to connect to MySQL, make sure you are using the correct
username and password.
"Can't connect to server" message.
Make sure the MySQL daemon is up and running.
Apache
If you find any problem starting Apache, the first place you should look at is the error log file that will be created at
C:\RubyStack-1.9.3-0\apache2\logs\error_log on Windows or /home/user/rubystack-1.9.3-
0/apache2/logs/error_log on Linux or /Applications/rubystack-1.9.3-0/apache2/logs/error_log on OS
X. There you will likely find useful information to determine what the problem may be. For issues not covered in this
Quick Start guide, please refer to the Apache documentation included as part of the installation, which is located at
apache2/htdocs/manual.
Test page is not working

7/26/2019 Ruby Stack
http://slidepdf.com/reader/full/ruby-stack 23/23
If the server seems to start correctly (i.e. you can see the ./apachectl start: httpd started message) but you
cannot see the test page when you type http://127.0.0.1:80/ on Windows or http://127.0.0.1:8080/ on Linux in your
browser, it may be that there is already a server running in that port.