registering for the self service website from a city staff ... · 1.3 how to navigate this course...
TRANSCRIPT

1
Registering for the Self Service Website from a City Staff
Computer
1. Introduction
1.1 Starting Page
1.2 Hi, my name is Carlos!

2
1.4 Come back anytime!
1.5 Employee Remote Access

3
1.6 Things you will need before getting started
1.7 How are you accessing the website

4
3. Logging In for the First Time
3.1 Logging in for the very first time title page
3.2 Click on the button Register Now for Employee Remote Access ERA

5
3.3 Enter your 8 digit employee number. Remember if your employee
number is 6 or 7 digits, you will need to add additional 0's at the
beginning.
3.4 Important information about your initial password.

6
3.5 Enter your initial password (combination of your date of birth, SIN and
postal code currently on file with the City of Toronto)
3.6 Click on the Sign in button.
7
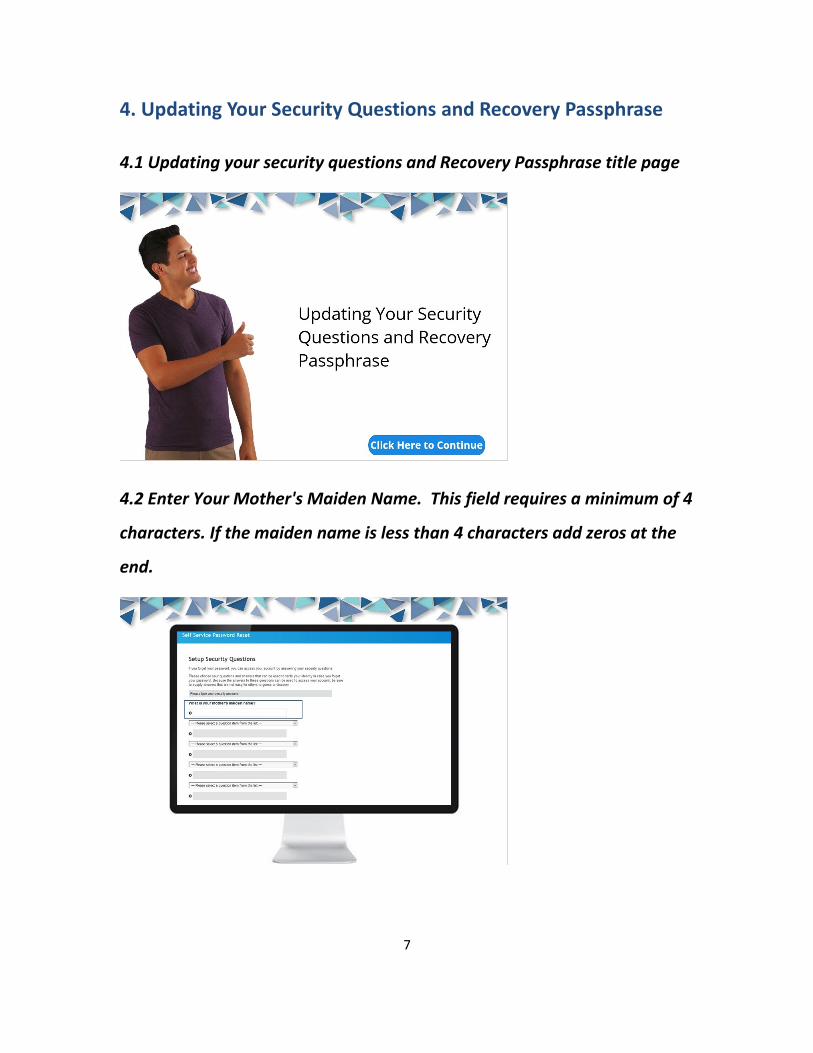
4. Updating Your Security Questions and Recovery Passphrase
4.1 Updating your security questions and Recovery Passphrase title page
4.2 Enter Your Mother's Maiden Name. This field requires a minimum of 4
characters. If the maiden name is less than 4 characters add zeros at the
end.

8
4.3 Select a question and respond, You will need to select 4 additional
questions. 3 of the 4 questions are randomly used if you forget your
password.
4.4 Scroll down.

9
4.5 Click on Save Answers.
4.6 Important information about your recovery passphrase.
10
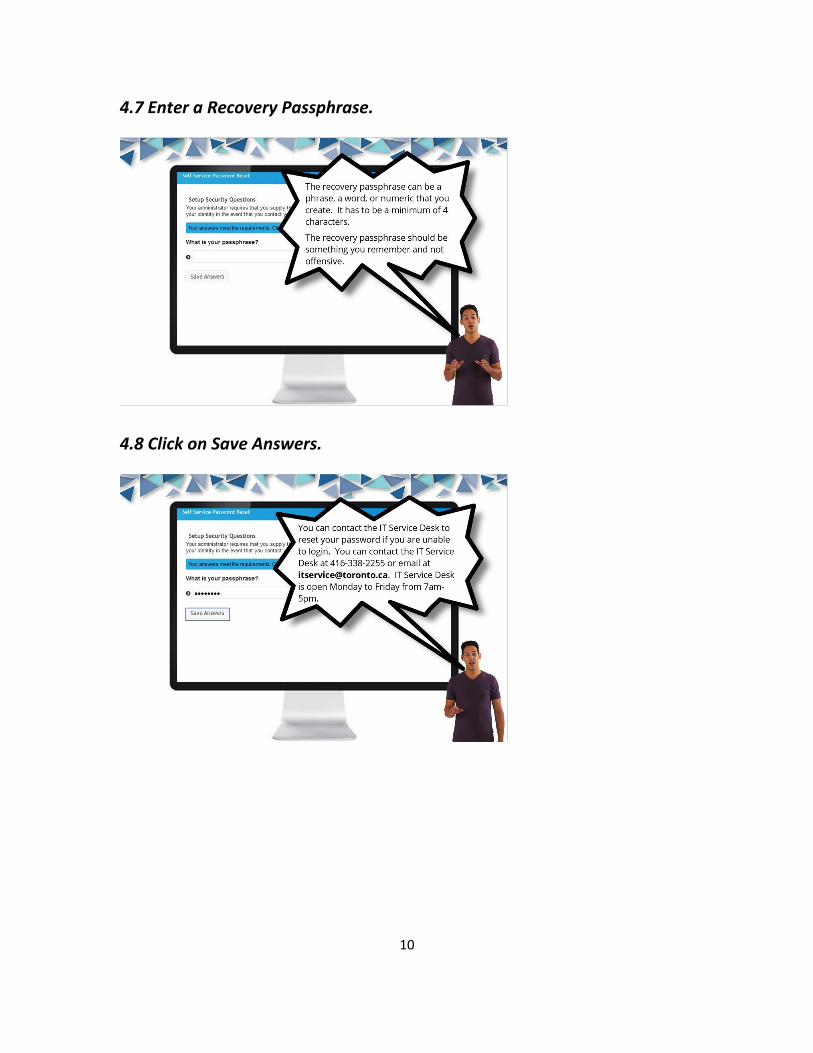
4.7 Enter a Recovery Passphrase.
4.8 Click on Save Answers.

11
4.9 Click on the Continue button.
5. Setting Up Your Phone Number
5.1 Setting up your phone number title page

12
5.2 Before you get started.
5.3 Where are you in the process?

13
5.4 Click on Update Phone Number.
5.5 If you would like to receive a phone call with your security key, add
your phone number in the highlighted box.

14
5.6 If you would like to receive a text message for your security key, add
your phone number in the highlighted box.
5.7 Click on the Update button.

15
5.8 Verify that the phone number is correct, click on the Confirm button.
5.9 Additional information about verifying your phone number.

16
5.10 Click on the Continue button.
6. Setting Up Your Password.
6.1 Setting up your password title page

17
6.2 Where are you in the process?
6.3 Click on Change Password.

18
6.4 Enter your new personalized password, you will need to include a
lower case letter, a capital letter, numeric character and a symbol. The
personalized password must also be a minimum of 8 characters long.
6.5 Re-enter your personalized password to confirm it was typed in
correctly.

19
6.6 Click on the Change Password button.
6.7 Click on the Continue Button.
20
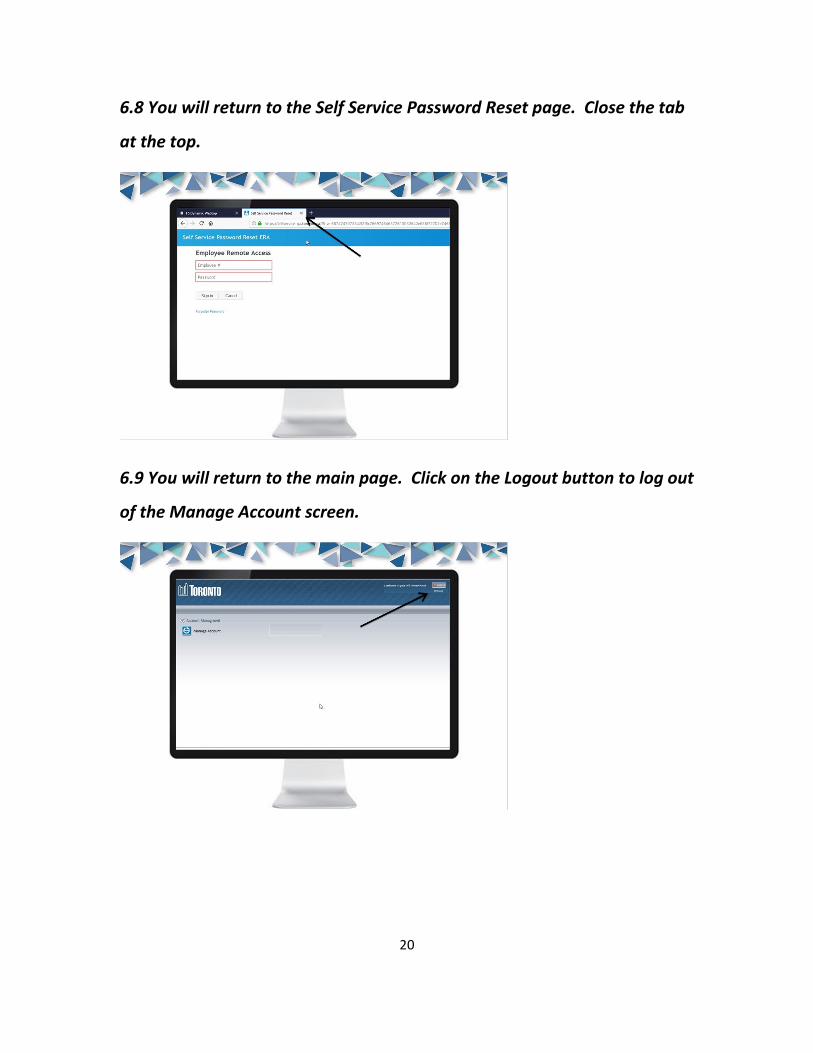
6.8 You will return to the Self Service Password Reset page. Close the tab
at the top.
6.9 You will return to the main page. Click on the Logout button to log out
of the Manage Account screen.

21
6.10 Your account has been fully registered. You can now use your
personalized password and receive your security key on your selected
device.

22
7. Logging Into the Self Service Website From an External
Computer
7.1 Logging Into the Self Service Website From an External Computer title
page

23
7.2 NOTE: Before logging into the Self-Service website, you will need to be
next to the phone you have selected to receive the phone call or text
message. You cannot log in without it.
7.3 Click on Click Here To Continue.

24
7.4 Enter your 8 digit employee number. Remember if your employee
number is 6 or 7 digits, you will need to add additional 0's at the
beginning.
7.5 Enter your personalized password and click on the Logon button.

25
7.6 You will receive an automated message providing you with your
security code either by a phone call or by text message.
7.7 Enter your one time, 6 digit Security Code.

26
7.8 Click on Logon.
8. Logging Into WFC Request for Work
8.1 Logging Into Kronos WFC title page

27
8.2 Click on WFC Request for Work.
8.3 Enter your employee number (including the necessary 0's) into the
Username field.

28
8.4 Enter your personalized password.
8.5 Click on the Arrow button to log in..

29
8.6 You will see the homepage displayed.
9. Checking Your Schedule in WFC Request to Work
9.1 Click on My Reports.

30
9.2 Set your date ranges
9.3 Click on View Report.
9.4 You will be able to see your schedule for the time period selected. If
the report is blank, change the date range. If it is still blank you may not

31
be scheduled for that date range. Speak to your Scheduler (CRP/YRP) for
more clarification.
10. Checking Your Time Card in WFC Request for Work
10.1 Click on My Reports.

32
10.2 Click on Time Detail in the Available Reports window.
10.3 Select your date ranges using the Time Period drop down menu.

33
10.4 Click on View Reports.
10.5 You will be able to see your schedule for the time period selected. If
the report is blank, change the date range. If it is still blank you may not
be scheduled for that date range. Speak to your CRP for more
clarification.

34
11. Wrap Up
11.1 Recap of the steps to register your account
Entering Your Username/Initial Password

35
Setting Up Your Password Questions/Passphrase
Setting Up Your Number

36
Setting Up Your Personalized Password
First Login After Initializing Your Account

37
Checking Your Schedule/TimeCard
11.2 Recap of log in process.
38
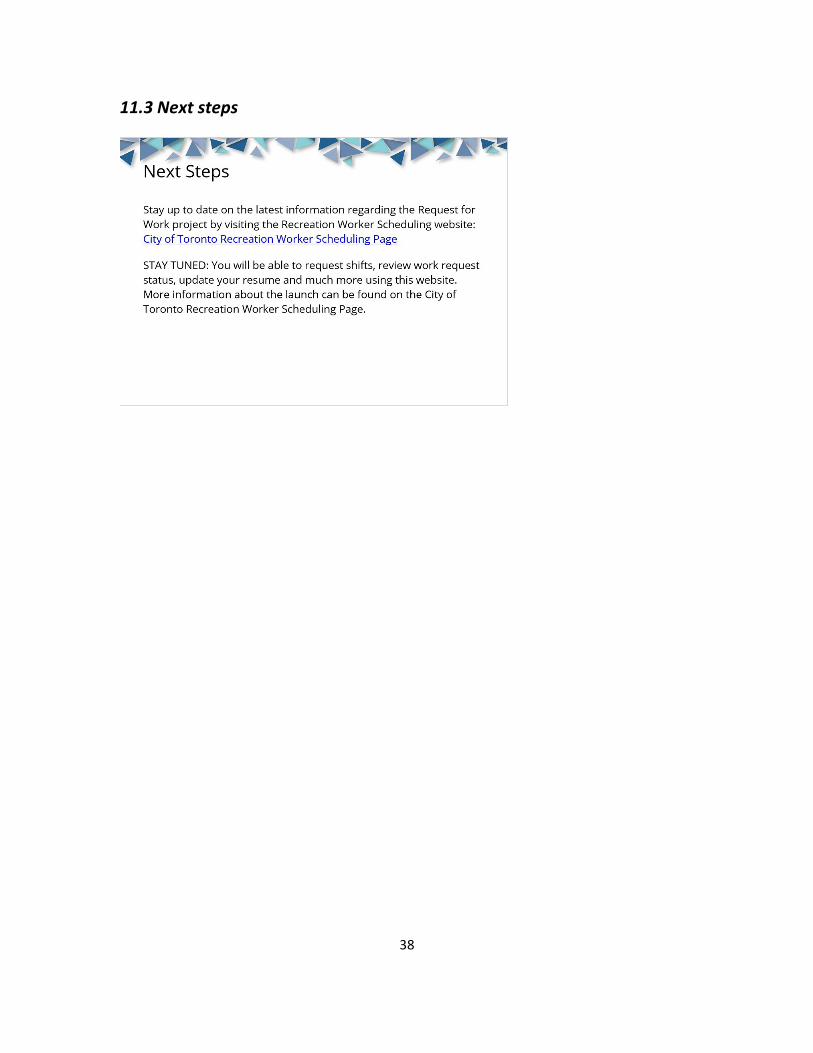
11.3 Next steps