project identity - university of connecticut · project identity adjustable back angle controller...
TRANSCRIPT
Project Identity Adjustable Back Angle Controller Week 3 February 14, 2007 Ray Pennoyer Work Completed
The focus for this week’s work was again the search for a suitable motor and motor control circuit. We found a website for a company called Midwest Motion that listed motors with specs in the range we needed. We emailed them for quotes on 3 motors. The MMP PDSF80-12V GS-060, MMP TM55-12V GP52-079, and the MMP TM55-24V GP52-079 were $149, $349, and $349, respectively. The problems with these motors were that they did not have the RPM capabilities that we wanted.
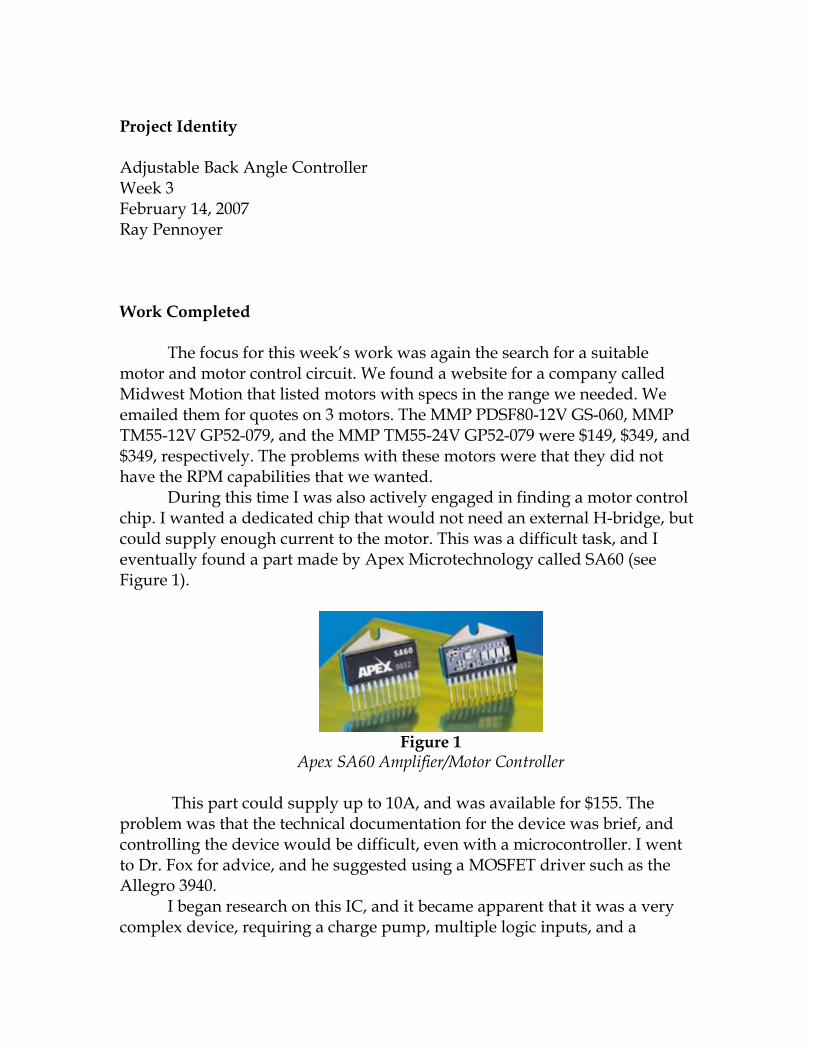
During this time I was also actively engaged in finding a motor control chip. I wanted a dedicated chip that would not need an external H-bridge, but could supply enough current to the motor. This was a difficult task, and I eventually found a part made by Apex Microtechnology called SA60 (see Figure 1).
Figure 1
Apex SA60 Amplifier/Motor Controller This part could supply up to 10A, and was available for $155. The
problem was that the technical documentation for the device was brief, and controlling the device would be difficult, even with a microcontroller. I went to Dr. Fox for advice, and he suggested using a MOSFET driver such as the Allegro 3940.
I began research on this IC, and it became apparent that it was a very complex device, requiring a charge pump, multiple logic inputs, and a

complex external support circuit. One advantage that this approach had was that we already had 4 IRFZ44 N-channel MOSFETs that could be used. These MOSFETs have a Vgs(th) of 2V, a maximum Vgs of 20V, and ID of 49A. This would suit our purposes.
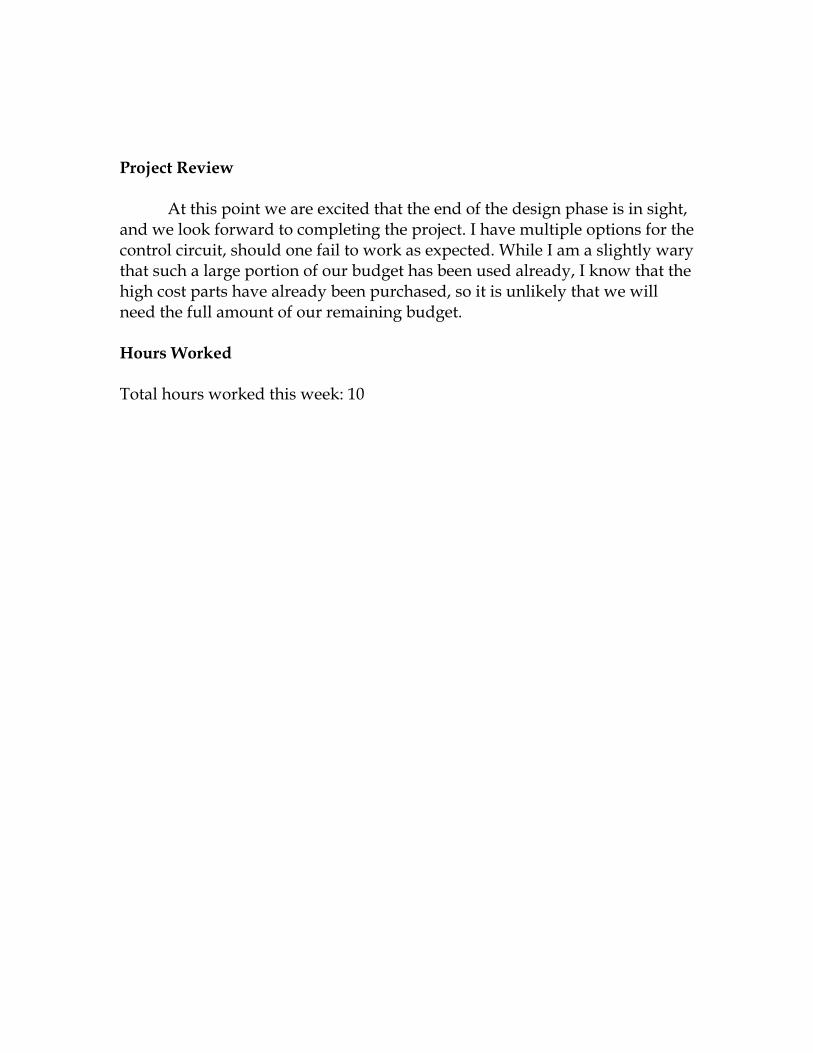
However, as we explored our options with Midwest Motion further, their representative suggested to us their model MMP S28-150E-48V GP81-014 (see Figure 2) with a control package included. This package consists of a unidirectional speed control and AC to 48V DC power supply. This motor had a cost of $1033, including shipping. While the speed control was only unidirectional, I was assured that it would be possible to modify it with an H-bridge and possibly microcontroller command. This motor had exceptional specs, including 72 in-lb of torque and 258 RPM, and is small enough to fit under the bed with the jack. As we knew that the motor would be our main expense with this project, and the rest of it relied on having the motor to design around, we decided to order it.
Figure 2
MMP S28-150E-48V GP81-014 DC Gearmotor
Future Work Now that we have the motor ordered and the bed frame parts shipping this week, we can finally begin work constructing the prototype. When the motor comes in, I will immediately set to work reverse engineering the speed control circuit to decide how to proceed with adding bi-directional support to it. If needed, the Allegro 3940 and microcontroller combination can replace it. When we get the motor in we can also design the support frame that will hold it to the scissor jack as it rises. The bed frame will also be worked around these dimensions. When I have the finished control circuit, we can buy or construct the insulated control box that will house both the circuit and the control handle mechanism.
Project Review At this point we are excited that the end of the design phase is in sight, and we look forward to completing the project. I have multiple options for the control circuit, should one fail to work as expected. While I am a slightly wary that such a large portion of our budget has been used already, I know that the high cost parts have already been purchased, so it is unlikely that we will need the full amount of our remaining budget. Hours Worked Total hours worked this week: 10